
These Halloween painted rocks are such a cute and creative way to decorate for the spooky season! From silly jack-o-lanterns to classic monsters, these Halloween rock painting ideas are fun for kids and adults alike.
All you need is some paint, a few rocks, and your imagination. Whether you’re placing them on your front porch, tucking them into treat bags, or hiding them around the neighbourhood, these painted rocks are a simple way to spread Halloween cheer!

This post contains affiliate links. If you use these links to buy something, we may earn a small commission at no extra cost to you. This helps support our website and allows us to keep creating fun, free content.
How to Make Halloween Painted Rocks
Materials:
- Smooth rocks
- Acrylic paint (white, orange, green)
- Acrylic paint markers (black, white, brown)
Equipment:
Instructions:
Step 1: Find what you need
- Gather your supplies and materials.


Step 2: Make a jack-o-lantern rock
- Begin by painting the top and sides of your rock white. This base coat will make it easier for coloured paint to show up on the rock, allowing you to do fewer coats. Allow to dry.
- Choose a colour for your rock. Our pumpkin rock is, of course, orange! Once the white paint is completely dry you can add a coat of this paint. Add a second coat, if necessary. Allow to dry between coats.

- Draw a jack-o-lantern face on the rock using a black acrylic paint pen.
- Use a brown paint pen to draw broken, curved lines to represent the ridges of the pumpkin.
- Then use green acrylic paint (or another paint pen) to draw the pumpkin’s stem.
- Your jack-o-lantern rock is complete!


Step 3: Make a Frankenstein’s monster rock
- Paint a white base coat on your rock and, once that’s dry, cover the rock with green paint.
- Begin by drawing Frankenstein’s spiky hairline with a black acrylic paint marker. Then draw a wide “U” shape for his brow line, an upside-down “U” for his nose, and a straight line on an angle for his mouth. Finally, draw stitch marks above his brow on one side.
- Fill in the hair (the top portion of the rock) with the black marker, and then use a white marker to draw his eyes, connected to the bottom of the brow line.
- Once the white marker is dry (it will only take a minute or so), add a coloured iris onto the white part of the eye (we used brown). Then grab the black marker again and add pupils on top of the brown.
- Your Frankenstein’s monster rock is complete!


Step 4: Have fun painting more Halloween rocks
- There are so many fun Halloween characters you can paint! Try your hand at a ghost, a bat, or even a piece of candy corn. Read more details below about how to make these rocks.

Helpful Tips:
- Always start with a white base coat, especially if your rock is dark in colour. This will make the colours appear brighter and allow you to paint less coats.
- Use fine-tipped paint pens for details like facial features or thin lines — they’re much easier to control than brushes!

What type of paint works best for painting Halloween rocks?
For these easy Halloween rock painting ideas, we recommend using acrylic paint for the base and acrylic paint pens for the details. They’re vibrant, easy to use, and dry quickly. The paint pens also allow for more control when adding details, especially for kids and beginners.

Do I need to seal my Halloween rocks?
If you’re placing your Halloween rock art outdoors or want them to last longer, sealing is a great idea. A layer of Mod Podge or acrylic spray sealant will protect your designs from chipping and fading.
If you plan to keep your Halloween rocks indoors or don’t intend to keep them a long time, sealing them isn’t completely necessary.

What other designs can I use for painting Halloween rocks?
There are so many Halloween rock painting ideas that are both fun and easy. Here are simple instructions for some of the other Halloween painted rocks we made:
- Ghost: Paint the rock white, draw on black eyes, mouth, and arms, and draw in a little pumpkin between its hands for added cuteness. It could also be holding a spider or trick-or-treat bucket!
- Bat: Paint the rock any solid colour, then draw a bat shape in black as a silhouette. You can add 2 dotted eyes in any colour for extra spookiness. Check out our bat outline post for shape ideas!
- Spider: Paint the rock any solid colour, then use black for a spider silhouette, including 8 pointed legs. Then you can add a red hourglass shape to turn your cute spider into a scary black widow!
- Candy Corn: Try to find a triangle shaped rock. Paint the top third of the rock white, the middle orange, and the bottom yellow. Use black paint marker to draw a silly or cute face for some Halloween fun, or glue on googly eyes!
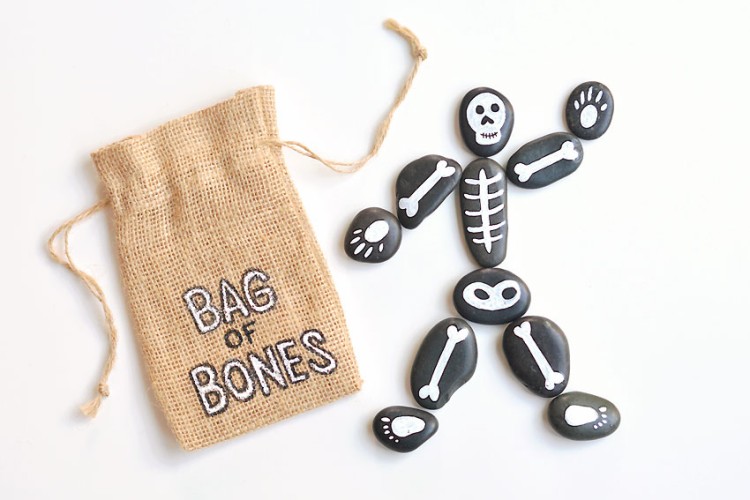
- Skull: Paint the rock white, then draw the eyes and nose in black. Outline the teeth and sculpt the jaw shape using black paint marker.
- Dracula: Paint the rock light purple. Draw the hairline and cloak collar in black and fill them in. Add the eyes, nose, and mouth in paint marker. Draw 2 sharp fangs in white paint marker.
- Monster: Paint the rock any colour (we chose purple). Draw a funny, wiggly mouth shape in black. Add teeth with white paint marker. Draw in some eyes in any colour you’d like — we gave our monster 3 eyes, but 1 large eye is also fun!

Whether you’re decorating your porch, handing out treats, or getting crafty with the kids, Halloween painted rocks are an easy way to create some frightfully festive fun. Pick your favourite monster or spooky character, grab your paintbrush, and enjoy creating these adorably eerie designs to celebrate the season!
Here’s even more easy Halloween craft ideas:


Now available
Low-Mess Crafts for Kids Book
72 cute and fun crafts that kids and parents alike can enjoy. All with as little mess as possible!
Where to buy:
You can purchase Low-Mess Crafts for Kids from Amazon, or wherever books are sold:
Amazon | Barnes and Noble | Books-A-Million | Indiebound | Amazon Canada


Leave a Reply