
If you’re looking for a fun and colourful way to decorate eggs this spring, these tissue paper dyed Easter eggs are about to become your new favourite tradition! Using brightly coloured bleeding tissue paper and a little water, you can create stunning marbled Easter eggs bursting with pinks, blues, yellows, and purples. No fancy kits required — just simple supplies and a little creative magic.
This easy Easter craft is perfect for kids and adults alike, and every egg turns out completely unique. The colours blend and swirl together in the prettiest patterns, making them beautiful displayed in a basket, tucked into spring decor, or used for an Easter egg hunt. So let’s get started making some vibrant, one-of-a-kind Easter eggs!

This post contains affiliate links. If you use these links to buy something, we may earn a small commission at no extra cost to you. This helps support our website and allows us to keep creating fun, free content.
How to Make Tissue Paper Dyed Easter Eggs
Materials:
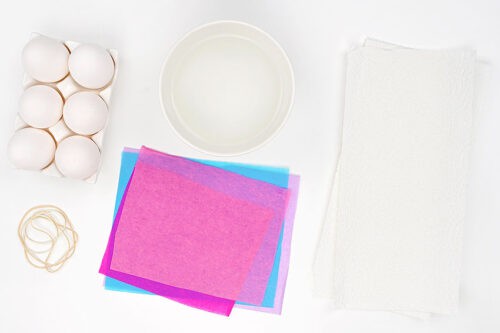
- Bleeding tissue paper
- White plastic Easter egg (or hardboiled egg)
- Water
Equipment:
See the craft in action:
Instructions:
Step 1: Find what you need
- Gather your supplies and materials.

Step 2: Wrap the egg in tissue paper
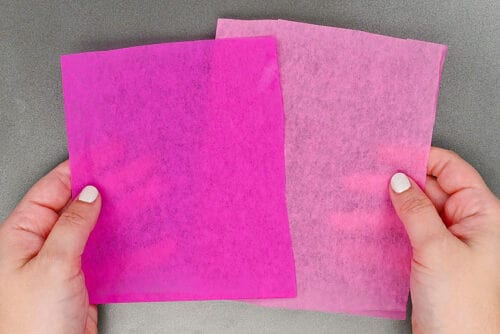
- To dye your eggs with tissue paper you’ll need bleeding tissue paper, in at least 2 colours or shades. Cut the tissue paper to be about 6 inches square.(Read more about bleeding tissue paper below the tutorial!)

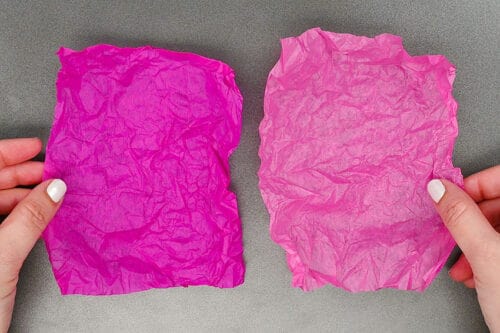
- Scrunch the tissue paper up in your hands to wrinkle it and then open it back up again.This will allow the tissue paper to wrap around the egg more easily.
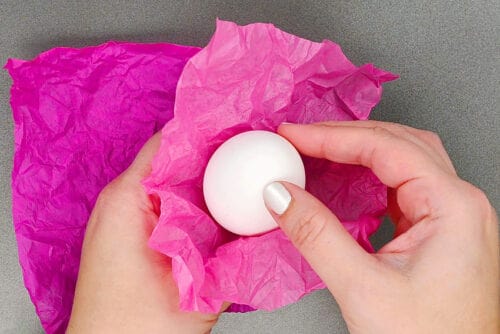
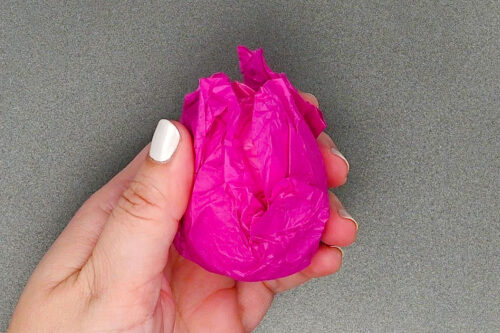
- Place the egg in one piece of tissue paper and wrap it around the egg.
- Then add the other piece of tissue paper on top, wrapping it from the opposite direction.
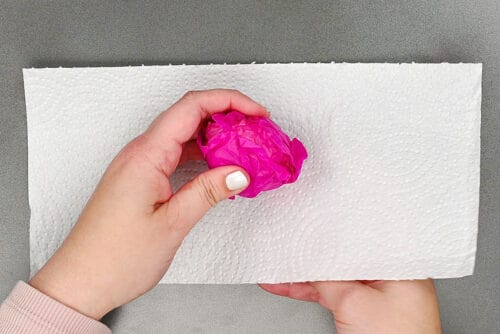
Step 3: Add paper towel
- Next, place the tissue paper covered egg on a piece of paper towel.The paper towel will allow a greater amount of water to stay in contact with the tissue paper, making it easier to transfer the colour.
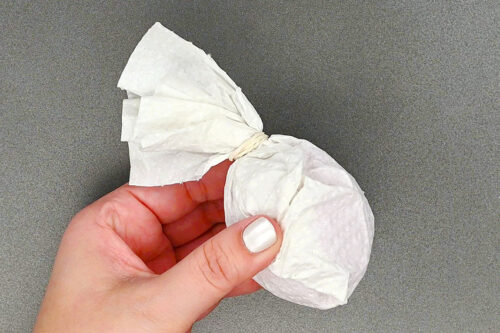
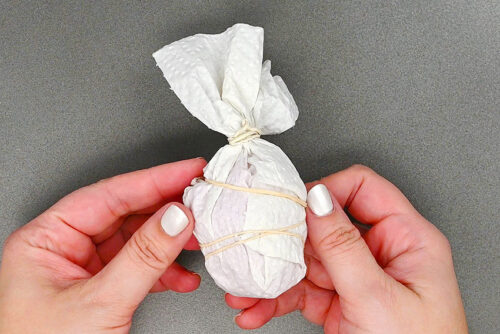
- Wrap the paper towel snugly around the egg, and secure it with a rubber band.
- Then add a rubber band around the actual egg itself. This will push the tissue paper right up against the egg.
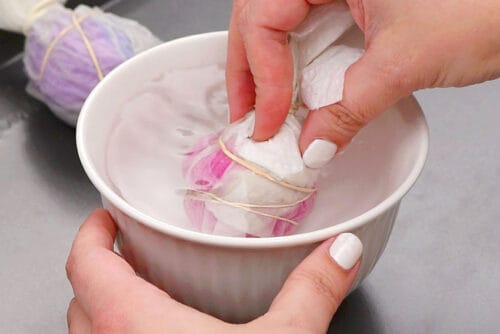
Step 4: Soak the egg and allow to dry
- Place the wrapped egg in water, allowing the paper towel to fully absorb water. Remove from the water and allow to dry, as is, overnight.
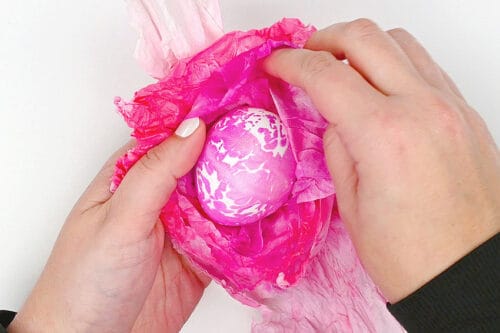
- The next day, unwrap the egg and remove it from the paper towel and tissue paper. You’ll see that the colour has transferred from the tissue paper to the egg!
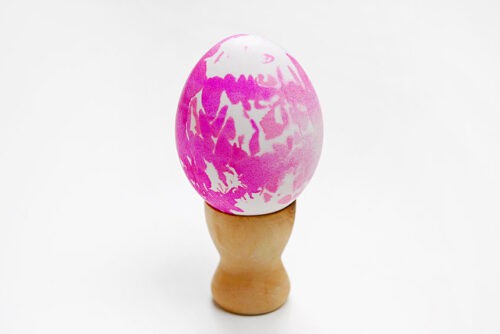
- Your tissue paper dyed Easter egg is complete!
Helpful Tips:
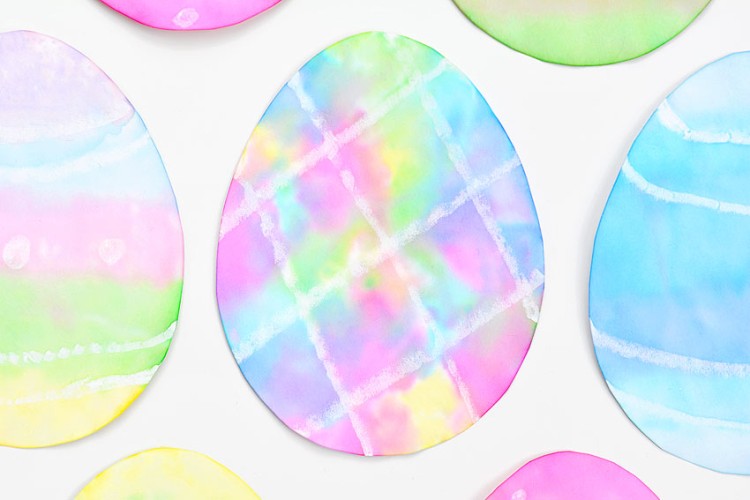
- Real eggs won’t be edible afterward: If you use real eggs, the bleeding tissue paper dye is not food safe, so they shouldn’t be eaten. If you’d prefer decorated eggs that you can still enjoy later, try our fizzy Easter eggs, watercolor Easter eggs, or tie dye Easter eggs instead.
- The colours will dry lighter than they look: The dye transfer is usually more muted than the tissue paper itself, so choose darker or brighter colours if you want bold, vibrant Easter eggs.

What type of eggs work best for making tissue paper dyed Easter eggs?
White dyeable craft Easter eggs (plastic, paper mache, or wood) are the best choice for this craft. They accept the dye beautifully, just like real eggs, but you get to keep and reuse your decorations year after year!
Real eggs will work fine, but since the tissue paper dye isn’t food safe, it’s not the most practical option.

What is bleeding tissue paper?
Bleeding tissue paper is a special type of tissue paper that’s designed for art projects. It contains dye that runs or “bleeds” when water is added.
Once wet, the colour transfers from the tissue paper onto whatever surface it’s touching (paper, Easter eggs, or other craft materials), creating beautiful blended effects.

Why does the tissue paper covered egg need to be wrapped in paper towel?
The tissue paper itself doesn’t hold much water. While it transfers colour well on flat surfaces, it doesn’t stay wet enough on a curved surface like an egg.
Wrapping the egg with a damp paper towel helps hold moisture against the surface, allowing the dye to transfer more easily and evenly. You can also use a coffee filter or even a Kleenex if you don’t have paper towels on hand.

These tissue paper dyed Easter eggs are such a simple way to create bold, beautiful spring decor with minimal supplies. The colours blend together in the prettiest marbled patterns, and no two eggs ever turn out the same — which is half the fun! However you display them, they’ll bring a bright pop of colour to your celebration. Once you see how easy the bleeding tissue paper technique is, you’ll want to try it on everything!
Here’s even more Easter egg dyeing ideas:


Now available
Low-Mess Crafts for Kids Book
72 cute and fun crafts that kids and parents alike can enjoy. All with as little mess as possible!
Where to buy:
You can purchase Low-Mess Crafts for Kids from Amazon, or wherever books are sold:
Amazon | Barnes and Noble | Books-A-Million | Indiebound | Amazon Canada


Leave a Reply