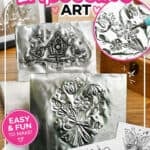
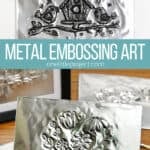
Spring metal embossing art is such a fun and satisfying way to turn simple metal sheets into beautiful raised designs. With just a few basic tools and our printable templates, you can create detailed spring pictures featuring flowers, butterflies, bees, and birds. It’s an easy technique to learn, but the finished pieces look so shiny, textured, and impressive!
This beginner-friendly metal embossing project is perfect for older kids, teens, and adults who want to try a creative new craft. The templates make it easy to get started, and once you learn the basic metal embossing techniques, you can use them to make framed art, handmade gifts, and pretty seasonal decorations.

This post contains affiliate links. If you use these links to buy something, we may earn a small commission at no extra cost to you. This helps support our website and allows us to keep creating fun, free content.
DIY Spring Metal Embossing Art
Materials:
Optional:
Equipment:
- Embossing stylus (multiple sizes)
See the craft in action:
Instructions:
Step 1: Find what you need
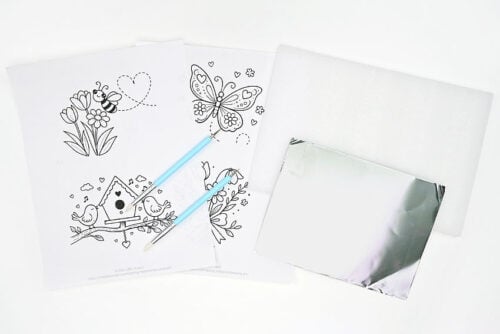
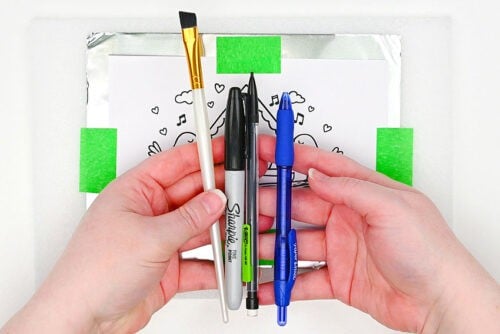
- Gather your supplies and materials.

Step 2: Prepare your workspace
- Print our free metal embossing templates to create one of these cute spring scenes.
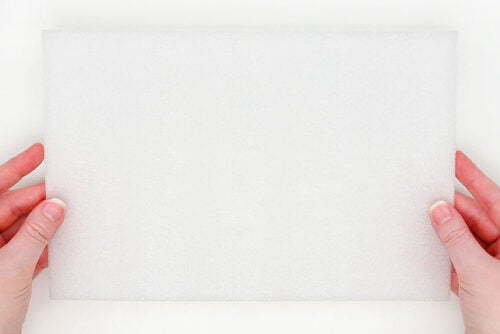
- To make your design you’ll need something soft for the metal sheet to sit on. We’re using foam packaging that came in a tablet sleeve, but you can also use craft foam sheets, a mouse pad, or anything that has a bit of “give” to it.
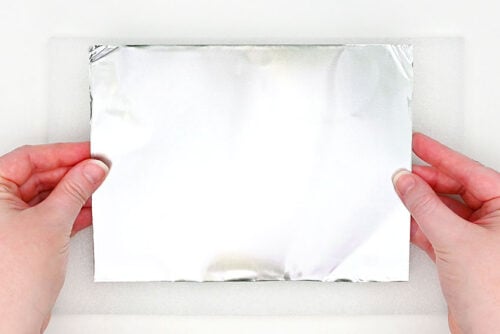
- Set your metal sheet down on the foam. This is a special thick “embossing foil sheet”. We’ve cut a larger piece in half.
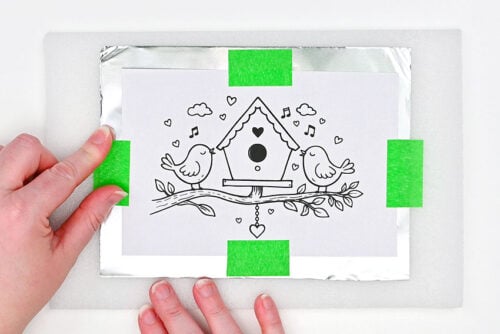
- Set your template on the metal, centering it and taping it into place.
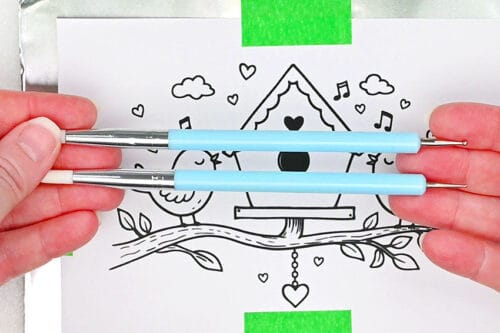
- We’re going to mostly use ball stylus tools to “engrave” our metal.

- But there are lots of things that work well for this craft. You can use the rounded end of a paintbrush (this works really nicely), a marker cap, a pencil eraser, or even a pen (one without ink works best, or only use it for the first step).
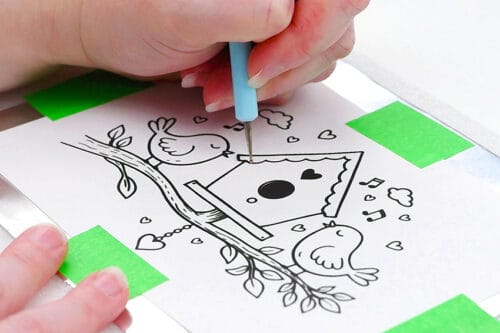
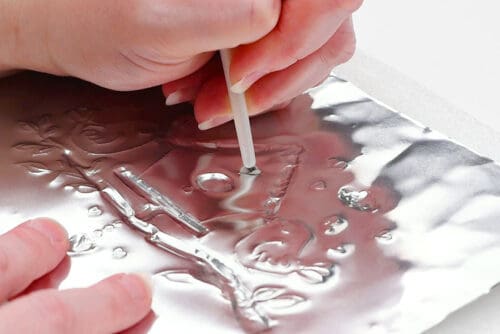
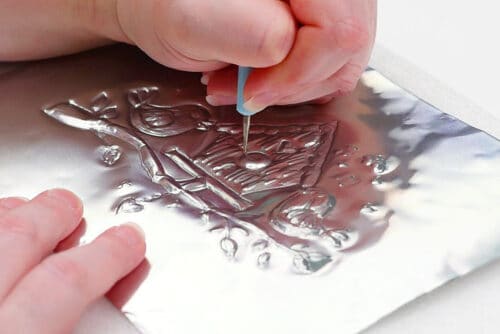
Step 3: Trace the template
- We’re going to begin with a very small stylus ball. Use it to outline all of the lines on the picture.You don’t need to press too hard, but you do want to ensure the stylus is making its mark. (You can lift the paper on one corner to take a peek, if need be.)
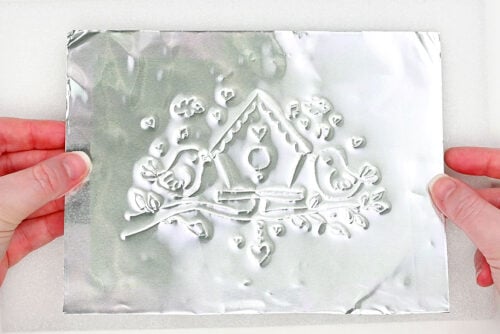
- Once you’ve drawn over all of the lines, remove the template. You can see how the picture is lightly transferred onto the foil.
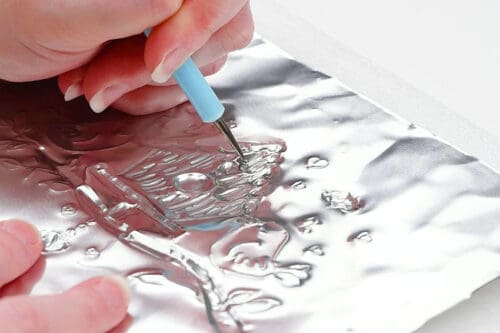
Step 4: Emboss 3D details
- Now you’ll want to flip the metal over so you’re looking at the back of the picture.
- Here’s where the end of the paintbrush handle works nicely. Use it on any of the areas that you want popping out on the front of the picture, moving it back and forth, exerting a little bit of pressure.It works best for larger areas, and it allows you to create a really smooth indent.
- You can also use a stylus tool with a larger ball on it to get into smaller areas. These tend to add a bit of texture to the foil, so you’ll want to be careful how you move it.
- Keep working with the ball stylus, moving gently with it and adding just a bit of pressure.As you work you’ll be able to see and feel how different movements and amounts of pressure will give you different looks.
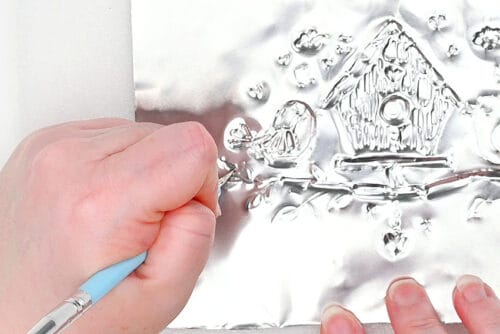
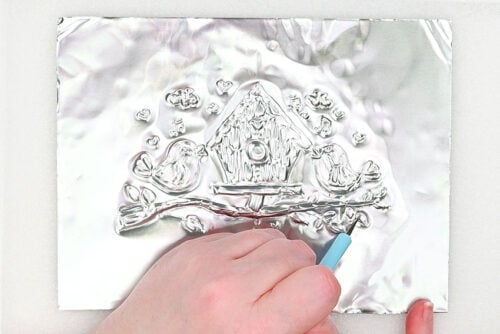
Step 5: Add final details
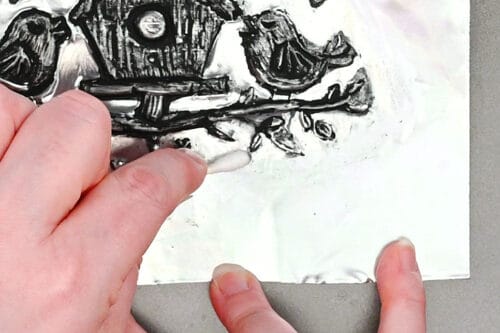
- Once you’ve finished going over all the areas on the back, flip the metal back over and see the 3D details you’ve created!
- Now go back to the first stylus, with the smaller ball. Use it to go back over the outlines of the shapes. This will emphasize the details of the picture.
- Continue with the small stylus, using a light hand. You don’t want to use too much pressure with anything too thin, or you can punch a hole in the metal.Continue to flip the picture back and forth, adding any final details until you’re happy with how it looks.
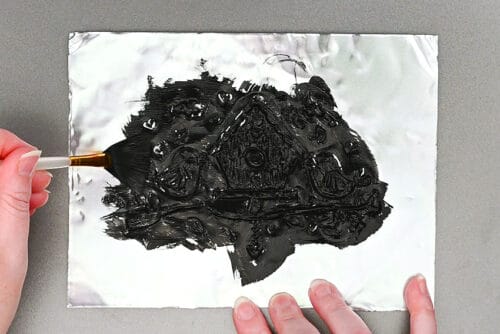
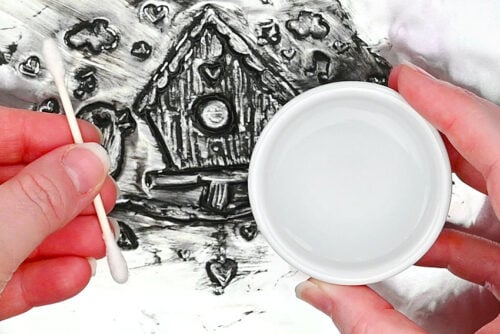
Step 6: Add a patina to the picture (Optional)
- If you want to emphasize the details on your picture you can add a thin layer of black acrylic paint to the picture.You can cover the whole picture at once, or work in smaller areas at a time. (Despite what we did here, we recommend working in smaller areas.)
- Use a paper towel right away to wipe off as much paint as you can. But don’t exert too much pressure, or you’ll distort your picture.
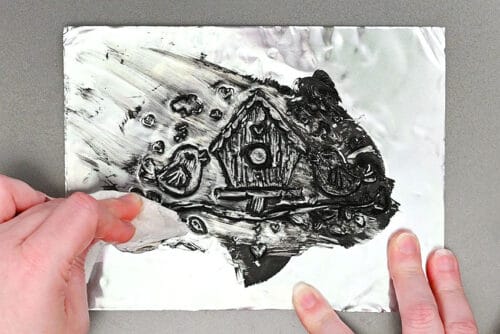
- Once you’ve removed as much paint as you can with a paper towel you can use a Q-tip dipped in water to remove the rest of the excess paint from the background.
- “Scrub” with the damp Q-tip to remove the paint in-between the details of the picture. Since you’re working outside of the embossed area you can add a bit of pressure. The Q-tip is very smooth, so it shouldn’t leave behind any marks.
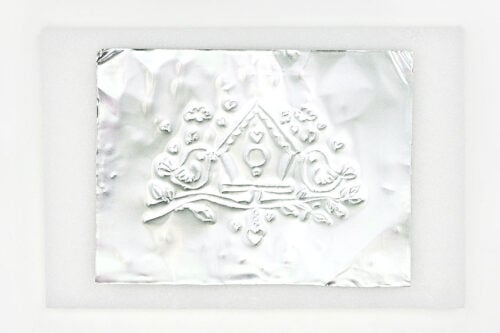
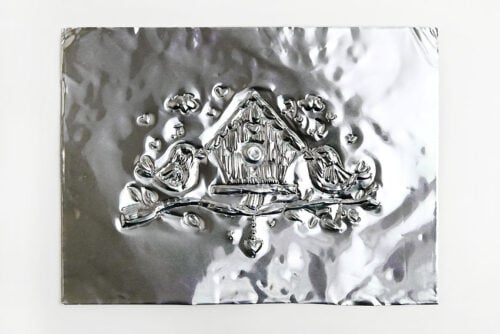
- Your spring metal embossing art is complete!

Helpful Tips:
- Tape your template to the metal sheet before tracing. Taping the template in place helps keep everything from shifting while you make the first outlines. This makes it much easier to trace the design accurately, especially around smaller details like petals, wings, and leaves.
- Work on a soft, cushioned surface. For the best raised effect, place your metal embossing sheet on something soft, like craft foam, a mouse pad, or a folded towel. This gives the metal a little give as you press, helping the design stand out more clearly.
- Adjust your pressure based on the tool you’re using. Larger rounded tools can handle more pressure and are great for creating smooth raised sections. Smaller pointed tools are better for fine details, but you’ll want to press more gently so you don’t accidentally poke through the metal.
- Use our coloring pages for even more design ideas. Once you’ve tried these spring templates, take a look at our coloring pages for more printable designs you can use for metal embossing. It’s a fun way to find creative ideas for different seasons, holidays, and occasions!

Download our free spring metal embossing art templates:
Click on the links or photos below to download our free, printable metal art templates! The PDF files will open in a new window. Then simply print the templates on 8.5 x 11 (letter size) printer paper.
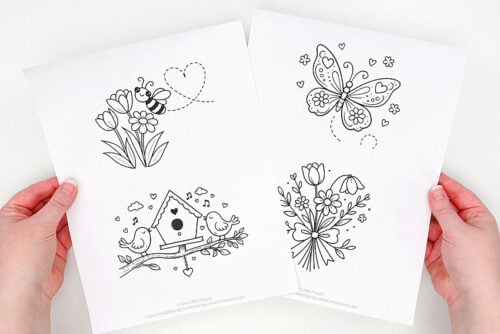
Metal Embossing Art Template #1
This printable template features the butterfly and flower bouquet images.


Metal Embossing Art Template #2
This page features a cute bee with flowers and birds with a birdhouse.


What is metal embossing art?
Metal embossing art is a technique where you press designs into thin metal sheets to create raised and indented details. By tracing outlines and shaping the metal with embossing tools, you can make designs that look beautifully textured and dimensional.
What can you make with metal embossing?
Metal embossing can be used to create framed art, handmade gifts, seasonal decorations, journal covers, cards, keepsake boxes, and other decorative craft projects. Once you learn the basic metal embossing technique, you can use it for all kinds of pretty and creative designs!

What tools do I need for metal embossing art?
We mostly used ball embossing tools, the kind often used for polymer clay. They work really well for creating both outlines and smooth raised details. The end of a paintbrush can also be useful for larger rounded areas.
If you don’t have embossing tools, you can try substitutes like marker caps, the tip of a ballpoint pen without ink, the back of a spoon, chopsticks, or the eraser end of a pencil. There are lots of possibilities without buying special tools, so just look around your house to find some good options!

Can I use aluminum foil instead of metal embossing sheets?
We don’t recommend regular aluminum foil for detailed metal embossing art. Even heavy-duty foil is usually too thin, so it wrinkles, tears, and loses its shape more easily.
If you’re doing a very simple project with kids, it might work for basic designs, but it won’t give the same smooth, detailed results as proper metal embossing sheets. If you want to experiment, you could try gluing a few layers of foil together to make it thicker. If that works for you, we’d love to hear about it!

Metal embossing is a creative craft that feels a little magical as the flat metal starts to lift and take shape. Whether you frame your finished piece, use it to decorate a journal or treasure box, or simply enjoy it as a seasonal art project, metal embossing is a wonderful way to make something unique by hand. Once you try it, you’ll see what a cool and satisfying technique it is, and why this embossed metal craft is quickly gaining popularity.
Here’s even more art project ideas:


Now available
Low-Mess Crafts for Kids Book
72 cute and fun crafts that kids and parents alike can enjoy. All with as little mess as possible!
Where to buy:
You can purchase Low-Mess Crafts for Kids from Amazon, or wherever books are sold:
Amazon | Barnes and Noble | Books-A-Million | Indiebound | Amazon Canada


Leave a Reply