DIY Spring Metal Embossing Art
Learn how to make beautiful pictures with this metal embossing art project. It's a fun spring craft for teens and adults, and it's easier than you think!
Yield: 1 metal embossed picture
Cost: $2
Equipment
- Embossing stylus (multiple sizes)
Materials
Optional:
Instructions
Step 1: Find what you need
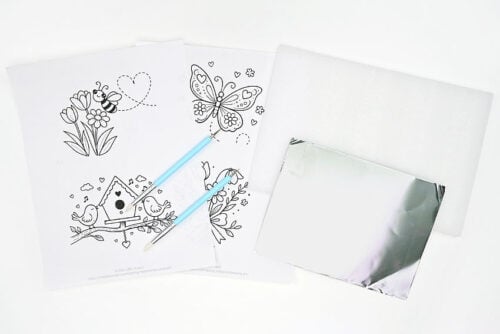
- Gather your supplies and materials.
Step 2: Prepare your workspace
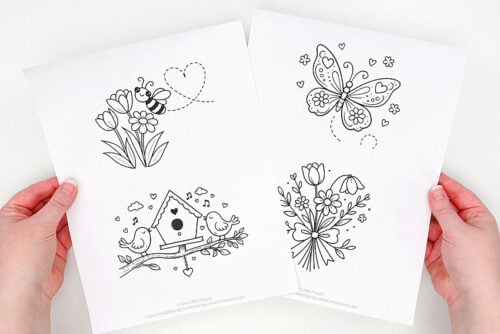
- Print our free metal embossing templates to create one of these cute spring scenes.
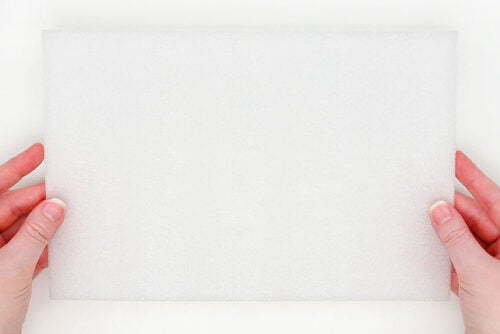
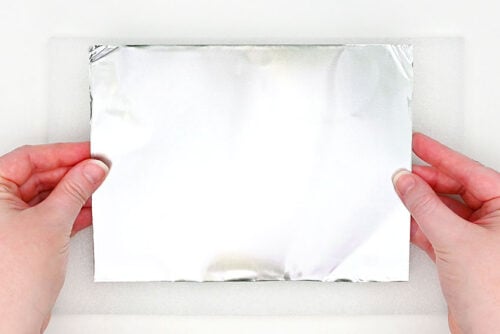
- To make your design you'll need something soft for the metal sheet to sit on. We're using foam packaging that came in a tablet sleeve, but you can also use craft foam sheets, a mouse pad, or anything that has a bit of "give" to it.
- Set your metal sheet down on the foam. This is a special thick "embossing foil sheet". We've cut a larger piece in half.
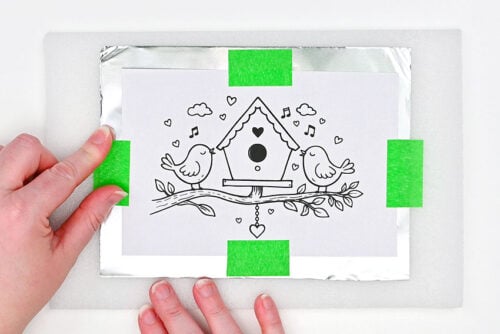
- Set your template on the metal, centering it and taping it into place.
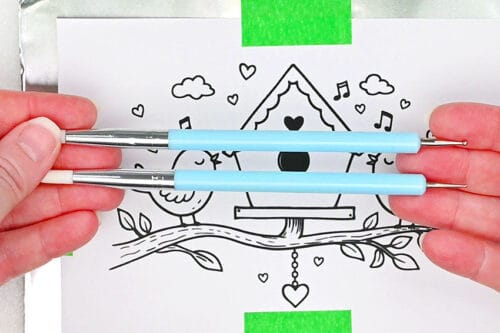
- We're going to mostly use ball stylus tools to "engrave" our metal.
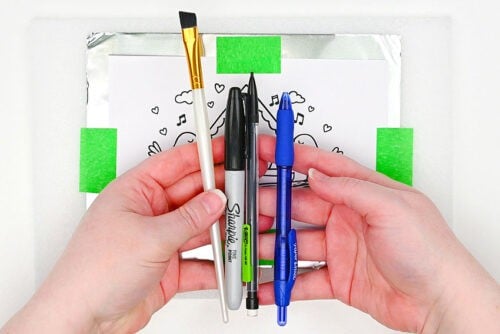
- But there are lots of things that work well for this craft. You can use the rounded end of a paintbrush (this works really nicely), a marker cap, a pencil eraser, or even a pen (one without ink works best, or only use it for the first step).
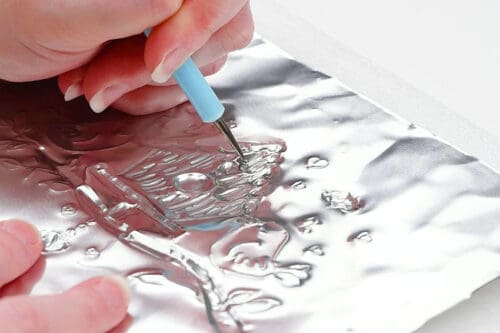
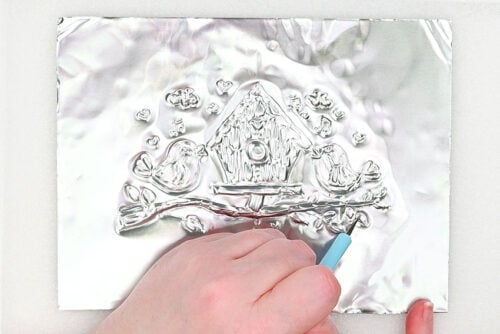
Step 3: Trace the template
- We're going to begin with a very small stylus ball. Use it to outline all of the lines on the picture.You don't need to press too hard, but you do want to ensure the stylus is making its mark. (You can lift the paper on one corner to take a peek, if need be.)
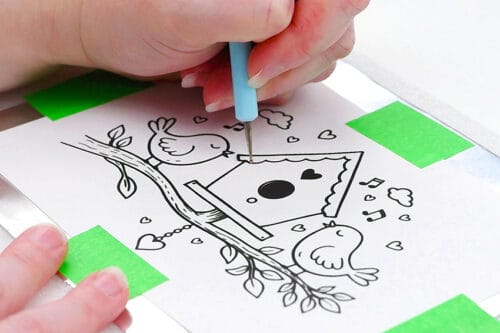
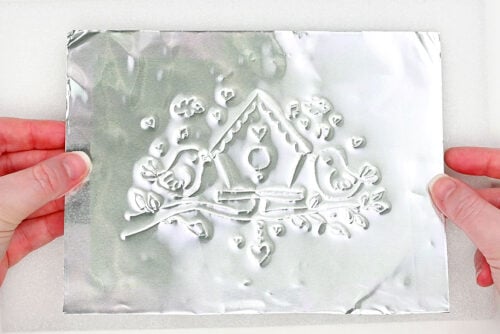
- Once you've drawn over all of the lines, remove the template. You can see how the picture is lightly transferred onto the foil.
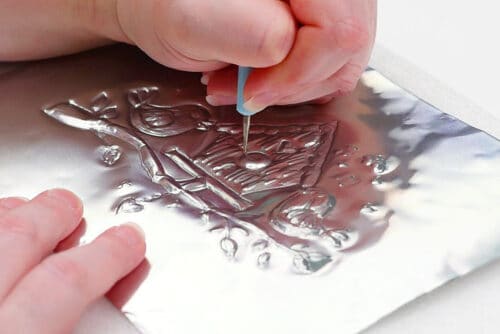
Step 4: Emboss 3D details
- Now you'll want to flip the metal over so you're looking at the back of the picture.
- Here's where the end of the paintbrush handle works nicely. Use it on any of the areas that you want popping out on the front of the picture, moving it back and forth, exerting a little bit of pressure.It works best for larger areas, and it allows you to create a really smooth indent.
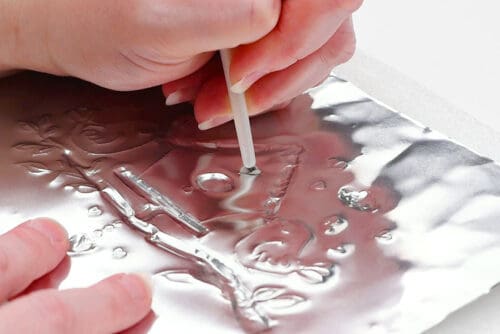
- You can also use a stylus tool with a larger ball on it to get into smaller areas. These tend to add a bit of texture to the foil, so you'll want to be careful how you move it.
- Keep working with the ball stylus, moving gently with it and adding just a bit of pressure.As you work you'll be able to see and feel how different movements and amounts of pressure will give you different looks.
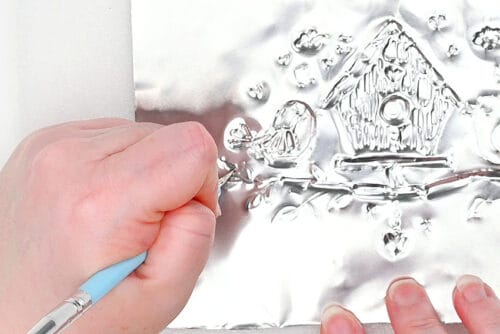
Step 5: Add final details
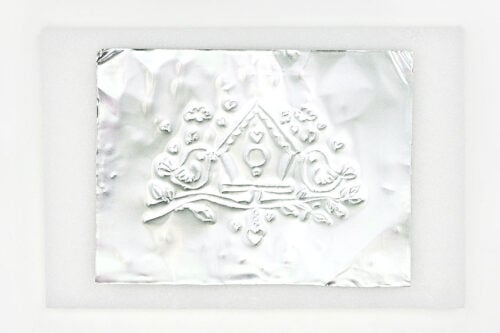
- Once you've finished going over all the areas on the back, flip the metal back over and see the 3D details you've created!
- Now go back to the first stylus, with the smaller ball. Use it to go back over the outlines of the shapes. This will emphasize the details of the picture.
- Continue with the small stylus, using a light hand. You don't want to use too much pressure with anything too thin, or you can punch a hole in the metal.Continue to flip the picture back and forth, adding any final details until you're happy with how it looks.
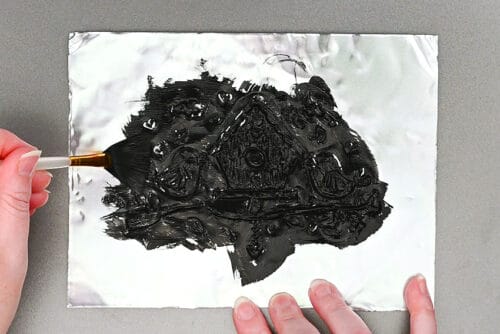
Step 6: Add a patina to the picture (Optional)
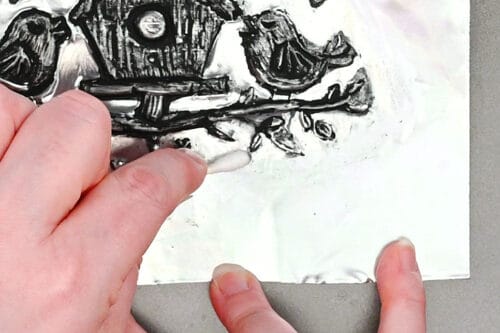
- If you want to emphasize the details on your picture you can add a thin layer of black acrylic paint to the picture.You can cover the whole picture at once, or work in smaller areas at a time. (Despite what we did here, we recommend working in smaller areas.)
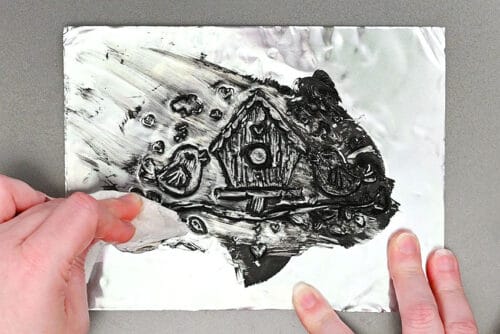
- Use a paper towel right away to wipe off as much paint as you can. But don't exert too much pressure, or you'll distort your picture.
- Once you've removed as much paint as you can with a paper towel you can use a Q-tip dipped in water to remove the rest of the excess paint from the background.
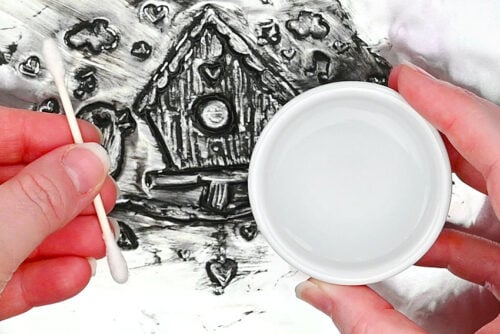
- "Scrub" with the damp Q-tip to remove the paint in-between the details of the picture. Since you're working outside of the embossed area you can add a bit of pressure. The Q-tip is very smooth, so it shouldn't leave behind any marks.
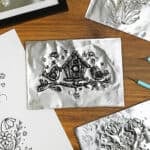
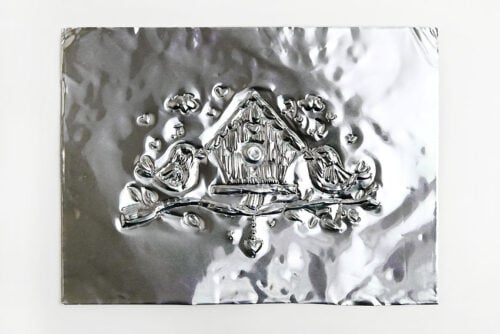
- Your spring metal embossing art is complete!

Video
Notes
Looking for more spring crafts? Here's a few of our favourites:
Butterfly Window Clings
Flower Imprint Clay Dish
How to Paint Watercolor Tulips