Did you know that you can make your own scratch art paper?! It’s actually super easy! Why buy expensive art supplies when you can create your own DIY scratch art using crayons and paint?
We had so much fun with this scratch art! There’s something so magical and cool about drawing on a black piece of paper to reveal a rainbow of colours! It’s a great art project for kids, and tons of fun for summer camp and sleepovers.

This post contains affiliate links. If you use these links to buy something we may earn a small commission which helps us run this website.
DIY Scratch Art
Equipment:
- Baking sheet (or tablecloth to contain the mess)
Watch the step-by-step video tutorial:
Instructions:
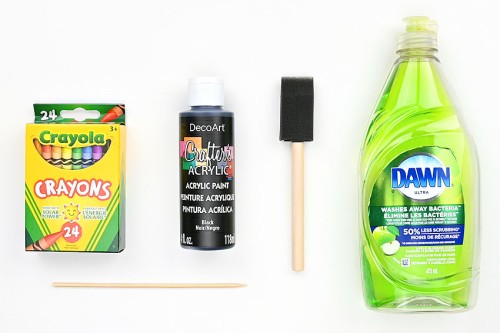
Step 1: Find what you need
- Gather your supplies and materials.

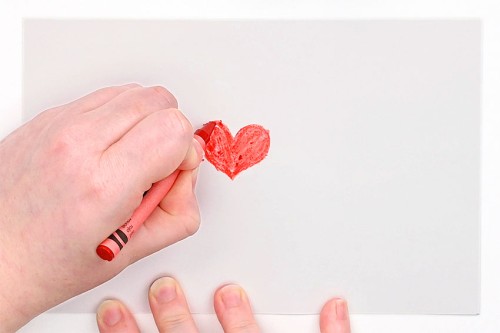
Step 2: Colour the cardstock
- Cut a piece of cardstock in half and begin colouring it with crayon.Make sure you press hard with the crayon, leaving a thick and waxy layer on the paper.
- Continue colouring with different colours of crayon. Bright, bold colours will show up the best.
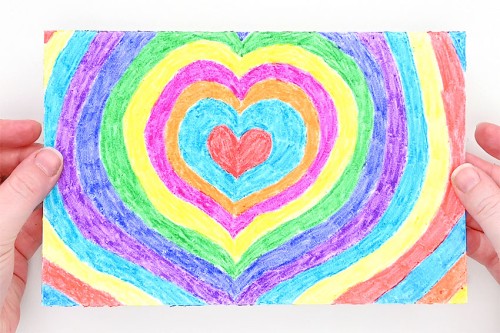
- You can colour your paper in any pattern you like. Here are a few examples of the ones we made.All that’s important is using a variety of different colours and adding them to cover the whole paper!

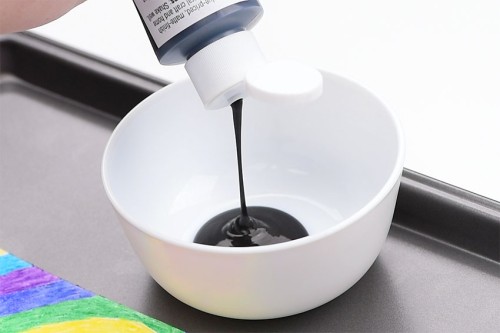
Step 3: Mix the paint and cover the paper
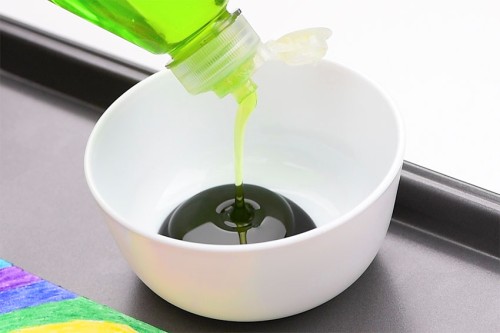
- Add 1 part black acrylic paint to a small bowl or palette.
- Add an equal amount of dish soap to the paint.
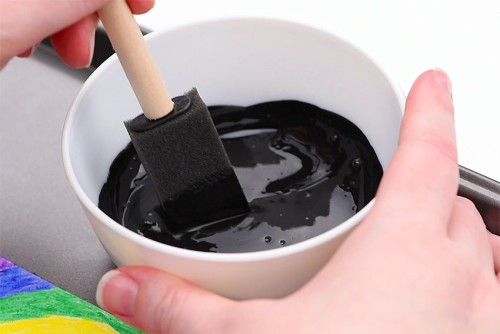
- Use a foam brush (or regular paintbrush) to mix the paint and soap together.

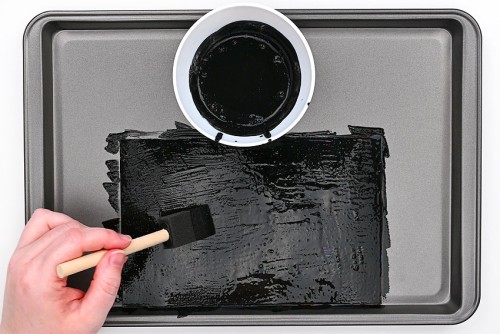
- Use the foam brush to paint over the crayon. Add a generous amount of the paint mixture to ensure that little to no colour shows through. Allow to dry at least 3 hours or until there are no wet spots remaining.
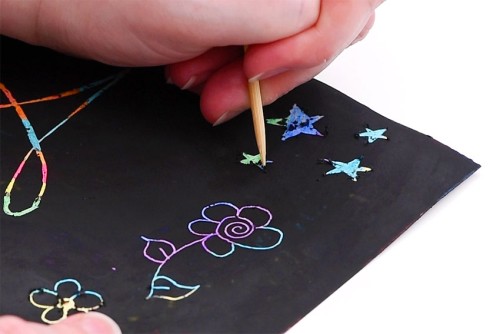
Step 4: Have fun with the scratch art
- Use a wooden skewer to draw on the scratch art paper. As you draw with the skewer, the bright crayon colours will be revealed!
- Have fun experimenting with different designs.Your DIY scratch art is complete!
Helpful Tips:
- Add painter’s tape to the bottom of your paper to keep it in place while you’re adding the black paint.
- Use a variety of crayon colours to cover your page. Bright colours show up the best!
- Make sure you’re pressing firmly with the crayon and covering the whole page. The paint will stick to any part of the paper that doesn’t have crayon on it and won’t scratch off.
- Kids may have trouble colouring all the way to the edge of the page. If so, use a larger piece of paper and then cut out the coloured part after they’re done colouring.

What paper should I use to make DIY scratch art?
We recommend using a heavier paper like cardstock. It needs to be a stronger paper that can handle heavy layers of crayon and paint.
And then it needs to hold up when you scratch on it! So regular printer paper is definitely not thick enough.
Can I make scratch art paper with only paint? Do I need to add dish soap?
Adding dish soap to the paint is definitely recommended. You can use just paint, but it makes it a lot harder to scratch without removing the crayon colour as well. Adding the soap to the paint makes the paint layer slide easily off the crayon!

Do I need to wait for the paint to dry on my scratch art paper?
We tried it both ways, and we recommend waiting for the paint to dry.
You can try scratching the paint while it’s still wet. It makes the scratching process very easy to do, but it also makes it easy to smudge areas you don’t want scratched off.
Is it better to make scratch art with crayons or oil pastels?
There are definitely advantages to both. Crayons are a lot less expensive and are easier to find in stores. We also found it easier to remove the black paint layer from the crayons, which is why we used them.
However, you can definitely use oil pastels instead. Colouring the whole sheet of paper goes a lot faster with oil pastels, and the paint has much better coverage over it (i.e. you can’t see the colour through the paint). However, when it came to scratching this scratch art paper, it was a lot more difficult to scratch without removing the oil pastel colour as well.

What tools can I use to make scratch paper art?
All you need is something with a sharp (or at least sturdy) end. Here are a few examples of what works well:
- Wooden/bamboo skewer
- Toothpick
- Chopstick
- Coffee stir stick
- Paper clip
- Q-tip (cotton swab) with the cotton part removed
What are some easy scratch art ideas to make?
The good thing about scratch art is that it’s process art, and you can draw whatever you want! But if you’re looking for inspiration, here are some fun ideas:
- Shapes like hearts, stars, circles, etc
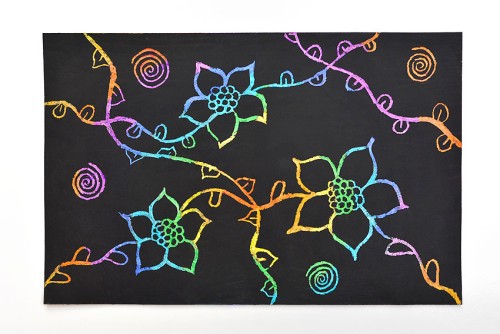
- Flowers! They look great on scratch art paper and there’s so many types to choose from
- Animals like cats, dogs, or birds
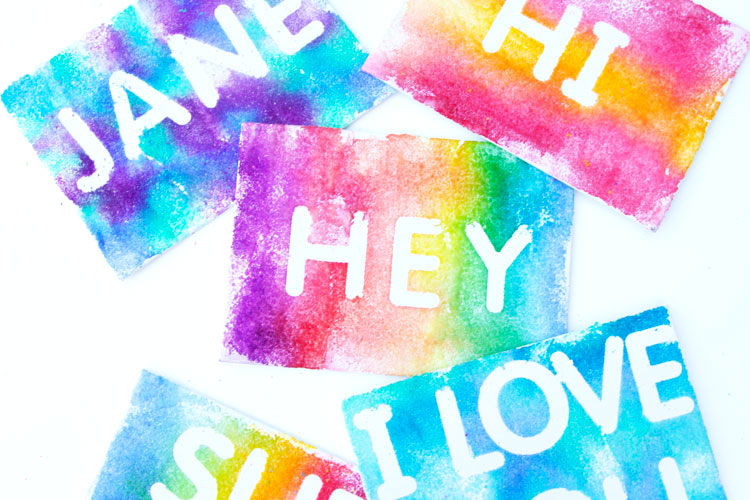
- Write out your name, or even try making bubble letters
- Any random doodles you can think of, like spirals, wavy lines, lightning bolts, etc
- Experiment with different ways of scratching. What does a single line look like, versus making a thicker line or filling in a shape?
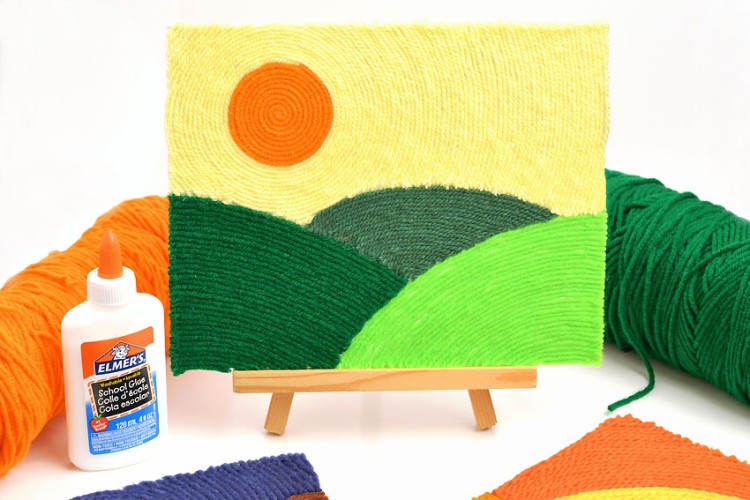
- Plus: any other type of drawing you’d like to make! Try drawing your family or friends, a house, an outdoor scene, or the night sky. The possibilities are endless!

Scratch art is so much fun to make and it has a real wow factor to it! It’s so cool to start with a blank piece of paper and transform it into a colourful surprise.

Here’s even more fun kids art ideas:


Watercolor Printing using Markers

Our book Low-Mess Crafts for Kids is loaded with 72 fun and simple craft ideas for kids! The projects are fun, easy and most importantly low-mess, so the clean up is simple!

Where to buy:
You can purchase Low-Mess Crafts for Kids from Amazon, or wherever books are sold:
Amazon | Barnes and Noble | Books-A-Million | Indiebound | Amazon Canada


Leave a Reply