Learn how to make polymer clay beads! These colourful DIY beads are so fun and easy to make, the perfect craft for beginners to polymer clay.
Follow our step by step photo and video tutorials to make these stylish clay beads in all different shapes and sizes. It’s a great way to use up leftover clay from a larger project, and you can use the beads to make your own jewelry, keychains, and more!

This post contains affiliate links. If you use these links to buy something we may earn a small commission which helps us run this website.
How to Make Polymer Clay Beads
Materials:
Equipment:
- Clay cutting tool (or craft knife)
- Clay roller (or rolling pin)
Watch the step-by-step video tutorial:
Instructions:
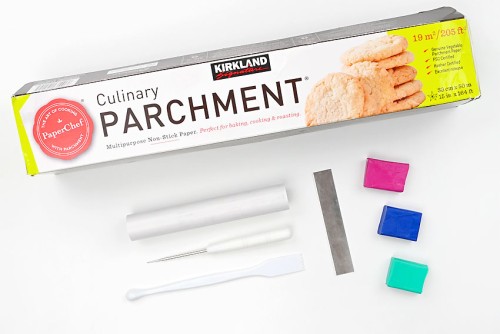
Step 1: Find what you need
- Gather your supplies and materials.

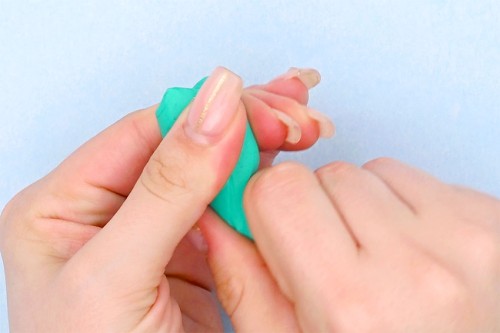
Step 2: Work the clay and roll into thin “snakes”
- Knead the clay until it feels soft and easy to work with.This is called “conditioning” your clay. Some people use a special clay rolling machine to do this, but you can just use your hands.

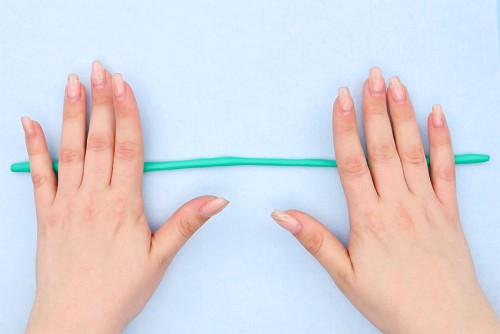
- Roll the clay with your hands on a silicone mat, creating thin strips.You can also roll the clay on the counter or on parchment paper if you don’t have a silicone mat.
- As you roll the clay, cut it into shorter lengths as it gets longer. This will make it easier to work with.
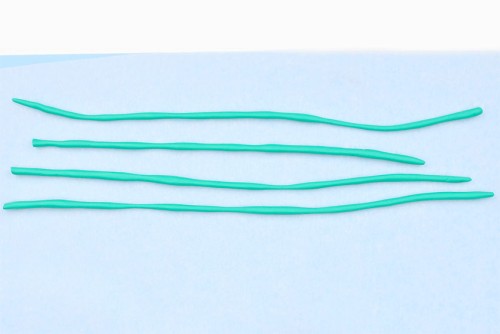
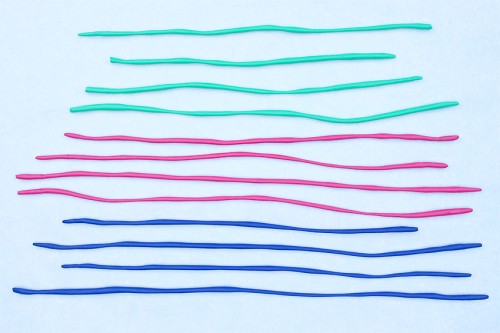
- Roll the clay pieces into “snakes” with a diameter of about 2mm.
- Repeat this process for all the colours you’d like to use.
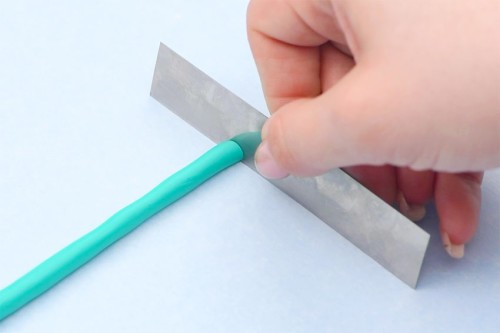
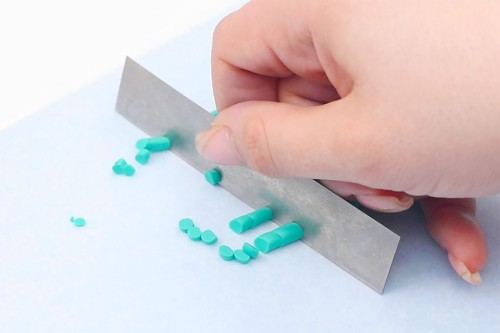
Step 3: Cut the clay and combine the pieces
- Chop the clay snakes into tiny pieces, anywhere from 1/8 to 1/4 inch long, using a cutting tool or knife.You can line up the “snakes” and cut multiple rows at a time to make it go faster.
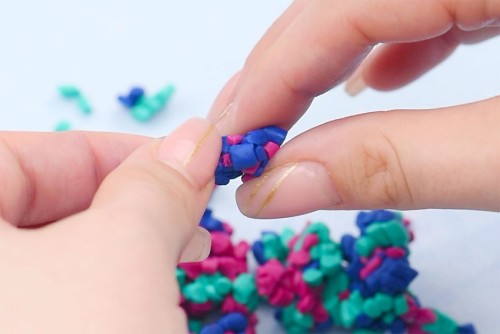
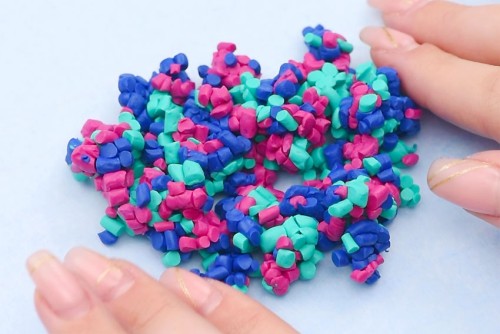
- Use your fingers to mix up all the small pieces, dispersing the colours evenly.
- Gather all the clay pieces together, laying them out in a relatively flat pile.
Step 4: Combine the clay bits and roll them flat
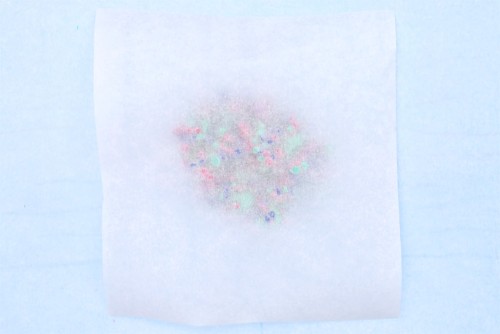
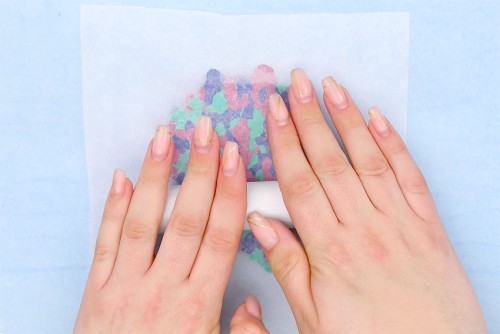
- Place a piece of parchment paper over top of the clay.This will stop imprints and texture from forming on the clay when you roll it out.
- Use the rolling tool over the parchment paper to flatten the clay, combining it into one marbled piece of clay.
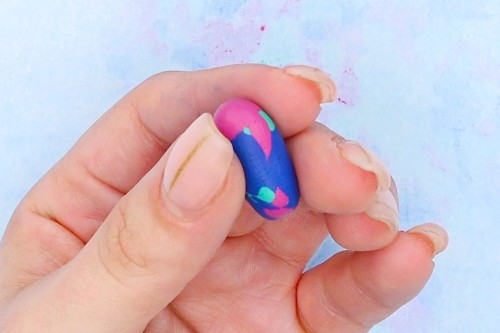
Step 5: Shape your beads
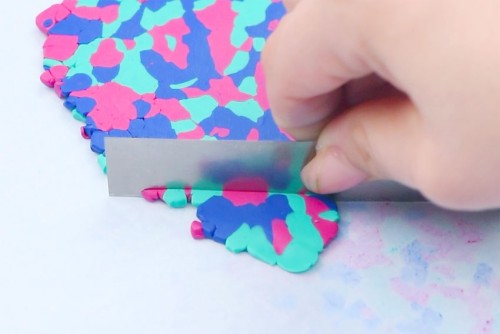
- Remove the parchment paper and use your cutting tool to break off small pieces of the clay.If you’d like to create identical beads use a ruler to measure out the size before cutting.
- Use your hands to roll the clay into a bead shape. You can also roll the clay on the mat for really smooth sides.
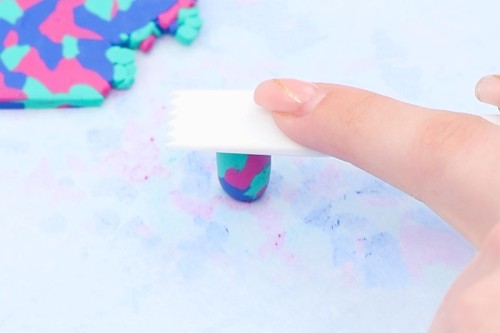
- Different tools will help to create different shapes of beads. We used the flat scraper tool on our long bead to flatten the ends and to squish down our flat beads.
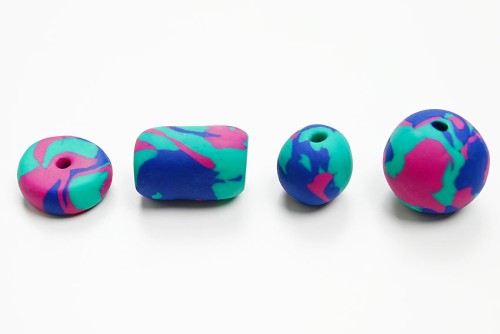
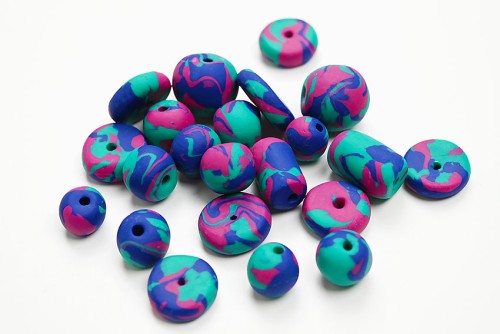
- We made flat beads, longer tube beads, and 2 sizes of round beads. You can even make square beads and other shapes, if you’d like.(The following picture shows the beads after baking so you can see the various shapes you can make. Don’t make the holes in the beads without reading the instructions below.)
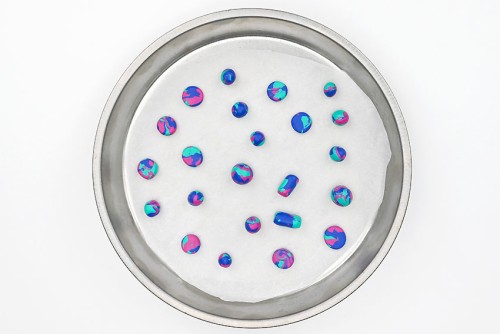
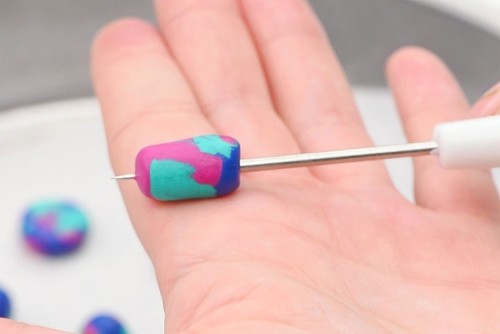
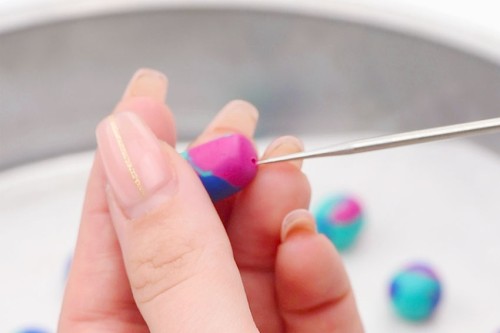
Step 6: Make the holes in the beads
- When you’re happy with your beads, place them on a parchment lined baking tray and refrigerate them for at least 15 minutes.Putting the beads in the fridge will help them keep their shape and make it a lot easier to make the holes in the beads.
- Use a needle tool or toothpick to make the holes in your beads.Use a gentle twisting motion to push the tool into one end of the bead. This (along with chilling the clay) will help prevent warping.
- Push the tool/toothpick all the way through the bead, remove it, and then push back through the other end.This will even out and clean up the bead’s hole.
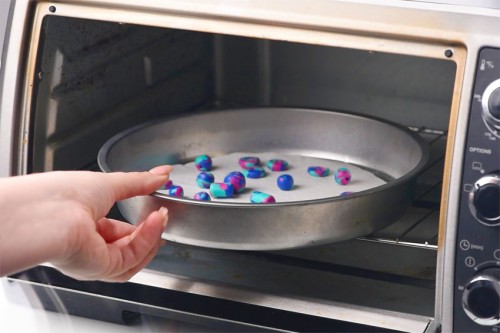
Step 7: Bake the beads
- Set the beads back onto the parchment lined tray and bake in the oven according to package instructions.We baked our beads at 275F for 15 minutes, but baking time will vary based on the type of clay you use and the thickness of the bead. You may want to test bake 1 bead to see what your beads require.Note: If you’re using a toaster oven like we did, make sure it’s set to heat from the bottom element only. If you heat from the top, they’ll burn.
- Your polymer clay beads are complete!Have fun using your DIY clay beads for bracelets, necklaces, earrings, keychains, and more.
Helpful Tips:
- You can wear nitrile gloves while working with polymer clay to eliminate the chance of fingerprints on the clay’s surface.
- The longer you keep your beads in the fridge the less they’ll warp when making the holes. You can also drill holes in your beads after baking them.

What is polymer clay?
Polymer clay is an oven-bake modeling clay made from a synthetic plastic polymer called PVC. It’s a manmade clay that’s soft until it’s baked in a home oven.
Polymer clay is popular with crafters because of how easy it is to work with. This soft and pliable clay comes in many different colours and it holds intricate details well.
What special tools are needed to make polymer clay beads?
You can buy an inexpensive clay tools kit that will make it a lot easier to form your clay creations. If you don’t want to buy tools for just one craft, however, you should be able to make these polymer clay beads with items you already have at home.
- Clay Roller: These smooth sided rollers help to condition the clay and make it an even thickness. You can also use a marble or metal rolling pin (wood isn’t recommended because it will leave texture) or the side of a drinking glass.
- Clay Cutter: This sharp metal tool cuts the clay and creates smooth lines. You can also use a craft knife or non-serrated kitchen knife to cut clay.
- Needle tool: This sharp pointy tool creates clean holes in the clay beads. You can also use a metal skewer or wooden toothpick.
- Flat scraper tool: This tool has multiple purposes, but we used it to create flat edges on our long beads and to press down our flat beads. You can also use the bottom of a glass or metal baking dish.
You may also want to buy sandpaper or other polishing tools to smooth the beads after baking. If you don’t have sandpaper you can use a nail file.

How do you make perfectly round polymer clay beads?
How you work the clay can definitely affect how your beads turn out. Be sure to properly condition the clay so that it’s easy to create a round shape.
We used a silicone mat and parchment paper to roll our beads, but other smooth surfaces like tile or acrylic sheets also work well. Gently roll the beads between your palms or on your working surface to smooth out any imperfections.
You can also buy a special bead maker that rolls out perfectly round beads in a consistent size every time.
How you bake your beads will also determine how they turn out. To stop your beads from flattening or settling as they bake you can place them on a thick layer of cornstarch. This will cushion the beads and keep them round.
A bead baking rack will also help you make perfectly round polymer clay beads. With this device the beads are baked on bead pins, or lengths of wire, and then suspended above a tray.
Do I need to seal polymer clay beads?
No, polymer clay is waterproof once cured and it’s very solid on its own without a sealer. However, polymer clay has a matte finish, so if you’d like to give your beads a shiny look you can seal them. Use resin or a varnish made from acrylic or polyurethane.
Sealing the beads will also offer extra protection from scratches and wear and tear. A glossy finish gives the beads a professional look, making the colours appear more vibrant.

What type of polymer clay is best for making beads?
There are different types of polymer clay that offer different advantages. Some clays are easier to work with, while others result in a harder final product.
If you’re just starting out with polymer clay we recommend buying a less expensive modeling clay from Amazon or the craft store. We used Craft Smart oven bake clay from Michael’s to make our beads and they turned out really nicely!
Sculpey and FIMO are some of the most popular clay brands and are generally considered the best. Sculpey Premo is most often recommended for making beads. It’s a durable all-purpose clay that’s easy to condition, keeps its shape well, and comes in a wide range of colours.
How can I use my polymer clay beads?
There are so many different ways you can use your DIY polymer clay beads. Here are few examples, whether you’re using them for yourself or giving them as part of a homemade gift:
Jewelry:
Use the beads to make necklaces, earrings, bracelets (friendship bracelets or otherwise), and anklets. You can create unique and personalized jewelry by mixing and matching bead shapes, sizes, and colours.
Accessories:
Glue your polymer clay beads onto hair clips or brooches, or string them onto keychains, lanyards, or bag charms. You can also add the beads onto bookmark tassels and zipper pulls.
Home Decor:
Incorporate the beads into items around your home, such as drawer pulls, curtain tiebacks, ornaments, or suncatchers. You can also embellish picture frames and mirrors with your homemade beads.
Arts and crafts:
Polymer clay is great both for kids crafts and mixed media art projects. The beads are a great way to add colour and texture to any project!

Have fun making these marbled polymer clay beads. These colourful DIY beads are SO EASY to make and each one has its own unique beauty!

Here’s even more easy craft ideas:


Our book Low-Mess Crafts for Kids is loaded with 72 fun and simple craft ideas for kids! The projects are fun, easy and most importantly low-mess, so the clean up is simple!

Where to buy:
You can purchase Low-Mess Crafts for Kids from Amazon, or wherever books are sold:
Amazon | Barnes and Noble | Books-A-Million | Indiebound | Amazon Canada


Leave a Reply