This paper plate bunny basket is SO CUTE! Paper plate crafts are really fun and easy for kids to make, and this paper plate basket is the perfect spring activity.
Make your own Easter basket, transforming paper plates and other simple craft supplies into an adorable Easter bunny! It’s the perfect little basket to gather chocolate on an Easter egg hunt, and it also looks really cute hanging from a door knob or cupboard.

This post contains affiliate links. If you use these links to buy something we may earn a small commission which helps us run this website.
How to Make a Paper Plate Bunny Basket
Materials:
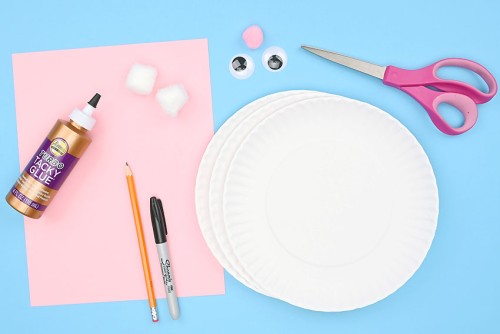
- 3 Paper plates
- Cardstock (or construction paper)
- 2 Large googly eyes (25mm or 28mm)
- 2 Cotton balls
- Pom pom (1 inch; to match ears)
- Tacky glue
- Polka dot ribbon (or other string)
Equipment:
Watch the step-by-step video tutorial:
Instructions:
Step 1: Find what you need
- Gather your supplies and materials.

Step 2: Cut and gather the parts of the basket
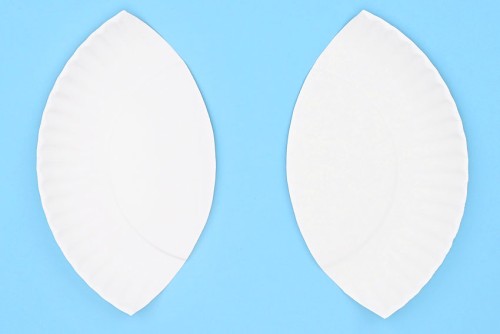
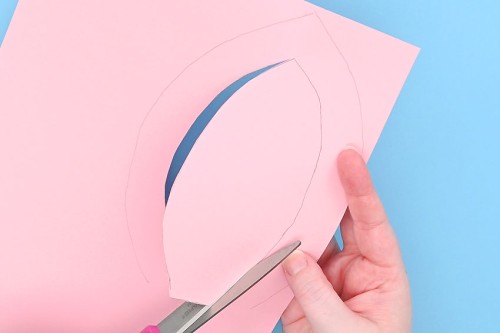
- Set 1 paper plate down face up. Place another plate face down, covering about 1/3 of the bottom plate (or 4 inches in from the side).Trace around the top plate.
- Cut the paper plate on the traced line. Then trace the smaller piece onto another plate and cut it out.These will be the bunny’s ears. Keep one of the larger sections of plates. The other cut plate can be recycled or used for a second basket.
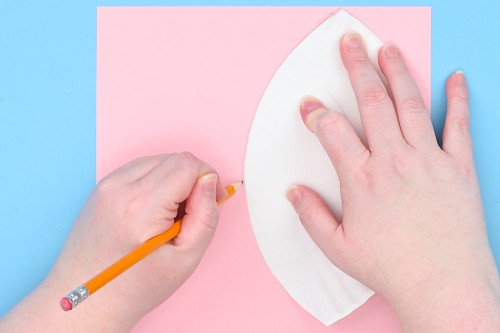
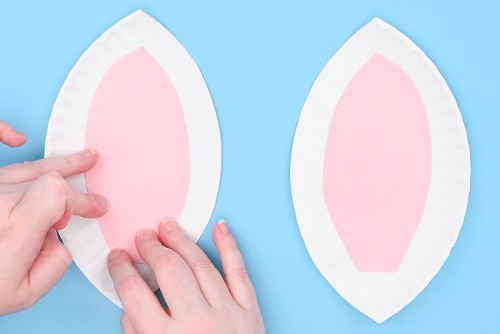
- Trace one of the ears onto pink (or whatever colour you’d like) cardstock.

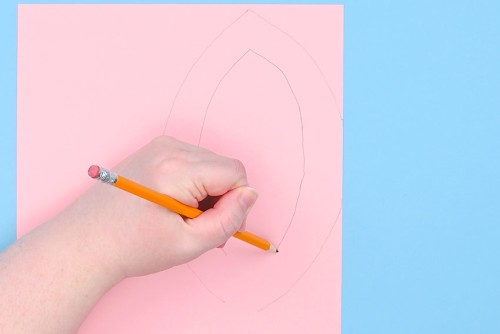
- Draw an inner ear inside the ear shape, about 3/4 – 1 inch smaller than the traced shape.
- Cut out the inner ear. Now trace it onto the pink paper and cut this out, creating 2 matching pink ear pieces.
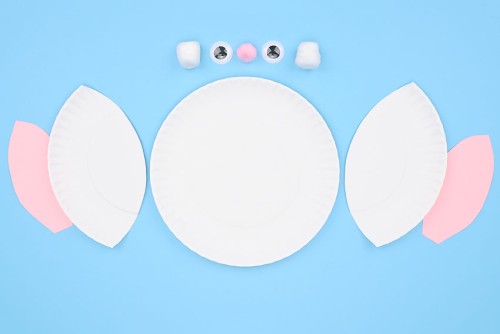
- Gather the rest of the parts for the bunny’s face.You’ll need 2 larger googly eyes, a pink pom pom for the nose, and 2 cotton balls for the cheeks.

Step 3: Glue the basket and ears together
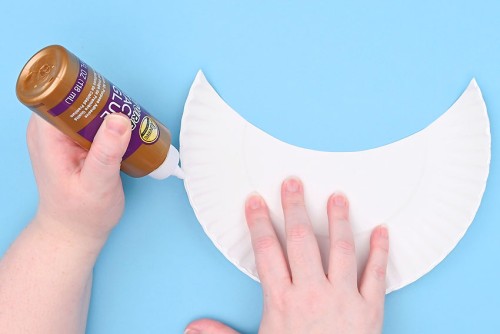
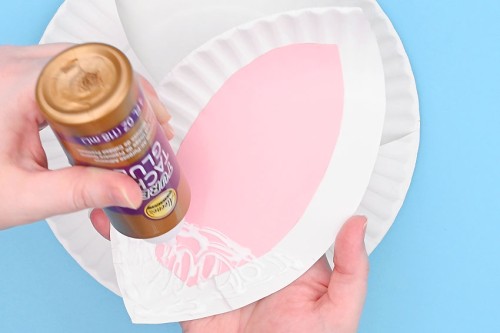
- You can glue together the bunny face first, or attach the basket.To attach the basket, add a thin line of glue along the top rim of the cut paper plate (the one you cut the ear out of).
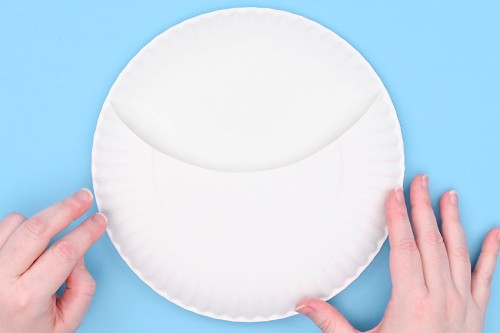
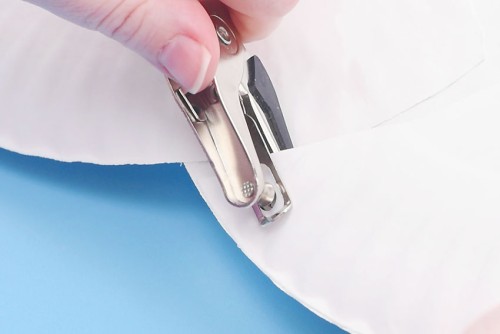
- Place the basket onto the full paper plate, lining up the edges.You can use binder clips to hold the edges in place if you’d like. Allow the glue to dry.
- Glue the inner ears to the paper plate ears. Make them opposite so that the plate ridges are on the outside of both ears.
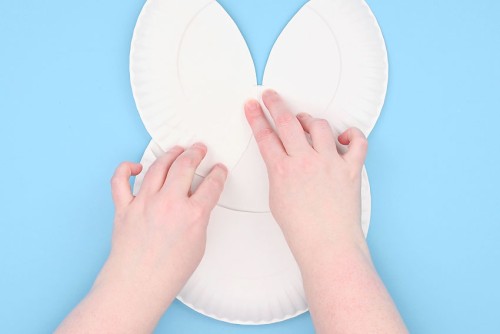
- Add tacky glue to the bottom third of each ear, on the front.
- Attach the ears to the full paper plate, just above the basket, with the pink facing away from the basket.Allow the glue to dry.
Step 4: Attach the bunny’s face
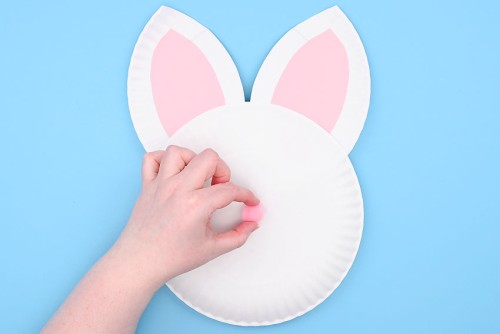
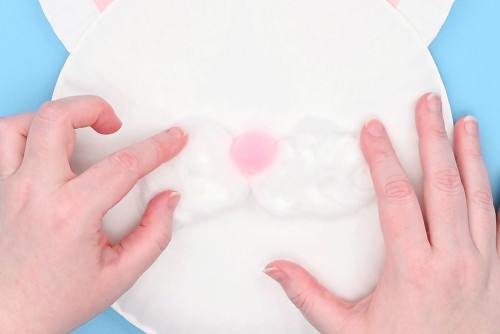
- Flip the basket over and use tacky glue to attach the nose pom pom to the center of the plate.
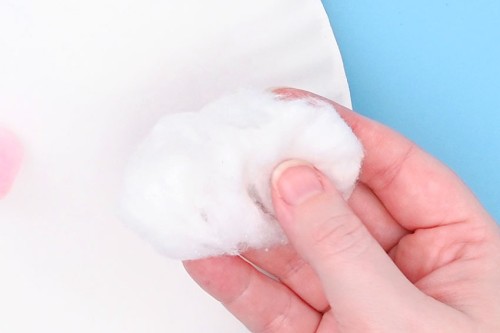
- Pull a cotton ball apart until it resembles a fluffy bunny cheek.
- Add glue to the plate to the side of the nose and just below. Place the cotton ball in the glue.Repeat on the other side.
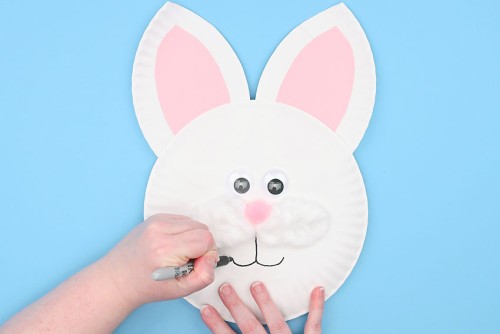
- Attach googly eyes above the nose and then use a marker to draw the bunny’s mouth.Allow the glue to dry.
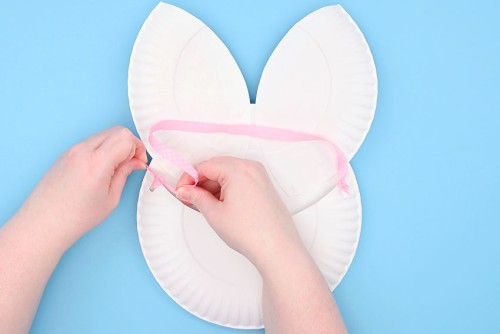
Step 5: Tie on the basket handle
- Use a 1 hole punch to punch a hole in the back of the basket, on both sides.
- Cut a piece of ribbon about 25 inches long and tie it through the holes, creating a double knot. This will be the basket’s handle.
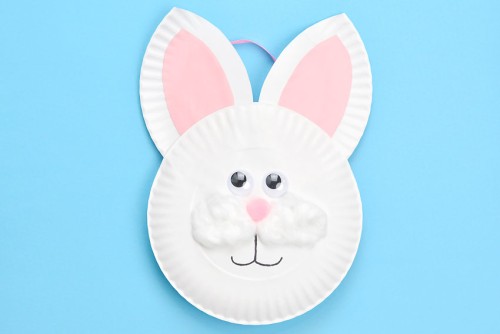
- Your paper plate bunny basket is complete! Now have fun filling it with all kinds of Easter goodies.
Helpful Tips:
- Make sure that the basket, face, and ears are all lined up straight before gluing them together.
- Decorate your Easter bunny in your favourite colour! We made bunny baskets with pastel blue, pink, and purple details, but you can use whichever colour you’d like.

Do I have to glue the paper plate bunny basket together?
We used turbo tacky glue to put our basket together. It dries really quickly and it’s very strong, holding the basket together and giving it a clean look.
For a low mess alternative you can staple all the parts of the basket together and then use glue tape or a glue stick to attach the inner ears and face of the bunny.

What can I fill my paper plate bunny basket with?
We like to use Easter grass as a base in all our baskets. It’s so fun and festive!
Then you can fill your basket with chocolate eggs or wrapped candies. You can also add little toys like a bouncy ball or car, or small beauty products like a lip balm or nail polish.
Or why not add in some other DIY Easter crafts? Marbled paper Easter eggs or tissue paper eggs would look adorable sticking out of the basket, and yarn Easter eggs or pipe cleaner Easter eggs would also be a lot of fun.

What can I use as a handle for my bunny paper plate basket?
We added a matching ribbon with a polka dot pattern, but you could also use yarn or twine. A single strip of fabric or several pieces braided together would also look really cute. Or cut the rim off another paper plate and use that!
Can I make this DIY bunny basket without a paper plate?
If you don’t have paper plates you can cut cardboard to the right size and shape. It will be harder to keep the cardboard curved into the basket shape for the back, so make sure you use a binder clip to hold the pieces together until they’re dry.

Celebrate Easter with a paper plate bunny basket! This fun paper plate craft is SO EASY to make, and the end result is super cute!

Here’s even more Easter craft ideas:


Our book Low-Mess Crafts for Kids is loaded with 72 fun and simple craft ideas for kids! The projects are fun, easy and most importantly low-mess, so the clean up is simple!

Where to buy:
You can purchase Low-Mess Crafts for Kids from Amazon, or wherever books are sold:
Amazon | Barnes and Noble | Books-A-Million | Indiebound | Amazon Canada


Leave a Reply