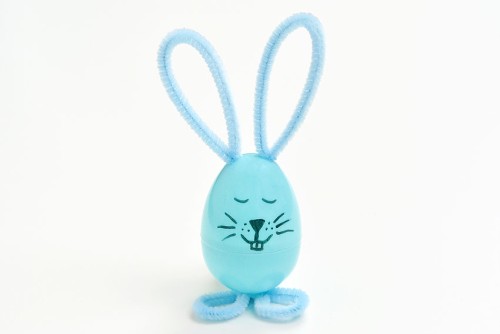
These plastic egg bunnies are SO CUTE! Plus they’re incredibly easy and inexpensive to make using dollar store supplies. Transform a plastic Easter egg into an adorable bunny using just pipe cleaners and marker.
These colourful Easter bunny eggs are a great spring craft, and they’re also super fun to display as homemade Easter decor. Thanks to Remodelaholic for the adorable idea!

This post contains affiliate links. If you use these links to buy something we may earn a small commission which helps us run this website.
How to Make Plastic Egg Bunnies
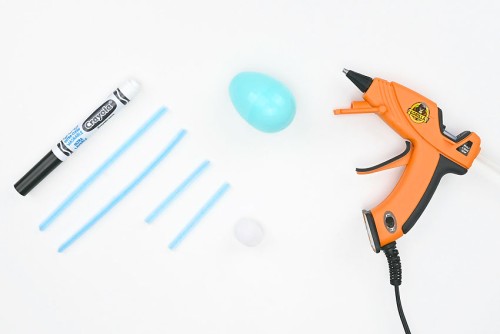
Materials:
- Plastic Easter egg
- Pastel pipe cleaners
- White pom pom(s) (1 inch size; or cotton ball)
- Washable markers (black or colour of choice)
Watch the step-by-step video tutorial:
Instructions:
Step 1: Find what you need
- Gather your supplies and materials.

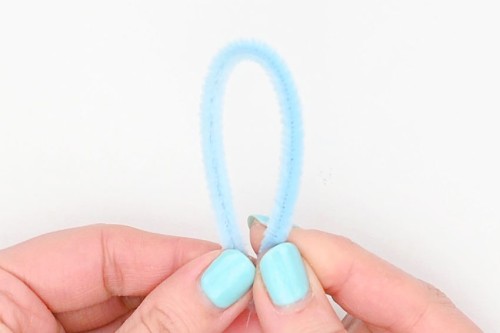
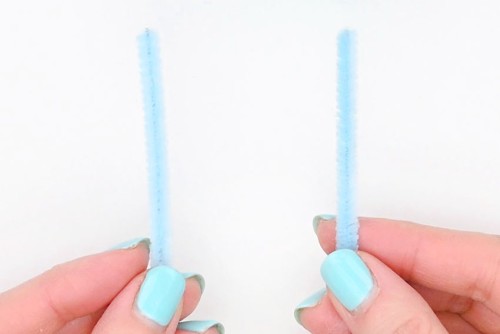
Step 2: Make the bunny’s ears
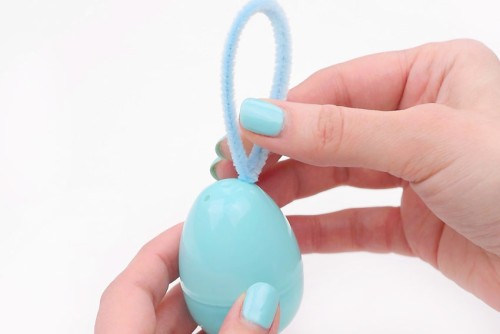
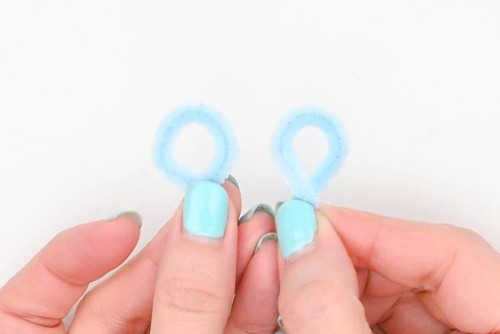
- Start with a 6 inch pipe cleaner that matches the colour of your plastic Easter egg (or cut a 12 inch pipe cleaner in half).Bring the ends of the pipe cleaner together so that the middle forms a loop.

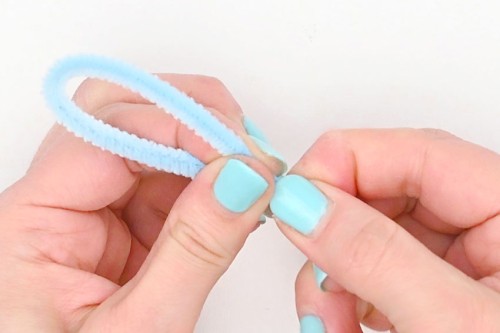
- Twist the ends of the pipe cleaner together several times.
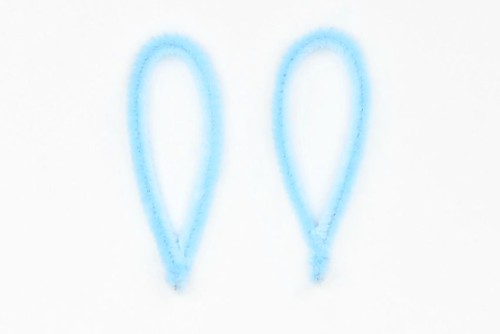
- Repeat with another 6 inch pipe cleaner. You’ve just made the bunny’s ears!
Step 3: Attach the bunny’s ears
- Insert the twisted bottom of the ear into one of the holes on the top of the egg. If your egg doesn’t have holes in it, you can hot glue the ears right to the egg.
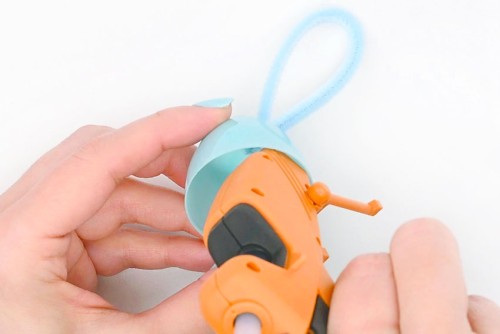
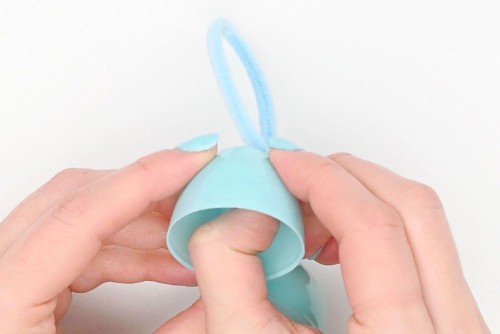
- Open the egg and add a dot of hot glue beside where the pipe cleaner ear comes in.
- Push the ends of the pipe cleaner into the glue, bending it if you need to and hold it in place until the hot glue is dry.
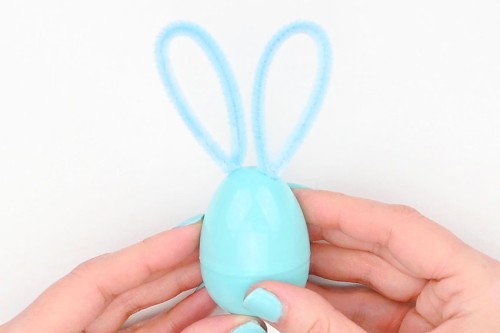
- Repeat, adding the second ear. Close the egg and adjust the shape and position of each ear if needed.
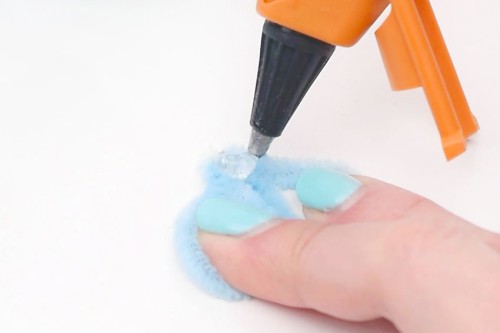
Step 4: Make and attach the bunny’s feet
- Cut 2 pieces of pipe cleaner about 3 inches long.
- Do the same as you did for the ears, twisting the ends of one of the pieces together, creating a rounded foot. Repeat with the second 3 inch piece.
- Place the feet down with the twisted ends meeting and add hot glue to join them together.
- Set the egg down on the feet, so that they stick out from the front of the egg.

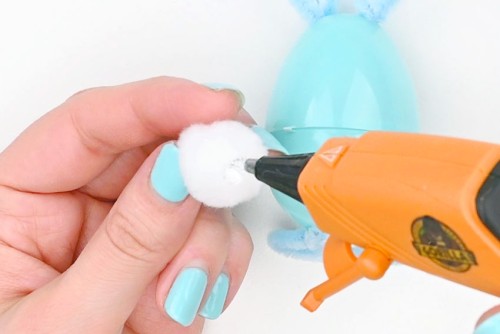
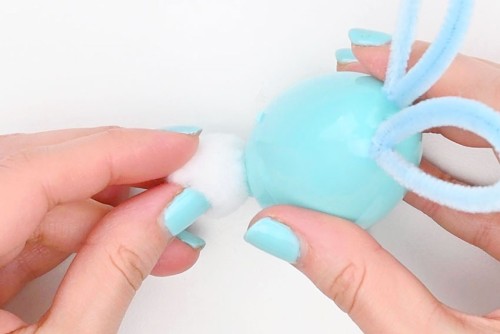
Step 5: Attach the bunny’s tail and draw the face
- Add a dot of hot glue to the pom pom.
- Attach the pom pom to the back of the egg, close to the bottom so the bunny is almost sitting on it. This will balance the bunny and help it stand.
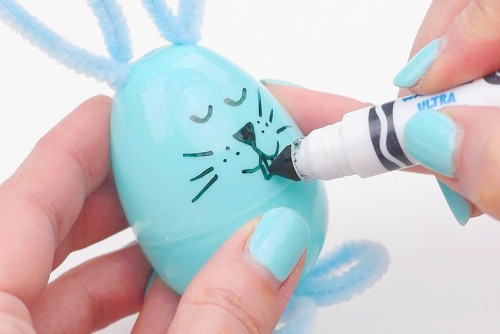
- Use a marker to draw the bunny’s face.
- Your plastic egg bunny is complete!
Helpful Tips:
- Don’t want to use marker for the bunny’s face? Add googly eyes and a small pink pom pom for the nose!
- We matched the colour of pipe cleaners to our Easter eggs, but you can mix and match colours if you’d like. Or use a white pipe cleaner for the ears and feet.

What type of marker is best for making the faces on these plastic egg bunnies?
We love using a washable marker to add the faces onto these bunnies. It makes the whole process stress free, since you can wipe the face off with paper towel and a bit of water if you mess up.
But if you want a permanent face for the bunny (the washable marker can smudge) use a permanent marker, like a Sharpie.

What if my plastic egg doesn’t have holes in the top?
You can add hot glue to the bottom of the pipe cleaner ears and attach them directly to the outside of the egg. Try to use the least amount of glue possible and hold the ear in place until the glue dries and/or the ears stay in place by themselves.
If you have access to a drill you could also try making holes in the top of the egg. A hand drill would probably work well for this!

Do I have to use hot glue to make these plastic egg bunnies?
Hot glue works best for this project because the glue dries right away and securely holds everything in place. We don’t really recommend using tacky glue or another white glue, because you have to hold the pipe cleaners in place for too long while the glue dries.
You could use tape, in a pinch, but it wouldn’t connect the pieces as securely. A low temperature glue gun, used with parental supervision, is a great option for kids since it doesn’t get as hot as a regular glue gun.

What can I do with these plastic egg bunnies?
These little rabbits are quite versatile! Here’s some fun ways you can use or display them this spring:
- Add chocolate eggs or Easter candy to the bunnies
- Place a paper nametag in the ears and use these bunny plastic eggs as a place card holder for Easter dinner
- Gift them in an Easter basket
- Set them on the mantel as homemade Easter decor
- Give them as a party favor
- Use them as part of a centerpiece (they’d look really cute sitting on the edge of a plant pot!)

These plastic egg bunnies are such a fun and simple Easter craft for kids! Enjoy displaying your bunny craft, or use it for storytime or pretend play.

Here’s even more bunny craft ideas:


Our book Low-Mess Crafts for Kids is loaded with 72 fun and simple craft ideas for kids! The projects are fun, easy and most importantly low-mess, so the clean up is simple!

Where to buy:
You can purchase Low-Mess Crafts for Kids from Amazon, or wherever books are sold:
Amazon | Barnes and Noble | Books-A-Million | Indiebound | Amazon Canada


Leave a Reply