What do you do when your child’s birthday is one day, but the party is another day? I wanted Kate to have a special birthday cake on her actual birthday, even though her party was the following day. You only turn 1 once, right?
Since I loved the idea of taking smash cake photos, I decided to figure out how to bake a smash cake, and then to figure out how to have a smash cake photo session at home without it turning into a disaster!
The cake and the photo session were inspired by photos from Mrs. In Training. I was really hoping to get a similar look and I’ve gotta say I am SO HAPPY with how the smash cake photos turned out! I’ll post more about the photo session soon.
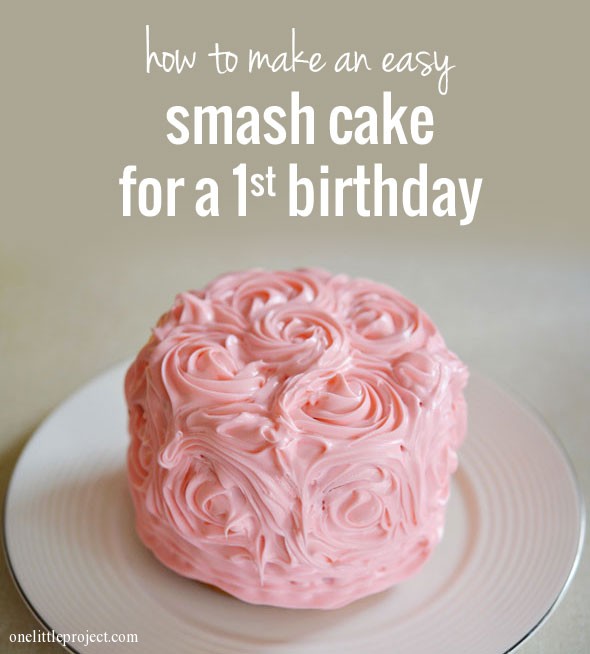
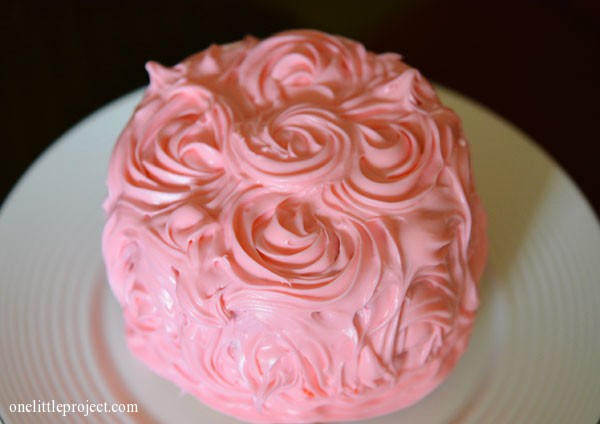
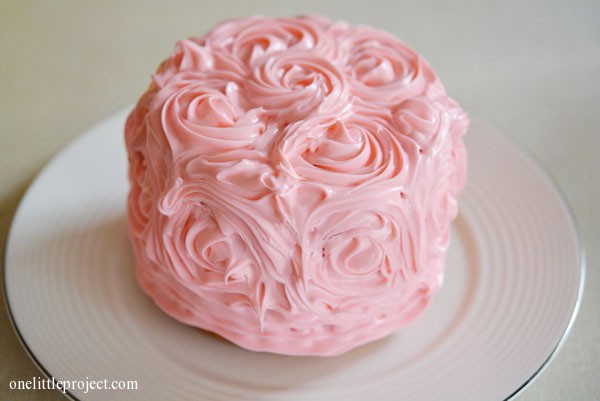
As for the smash cake itself, here’s how it turned out. This is the first time I’ve ever even used a piping bag, or attempted anything fancy with icing. So it’s not flawless, but it’s an easy project for a beginner, and I’m really happy with the cute cake I ended up with:
How to make a smash cake
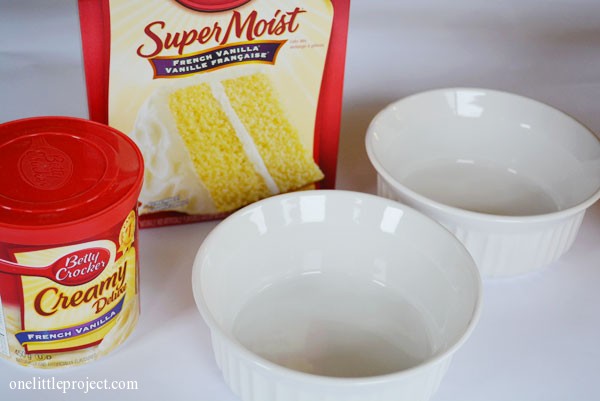
Use one box of cake mix and one tub of icing. I used French Vanilla cake and Creamy French Vanilla icing and added a little bit of red food colouring to make it pink.
I didn’t want to buy special small cake pans to bake the little cakes, so I used two round 4″ Corningware dishes I found in my cupboards, and they worked perfectly! Definitely check your cupboards before you head out to buy a small cake pan – as long as it’s oven safe, and the size you want, then you can use it! Even an oven safe mug would work!
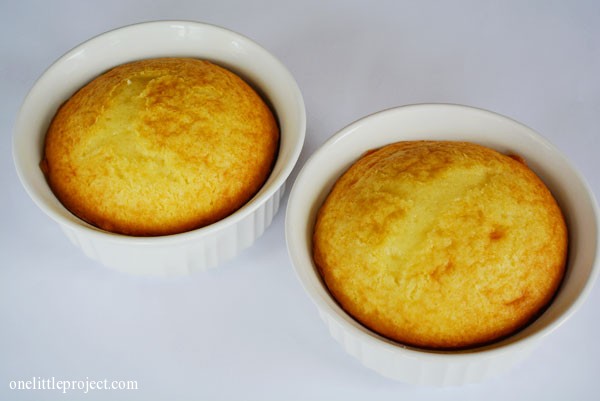
The little cakes definitely came out of the oven with rounded tops:
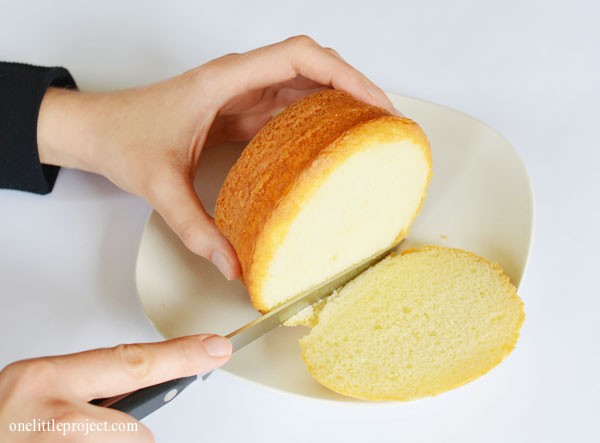
But not to worry, if it happens to your cakes you can just cut off the rounded part with a sharp knife to flatten them out:
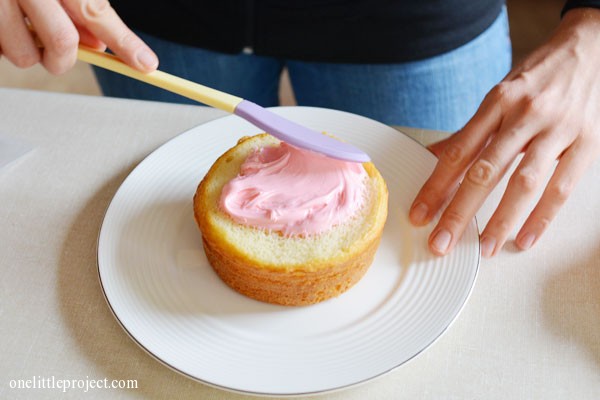
Take some icing and spread it in the middle to make a middle frosting layer. Honestly, this is optional. Let’s face it – as a smash cake for a 1 year old, this extra effort is not going to be appreciated by anyone but you!
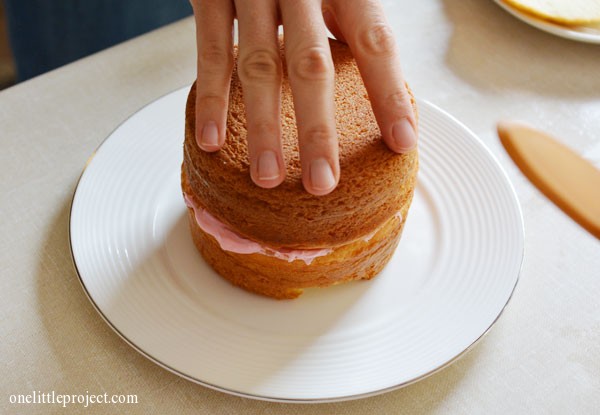
Put the other cake on top of it:
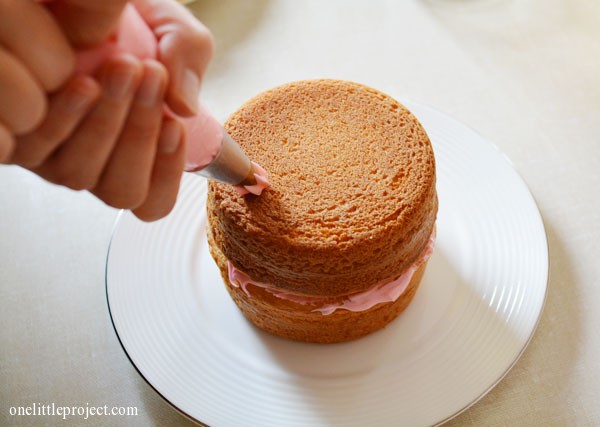
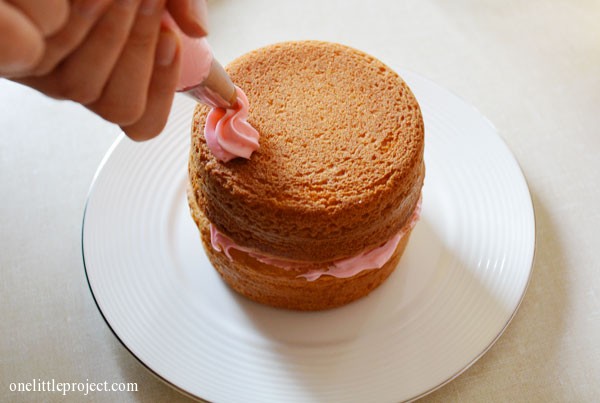
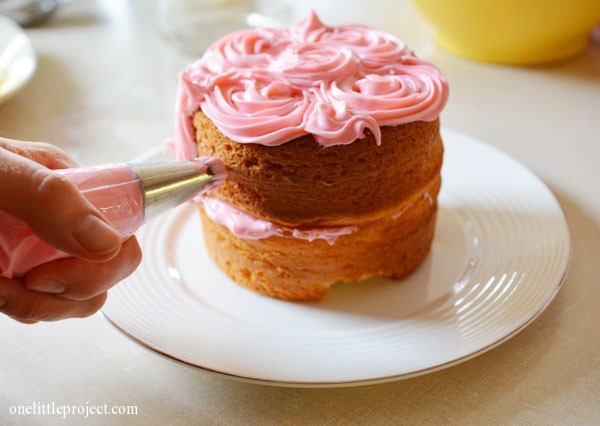
If you want the icing to make the large rose like flowers like mine, use a large open star icing tip and a piping bag:
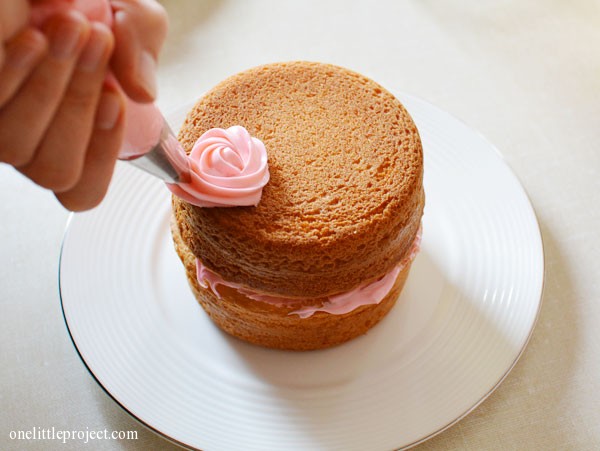
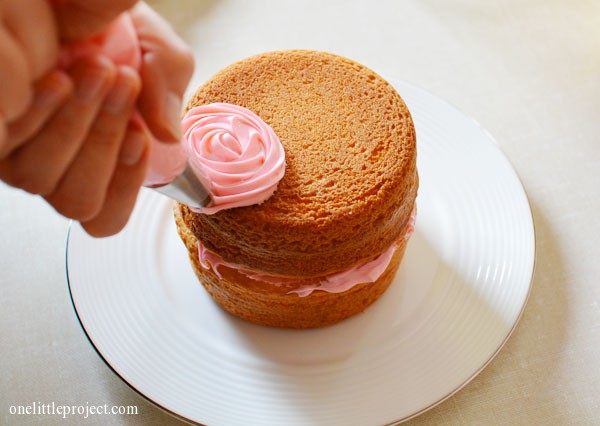
Make little circles, starting at the center of the circle and working your way out:
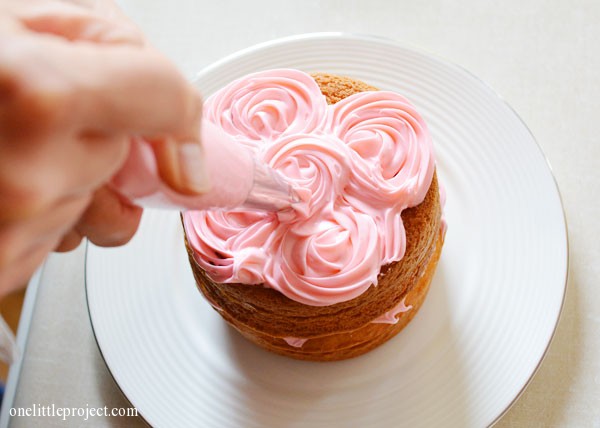
Continue making these little circle flowers and fill in the other gaps as needed until you have covered the top:
Then use the same technique on the side of the smash cake:
It ended up using a lot of icing, but oh well… it just added to the messy fun of the photos!
If I had a coupler for the large icing tip that I used I would have switched the icing tip so I could add rosettes around the bottom of the cake where it meets the plate. But I wasn’t about to waste another icing bag, so mine had a bit of a gap between the icing and the plate where you could see cake if you looked at it straight on.
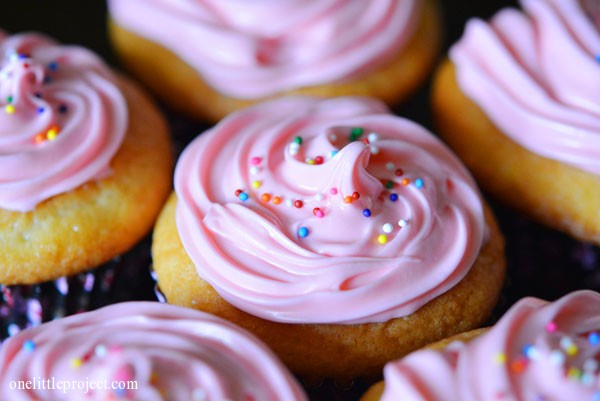
Oh, and the two little 4″ round dishes only used up half of the cake mix. So I used the other half to make 11 pretty little matching cupcakes:
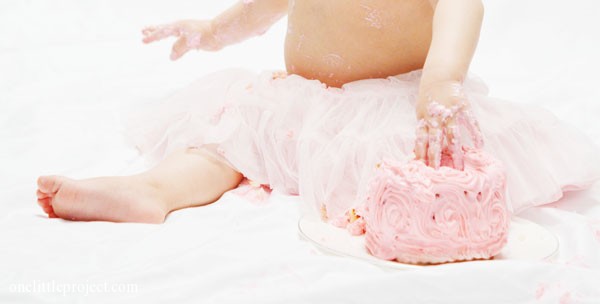
Giving the smash cake to Kate was SO MUCH FUN! She loved it, and I love having the photos! Like I said, I’m going to post more photos from her photo session soon! Here’s what the cake looked like by the end of it though:
[Edit: You can check out our other first birthday party ideas here and the rest of our first birthday party photos and tutorials here.]
love this idea !! brilliant to use the 4” corningware. love a savvy mama ! :]
I’m a little confused. This is an entire blog post which boils down to “make a cake using a packet mix and cover it with ready-made icing”. Am I missing something?!
This is a doable smash cake post for busy moms who need some direction on smash cake size and cake decorating. If you want a gourmet homemade cake recipe there are plenty on Pinterest – all the power to you for having time for that with a one year old!
I would never suggest making a cake from scratch for an infant. A parent who does that either has messed-up priorities or too many hired helps. I was just amazed that anybody a) needed to be told this in the first place, and b) required a detailed tutorial on how to make a packet cake when said tutorial literally amounts to “make a cake according to the instructions on the packet and then put icing on it”. Hence me asking if I was missing something. But clearly I wasn’t; I guess some people just need everything spelt out in explicit detail . . .
Making a basic vanilla cake from scratch takes just as much time as adding in oil and eggs to boxed cake mix. To say that a parent who decides to make a cake that contains only flour, butter, milk, sugar, eggs, vanilla and baking powder instead of boxed cake mix, which contains who knows how many modified ingredients, preservatives and palm oil, “has messed up priorities” is judgmental and ridiculous. Every parent should do what is best for them and their child. I work and have a baby who is almost one, and will be putting aside a half an hour one evening after he goes to bed to make him a cake from scratch for his first birthday. Just because I choose to do that doesn’t mean there’s anything wrong with parents who choose a boxed cake mix. Everyone is different. Stop judging.
If what you say is true (I wouldn’t know, I’ve never made a packet cake mix) then all that does is add weight to my initial question as to why “how to make a packet cake” is even being blogged about in the first place. But regardless, you crack on, love. I honestly couldn’t care less how you choose to spend your evening. I hope you enjoy the cake.
Sorry Dani-B! I’ve blacklisted her from commenting on this site again. I like to keep things friendly and constructive here. I agree that it was judgmental and ridiculous!
Thank you Thank you! By baby girl is turning One in two weeks, and I’ll be doing a little Smash Cake photo session! I didn’t do this for my now almost 4 year old girl, because I guess I got a little intimidated then it just passed me by. I’m so excited, this is easy enough for even ME to do. God bless! I’m following you on facebook too. 🙂
Thanks Angie! I hope it all goes well! It doesn’t have to be perfect to end up with great memories and amazingly cute photos! 🙂
This is so brilliant! I’ve been searching for small bake pans online for days now, so glad I stumbled on your page! How far up did you fill the corningwares, if you can recall? I’m making a tie-dye cake for a friend’s son’s first birthday and will make matching cupcakes with the extra batter- thanks!
Thanks! It’s been awhile, so I can’t remember exactly how full the corningwares were. I would guess around half full judging by the photos that I took of how big the cakes were when they came out of the oven. A tie-dye cake sounds like lots of fun!
thanks so much! Tie dye cake will be a ton of bowls but hoping it will come out cute, doing a test run in a few days. But will be practicing my roses for my own daughter’s smash cake – thanks again for the step by step tutorial!
This is wonderful! It gives me hope because I never do any fancy stuff with my baking, either! My son’s birthday is coming up a couple of weeks and rather than spend lot of money on a little cake I I’ll try this!
If you put a thin coating of icing on cake first the icing rosettes will stick to the cake better
This is so cool! I am going to use this for my son’s birthday!
Hi,
I realize you posted this about a decade ago, but I just wanted to let you know it was extremely helpful. I had to make a smash cake for my daughter at the last minute and went around my kitchen looking for something I could make it in. I saw the little corningware dishes and googled whether I could use them to make cake which led me to your post here. I know someone gave you a hard time about blogging about using boxed cake mix , but for me there was huge value in seeing someone had done this already and it turned out great. Some people are just grumps. 😛 I decided to try it and it worked out perfectly for what I needed. Thanks for posting this – it sure came in handy for a stressed, time-limited mama.
Thanks so much for the lovely comment, Virginia! It’s awesome to see older posts still help people out. 🙂