What do you do when your child’s birthday is one day, but the party is another day? I wanted Kate to have a special birthday cake on her actual birthday, even though her party was the following day. You only turn 1 once, right?
Since I loved the idea of taking smash cake photos, I decided to figure out how to bake a smash cake, and then to figure out how to have a smash cake photo session at home without it turning into a disaster!
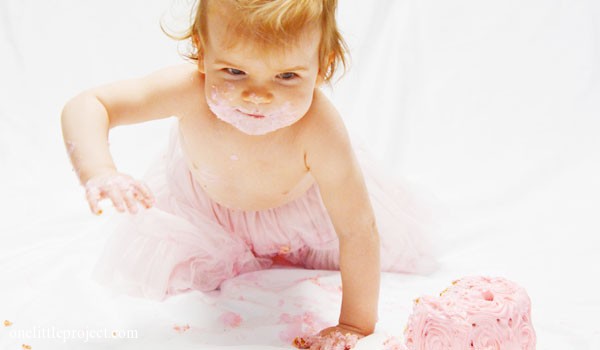
The cake and the photo session were inspired by photos from Mrs. In Training. I was really hoping to get a similar look and I’ve gotta say I am SO HAPPY with how the smash cake photos turned out! I’ll post more about the photo session soon.
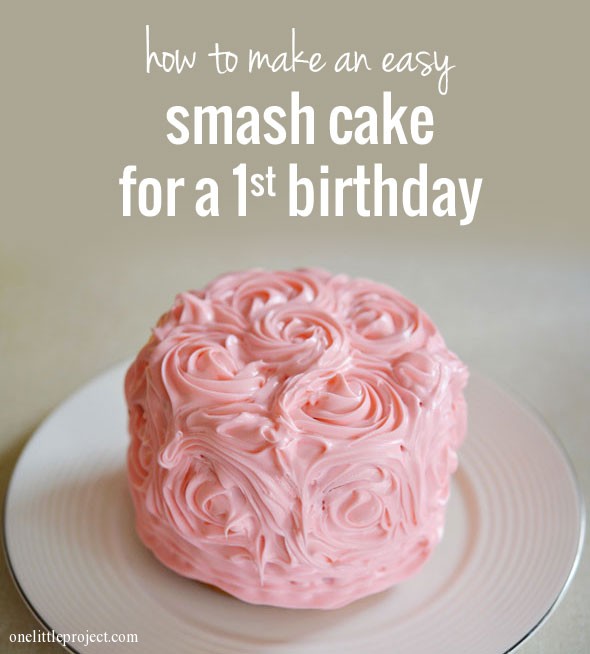
As for the smash cake itself, here’s how it turned out. This is the first time I’ve ever even used a piping bag, or attempted anything fancy with icing. So it’s not flawless, but it’s an easy project for a beginner, and I’m really happy with the cute cake I ended up with:
How to make a smash cake
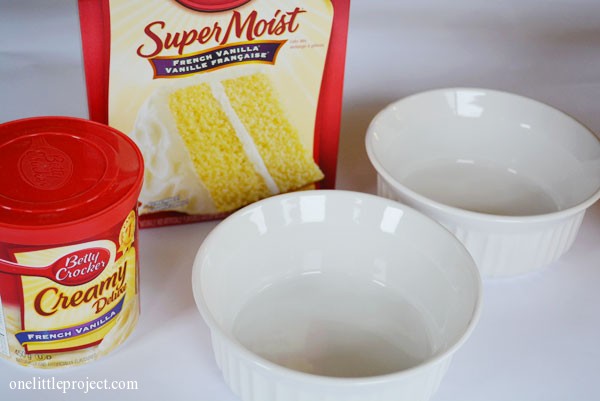
Use one box of cake mix and one tub of icing. I used French Vanilla cake and Creamy French Vanilla icing and added a little bit of red food colouring to make it pink.
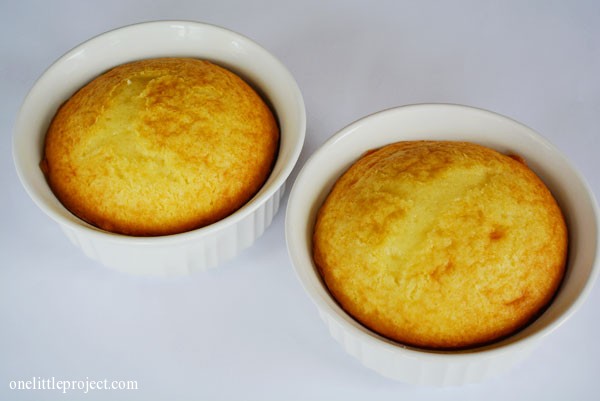
I didn’t want to buy special small cake pans to bake the little cakes, so I used two round 4″ Corningware dishes I found in my cupboards, and they worked perfectly! Definitely check your cupboards before you head out to buy a small cake pan – as long as it’s oven safe, and the size you want, then you can use it! Even an oven safe mug would work!
The little cakes definitely came out of the oven with rounded tops:
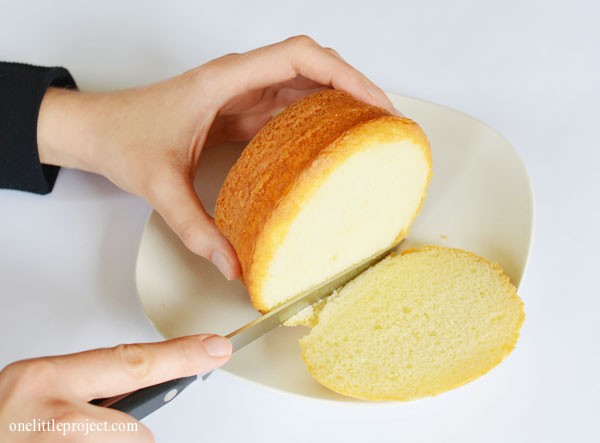
But not to worry, if it happens to your cakes you can just cut off the rounded part with a sharp knife to flatten them out:
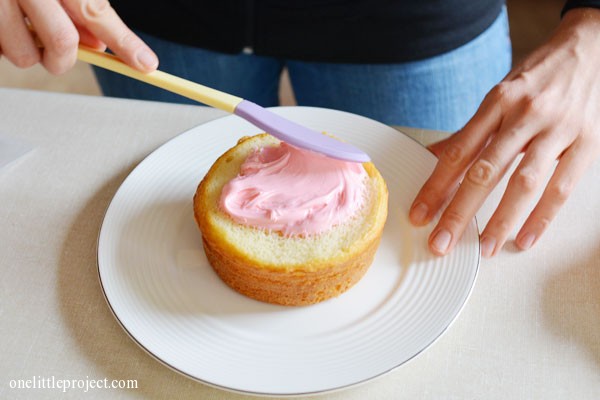
Take some icing and spread it in the middle to make a middle frosting layer. Honestly, this is optional. Let’s face it – as a smash cake for a 1 year old, this extra effort is not going to be appreciated by anyone but you!
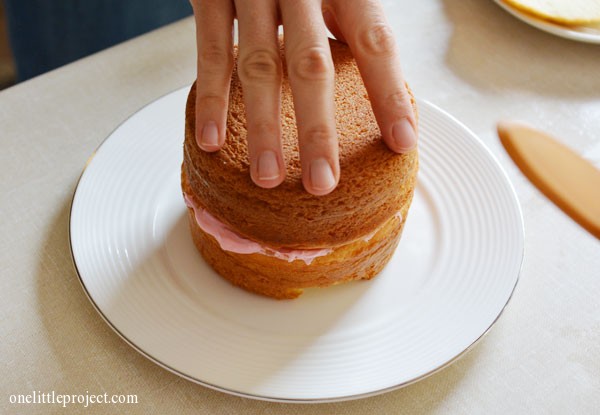
Put the other cake on top of it:
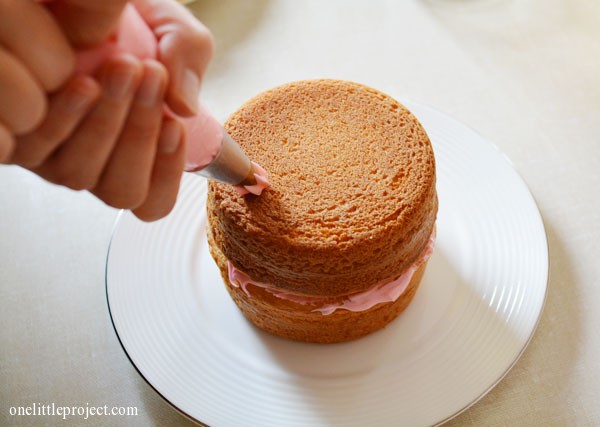
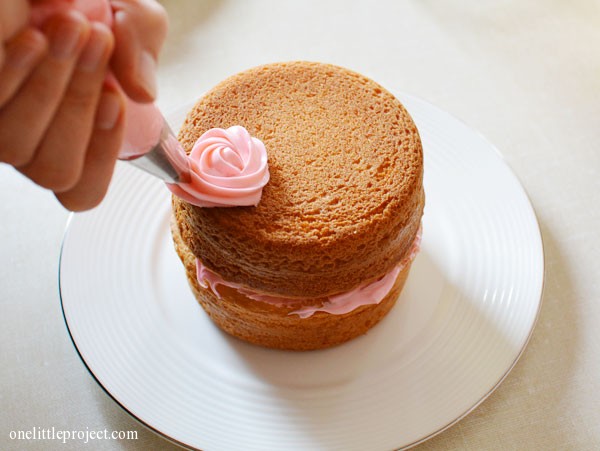
If you want the icing to make the large rose like flowers like mine, use a large open star icing tip and a piping bag:
Make little circles, starting at the center of the circle and working your way out:
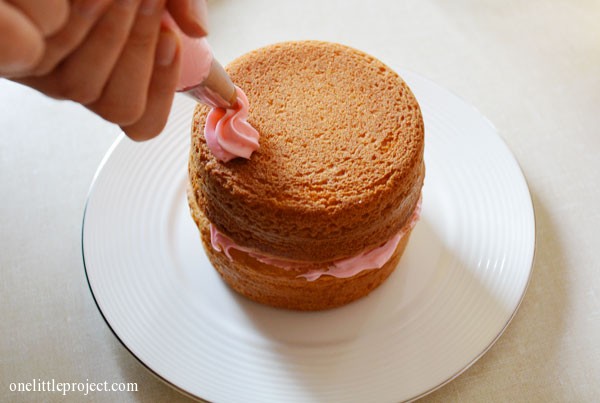
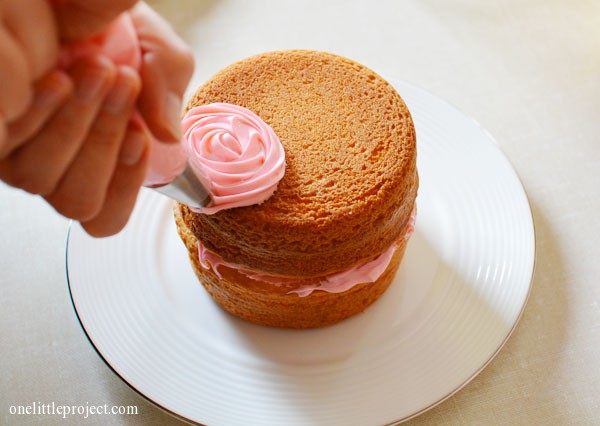
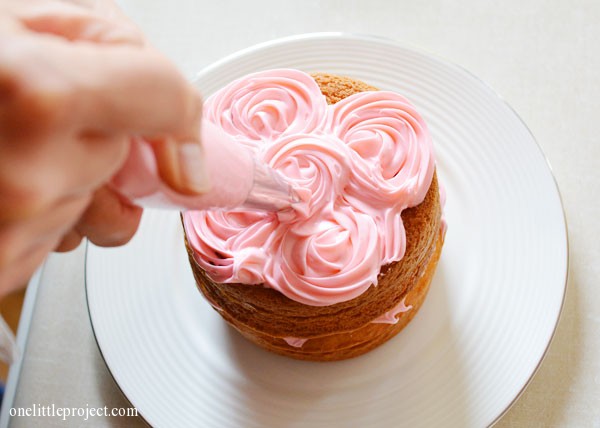
Continue making these little circle flowers and fill in the other gaps as needed until you have covered the top:
Then use the same technique on the side of the smash cake:
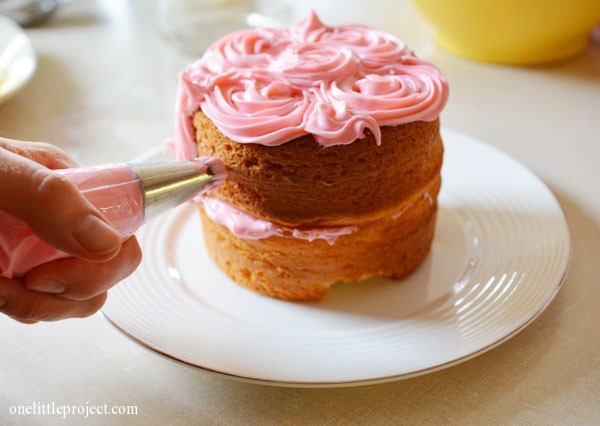
It ended up using a lot of icing, but oh well… it just added to the messy fun of the photos!
If I had a coupler for the large icing tip that I used I would have switched the icing tip so I could add rosettes around the bottom of the cake where it meets the plate. But I wasn’t about to waste another icing bag, so mine had a bit of a gap between the icing and the plate where you could see cake if you looked at it straight on.
Oh, and the two little 4″ round dishes only used up half of the cake mix. So I used the other half to make 11 pretty little matching cupcakes:
Giving the smash cake to Kate was SO MUCH FUN! She loved it, and I love having the photos! Like I said, I’m going to post more photos from her photo session soon! Here’s what the cake looked like by the end of it though:
[Edit: You can check out our other first birthday party ideas here and the rest of our first birthday party photos and tutorials here.]
Love this!! So cute! You were featured at Artsy Corner today 🙂
That is super cute! I pinned it to save for when my babe turns one next April! I really want to do two smash cakes, one for her and one for her dad since they share a birthday. I think it would make for a great photo op. Thanks for the tutorial!
Hi there! I love love love your smash cake. I tried duplicating your steps, but when it came to icing the sides the circles did not stay in tact. The kind of stretched out and fell down. How did you get the side icing to stick in place?
Thanks! I’m pretty sure my circles on the side didn’t stay in tact either. I remember that by the end, my hands must have really warmed up the piping bag because the icing got really soft. So the side icing roses were more oval like than circle like. I just tried to poke at the cake with the tip every once in awhile to get it to stick. And I’m also pretty sure that I have the bad side facing away from the camera. That always helps too. 🙂
Thank you!
Did you do the photo session before the actual party? I can’t decide.
Such a cute idea for a smash cake!
Hi are you on here?
Yes!
Sorry, couldn’t login in my Cakesterpiece profile here
It’s ok. Where are you from?
From reading you are a cake designer?
I am from Mississauga, Ontario, yep I am a cake designer. 🙂
The flowers look so pretty. And it’s way easier than I was expecting! I’ve never used a pastry or piping bag or done any of that. Every time I try icing a cake, it snags some of the cake and drags cake along with the icing. I don’t know how to do it neatly. Oh yes, this applies to cupcakes, too. Always a nasty mess. A delicious, nasty mess.
Anyway my little guy only almost 6 months. I’m considering not doing cake at all because of the sugar, but I may change my mind. I could always come up with a healthier option. I mean, if he’s never had refined sugar before, he won’t know the difference. 🙂
I could still use the icing idea…maybe with pureed fruits and yogurt? I have no idea. I’m not the cook in the house! HAHA. Sorry to ramble! I love the look of the cake. And Kate is super cute!
I’m sure cake out of pureed fruit and yogurt would be great, I just have no idea how you would make such a thing! If it makes you feel any better, the cake in these photos was the first time I had ever used a piping bag, so it’s really not hard at all to make these patterns! 🙂
Hello,
Can you tell me the tip number for the large open star decorating tip you used to icing the cake? All Wilton tips are numbered. Thank you!!!
Debbie- how long did you bake the cake?
Eeeek… didn’t I say how long above?? It’s been almost a year since I made it, so I don’t remember exactly how long. It would have been longer than the directions for cupcakes, but shorter than the directions for a full cake. Just keep an eye on it and use the toothpick test, I guess?
Bake as instructed on the cake batter box…That’s what I did and it turned out just fine.
Hi, I am making this cake today, its so cute! Can you tell me what number the icing tip is? Thank you!
Hi Tara – My cake decorating supplies are in storage so I can’t confirm the exact Wilton number, but I used a large open star tip, which I believe was Wilton 1M. Here’s a great website that shows you what the different icing tips do: http://www.glorioustreats.com/2011/08/cupcake-basics-how-to-frost-cupcakes.html Hopefully that helps! Good luck!
1M worked, thank you! I had the same problem, the roses on the sides would not stay on, but they look great on top!!!
You would need to add powdered sugar to the store bought icing to make it less runny. Once you do that you can get those nice firm edges on your flowers but it’s been 3 yrs and you prob figured that out already lol 🙂
You can. Spray a little water on cake sides that will make little wet do not over wet sides
Adorable 🙂