
Looking for a fun and beautiful way to bring nature into your art? Flower pounding is a simple nature craft that transforms real flowers into stunning prints — no painting required! All you need are fresh blooms, some paper, and a hammer. Then you can create vibrant botanical artwork that captures the natural colours and shapes of your favourite flowers.
This easy hammered flower activity is perfect for teens, adults, and creative kids who love working with natural materials. Whether you’re making handmade cards, decorating a journal, or just exploring the art of nature, this craft is both relaxing and rewarding. It’s a wonderfully creative way to preserve a bit of summer on paper!

This post contains affiliate links. If you use these links to buy something, we may earn a small commission at no extra cost to you. This helps support our website and allows us to keep creating fun, free content.
How to Make Flower Pounding Art
Materials:
- Watercolor paper
- Fresh flowers
- Fine line drawing pen (0.25mm)
Watch the step-by-step video tutorial:
Instructions:
Step 1: Find what you need
- Gather your supplies and materials.


Step 2: Arrange flowers on paper
- Cut a variety of flowers and greenery as close to the bloom as possible.
- Place a piece of paper towel on a wooden cutting board. Then set a piece of watercolor paper on top.(We cut our paper to 5×7 inches, but you can use whatever size you’d like.)
- Arrange your flowers upside-down on the paper (with the good side facing the paper).Leave a bit of room between the flowers, so that when they flatten out they’re not overlapping.


Step 3: Tape the flowers in place
- Then use washi tape (or another low-tack tape that won’t rip the paper) to keep the flowers in place.This is optional, but ensures that the flowers won’t shift when you hammer them.
- If you have flowers that stick up a lot on the bottom (such as marigolds), cut the excess off.This will make hammering easier and, as long as your flower is taped down well, it should stay in place.


Step 4: Begin hammering the flowers
- Cover the paper with another piece of paper towel and begin hammering gently on top of the flowers.
- As you hammer you should see the flower dye come up through the paper towel.You can lift the paper towel occasionally to check where you still need to hammer.


Step 5: Remove the flowers
- Remove the paper towel, carefully lift the tape, and peel the flowers off of the paper.
- Use tweezers to lift any petals and flower parts that remain.If you can’t get all the debris with tweezers, gently brush the paper with paper towel.


Step 6: Add details around the flower prints
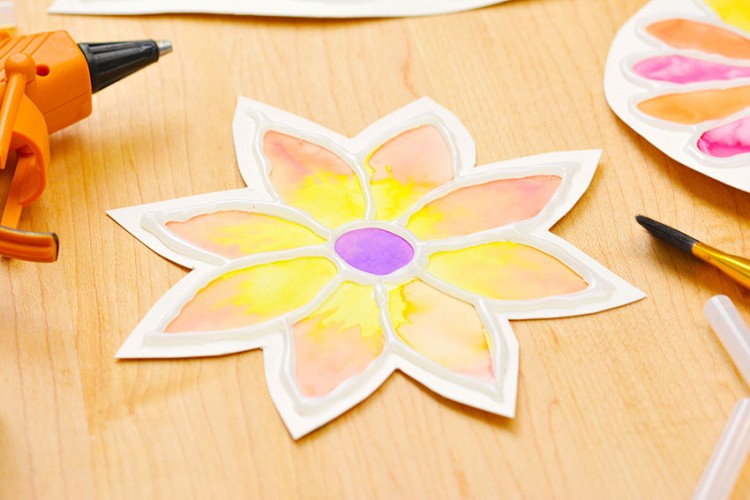
- Optional: Use a fine line drawing pen to outline the flowers and add details.

- Your flower pounding art is complete!


Helpful Tips:
- Choose a colourful mix: For the prettiest results, pick flowers in a variety of colours that complement each other.
- Make the tape less sticky: Before taping your flowers, press the tape onto your jeans or apron to reduce stickiness. This prevents the paper from tearing when you lift it.
- Outline your design: Use a fine line drawing pen (like a 0.25mm tip) to outline the flower shapes after pounding, or leave the natural prints as they are for a more organic look.

What are the best flowers for flower pounding?
The best flowers for hammering are thin, smooth-petaled, and not waxy. Flat-backed flowers also work better for creating clean prints.
Our top picks:
- Pansies & violas: Excellent colour transfer and they maintain their real-life shape beautifully.
- Bidens: These daisy-like flowers transfer great colour with a clearly defined shape.
- Lobelia: Adds lovely greenery and delicate details.
Others we tested:
- Petunias: Decent results, but not the strongest colour transfer.
- Marigolds: Fantastic colour payoff, but you’ll need to cut off the base. Plus the shapes are less defined and don’t automatically read as flowers.
- Begonias: Leave these off your list. These didn’t transfer well at all, likely due to the waxy petals.

What’s the best paper for hammer flower art?
Watercolour paper is your best option. It’s meant to hold up to a bit of water and it gives the cleanest results.
Cardstock can work in a pinch, but it warps quite easily with the moisture of the flowers. Even watercolour paper may need flattening if you use flowers with strong colour transfer, like marigolds.
Tip: You can place your finished artwork between paper towels and set a stack of heavy books (or baking dishes, etc) on top to flatten them out.

Do I have to tape flowers down to make pounded flower art?
Not necessarily! You can also add flowers one at a time and hold them while hammering. But we found it easier (and more precise) to arrange everything first and tape the flowers down.
Plus, this is the only way to trim off thick flower bases that might get in the way. If you do it without the flower being taped it will just fall apart.
Where can I get flowers for flower pounding?
If you have a garden you can clip blooms from your flower beds at home. Or visit a greenhouse or nursery for seasonal garden flowers, like we did.
You can also use a store-bought bouquet as a ready-made source of colourful petals.

There’s something magical about revealing your flower pounding print. Each one is a surprise, full of vibrant colours and delicate details you didn’t expect. Whether you’re experimenting with garden blooms or putting together a handmade card, this craft brings a fresh and artistic twist to working with nature.
From soft pastels to bold petal prints, no two creations are ever the same. It’s a relaxing, hands-on activity that invites creativity and lets the natural beauty of flowers shine through. Give it a try and see what kind of floral masterpiece you can make!
Here’s even more flower craft ideas:


Now available
Low-Mess Crafts for Kids Book
72 cute and fun crafts that kids and parents alike can enjoy. All with as little mess as possible!
Where to buy:
You can purchase Low-Mess Crafts for Kids from Amazon, or wherever books are sold:
Amazon | Barnes and Noble | Books-A-Million | Indiebound | Amazon Canada


Leave a Reply