Learn how to press flowers with this simple, beginner friendly method! These pressed flowers are SO PRETTY and really easy to make. All it takes is a little bit of patience, and you can dry flowers for crafts and DIY gifts like greeting cards and bookmarks.
Pressing flowers allows you to preserve memories and make the flower’s beauty last long past the summer months. You don’t need any special tools – just grab a few heavy books and some parchment paper!

This post contains affiliate links. If you use these links to buy something we may earn a small commission which helps us run this website.
How to Press Flowers in a Book
Materials:
- Fresh flowers (store bought or wildflowers)
Equipment:
- Stack of heavy books (or 1 book and something to weigh it down)
Watch the step-by-step video tutorial:
Instructions:
Step 1: Gather the fresh flowers
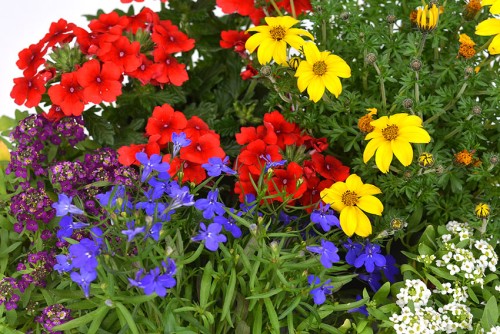
- Gather a selection of fresh flowers. You can pick wildflowers, buy flowers at a greenhouse/plant nursery, or even buy a bouquet from the store.Keep reading below the tutorial for which flowers are the best to press.

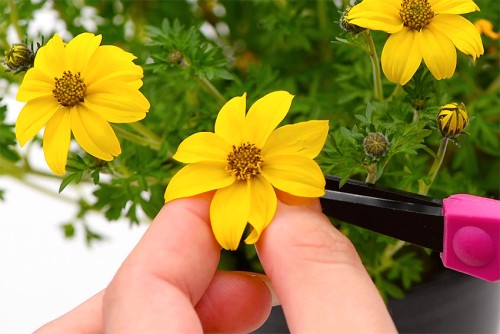
- When you’re ready to press your flowers, cut off the flowers from the plant.You can use just the flower, or keep some of the greenery with it, depending on the look you’re going for.
- Continue cutting flowers until you have a good selection.
Step 2: Arrange the flowers
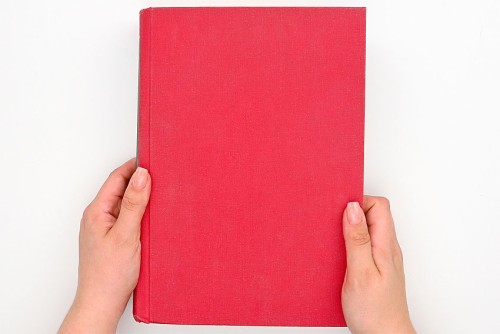
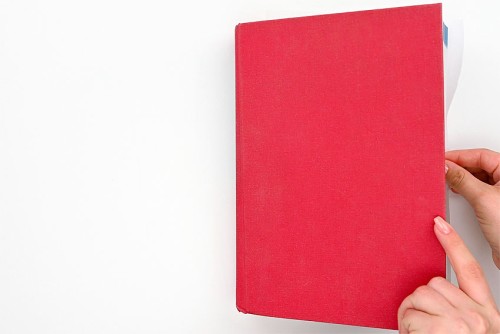
- To press your flowers, you’ll need a heavy hardcover book. Larger books are better because you can fit more flowers on one page.Make sure you choose a book that you don’t mind damaging. Most of the time the book will be fine, but there’s a chance the moisture from the flowers will wrinkle the pages a little bit.
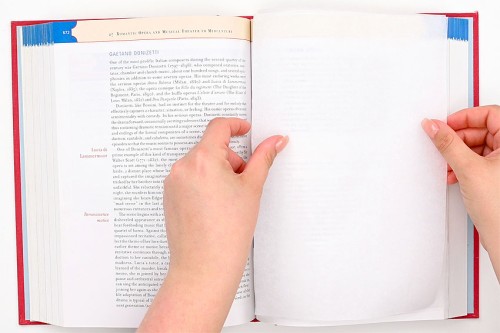
- Cut 6 pieces of parchment paper to the size of your book page, or a little larger.Open the book to a page in the middle and place 3 of the sheets of paper on the right side of the book.

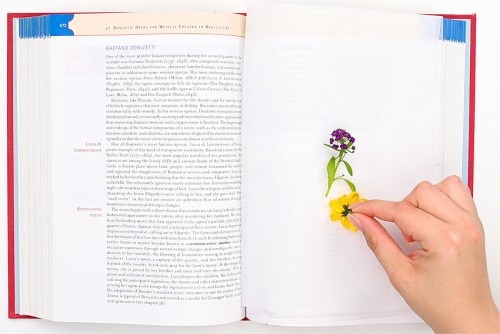
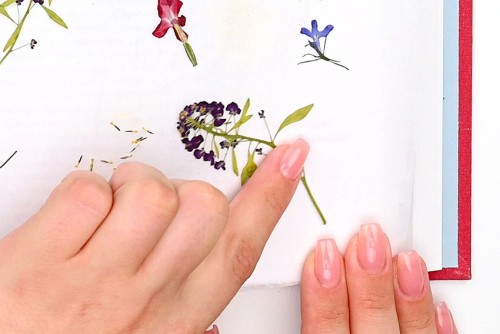
- Begin adding flowers to the parchment paper. Place the blooms face down.
- Continue adding as many flowers as will fit on the book page.
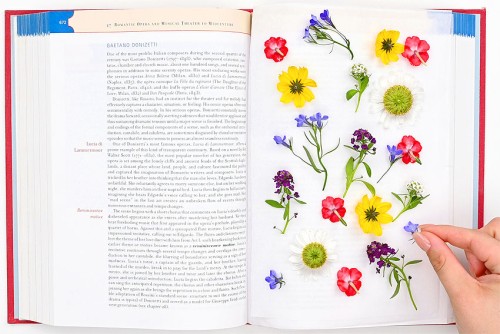
Step 3: Close the book, add weight, and wait
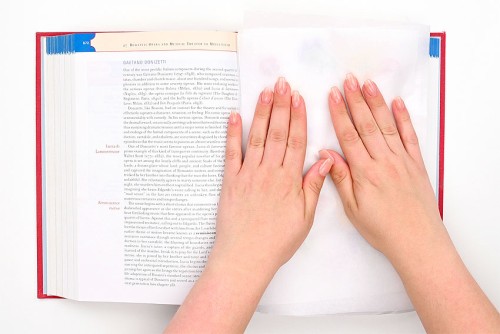
- Add another 3 pieces of parchment paper on top of the flowers. Place them carefully, trying not to move any of the blooms.
- Close the book very carefully, holding the parchment paper in place while you’re closing it.The flowers will dry in whatever position they are when the book is closed.
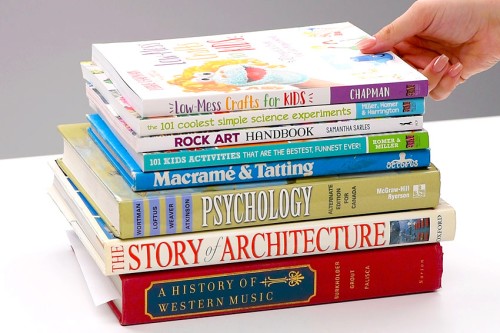
- Now add a stack of books (or other heavy objects, like a brick or cinderblock) on top of the first book.Place the stack of books out of the way, in a dry room, where they won’t be disturbed. Don’t open the book early to peek because it can damage the flowers if they aren’t fully dry.Wait 4 – 6 weeks for the flowers to become dried and pressed.
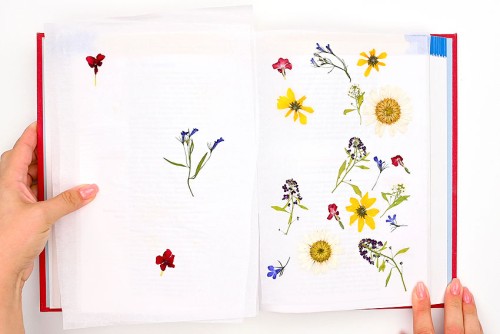
Step 4: Reveal your beautifully pressed flowers
- Remove the stack of books and carefully open the book with the pressed flowers.
- If the flowers are properly dried you should be able to gently slide the flowers right off the parchment paper.Be careful, as the blooms will be fragile. Store them flat, between cardboard in a Ziploc bag or container. This will prevent moisture from re-entering the flowers and stop them from bending and/or breaking.
- Your pressed flowers are ready for framing or crafting!
Helpful Tips:
1. Avoid mold on your pressed flowers by making sure the blooms are not wet when you press them. Pick wildflowers after the morning dew has dried up, or snip store-bought flowers the day after watering them.
2. If you don’t have parchment paper, you can also use other sheets of absorbent paper. Try newspaper, blotting paper, cardstock, or watercolor paper. Do not use textured paper, like paper towels, because they can leave marks or dents in the flowers.

What’s the easiest way to press flowers?
The easiest way to press flowers is definitely using a book, as described above. It’s a simple method that’s accessible to almost everyone, with no special supplies or techniques required!
However, there are several other ways you can press your flowers. Read on for a few different options.
Use a wooden flower press:
A flower press is made up of two boards (about 3/4 to 1 inch thick) held together by bolts and wingnuts. The flowers are encased between paper and cardboard, and the wingnuts are tightened to press the boards together tightly.
This is a really good method for pressing flowers, but it requires either buying a press or some woodworking know-how to put one together. If you’re only pressing a few flowers at a time, the book method is much easier.
Press flowers in the microwave:
To do this, place your fresh blooms between 2 sheets of parchment paper in the microwave and place a heavy microwave safe dish on top. Microwave on medium power for 90 seconds.
While this method is successful at pressing the flowers flat, it doesn’t truly dry them. You need to leave the flowers under a heavy object for at least several days after microwaving them for the flowers to dry out.
We didn’t get great results with the microwave method. Our flowers became very fragile, and the petals shriveled up a bit and fell off more easily. Since you have to remove the parchment from the microwave before the flowers are completely dry, the flowers are also more easily damaged.
You can buy special microwave presses, which may give better results, but we haven’t tested those.
Iron the flowers to press them:
This is a similar method to the microwaving one, using heat and pressure to remove moisture from the blossoms. To do this, place the flower between 2 pieces of parchment paper and iron on a low setting, no steam. Press the iron down, but lift it to move it, instead of moving it back and forth.
We really can’t recommend the ironing method. Like the microwave method, it doesn’t fully dry the flower, making them very susceptible to damage. We found the ironed flowers stuck to the paper and ripped very easily.
Conclusion:
If you want to press flowers properly, it takes time. We definitely recommend the book method or using a proper wooden flower press.
The faster methods sort of work, but the flowers don’t get fully dried and they end up much more fragile.

What are the best flowers for pressing? Can you press any flower?
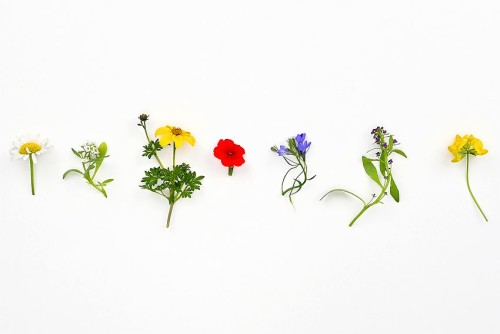
The best flowers to press are ones with naturally flat blooms, often with a single layer of petals. If you’d like to press thicker flowers, like roses, peonies, or an orchid, slice the flower in half with a knife or cut it with scissors before pressing it.
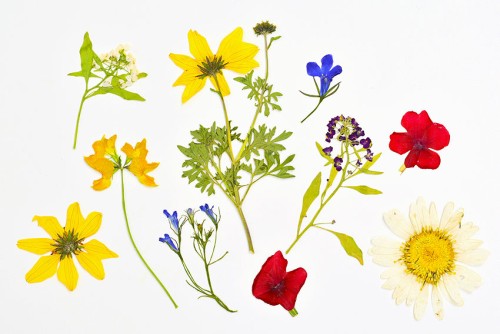
To make our pressed flowers we bought bidens (aka Spanish needles), verbena (aka vervain), lobelias, and alyssum from a garden center. We also picked some daisies and other wildflowers.
Some other flowers that work well for pressing are violets, baby’s breath, lilies, hydrangeas, Queen Anne’s lace, buttercups, lavender, cosmos, pansies, daisies, and larkspur (aka delphinium). You can also dry small herb stems or fern leaves.

How do you press flowers and keep their color?
For best results, pick or cut brightly coloured flowers right away after they’ve bloomed. Flowers will always fade a bit as the moisture leaves the petals, so it’s important to use flowers when they’re at their prime brightness.
Then, after you’ve picked the best flowers, make sure to press them right away before they begin to brown. If you need to wait a little bit before pressing the flowers, place them with a damp paper towel in an airtight container and store them in the fridge.
It’s best to press a variety of flowers just in case. Out of all of the flowers we pressed, we only had one white lily type of wildflower turn brown. The rest of our flowers kept their beautiful colours, but it would have been disappointing if that was the only flower we tried!
How long to press flowers?
Some people recommend pressing flowers for only 2 – 3 weeks, but we don’t find this to be long enough. We definitely recommend leaving your flowers in the book for 4 – 6 weeks to make sure that they’re completely dried out.
It’s important to wait this amount of time, because if the book is opened before the flowers are completely dry, the petals can rip when the book is opened.
The amount of time needed will totally depend on how humid the room is, so we find it better to err on the side of caution and wait longer.

Transform fresh blooms into beautifully pressed flowers by following our simple step by step tutorial. It’s SO EASY to learn how to press flowers, though it does take a bit of time and patience.
Display your pressed flowers in a frame, or use them to decorate homemade gifts and crafts. There’s so many ways you can use these gorgeous dried flowers!

Here’s even more pressed flower craft ideas:


Our book Low-Mess Crafts for Kids is loaded with 72 fun and simple craft ideas for kids! The projects are fun, easy and most importantly low-mess, so the clean up is simple!

Where to buy:
You can purchase Low-Mess Crafts for Kids from Amazon, or wherever books are sold:
Amazon | Barnes and Noble | Books-A-Million | Indiebound | Amazon Canada


Leave a Reply