It’s SO EASY to make a Q-tip flower painting! Dip a bundle of cotton swabs into paint and stamp them onto cardstock to create these quick and easy flower paintings.
It’s so fun to use an every day object to paint, and this Q-tip art is also such a cheerful craft for spring! Hang your artwork on the fridge or turn it into a card for birthdays, Mother’s Day, or just because.

This post contains affiliate links. If you use these links to buy something we may earn a small commission which helps us run this website.
DIY Flower Q-Tip Painting
Materials:
- Free Printable Flower pot template
- White cardstock (cut in half)
- Acrylic paint (green, and various shades of purple)
- White glue
- Brown felt
Equipment:
- Gel pen (or pencil)
Watch the step-by-step video tutorial:
Instructions:
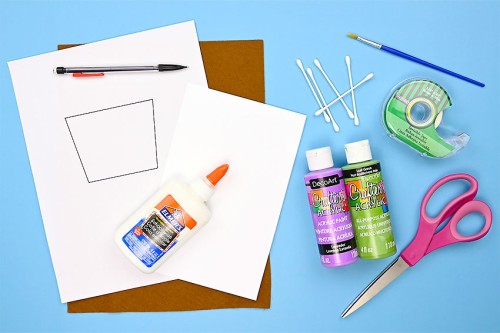
Step 1: Find what you need
- Gather your supplies and materials.

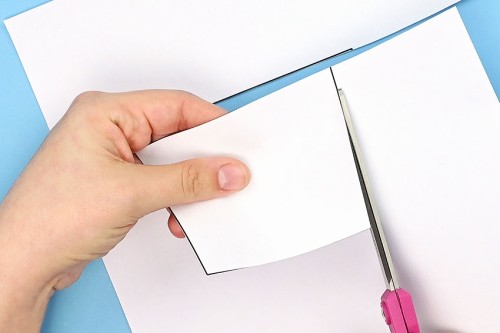
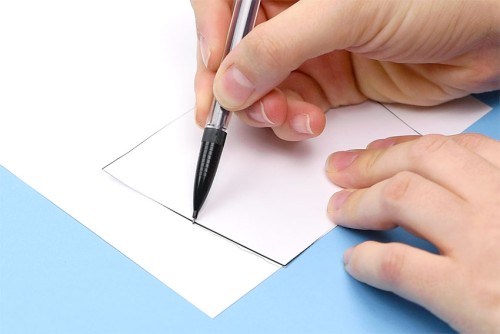
Step 2: Cut out and trace the pot template
- Print out the free flower pot template (find the link above!) on regular printer paper and cut out one of the pots.
- Cut a piece of cardstock in half and place one half in front of you. Then trace the flower pot template onto the bottom of the paper.

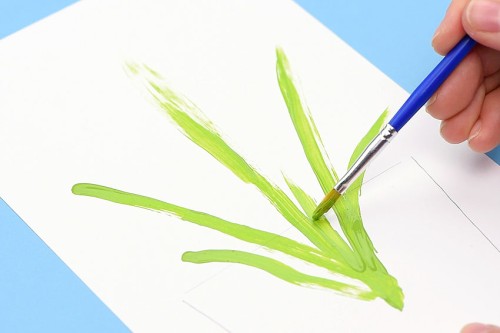
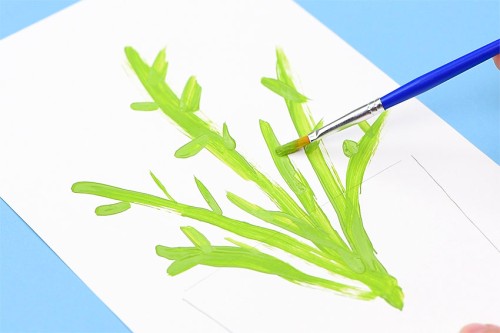
Step 3: Paint the stems and leaves
- Paint 3 to 6 thick green lines coming out from the pot to make the flower stems.Start from the center of the pot and paint one stem going straight up. Then angle the outer stems towards the edge of the paper.
- Add simple brush strokes coming off the stems to create leaves. This will give the plant a fuller look.Wait a few minutes for the green paint to dry.
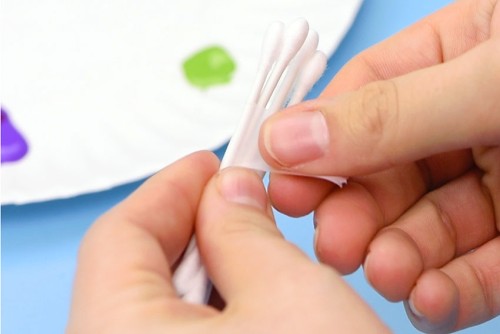
Step 4: Paint flower petals with q-tips
- Tape together 5 q-tips into a bundle. (You could also wrap an elastic around them.)
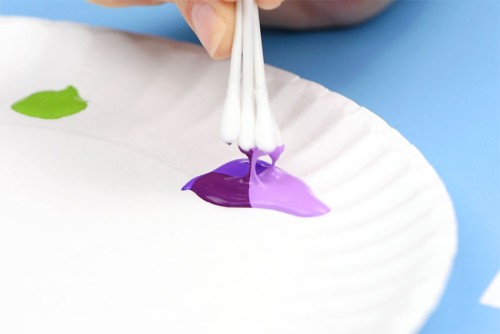
- Add three shades of purple paint to a plate, close enough so that the different colours are touching. Then dip the q-tip bundle into the center of the paint.
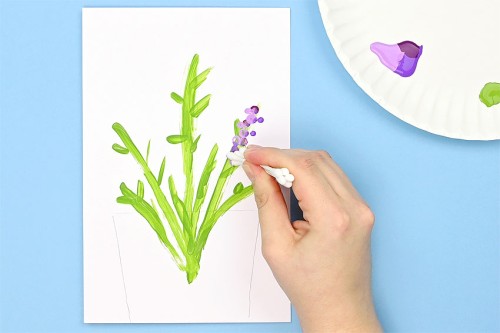
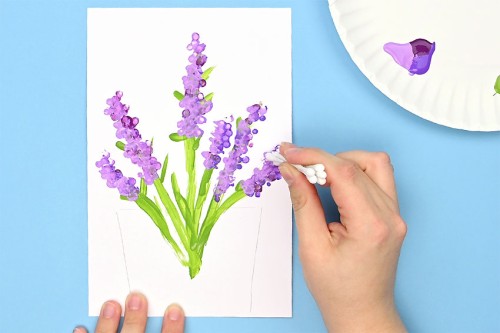
- Stamp the paint covered q-tips onto the top of the green stems until you run out of paint.
- Repeat, dipping the q-tips in paint and dabbing them onto the green stems again and again.Be sure to stamp the q-tips at different angles, rotate the bundle, and use different amounts of pressure to get unique looking blooms.Continue until you’re happy with your flowers.
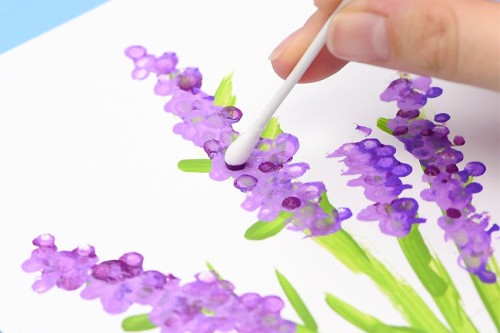
- Optional: use a single q-tip, dipped in one colour of paint, to add even more definition to your flowers.
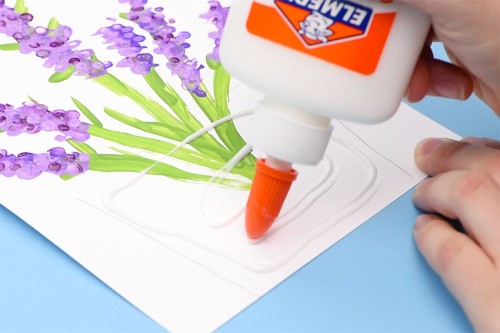
Step 5: Add a felt flower pot
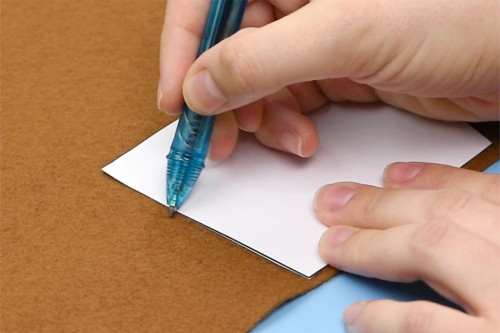
- Use a gel pen to trace the pot template onto brown felt.
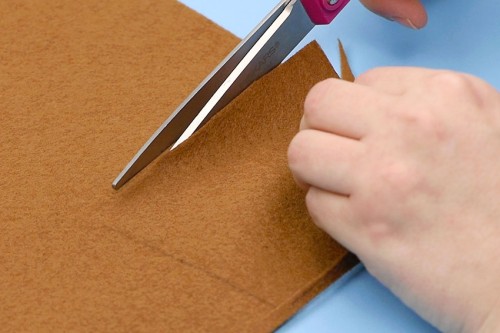
- Cut out the felt flower pot.
- Add glue inside the flower pot shape.
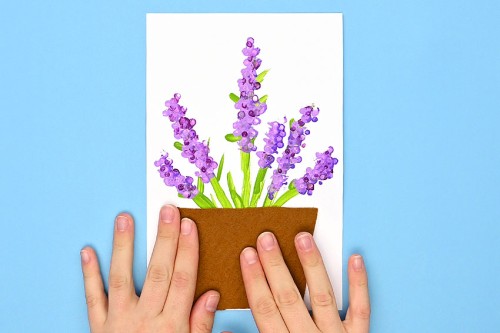
- Press the felt flower pot into the glue to attach it to your painting. Allow the glue to dry.
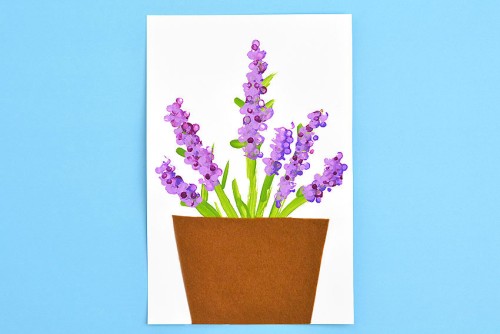
- Your q-tip flower painting is complete!
Helpful Tips:
- We made lavender Q-tip paintings, but they can easily become lilacs or grape hyacinths with a few small changes. Or switch up the paint colour to make cherry blossoms, dandelions, or hydrangeas!
- Use different amounts of Q-tips for different looks! (More on that below.)
- Fold the cardstock in half, instead of cutting it, and turn your Q-tip flower painting into an easy homemade card!

Download our free flower pot template:
Click on the link below to download our free, printable flower pot template! The PDF file will open in a new window. Then simply print the flower pot template on 8.5 x 11 (letter size) printer paper.
>>> Flower Pot Template <<<

How many Q-tips did you use to make these flower paintings?
We used 5 Q-tips taped together to make our flower paintings, but you can use different amounts of cotton swabs for varied looks.
Using 1 or 2 Q-tips gives you more control over where the paint is going, but it takes longer to do. More Q-tips results in a more blended look and less defined dots, but it makes the painting come together a lot faster.

What if I don’t have felt?
If you don’t have felt to make the flower pot, you can cut out the flower pot shape from construction paper or coloured cardstock. Or, for a bit of texture, use a sheet of craft foam or burlap fabric.
If you don’t want to add anything else to your painting, simply fill in the flower pot with brown paint!
What else can I paint with to create an easy flower painting?
You can also use a pencil eraser (the flat, circular kind) or dip your fingertip in paint to create a similar look. Or cut bubble wrap into flower shapes and press it into paint before stamping it down.
You can even use a marker cap or the end of a drinking straw to create circle outlines.

Have you ever thought of painting with cotton swabs?! It’s so fun and creative to make art using simple supplies. These flower paintings make such happy spring or summer art project!

Here’s even more art for kids ideas:


Our book Low-Mess Crafts for Kids is loaded with 72 fun and simple craft ideas for kids! The projects are fun, easy and most importantly low-mess, so the clean up is simple!

Where to buy:
You can purchase Low-Mess Crafts for Kids from Amazon, or wherever books are sold:
Amazon | Barnes and Noble | Books-A-Million | Indiebound | Amazon Canada


Leave a Reply