Learn how to preserve flowers in resin and create a unique keepsake that will brighten up your home decor! Follow our beginner friendly step by step photo and video tutorials, and read below for helpful tips about working with resin.
Did you know that you can add dried flowers to epoxy resin to preserve their colour and beauty permanently? Use flowers from a special occasion, like a wedding or graduation, and create a physical memory of the event. The results are SO PRETTY!

This post contains affiliate links. If you use these links to buy something we may earn a small commission which helps us run this website.
How to Preserve Flowers in Resin
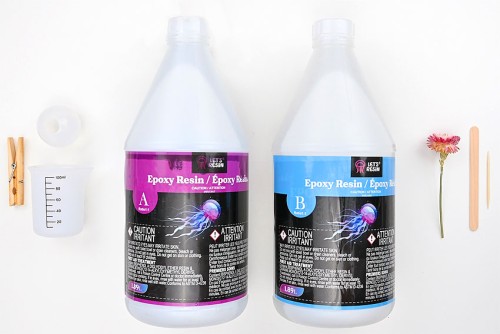
Materials:
Equipment:
- Jumbo popsicle stick (or silicone stir stick)
- Rubbing alcohol (in spray bottle; optional)
Watch the step-by-step video tutorial:
Instructions:
Step 1: Find what you need
- Gather your supplies and materials.

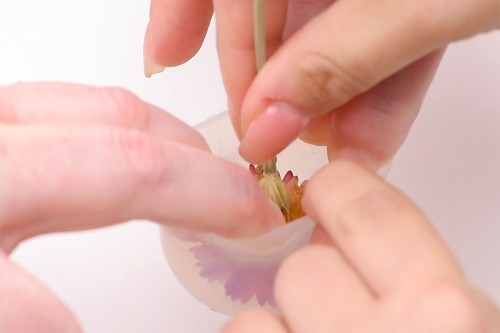
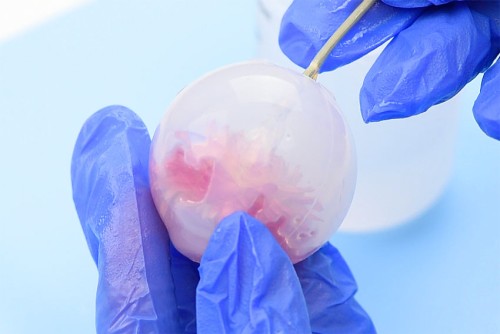
Step 2: Add the flower into the mold
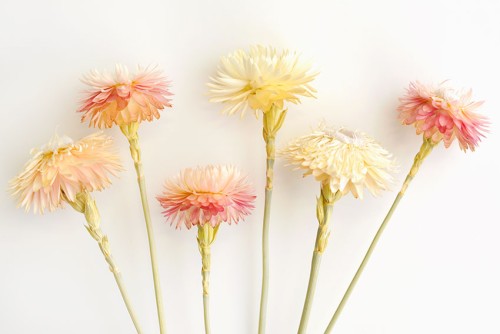
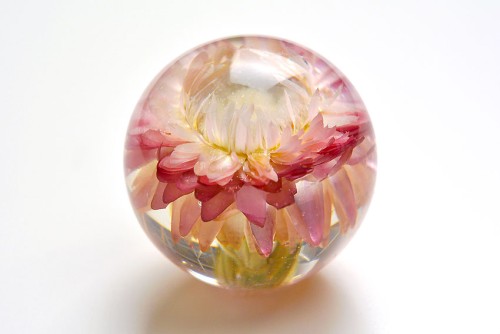
- Dry flowers from a wedding bouquet or another special occasion (read below for helpful tips!), or buy already dried flowers.We purchased dried strawflowers on Amazon – the exact ones we used are linked above.Trim your flower’s stem so there’s only a couple inches left.
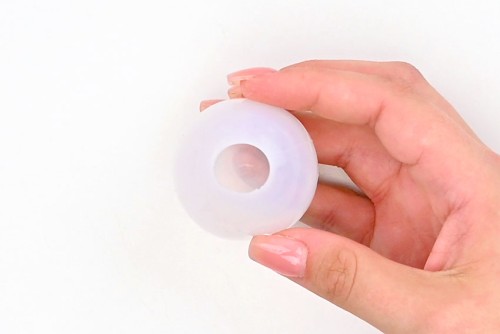
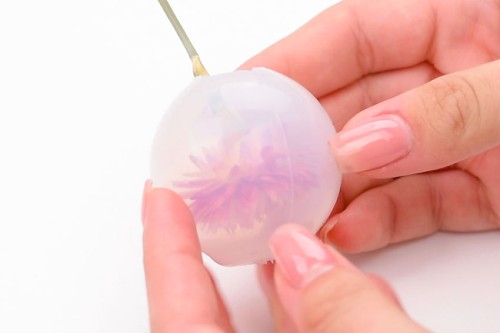
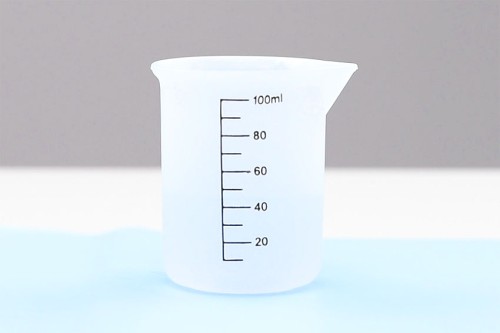
- Choose a silicone mold that will fit the size of your flower. Our sphere mold has a 1.85 inch diameter.
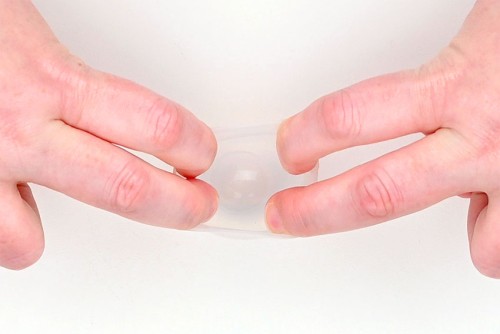
- Stretch open the silicone mold. (It’s great if you have a helper to stretch the mold open for you!)
- While the mold is stretched open, carefully insert the flower into the mold.

- Slowly let go of the mold so that your flower is contained within the mold.
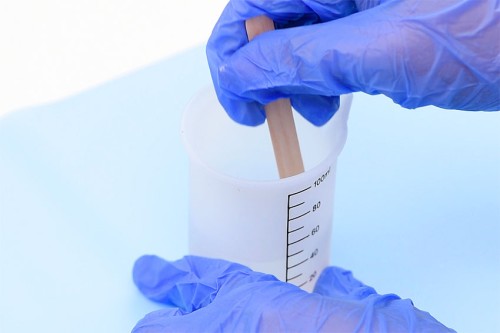
Step 3: Mix the resin
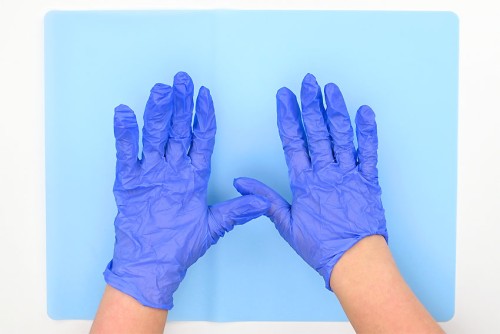
- Make sure you protect your working surface with a silicone mat, wear protective nitrile gloves, and eye protection.Depending on the resin you may also need to wear a respirator.
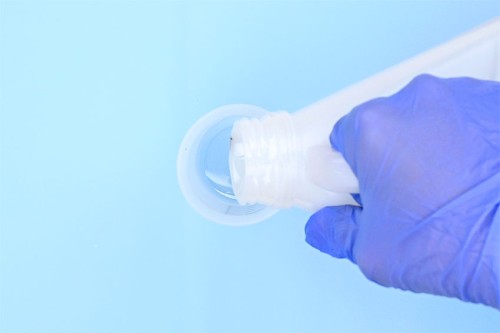
- First, mix enough resin to fill about 2/3 of your mold. (Read below to know how much resin you’ll need.)Follow your specific resin’s instructions for ratios, drying times, and curing times.Start by adding 1 part of Part A to the silicone measuring cup.
- Add an equal amount of Part B to the measuring cup. (Or whatever ratio your brand of resin suggests.)
- Mix the resin and hardener together with a popsicle stick or a reusable resin stir stick.Stir slowly, scraping down the sides and bottom of the measuring cup. Continue mixing for 3 minutes or until the mixture is clear.
- Allow the resin to sit for 5 to 10 minutes. This allows any air bubbles to surface.
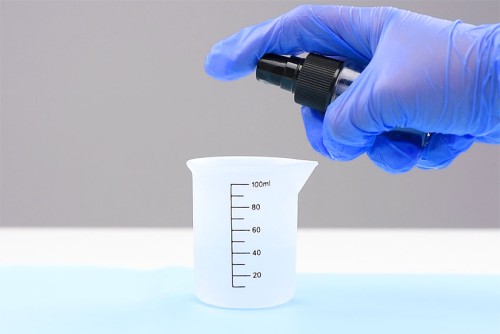
- If there are any bubbles on the surface, give the resin a quick spritz of rubbing alcohol to pop them.
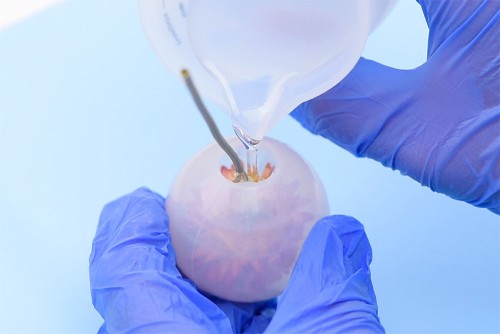
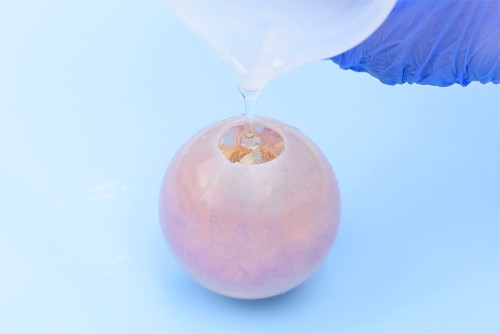
Step 4: Add the first resin into the mold
- Pour the resin, a bit at a time, into the mold with the flower in it.
- Slowly swirl the flower around, coating the petals with resin. This helps to remove any air pockets and bubbles.
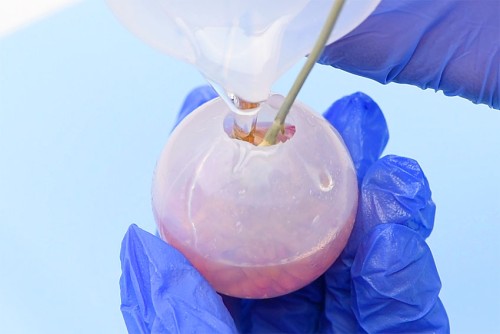
- Continue adding resin until the mold is about 2/3 full. Or follow your resin’s instructions for casting depth.
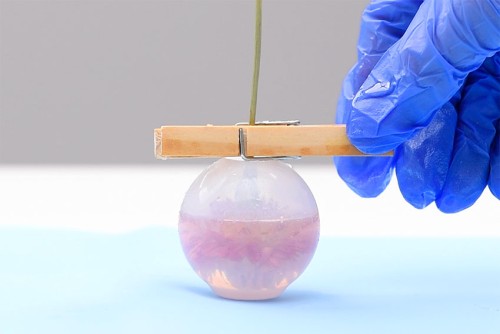
- Add a clothespin to the flower’s stem and set it on top of the mold. This will keep the flower in place, stopping it from rising to the surface.Allow the resin to sit for the recommended layering time. Our resin suggests 3 to 5 hours.
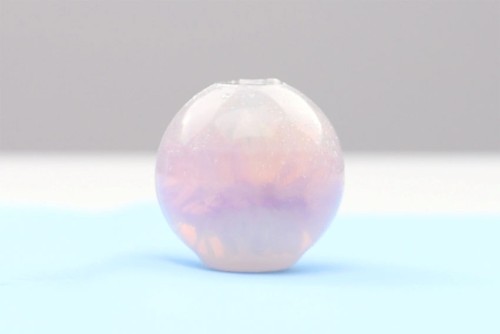
Step 5: Add the 2nd layer of resin
- Trim off the flower stem so that the whole flower will be covered in resin.
- Mix another batch of resin to fill the remaining 1/3 of the mold, following the instructions above.Pour the resin into the mold, filling it to the top.
- Let the mold sit, untouched, for the recommended dry (or demold) time. Our resin’s dry time is 8 to 12 hours.

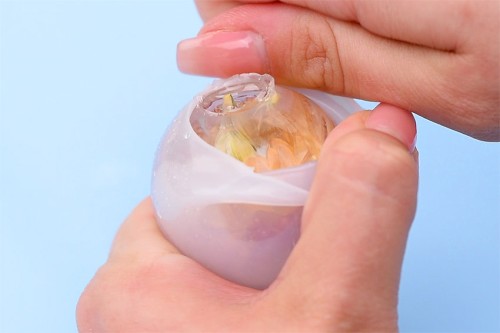
Step 6: Demold your resin flower
- Once your preserved flower paperweight is dry you can unmold it.Grab the top edge of the silicone and stretch it. Be careful when handling the top, since there might be sharp edges on it.
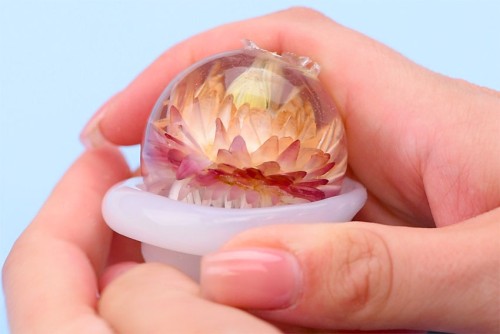
- Pull and roll the silicone mold until your resin piece pops free.
- After 24 hours (or after a longer curing time), sand down any rough edges on the bottom of the paperweight.Your flower is now preserved in resin!
Helpful Tips:
- Do your resin pours in a well ventilated area and protect your working surface. Make sure that you also wear basic PPE: nitrile gloves, eye protection, and long sleeves. Some resin also requires wearing a respirator.
- To be extra precise with your pouring, add the two parts of resin into separate measuring cups before combining them.
- The ratio of resin and hardener will vary based on the brand, but it will always be measured by volume, not weight.
- Once you use a silicone mold for resin it’s no longer food safe. Be sure to only use these molds for resin and non-food products.

Can you put fresh flowers in resin?
No, you can’t preserve fresh flowers in resin. The flowers must be dried to be preserved in resin, because moisture and resin don’t mix well.
The water content in fresh flowers will stop the resin from curing properly, and the flower will eventually turn brown and rot in the resin.
How to dry flowers for use in resin?
You can dry flowers easily by hanging them upside-down by their stems. Keep them in a dark, well ventilated area for 2 to 3 weeks.
A quicker method is to cover the flowers in silica gel. This is a non-toxic desiccant that removes all moisture from flowers. You can buy silica gel online or at craft stores.
Place a layer of silica gel in the bottom of a container, place the flower on top and then cover it gently with more silica gel. Place a lid on the container and wait 2 to 5 days. (The exact time needed will depend on the type of flower, but the package should give you directions.)
Once the flower is dry you can carefully remove it from the silica gel and use a paintbrush to gently brush the petals clean. If dried correctly, the petals should be thin like tissue paper.
If you don’t want to preserve a whole 3D flower, you can also add pressed flowers to resin.

Why does the resin need to be poured in two parts?
Most resins don’t recommend making too deep a pour at one time. If you pour too thick a layer of resin it can create trapped bubbles, and it can also stop it from curing properly. This can make the resin overheat and crack or turn yellow.
To make this flower paperweight, doing 2 layer pours also allows you to place the flower properly. Flowers tend to float up in resin if they’re not held in place, which is why the clothespin is used. Once the first layer is poured, you can remove the clothespin, trim the stem, and cover the entire stem with resin. (With only one pour, the tip of the stem would be exposed).

How do I prevent air bubbles from forming in resin?
To prevent air bubbles from forming in your resin pours:
- Follow your resin’s instructions precisely.
- Mix the resin slowly and carefully.
- Place the resin bottles in a plastic bag and warm them in a water bath for 5 to 10 minutes before pouring. Make sure the water is warm — about 70 – 75F, not hot.
- Warm your silicone molds in a 150F oven.
- Pour your resin in a warm (70 – 75F) room.
- Coat the flower with a thin layer of resin, especially filling in-between the petals.
How do I get rid of air bubbles in resin?
To remove air bubbles that have formed:
- Use a toothpick to pop small bubbles.
- Spritz the top of the resin with a small amount of rubbing alcohol to pop any surface bubbles.
- You can also use a heat gun to pop bubbles. Keep the heat gun 2 inches above the surface and move it continuously back and forth.

What type of resin is needed to preserve flowers in resin?
We used casting resin to make our flower paperweights, which is a type of epoxy resin. When you’re making a resin piece that’s over 1/2 inch you’ll need to use a casting resin (also called a deep pour resin), rather than a table top resin.
Casting resin has a thin viscosity and is meant for deep pours. The thin consistency allows bubbles to rise more easily to the surface.
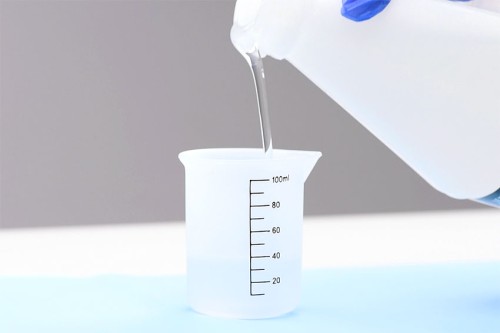
How do you know how much resin you need for a specific mold?
The exact amount of resin you’ll need will, of course, depend on the mold you’re using. To know exactly how much resin to mix, first fill the mold with water.
Pour the water into a measuring cup and this will show you how much resin to mix. Keep in mind that when you add a flower into the mold, the amount of resin needed will decrease by a bit. Make sure that your silicone mold is clean and dry before pouring resin into it.
You can also measure the size of your mold and use a resin calculator.

Follow our simple instructions and learn how to preserve flowers in resin! We made flower paperweights, but there are so many other ways you can add flowers into resin.
Make an art display piece, a windchime, suncatcher, or a ring holder. You can also use pressed flowers in coasters or jewelry, like earrings and pendants.

Here’s even more flower craft ideas:


Our book Low-Mess Crafts for Kids is loaded with 72 fun and simple craft ideas for kids! The projects are fun, easy and most importantly low-mess, so the clean up is simple!

Where to buy:
You can purchase Low-Mess Crafts for Kids from Amazon, or wherever books are sold:
Amazon | Barnes and Noble | Books-A-Million | Indiebound | Amazon Canada


Leave a Reply