


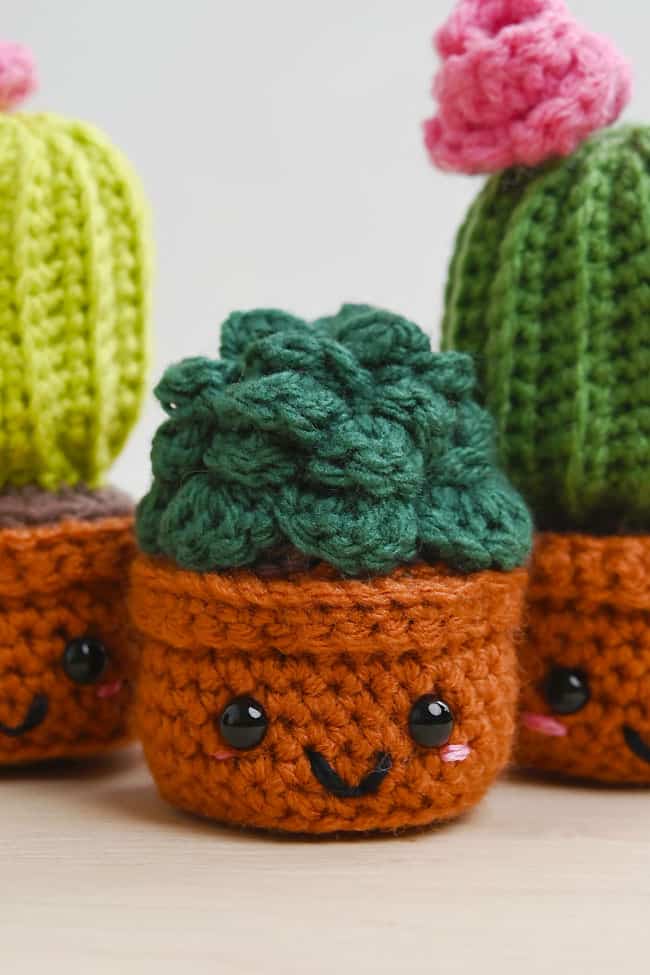
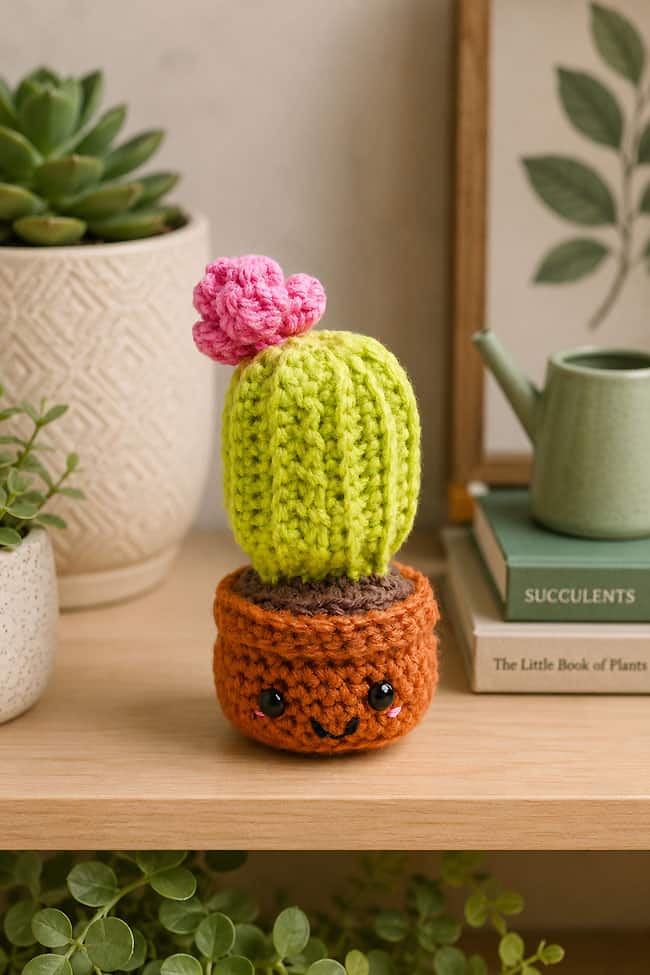
This crochet succulent is the perfect plant. It’s super cute, always in bloom, and it never needs watering! With the soft yarn leaves, cheerful flower, and smiling crochet pot, these succulent plushies make a fun handmade decoration for a desk, shelf, windowsill, or craft room.
Use the FREE crochet succulent pattern below or purchase the printable, ad-free pattern with BONUS Quick Guide from our Etsy shop! Make a tall cactus, a round rosette succulent, or both. These small potted plant amigurumis are a great way to use up leftover yarn, and they’re easy to personalize with different shades of green and your own embroidered face details.
This post contains affiliate links. If you use these links to buy something, we may earn a small commission at no extra cost to you. This helps support our website and allows us to keep creating fun, free content.
How to Make a Crochet Succulent
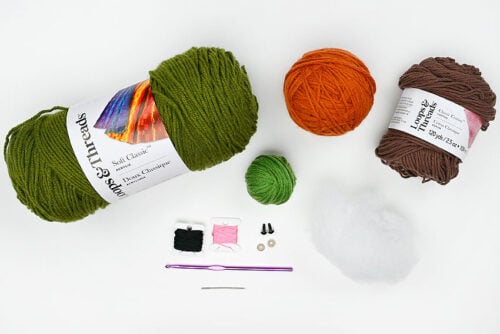
Materials:
- Worsted weight yarn (several colours)
- Safety eyes (8mm)
- Polyester fiber fill
- Embroidery floss (black and pink)
- Crochet Succulent Pattern (No Ads)
Equipment:
See the craft in action:
Instructions:
Find what you need:
- Gather your supplies and materials.

Plant Pot:
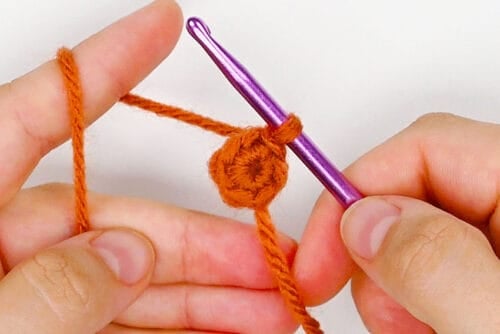
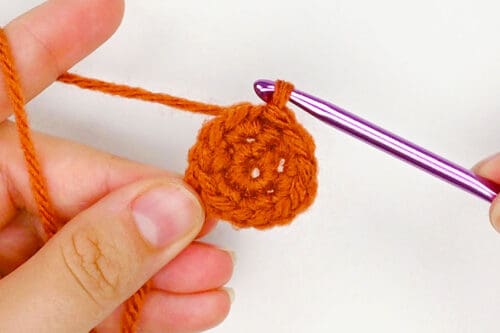
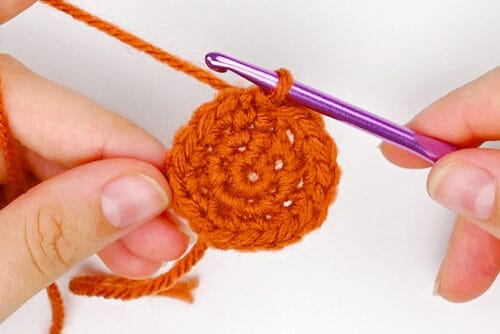
- Round 1: Using terracotta coloured yarn, work 6 single crochet into a magic circle.Pull the tail to tighten the circle and slip stitch in the first st to join the round. (6)
- Round 2: Chain 1 and insert 2 sc in each st around (an increase).Sl st in the first st to join the round. (12)

- Round 3: Ch 1 and *insert 1 sc in the first st. Inc in the next st.*Rep from * to * around. Sl st in the first st to join the round. (18)
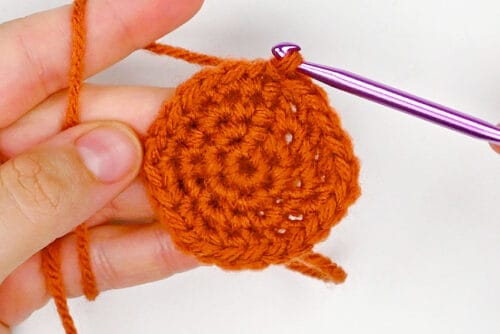
- Round 4: Ch 1 and *insert 1 sc in each of the first 2 sts. Inc in the next st.*Rep from * to * around. Sl st in the first st to join the round. (24)
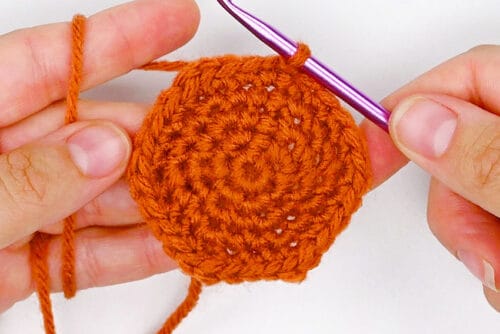
- Round 5: Ch 1 and *insert 1 sc in each of the first 3 sts. Inc in the next st.*Rep from * to * around. Sl st in the first st to join the round. (30)
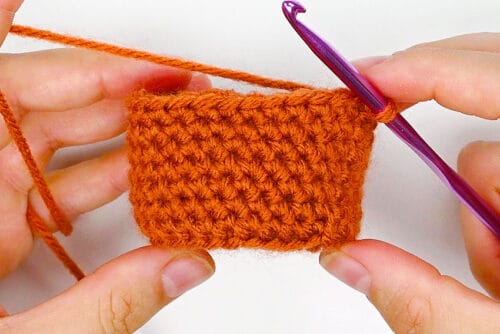
- Round 6: Ch 1 and insert 1 sc in the BLO of each st around.Sl st in the first st to join the round. (30)
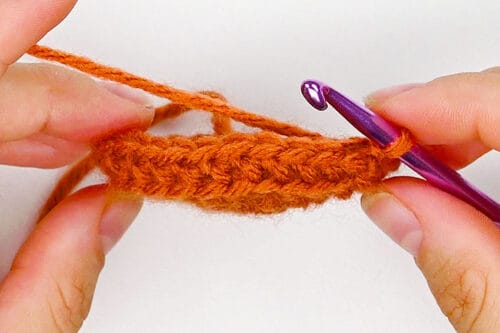
- Rounds 7–12: Ch 1 and insert 1 sc in each st around.Sl st in the first st to join the round. (30)
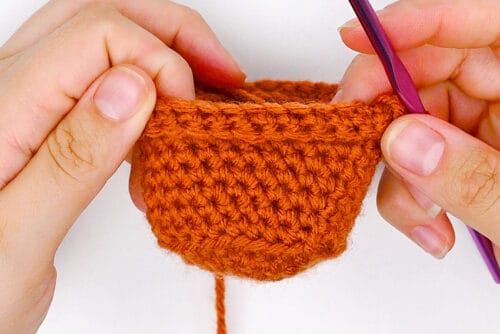
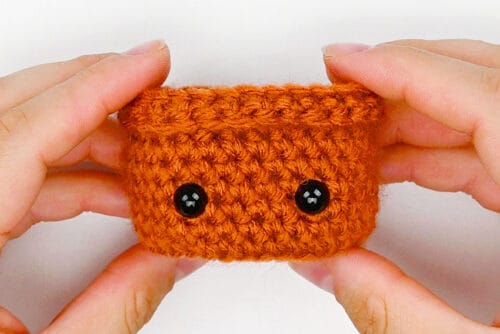
- Rounds 13–14: Ch 1 and insert 1 sc in the FLO of each st around.Sl st in the first st to join the round. (30)(Note: This creates a little folded edge at the top of the pot.)
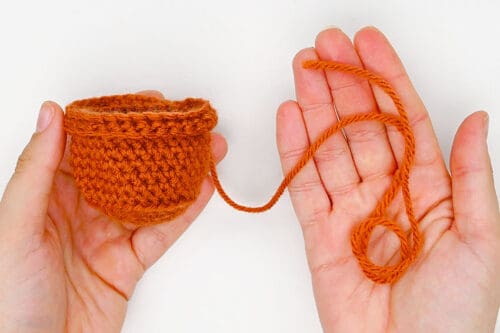
- Fasten off the yarn, leaving an 8 inch tail.
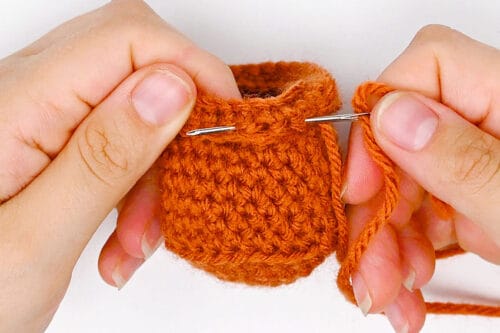
- Use the tail to sew a loose running st through the fold at the top of the pot. This will keep the fold in place.
- Add safety eyes to the pot between rounds 8 and 9, placing them about 4 sts apart.
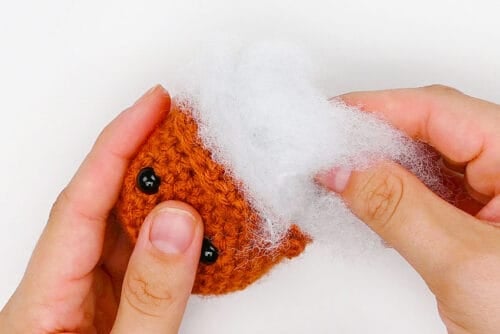
- Add poly-fil stuffing to the pot until it’s firm and keeps its shape.
Soil:
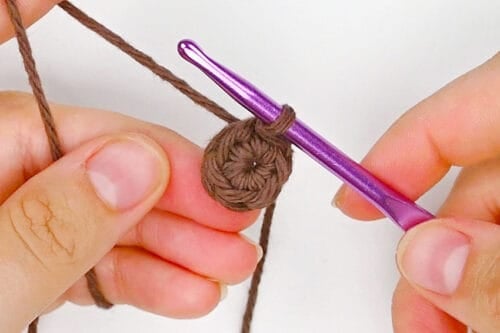
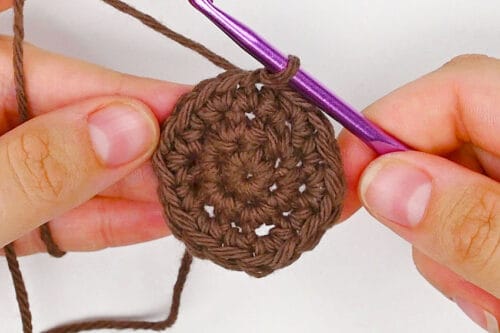
- Round 1: Using brown yarn, work 6 sc into a magic circle.Pull the tail to tighten the circle and sl st in the first st to join the round. (6)
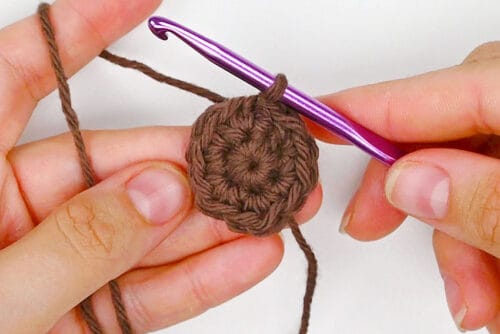
- Round 2: Ch 1 and inc in each st around.Sl st in the first st to join the round. (12)
- Round 3: Ch 1 and *insert 1 sc in the first st. Inc in the next st.*Rep from * to * around. Sl st in the first st to join the round. (18)
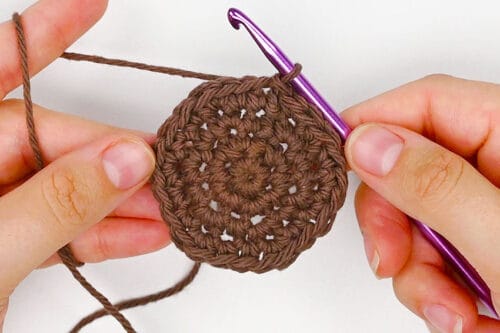
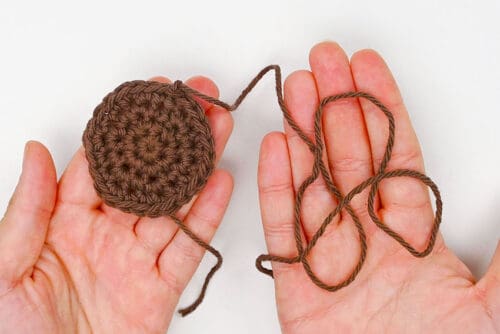
- Round 4: Ch 1 and *insert 1 sc in each of the first 2 sts. Inc in the next st.*Rep from * to * around. Sl st in the first st to join the round. (24)
- Fasten off the yarn, leaving a 10 inch tail.
Cactus:
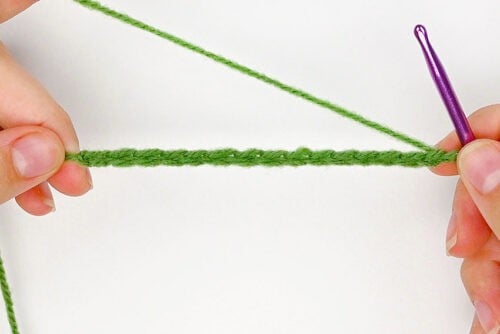
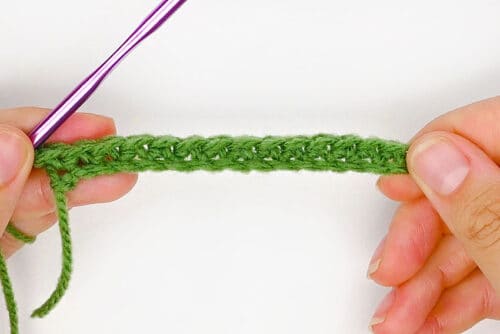
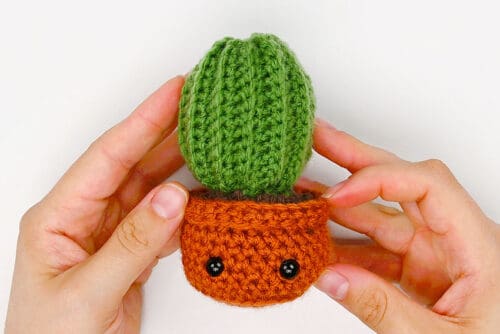
- Using green yarn, ch 15.
- Row 1: Insert 1 sc in each ch across, starting in the 2nd ch from the hook. (14)
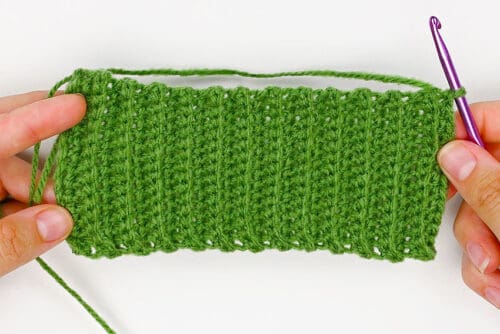
- Rows 2–23: Turn your work and ch 1. Insert 1 sc in the BLO of each st across. (14)
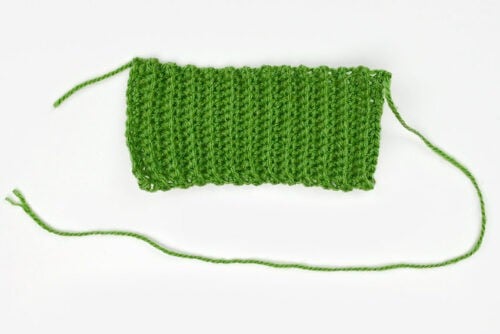
- Fasten off the yarn, leaving a 10 inch tail.
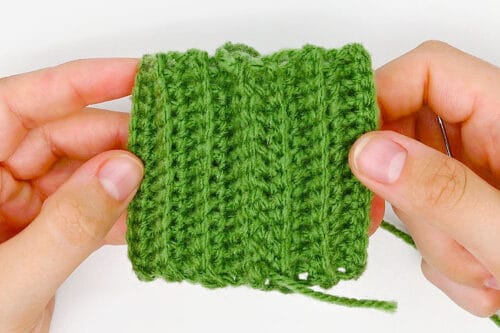
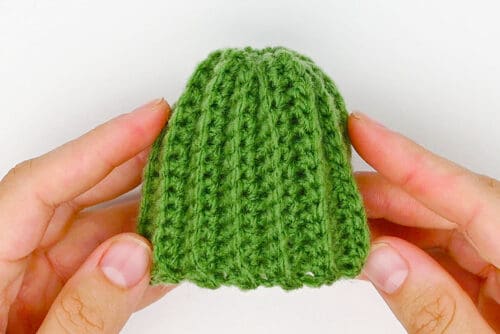
- Sew the 2 short ends of the panel together, creating a tube.
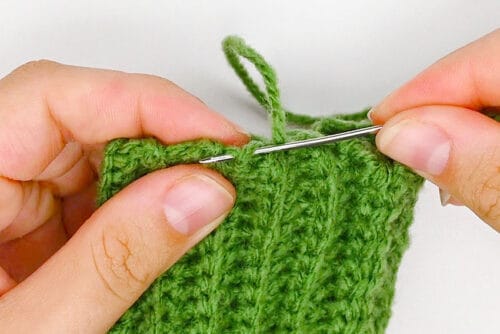
- Sew a running st around one of the open ends. This will be the top of the cactus.
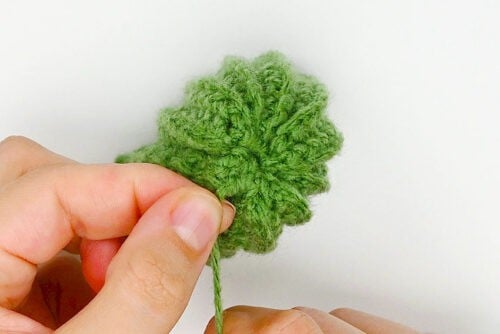
- Pull the tail to gather the top together. Make a knot to keep the gathering in place.
- Tuck any loose ends into the inside of the cactus.
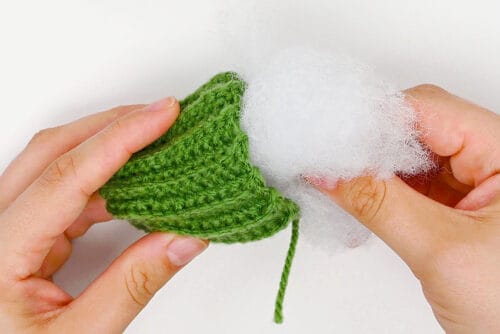
- Add poly-fil stuffing into the cactus until it’s firm and keeps its shape.
Cactus Flower:
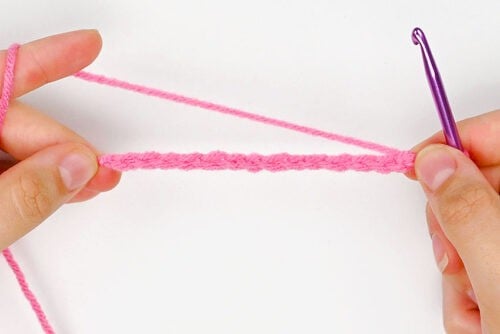
- Using pink yarn, ch 14.
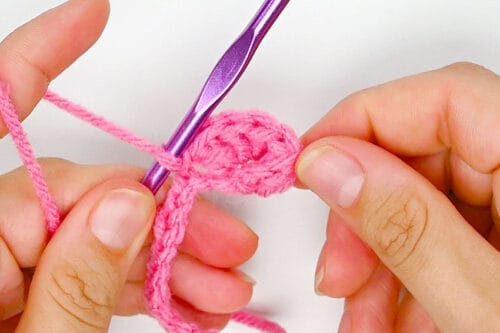
- Starting in the 3rd ch from the hook, *insert 5 double crochet in the first ch. Sl st in the next ch.*
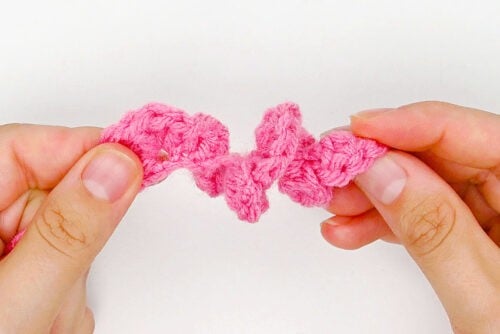
- Rep from * to * (in the last step) across. The piece will start to spiral. (36)Fasten off the yarn, leaving a 6 inch tail.
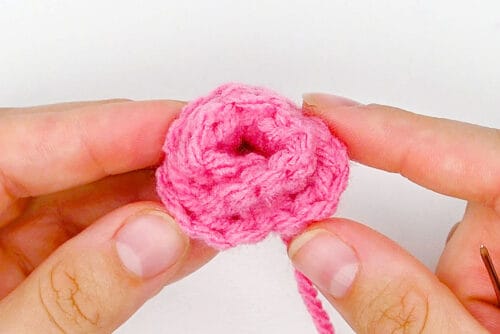
- Roll the piece around itself to form the flower. Use the tail to sew it together at the bottom.
Assemble the Cactus:
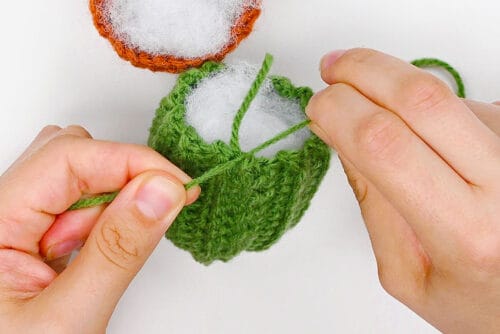
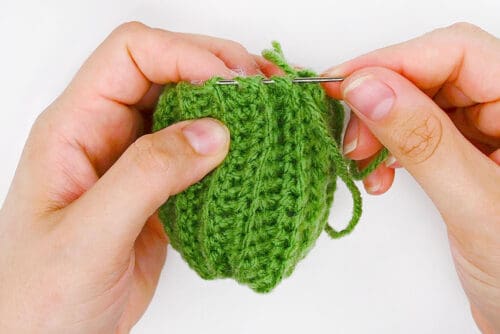
- Tie a 10 inch piece of green yarn to the open end of the cactus.
- Use this yarn to sew a running st around the bottom edge of the cactus.
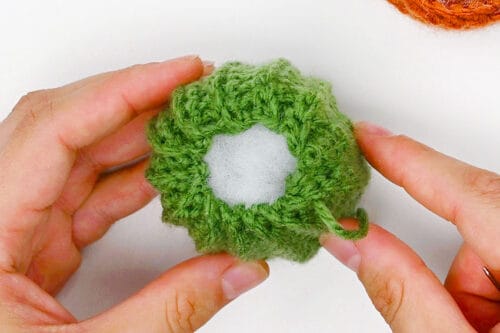
- Pull on the yarn gently to gather the bottom of the cactus in just a bit (but don’t close it off).Make a knot to keep the gathering in place.
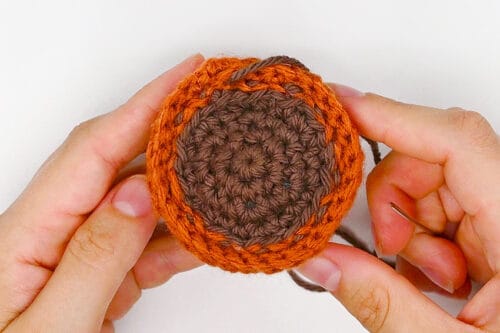
- Sew the soil to the inner top of the pot (around round 12).Weave in the tail and cut off any excess.
- Sew the cactus to the center of the soil.
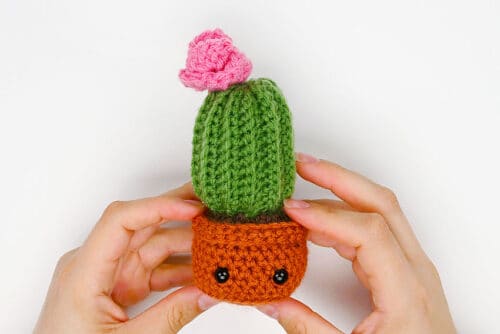
- Sew the flower to the top of the cactus. You can center it or place it off to one side.
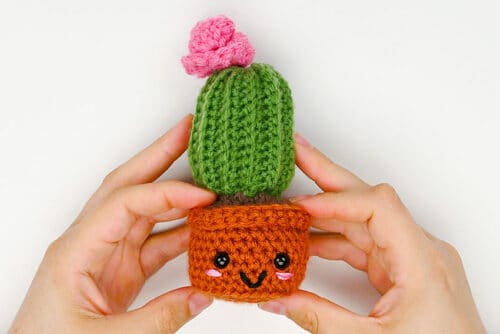
- Use black embroidery floss to sew a smiling mouth onto the pot. Then use pink embroidery floss to add 2 lines of blush below the eyes, creating rosy cheeks.
Succulent:
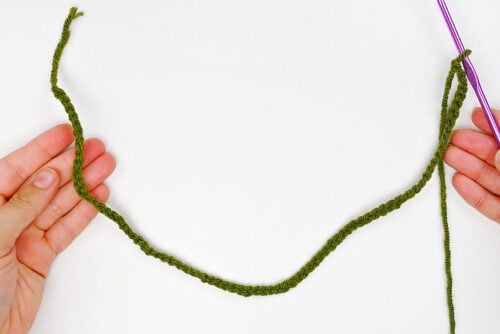
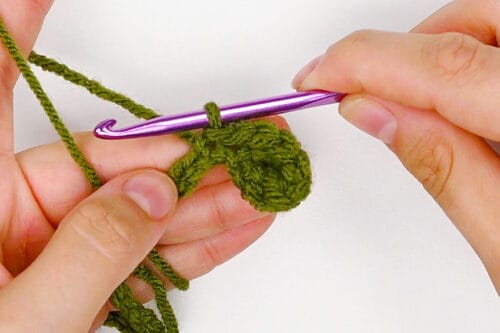
- Using green yarn, ch 80.
- Starting in the 3rd ch from the hook, *insert 5 dc in the first ch. Sl st in each of the next 2 chs.*
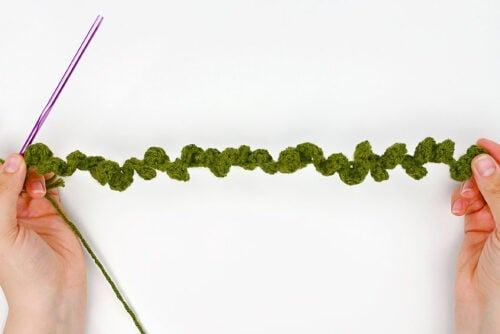
- Rep from * to * (in the last step) across. Your work will spiral. (182)
- Fasten off the yarn, leaving an extra long tail (at least 14 inches).
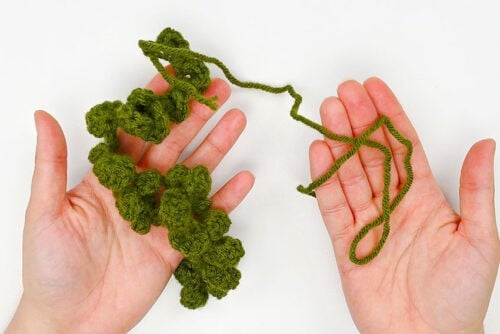
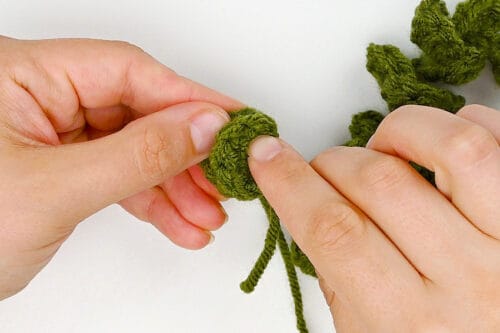
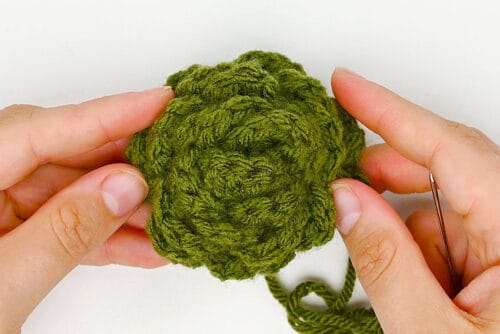
- Begin rolling the piece around itself, using the tail to sew it together as you go.
- Continue rolling and sewing until you reach the end and the rosette succulent is formed.Stagger the leaves as you roll, positioning each leaf between 2 leaves from the previous layer.
Assemble the Succulent:
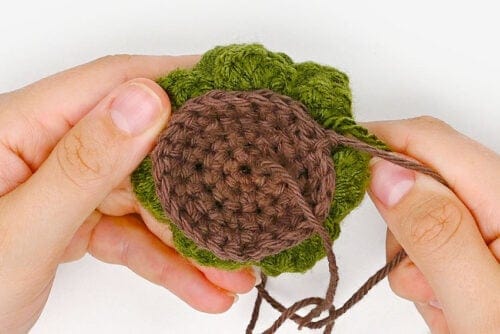
- Follow the above instructions to make a plant pot and soil.Sew the bottom of the succulent to the center of the soil.
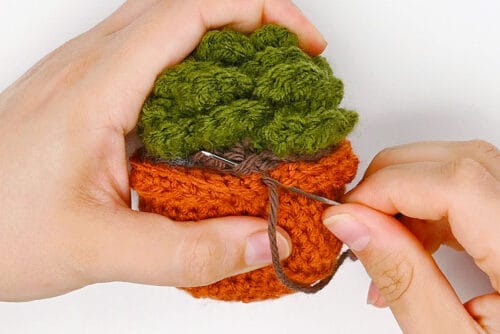
- Sew the soil into the stuffed pot.
- Weave in all the ends, sewing them into the pot.
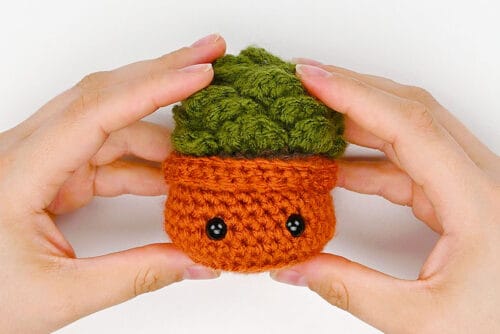
- Use embroidery floss to sew on a black smiling mouth and pink blush lines.
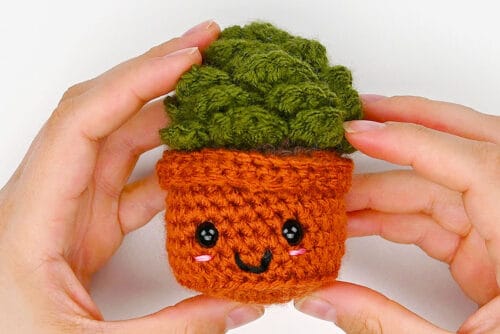
Enjoy!
- Your crochet succulents are complete! Have fun making these little crochet plants using all different shades of green yarn.
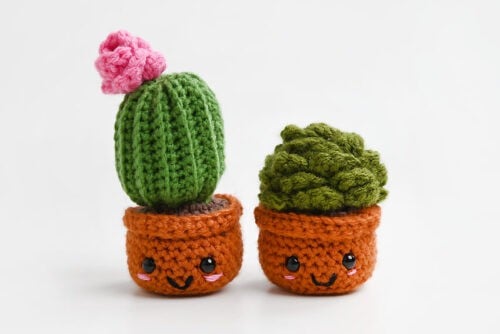
Helpful Tips:
- Still learning crochet, or want to brush up on your skills? Check out our crochet basics posts, which explain all the regular crochet stitches and techniques, with helpful tips and step-by-step instructions.
- You can replace the safety eyes with embroidered eyes or sewn-on felt eyes. This is a great option if you’re gifting the crochet plants to babies or younger kids, as it removes the plastic choking hazard.
- Add a face to the plant pot to create these adorable crochet succulent amigurumi, or leave off the face for a cute crochet plant, perfect for gifting and pretend play.
- Place a small amount of rice or poly-pellets in the pot base before adding stuffing. This will help the finished succulent stand upright. You can tie the filling inside a small piece of pantyhose first to keep the loose pieces contained and prevent them from slipping through the crochet stitches.
Crochet Abbreviations & Terms:
This pattern uses standard US crochet terms. Here’s what each abbreviation means:
BLO = back loop only
ch(s) = chain(s)
dc = double crochet
FLO = front loop only
inc = increase
rep = repeat
sc = single crochet
sl st = slip stitch
st(s) = stitch(es)
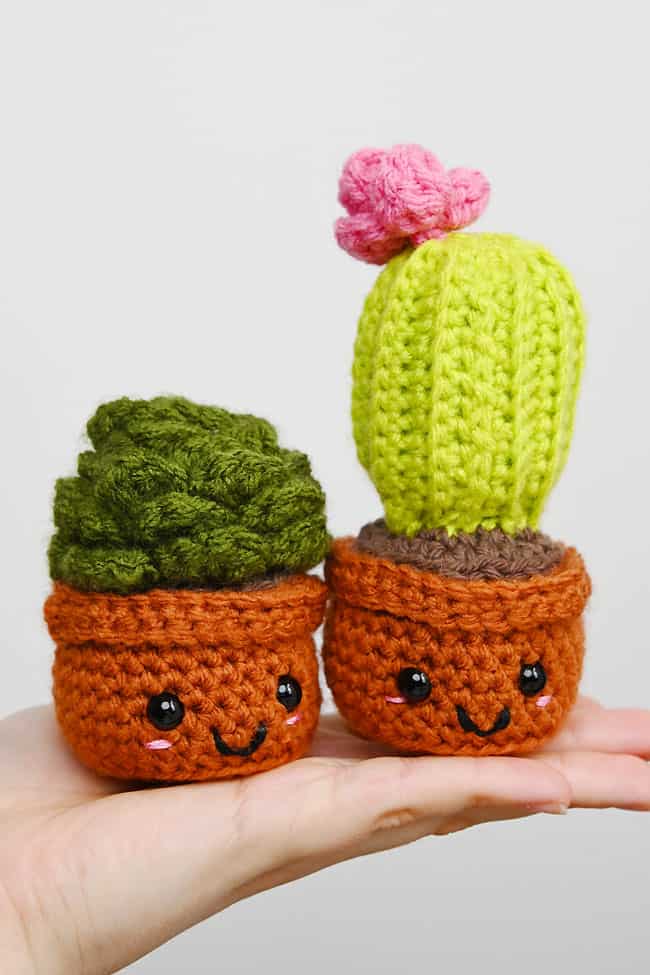
Get our crochet succulent pattern:
You can follow the full crochet succulent pattern with step-by-step instructions for free right here in this post (supported by ads). Or, if you’d like a printable amigurumi succulent PDF pattern with BONUS Quick Guide, you can purchase it in our Etsy shop. It’s perfect to keep by your side as you crochet!
Printable Crochet Succulent Pattern
Get the printable Crochet Succulent Pattern PDF with step-by-step photos + BONUS Quick Guide in our Etsy shop!
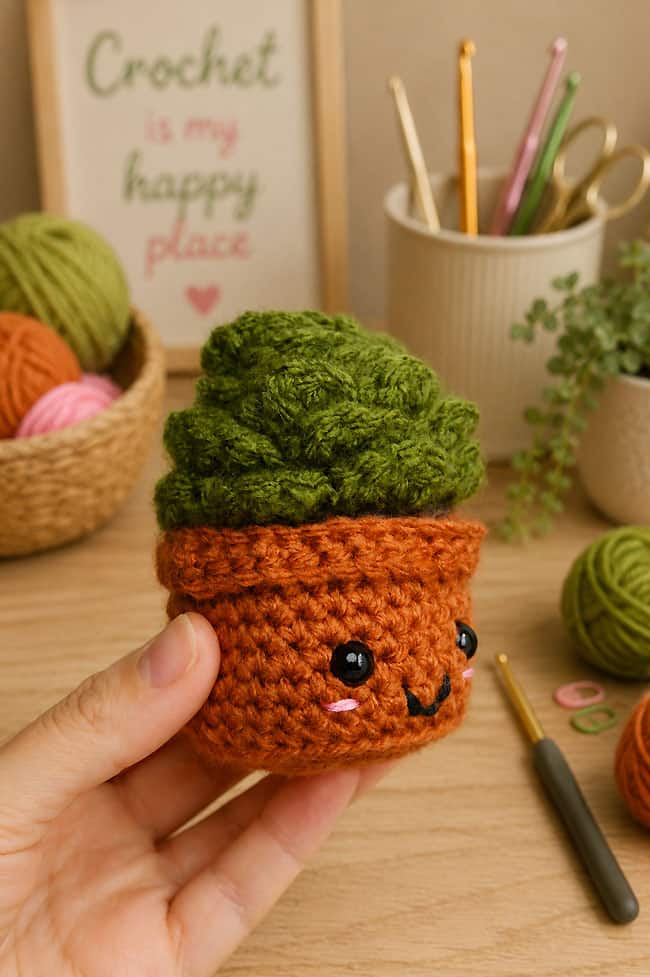
What size crochet succulent does this pattern make?
- The plant pots themselves are about 1-1/2 inches tall and 2 inches across.
- The rosette succulent is about 1-1/2 inches tall and 2-1/4 inches wide (roughly 3 inches tall total, including the pot).
- The crochet cactus is about 2-1/2 inches tall and 1-3/4 inches wide. (The flower adds another 3/4 inch, so it’s roughly 4-3/4 inches tall total, including the pot).
The actual size of your amigurumi succulents will, of course, depend on your exact yarn and tension.
What’s the best yarn for making a crochet succulent?
If you want to make small crochet succulents like we did, worsted weight acrylic yarn works perfectly for these plants. If you’d like an extra soft succulent plushie, try using chenille yarn! Or, for a large crochet plushie you can break out the blanket yarn! Just keep in mind that you’ll need to use a bigger hook size (whatever the yarn recommends) when using a larger weight yarn.
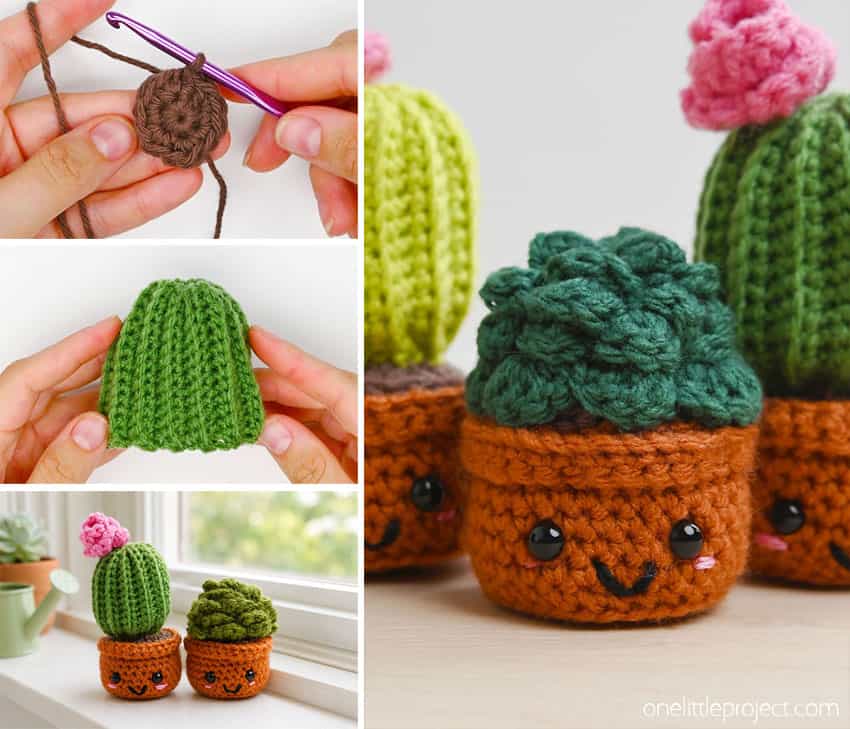
These little crochet plants are a fun way to bring some greenery into your space without worrying about sunlight or watering. The mix-and-match pieces also make it easy to create a whole collection, from bright flowering cacti to soft, leafy succulents in different shades of green.
They’re perfect for using up small amounts of yarn, practicing shaping and assembly, or making a thoughtful handmade gift. Set one on your desk for an extra-cute pop of colour that stays cheerful all year long.
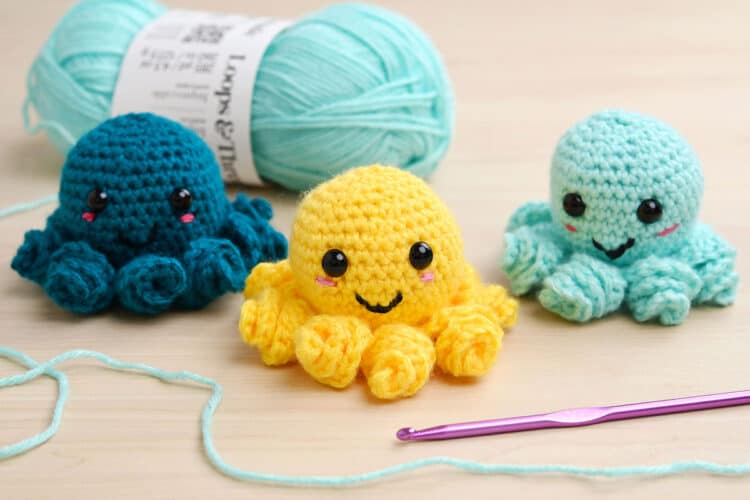
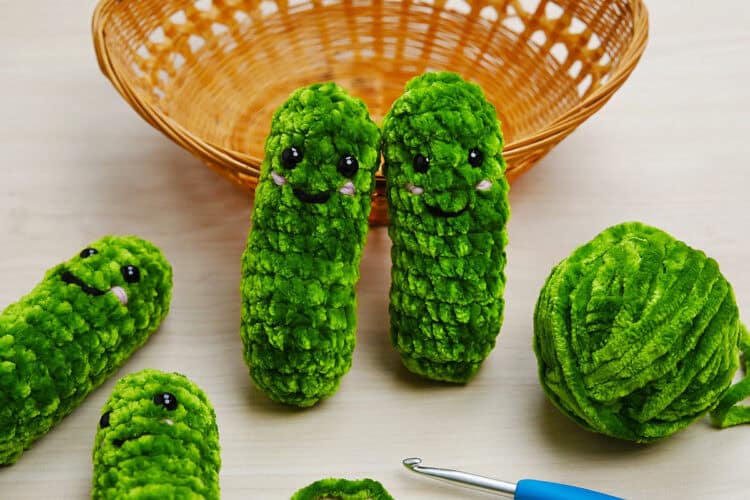
Here’s even more amigurumi pattern ideas:

Now available
Low-Mess Crafts for Kids Book
72 cute and fun crafts that kids and parents alike can enjoy. All with as little mess as possible!
Where to buy:
You can purchase Low-Mess Crafts for Kids from Amazon, or wherever books are sold:
Amazon | Barnes and Noble | Books-A-Million | Indiebound | Amazon Canada






Leave a Reply