
Looking for an easy Easter craft that’s as cute as it is clever? These bunny tin can planters are the perfect way to turn an ordinary recycled can into an adorable spring decoration! With simple supplies like craft foam, googly eyes, and a fluffy pom pom nose, you can create a sweet little bunny planter that’s almost too cute to handle.
Pop in a small potted flower, fill it with treats, or use it as a festive table decoration for Easter brunch. It’s a fun craft for kids and adults alike, and it’s a great way to reuse tin cans in a creative way. So grab your supplies and let’s make a bunny that’s ready to hop right into spring!

This post contains affiliate links. If you use these links to buy something, we may earn a small commission at no extra cost to you. This helps support our website and allows us to keep creating fun, free content.
How to Make Bunny Tin Can Planters
Materials:
- FREE Printable Bunny Planters Template
- Large tin can (18 ounce)
- Multi-surface acrylic paint (white)
- Craft foam sheets (white and pink)
- 2 White pom pom(s) (1 inch)
- Mini pom poms (pink; 5mm)
- Large white pom pom(s) (2 inches)
- Large googly eyes (25mm)
Equipment:
Instructions:
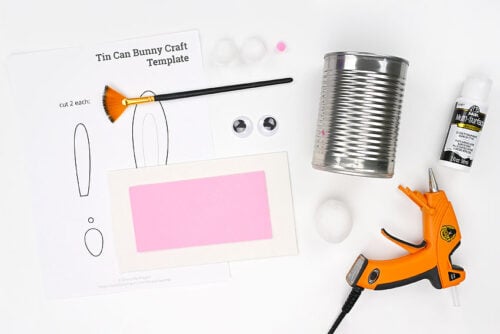
Step 1: Find what you need
- Gather your supplies and materials.

Step 2: Paint the can and cut the template pieces
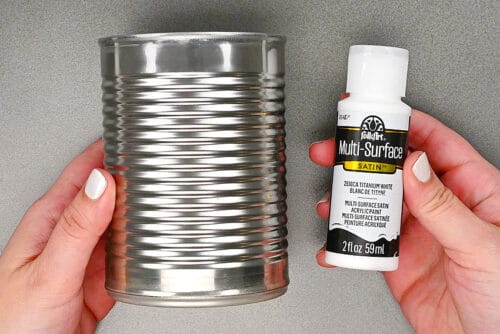
- You’ll need an empty 18 ounce can that’s been washed and dried to make your bunny planter.To make the can white, we recommend using multi-surface acrylic paint.
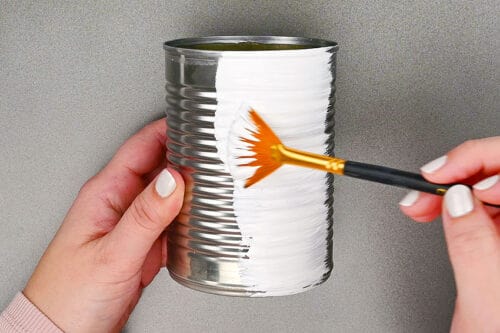
- Paint the outside of the can white and then allow to dry.A fan style brush will give you nice, even coverage.

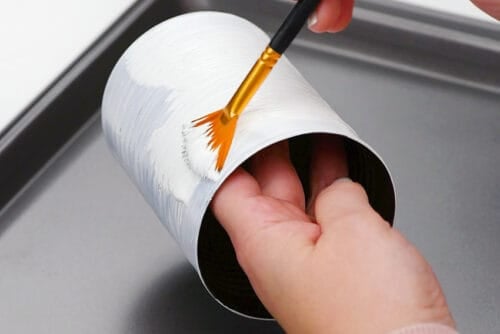
- Add a second coat of paint, making sure you get the top rim of the can as well.Again, allow to dry.
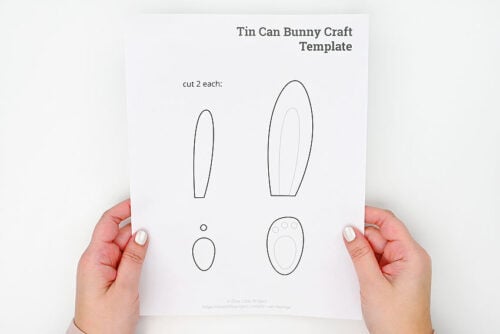
- Print our tin can bunny template and cut out the pieces.
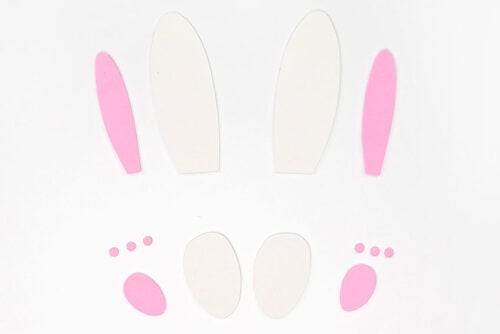
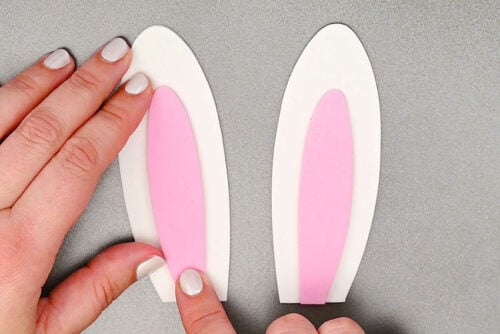
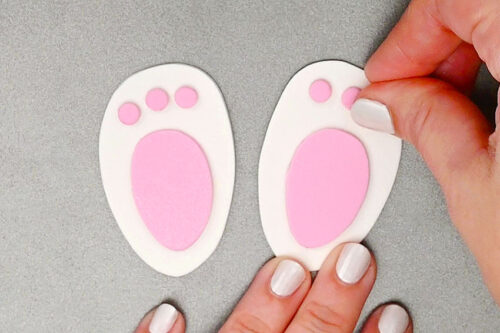
- Cut the outside of the feet and ears from white craft foam, and the inside pieces from pink craft foam.
Step 3: Create the bunny
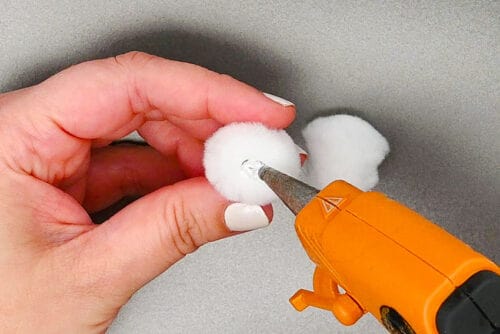
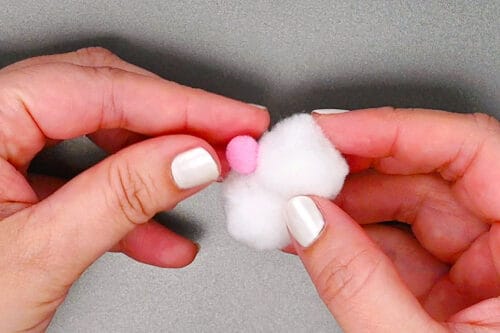
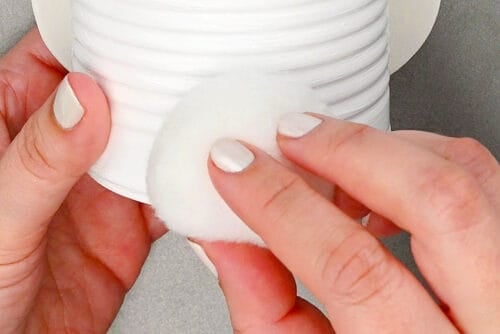
- Begin by adding hot glue to a 1 inch white pom pom.
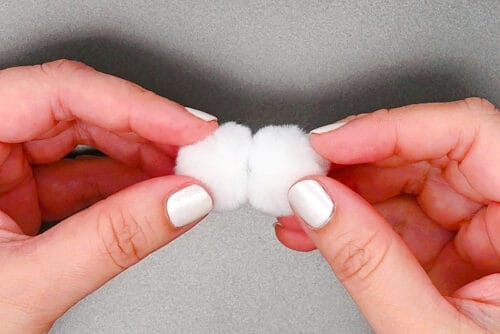
- Connect the pom pom to another 1 inch white pom pom.
- Then glue a pink 5mm pom pom to where the 2 pom poms connect, creating 2 cheeks with a tiny nose.
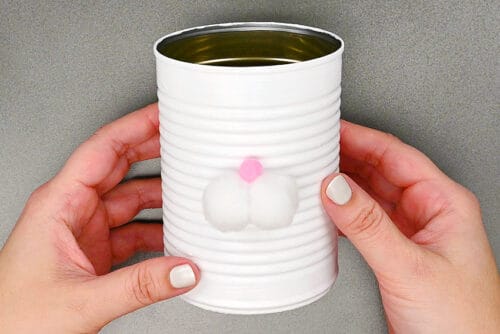
- Add glue to the back of the white pom poms before placing them in the center of the can, with the nose facing up.
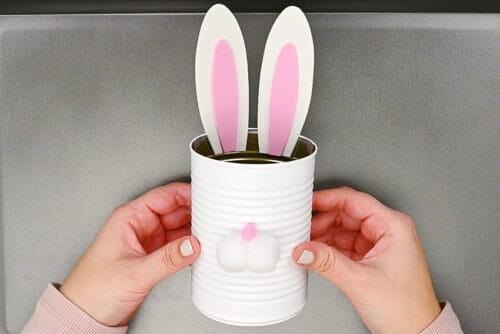
- Glue the inner ears to the outer ears, lining the pieces up at the bottom.
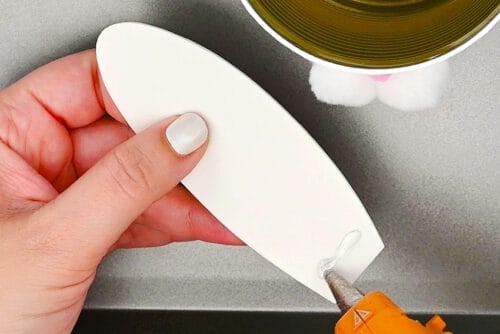
- Then add glue to the back of the ears, at the bottom.
- Connect the ears to the inside back of the can, opposite the nose.
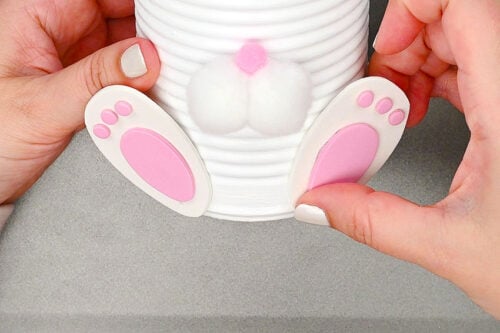
- Then glue the feet pieces together. The toes go on the wider end of the feet.
- Add the feet to the front of the can, so they go out on an angle, away from the nose.
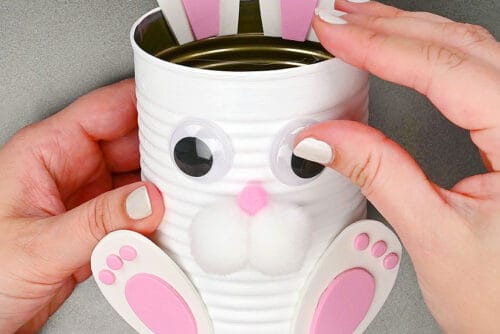
- Then glue googly eyes onto the can. We went with large kawaii eyes, but you can choose whichever size you’d like.
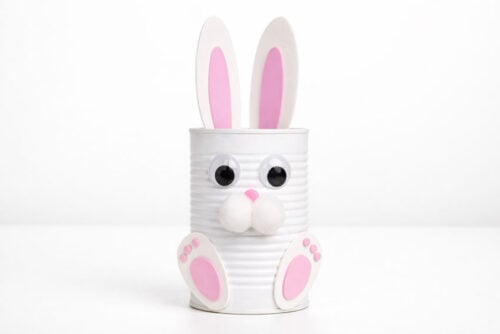
- Finally, glue a 2 inch pom pom to the bottom back of the can, for a giant, poofy tail.
- Your bunny tin can planter is complete!
Helpful Tips:
- Want perfectly round bunny toes? Use a one hole punch on the craft foam to create easy circles.
- Create even coverage: Allow paint to dry completely before adding your second or third coat. And use a fan brush to create an extra smooth surface!

Download our free bunny tin can planters template:
Click on the link below to download our free, printable template for the bunny planter’s ears and feet! The PDF file will open in a new window. Then simply print the template on 8.5 x 11 (letter size) printer paper or cardstock.
>>> Bunny Tin Can Planters Template <<<
Can I make these tin can planters if I don’t have craft foam?
We love the craft foam look, but if you don’t have any you can also use stiff felt or cardstock for the bunny ears and feet. Just be careful not to get them wet if you use your tin can bunny as a plant pot!

Can I use this tin can bunny as a spring planter?
Yes, you absolutely can! Slip a plant pot into the can, if it fits, or create holes in the bottom of your tin can for drainage. You can do this by hammering a nail into the bottom of the can. This will stop the soil from staying too moist, which can cause bulb rotting.
How else can I use this tin can bunny?
This little bunny makes a perfect pencil holder, Easter treat holder, or different style of Easter basket. It also looks adorable just sitting as part of your DIY spring decor!

What paint is best for making bunny tin can planters?
We highly recommend using multi-surface acrylic paint. It gives much better coverage than regular acrylic paint, meaning you’ll need fewer coats. Even with this good paint we needed 2 to 3 coats per can. So if you use regular paint you’d be looking at 5 or 6 coats to cover it nicely, and no one has time for that!
You can also use white spray paint if you have it. Do this outside or in a very well ventilated area. Allow to dry well before touching!

These bunny tin can planters are proof that the sweetest decorations don’t have to be complicated. With just a few simple materials and a recycled can, you can create a cheerful little bunny that brightens up any space.
Set your bunny on a shelf, gift it to a friend, or let the kids proudly display their handiwork. However you use it, it’s a craft that’s sure to make people smile as it hops into your spring decor!
Here’s even more Easter bunny craft ideas:

Egg Carton Bunny Finger Puppet


Now available
Low-Mess Crafts for Kids Book
72 cute and fun crafts that kids and parents alike can enjoy. All with as little mess as possible!
Where to buy:
You can purchase Low-Mess Crafts for Kids from Amazon, or wherever books are sold:
Amazon | Barnes and Noble | Books-A-Million | Indiebound | Amazon Canada


Leave a Reply