
How to Make Bunny Tin Can Planters
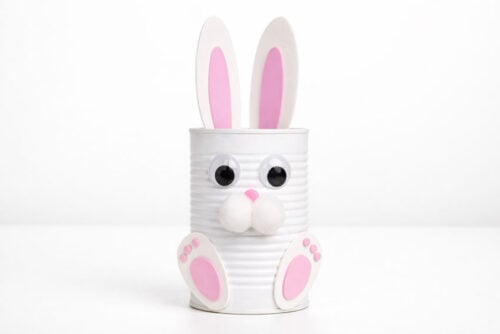
This tin can bunny is truly adorable! Decorate a recycled tin can, transforming it into a white bunny rabbit. It makes a great spring planter or other piece of DIY decor for Easter.
Yield: 1 tin can bunny
Cost: $1
Equipment
Materials
- FREE Printable Bunny Planters Template
- Large tin can (18 ounce)
- Multi-surface acrylic paint (white)
- Craft foam sheets (white and pink)
- 2 White pom pom(s) (1 inch)
- Mini pom poms (pink; 5mm)
- Large white pom pom(s) (2 inches)
- Large googly eyes (25mm)
Instructions
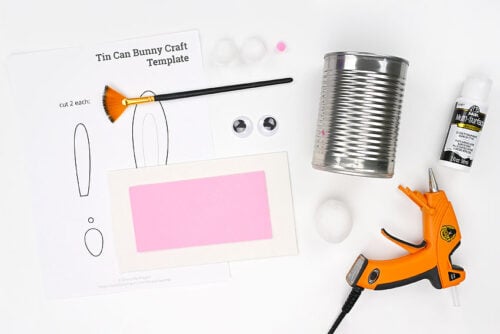
Step 1: Find what you need
- Gather your supplies and materials.
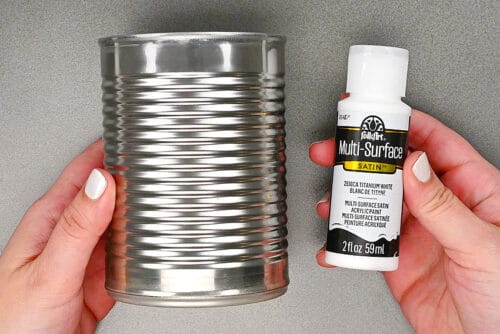
Step 2: Paint the can and cut the template pieces
- You'll need an empty 18 ounce can that's been washed and dried to make your bunny planter.To make the can white, we recommend using multi-surface acrylic paint.
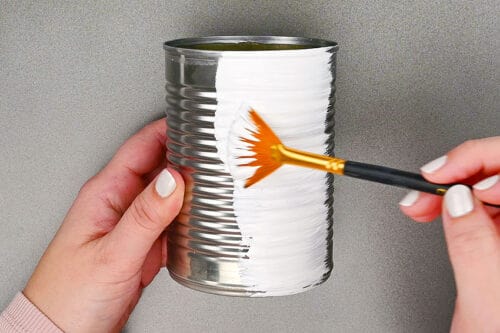
- Paint the outside of the can white and then allow to dry.A fan style brush will give you nice, even coverage.
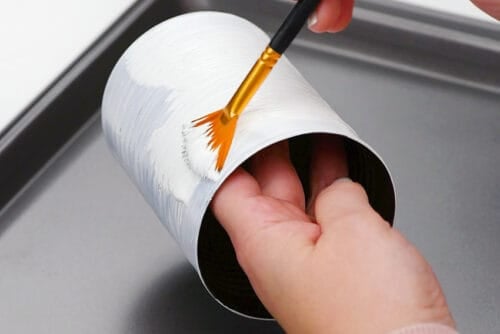
- Add a second coat of paint, making sure you get the top rim of the can as well.Again, allow to dry.
- Print our tin can bunny template and cut out the pieces.
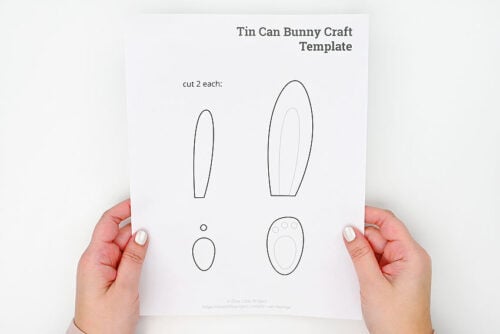
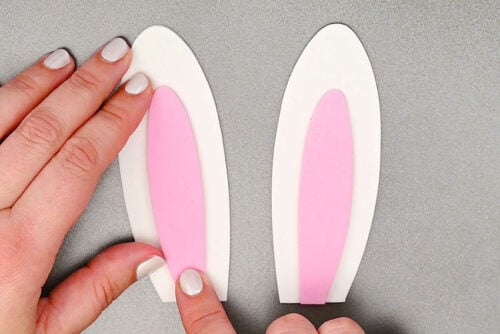
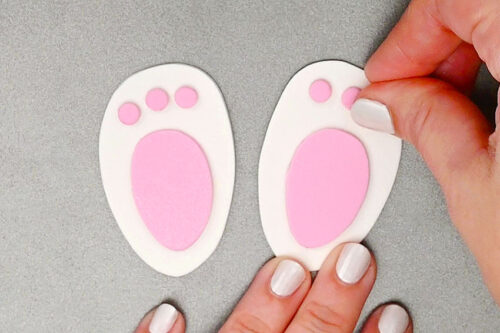
- Cut the outside of the feet and ears from white craft foam, and the inside pieces from pink craft foam.

Step 3: Create the bunny
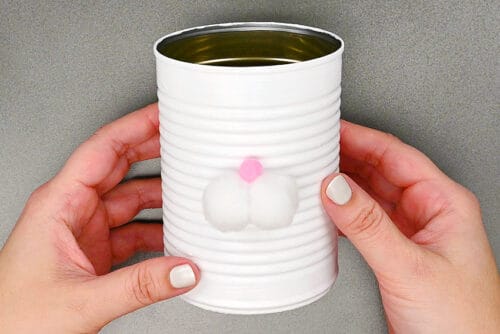
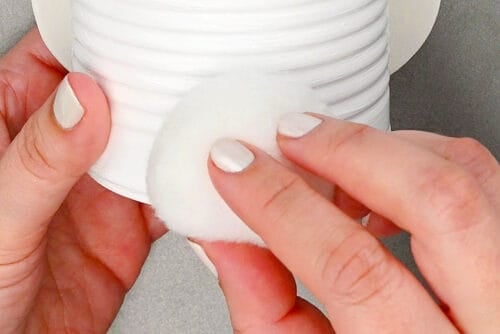
- Begin by adding hot glue to a 1 inch white pom pom.
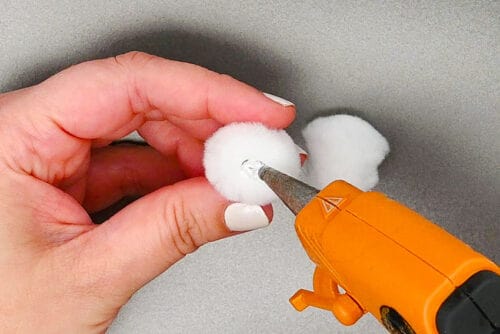
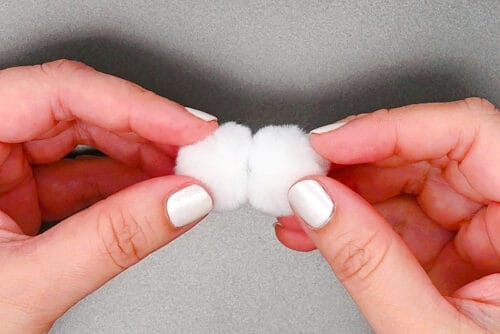
- Connect the pom pom to another 1 inch white pom pom.
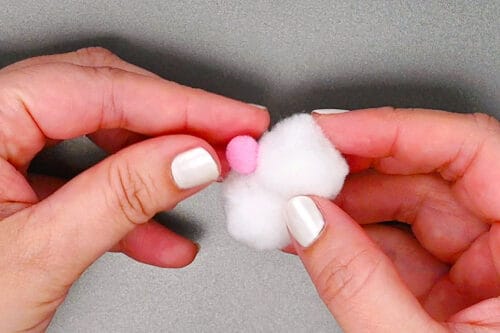
- Then glue a pink 5mm pom pom to where the 2 pom poms connect, creating 2 cheeks with a tiny nose.
- Add glue to the back of the white pom poms before placing them in the center of the can, with the nose facing up.
- Glue the inner ears to the outer ears, lining the pieces up at the bottom.
- Then add glue to the back of the ears, at the bottom.
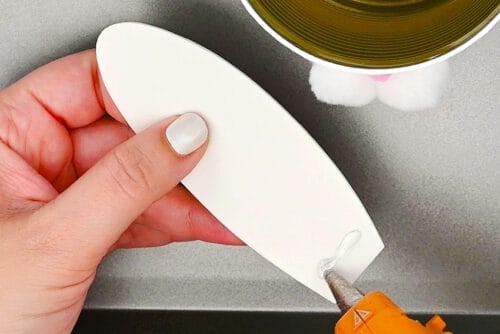
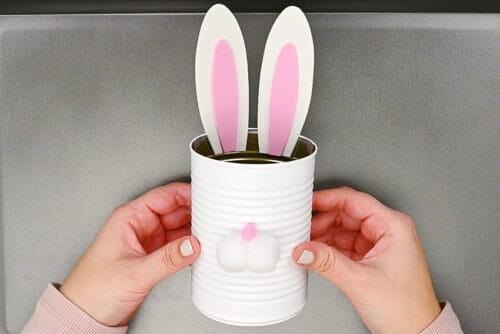
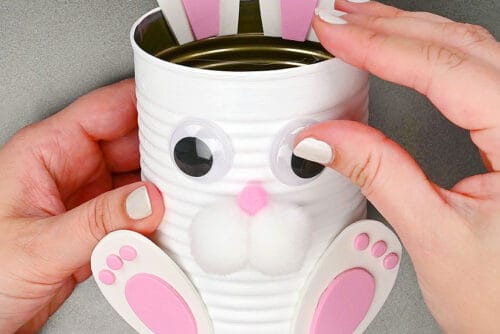
- Connect the ears to the inside back of the can, opposite the nose.
- Then glue the feet pieces together. The toes go on the wider end of the feet.
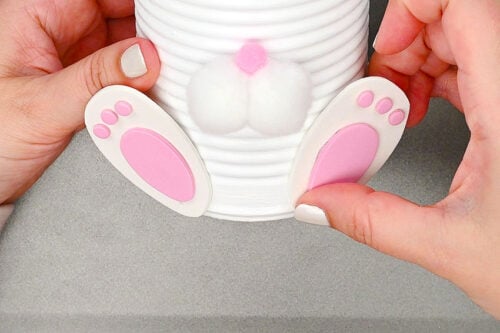
- Add the feet to the front of the can, so they go out on an angle, away from the nose.
- Then glue googly eyes onto the can. We went with large kawaii eyes, but you can choose whichever size you'd like.
- Finally, glue a 2 inch pom pom to the bottom back of the can, for a giant, poofy tail.
- Your bunny tin can planter is complete!
Notes
Looking for more recycled crafts? Here's a few of our favourites:
Decoupage Tin Can Planters
Plastic Bottle Butterfly
DIY Piggy Bank