

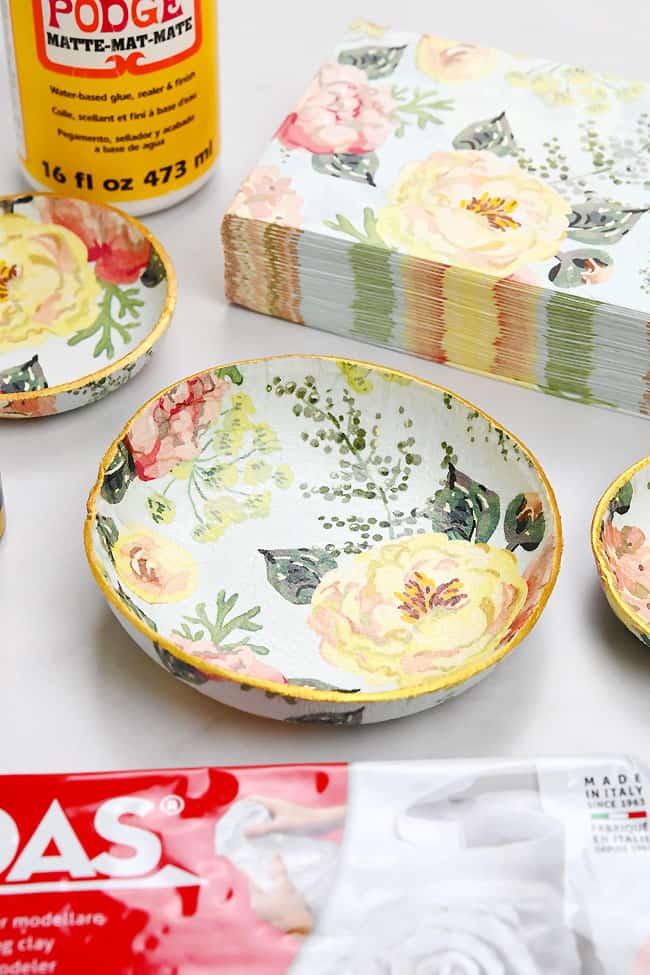
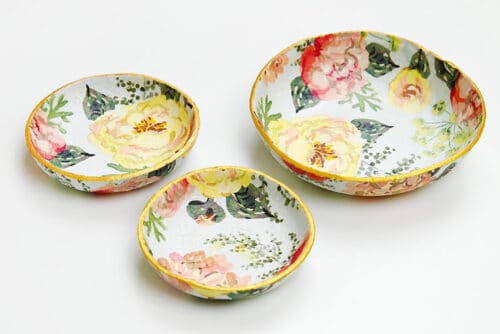
These patterned air dry clay bowls are such a pretty way to turn simple clay into handmade home decor! The napkin transfer technique adds colourful and delicate details to each bowl, giving them a beautiful painted look — no fancy art skills required.
This air dry clay craft is perfect for teens, adults, seniors, or older kids who love making creative DIY gifts. Use the finished bowls as trinket dishes, ring holders, or decorative catch-all bowls for small treasures. Add a little gold paint around the edges, and each handmade clay bowl looks extra polished and gift-worthy.
This post contains affiliate links. If you use these links to buy something, we may earn a small commission at no extra cost to you. This helps support our website and allows us to keep creating fun, free content.
How to Make a Patterned Air Dry Clay Bowl
Equipment:
- Nitrile gloves (optional)
See the craft in action:
Instructions:
Step 1: Find what you need
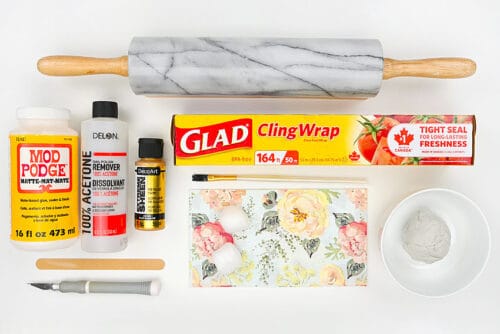
- Gather your supplies and materials.

Step 2: Choose a napkin
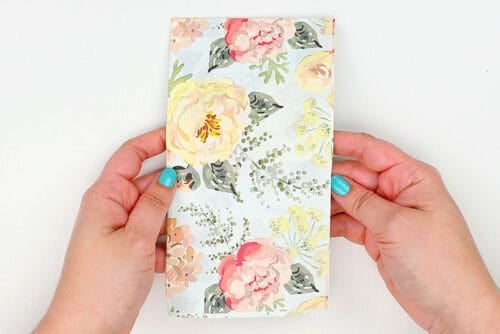
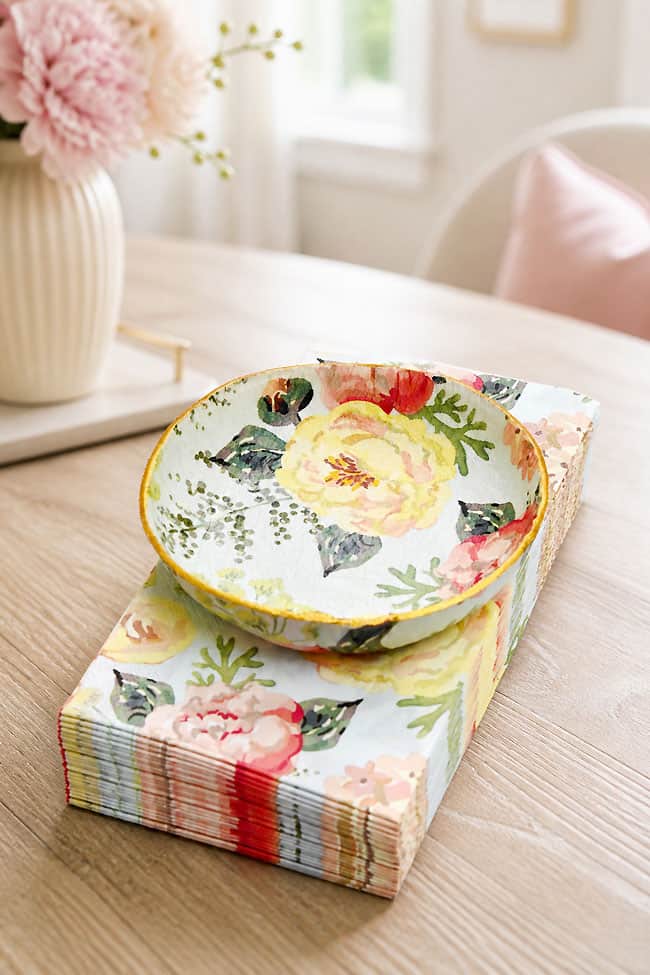
- To decorate your bowl you’ll need a regular paper napkin.
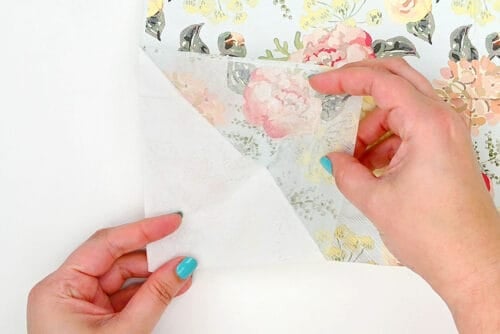
- Unfold the napkin and carefully peel off the top patterned layer. You only need this top layer.
Step 3: Roll out the clay
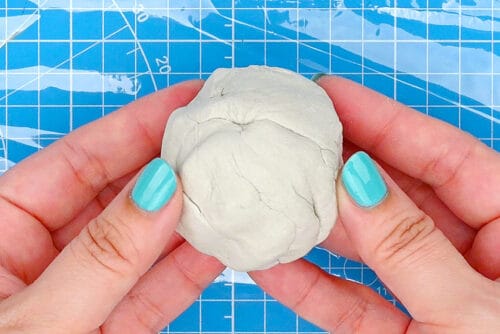
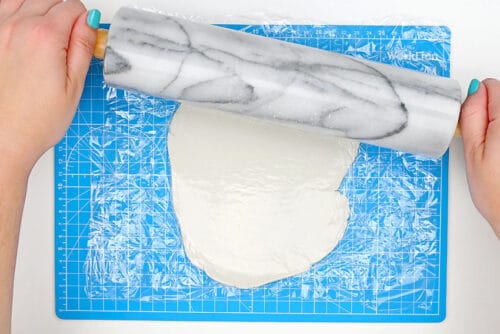
- Place a piece of plastic wrap on a cutting board. Add a ball of conditioned clay to the center of the plastic wrap and cover it with another piece.This ensures the clay won’t stick to the cutting board or your rolling pin.
- Roll out the clay until it’s about 3/8 inch thick.
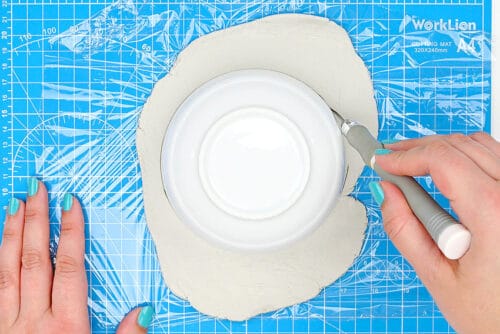
- Then place a bowl upside-down on the clay and use a knife to cut around it.We actually like to use the back of our craft knife or a dull butter knife to do this. This ensures you don’t cut through the plastic wrap and can use it again.
Step 4: Add the napkin to the clay circle
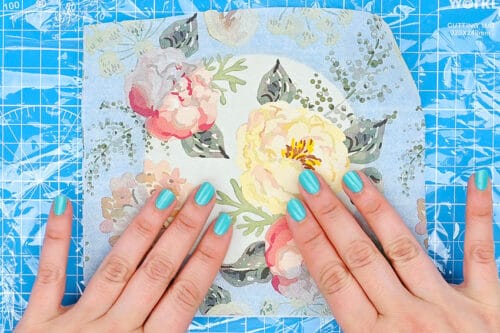
- Find a section of the napkin that you like and cut it to a smaller size — just larger than the circle. Place it onto the clay and use your fingertips to smooth it out.

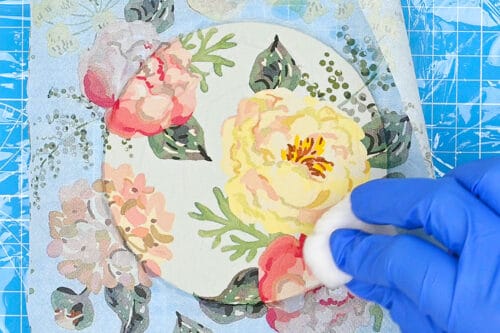
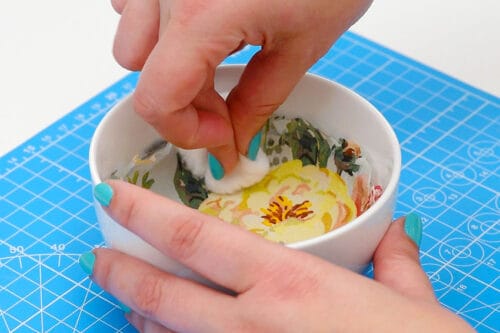
- Now dip a cotton ball into acetone nail polish remover. Use the cotton ball to smooth out the napkin even more, helping it adhere to the clay.(Acetone can be harsh on skin, but you don’t have to wear a glove unless you’re wearing nail polish and don’t want it ruined!)
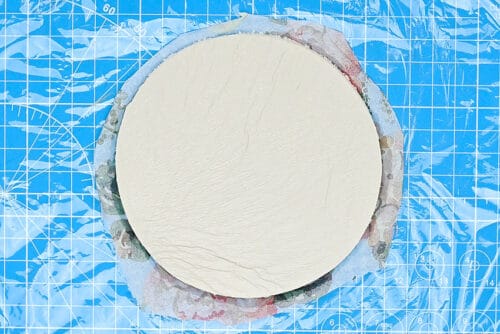
- Trim the napkin down around the edge of the clay, leaving just a bit extra around it.Then pick up the plastic wrap to help you flip over the clay piece.
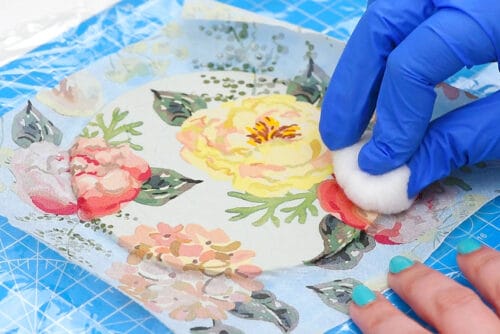
- Cut another piece of napkin and use acetone to adhere it to the back of the clay. You can leave this napkin piece larger to help you shape it into the bowl.
Step 5: Shape the clay bowl and allow to dry
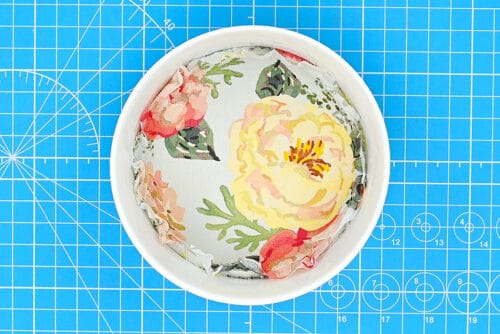
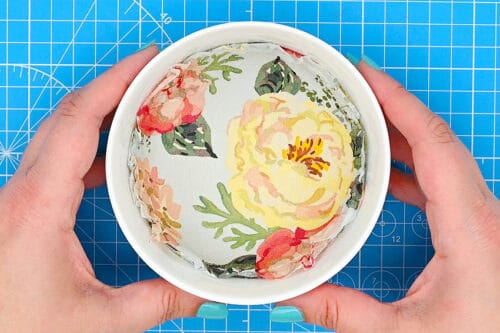
- Pick up the clay piece and gently push it into the bowl.You can rip or cut off the excess napkin now.
- If needed, use more acetone to smooth down any areas of the napkin that separated a bit.
- Allow to dry overnight.
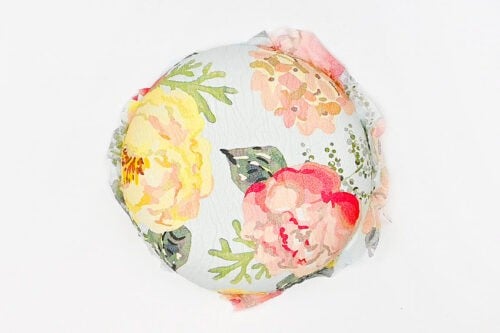
- Then remove the clay bowl from the bowl mold and set it upside-down so the bottom can dry.Let it dry overnight again.
Step 6: Add the finishing touches
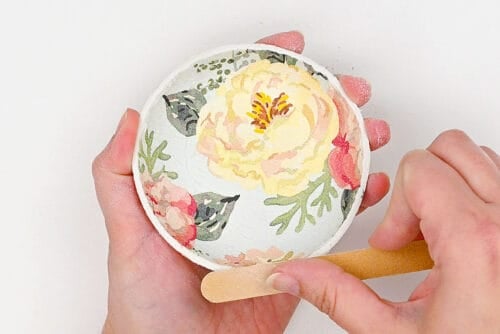
- Once the bowl is dry, use an emery board or nail file to clean up the edges, removing the excess napkin from the edge of the bowl.
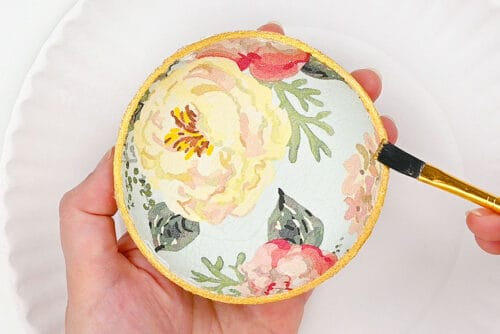
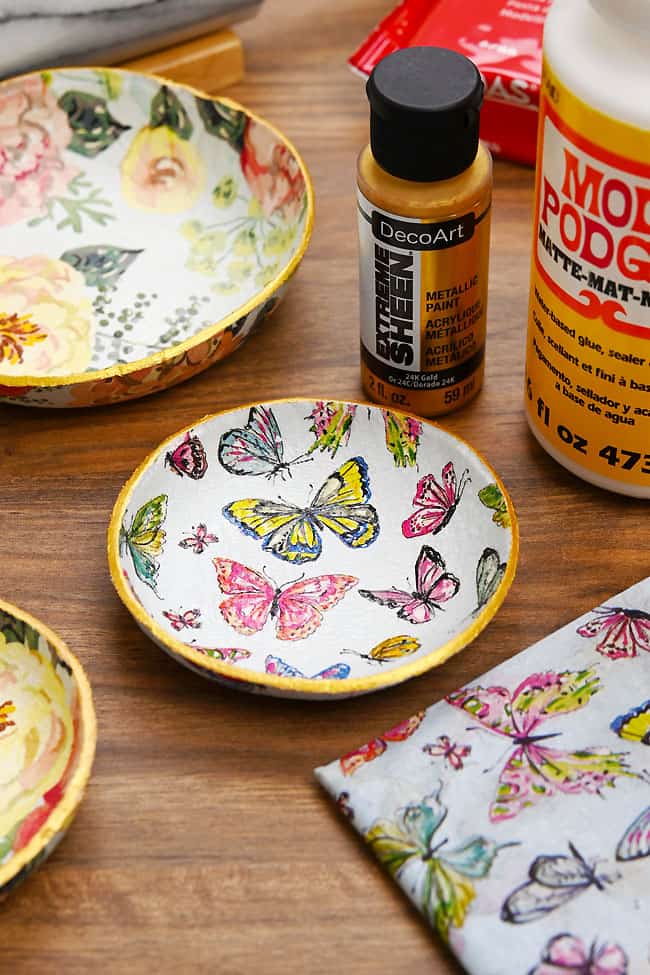
- Paint the rim of the dish with gold metallic paint. Allow to dry.
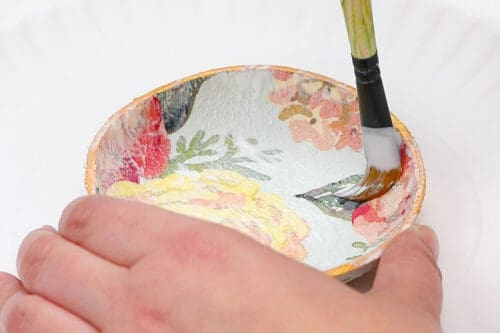
- Then brush a coat of matte Mod Podge onto the bowl. Once the inside has dried, repeat on the outside of the bowl.
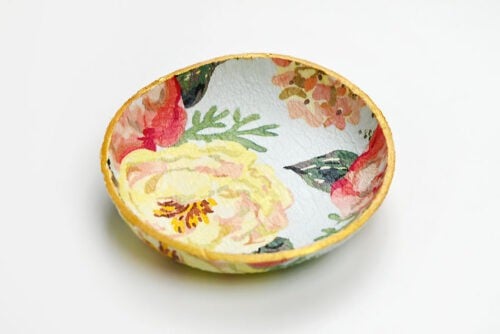
- Your patterned air dry clay bowl is complete!
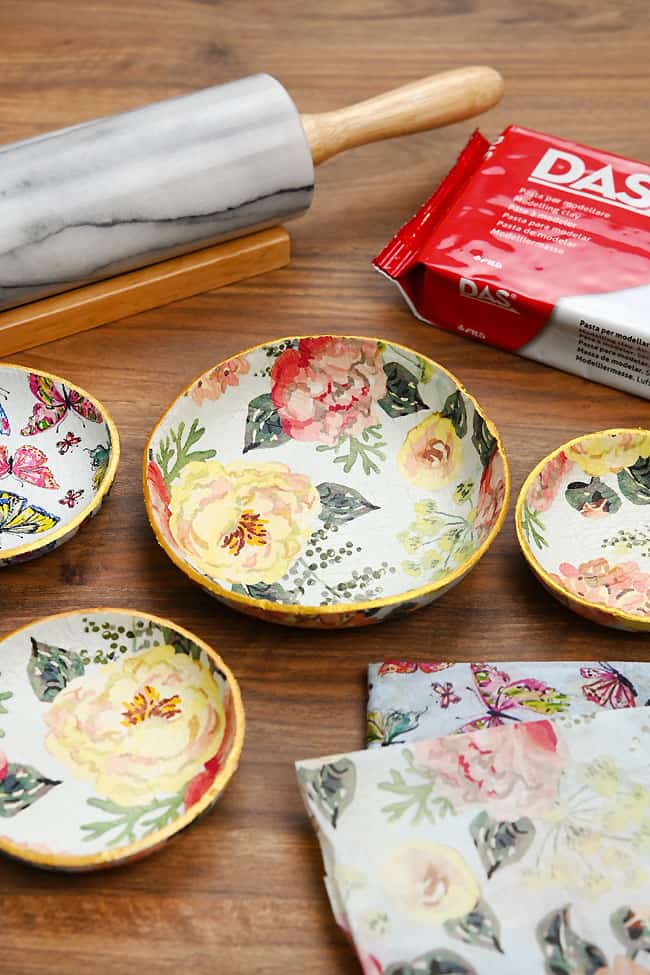
- Have fun making these patterned trinket dishes in various sizes and patterns!
Helpful Tips:
- Test your napkin first: Before adding the napkin design to your clay bowl, test a small piece with acetone to make sure the colours don’t bleed. Some napkins transfer more cleanly than others, so it’s always best to check first.
- Use a gold paint marker for the rim: If you’re nervous about painting the edge of the bowl with a brush, try using a gold paint marker instead. It gives you more control and makes it easier to create a neat, polished rim.
- Use cotton balls, cotton rounds, or Q-tips: Cotton balls work well for applying the acetone, but you can also use a cotton round or Q-tip.
What type of clay should I use to make these trinket bowls?
We recommend using air dry clay for these patterned clay bowls. A quality clay like DAS works really well because it’s smooth, easy to shape, and less likely to crack as it dries.
You can also use this napkin transfer technique with polymer clay, but polymer clay needs to be baked to harden. Follow the directions on your package, or bake at 275°F for 15 minutes per 1/4 inch of thickness.
Do I have to add the napkin to the wet clay bowl?
No, you don’t have to add the napkin design while the clay is wet. You can also let the clay bowl dry completely and use Mod Podge to decoupage the napkin onto the finished bowl. Both methods work.
However, we found that using acetone to transfer the napkin design onto the wet clay helped the napkin go on more smoothly than a typical decoupage method.
How long do the air dry clay bowls take to dry?
These air dry clay bowls take about 48 hours to dry completely on both sides, but you may want to wait 72 hours to be safe.
Let the clay bowl dry overnight inside the bowl you used as a mold. Then carefully remove it and place it upside down so the bottom of the clay bowl can dry fully.
Do I have to seal this air dry clay bowl?
Yes, we recommend adding a thin coat of Mod Podge to seal the napkin design and help the bowl last longer. This protects the patterned surface and gives the finished clay bowl a more durable finish.
You can also seal the bowl with an acrylic spray sealer, polyurethane, or resin, depending on the look and level of protection you want.
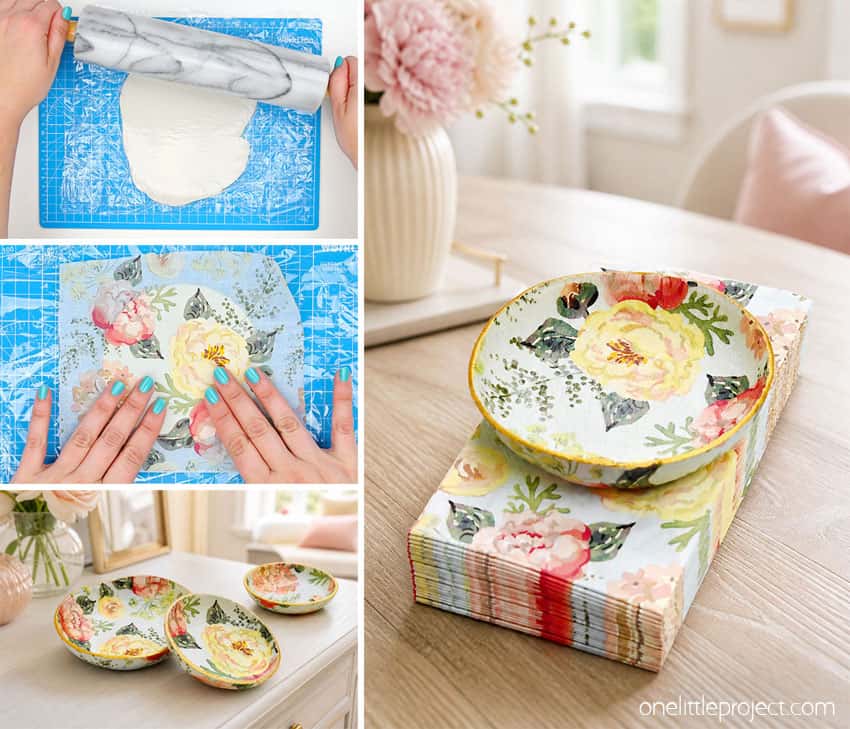
These patterned air dry clay bowls are such a beautiful way to turn a simple craft material into something that looks polished and handmade. The napkin transfer adds so much colour and detail, and the gold rim gives each bowl a pretty finished look.
Use these clay bowls to hold keys, jewelry, or other small trinkets. They also make a lovely homemade gift idea for friends and family. It’s so easy to choose napkin designs that match your recipient’s style and favourite colours!
Here’s even more clay craft ideas:


Now available
Low-Mess Crafts for Kids Book
72 cute and fun crafts that kids and parents alike can enjoy. All with as little mess as possible!
Where to buy:
You can purchase Low-Mess Crafts for Kids from Amazon, or wherever books are sold:
Amazon | Barnes and Noble | Books-A-Million | Indiebound | Amazon Canada






Leave a Reply