


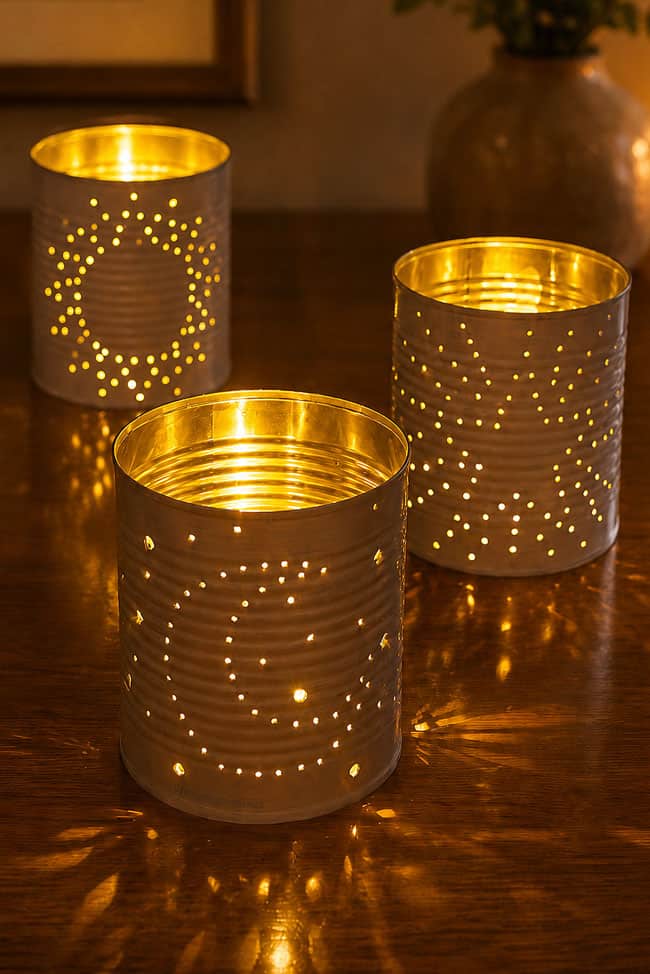
These tin can lanterns are such a fun way to turn an empty can into a glowing handmade decoration! With a simple punched pattern and added fairy lights, these DIY lanterns create the prettiest little dots of light on the table, wall, or ground around them.
These tin can lanterns are inexpensive to make, and they’re a great upcycled craft for older kids, teens, and adults. Make a celestial lantern with a moon and stars or sunburst design, or create a simple dotted pattern. Whatever design you choose, this easy summer craft makes a beautiful outdoor decoration for the backyard, patio, or a cozy evening outside.
This post contains affiliate links. If you use these links to buy something, we may earn a small commission at no extra cost to you. This helps support our website and allows us to keep creating fun, free content.
How to Make Tin Can Lanterns
Materials:
- Large tin can
- Free Printable Sun Template
- Multi-surface acrylic paint (white or colour of choice)
- Fairy lights
Equipment:
- Wheat kernels (optional)
See the craft in action:
Instructions:
Step 1: Find what you need
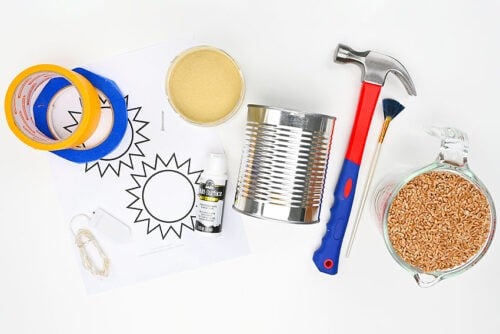
- Gather your supplies and materials.

Step 2: Prepare the tin can
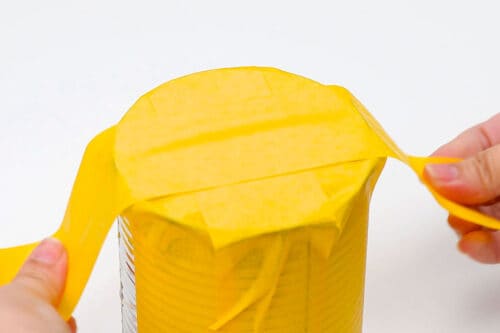
- Begin by filling the tin can with wheat kernels or another item (read more options below).This helps support the metal while you hammer in the nail holes, keeping it from losing its shape.
- Now use masking tape to seal the top of the can, keeping the wheat in place.

- We used long strips of tape and then added another piece around the can to keep them in place.


Step 3: Add the template
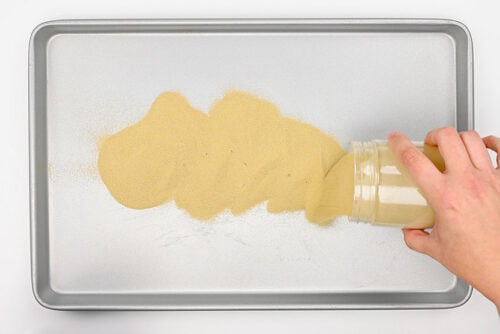
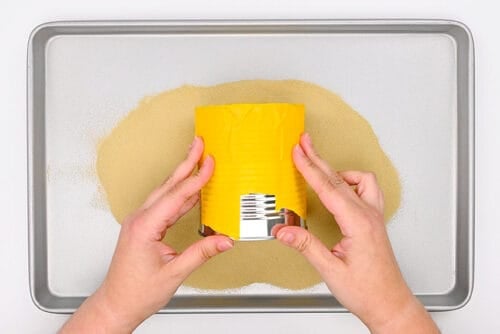
- Add a layer of sand to a baking tray.
- Then nestle the can into the sand. This will help keep the can in place while you hammer the holes.If you don’t have sand, you can use a folded towel, rice, or a non-slip mat to help stop the can from rolling. Sand works especially well because it molds around the curved can and keeps it steadier as you work.
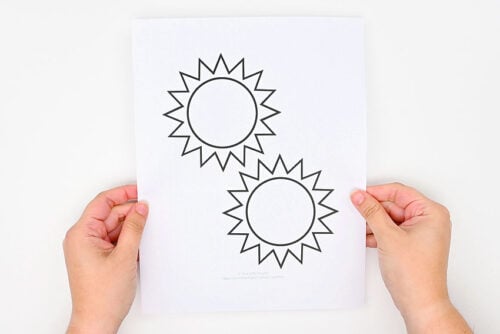
- Print one of our free templates. Find one linked in the materials list above, with lots more options listed below.
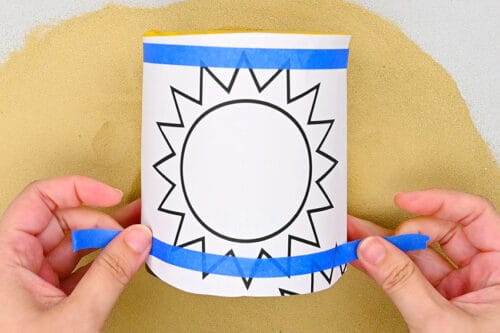
- Cut around the template so it fits on the can and then tape it in place.
Step 4: Make holes in the can
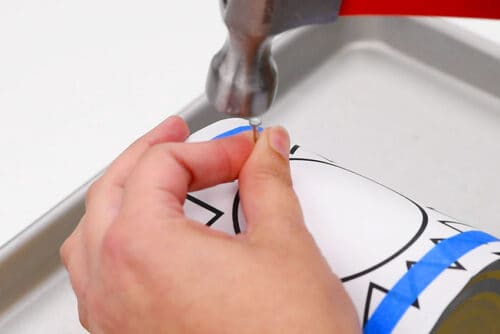
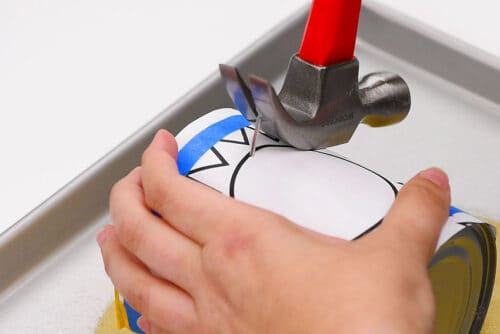
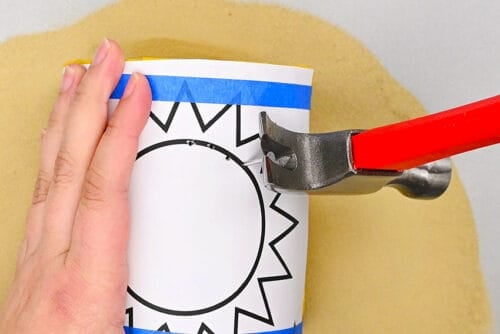
- Hammer a nail into the can on one of the lines of the template.
- Remove the nail from the can.
- Repeat, hammering holes about 1/4 inch apart.
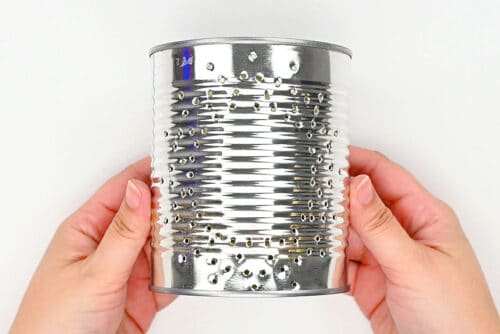
- Go around the template making holes until the whole shape is hammered in.

Step 5: Paint the lantern
- Remove the template and tape from your can. Pour the wheat kernels back into its bag to be used again.
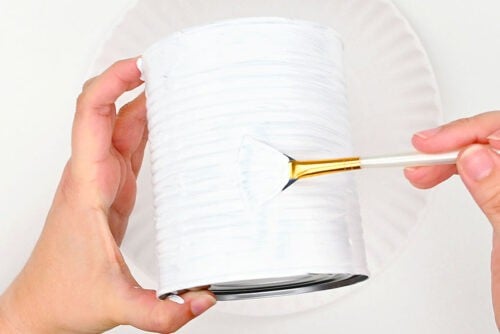
- Paint the outside of the can with multi-surface acrylic paint. We find a fan brush does the best job at not leaving brush marks on the can.Allow to dry.
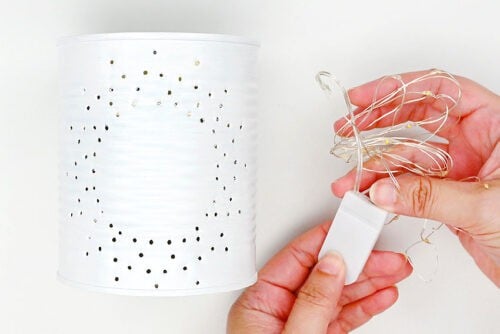
- Add fairy lights or another light source into your lantern and put it on display!
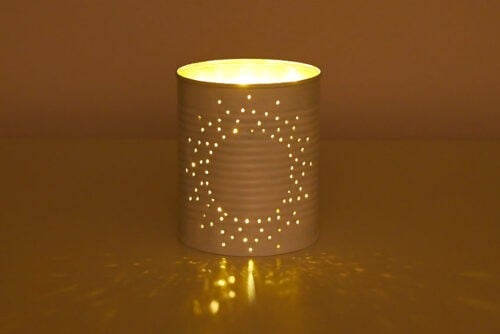
- Your tin can lantern is complete!
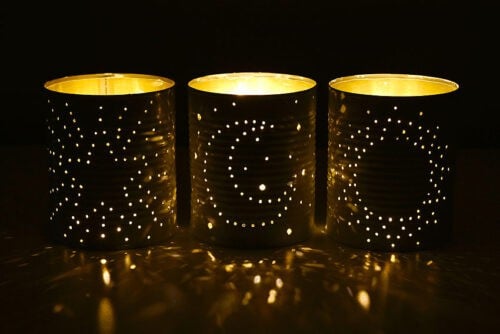
- Have fun making different designs and watch them light up the night.
Helpful Tips:
- Paint them white or add bright colours: We painted our tin can lanterns a neutral white, which looks clean and lets the glowing pattern really stand out. You can also paint them in bright summer colours for a fun backyard, patio, or camping decoration.
- Clear any paint from the holes: If paint dries inside some of the punched holes, use the same nail or a toothpick to gently poke through them again. This helps open the holes back up so the light can shine through clearly.
What can I fill the can with before hammering the holes?
We filled our cans with wheat kernels that we had leftover from testing recipes for DIY hand warmers, and they worked well to support the can while we hammered the nail holes. You can also use rice, or you can fill the can with water and freeze it until solid before punching the design.
Avoid filling the can with very small-grained items like sand, flour, or sugar. As soon as you hammer the first hole, those fine granules can start spilling out through the holes and make a mess. (Oops, ask us how we know… haha.)
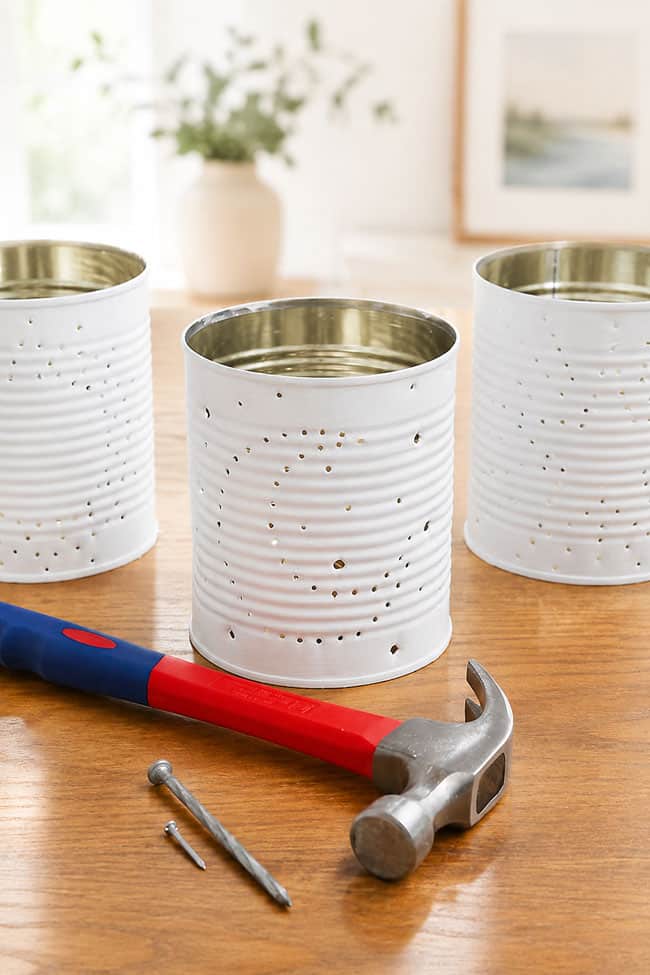
What designs can I make on my tin can lanterns?
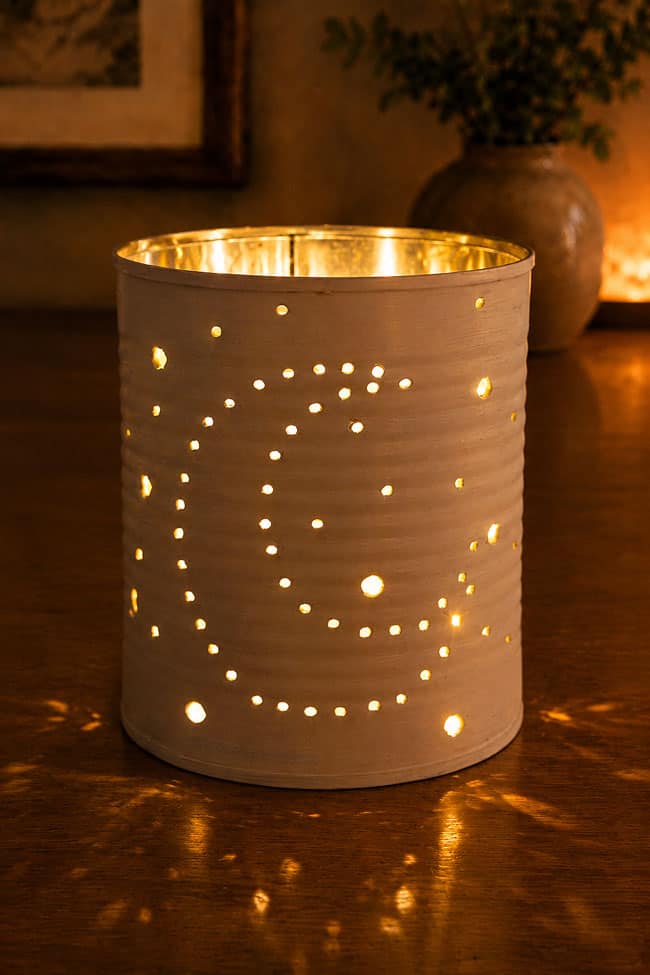
We made celestial tin can lanterns with sun, moon, and star designs, but there are so many other simple patterns you can try:
- Waves
- Curved lines
- Geometric designs
The best lantern designs are made with dots, simple shapes, and clean lines. Templates with too much detail can be harder to punch into the can, so keep the design bold and easy to follow!
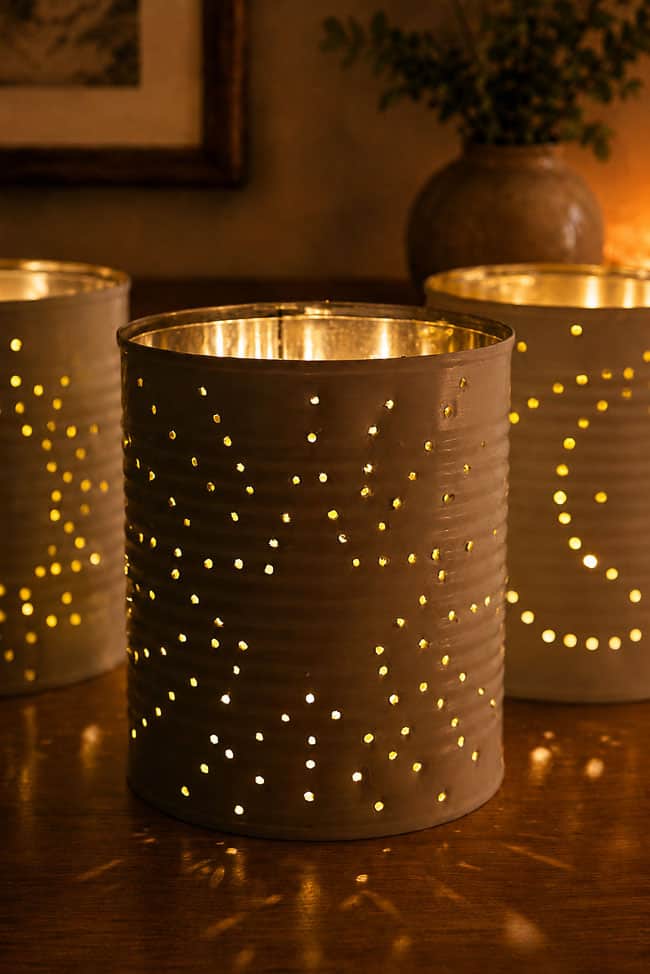
What kind of light should I put inside my tin can lanterns?
Battery operated fairy lights or a flameless tealight candle are the easiest options for tin can lanterns. They’re simple to use, safe for kids to help with, and they don’t make a mess inside the can.
You can also use real tealights or votive candles, but it’s best to choose ones that come in their own small containers. This keeps melted wax from dripping into the bottom of the lantern.
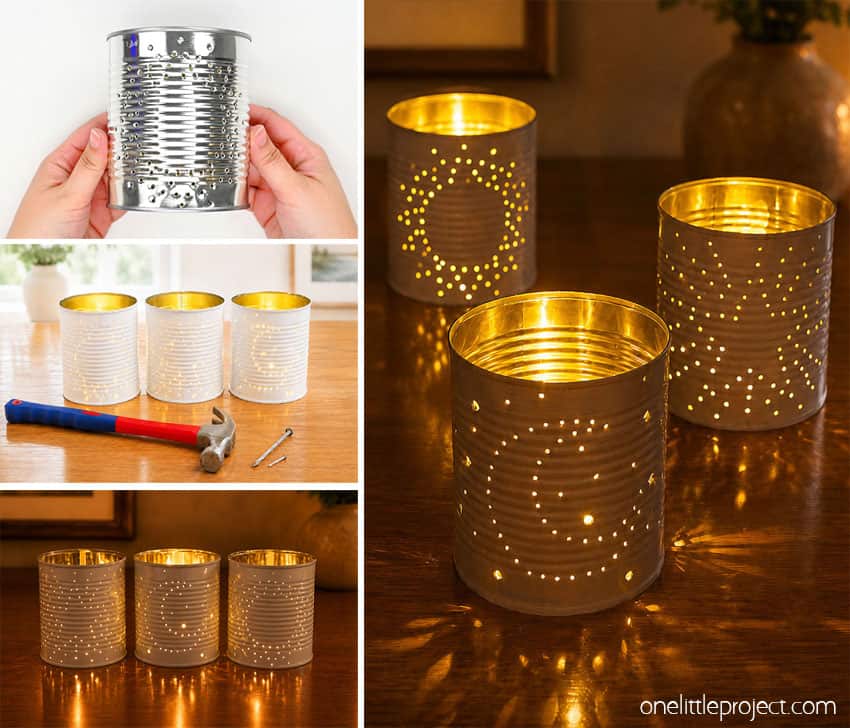
These tin can lanterns are such a pretty way to turn recycled cans into glowing handmade decorations! The punched holes look simple during the day, but once you add a light inside, they create beautiful dots of light around the lantern.
Set them on a patio table, line them along a walkway, or use them as cozy decor for summer nights, camping trips, backyard parties, or quiet evenings outside. They’re inexpensive to make, easy to customize with different paint colours, and such a fun way to reuse empty cans!
Here’s even more DIY lantern ideas:



Now available
Low-Mess Crafts for Kids Book
72 cute and fun crafts that kids and parents alike can enjoy. All with as little mess as possible!
Where to buy:
You can purchase Low-Mess Crafts for Kids from Amazon, or wherever books are sold:
Amazon | Barnes and Noble | Books-A-Million | Indiebound | Amazon Canada








Leave a Reply