
How to Make Tin Can Lanterns
These tin can lanterns are so easy to make, and they look so pretty! They light up the night beautifully, leaving patterned reflections of light on every surface. Make your own DIY lantern today!
Yield: 1 tin can lantern
Cost: $1
Equipment
- Wheat kernels (optional)
Materials
- Large tin can
- Free Printable Sun Template
- Multi-surface acrylic paint (white or colour of choice)
- Fairy lights
Instructions
Step 1: Find what you need
- Gather your supplies and materials.
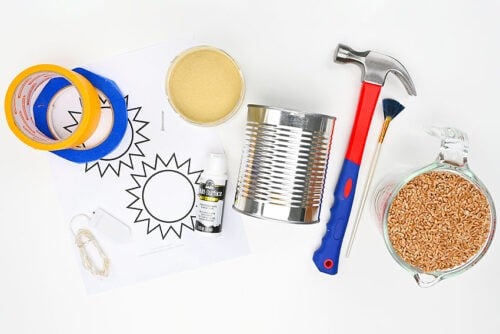
Step 2: Prepare the tin can
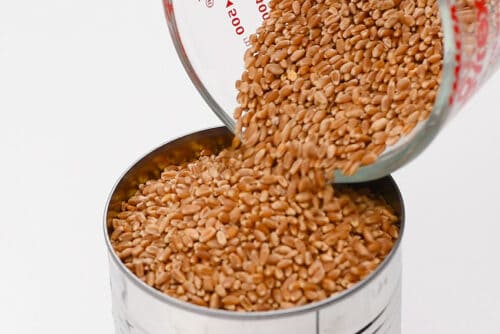
- Begin by filling the tin can with wheat kernels or another item (read more options below).This helps support the metal while you hammer in the nail holes, keeping it from losing its shape.
- Now use masking tape to seal the top of the can, keeping the wheat in place.
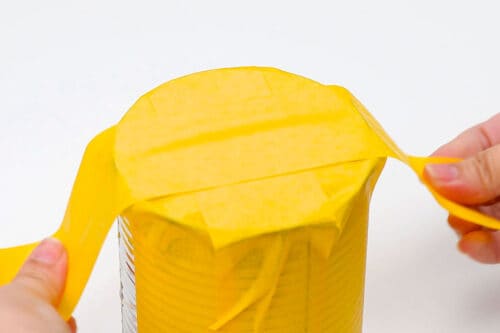
- We used long strips of tape and then added another piece around the can to keep them in place.

Step 3: Add the template
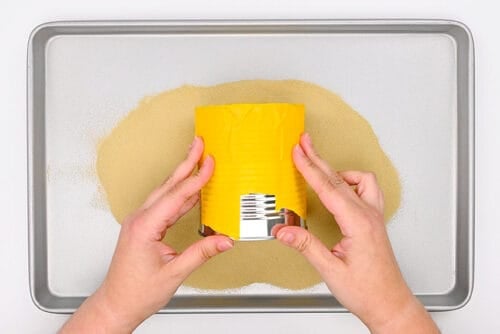
- Add a layer of sand to a baking tray.
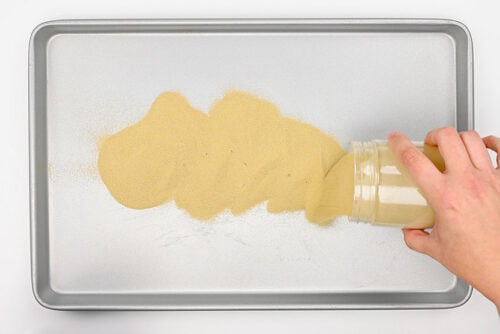
- Then nestle the can into the sand. This will help keep the can in place while you hammer the holes.If you don’t have sand, you can use a folded towel, rice, or a non-slip mat to help stop the can from rolling. Sand works especially well because it molds around the curved can and keeps it steadier as you work.
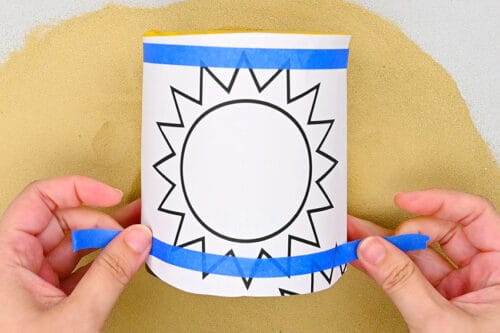
- Print one of our free templates. Find one linked in the materials list above, with lots more options listed below.

- Cut around the template so it fits on the can and then tape it in place.
Step 4: Make holes in the can
- Hammer a nail into the can on one of the lines of the template.

- Remove the nail from the can.
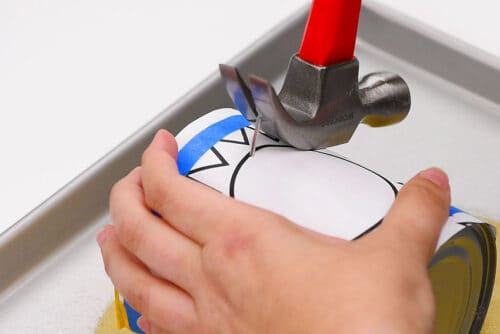
- Repeat, hammering holes about 1/4 inch apart.
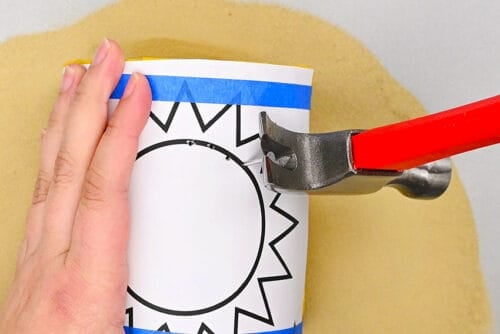
- Go around the template making holes until the whole shape is hammered in.

Step 5: Paint the lantern
- Remove the template and tape from your can. Pour the wheat kernels back into its bag to be used again.
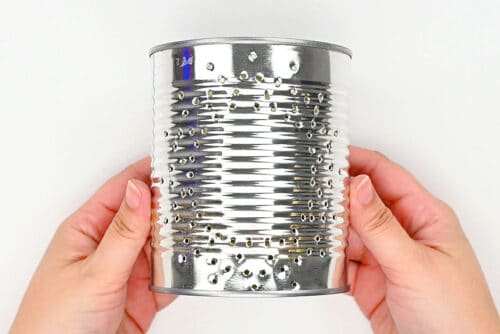
- Paint the outside of the can with multi-surface acrylic paint. We find a fan brush does the best job at not leaving brush marks on the can.Allow to dry.

- Add fairy lights or another light source into your lantern and put it on display!

- Your tin can lantern is complete!
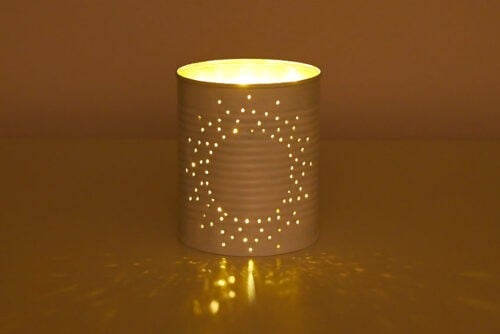
- Have fun making different designs and watch them light up the night.

Video
Notes
Looking for more recycled craft ideas? Here's a few of our favourites:
Decoupage Tin Can Planters
Bunny Tin Can Planters
Plastic Cup Lighthouse Craft