
These Valentine’s mason jar lanterns will instantly make your space feel warmer, cozier, and a little bit magical. Tissue paper decoupage gives them that rosy glow, and the heart-shaped faux stained glass design looks so beautiful when the light shines through. They’re perfect for Valentine’s Day decor, a romantic table setting, or a thoughtful handmade gift.
These mason jar luminaries are a fun and easy Valentine’s Day craft for older kids, tweens, teens, and adults, and you only need a few simple supplies! Make one — or a whole set — for a quick, cozy DIY lantern that looks lovely day or night.

This post contains affiliate links. If you use these links to buy something, we may earn a small commission at no extra cost to you. This helps support our website and allows us to keep creating fun, free content.
How to Make Valentine Mason Jars
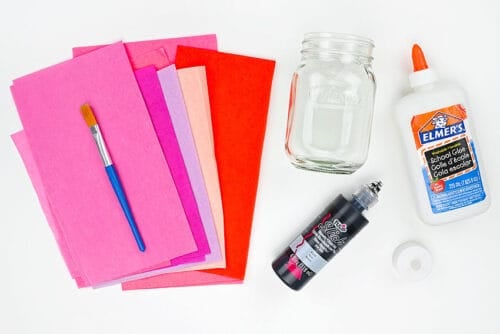
Materials:
Equipment:
See the craft in action:
Instructions:
Step 1: Find what you need
- Gather your supplies and materials.

Step 2: Decoupage the jar
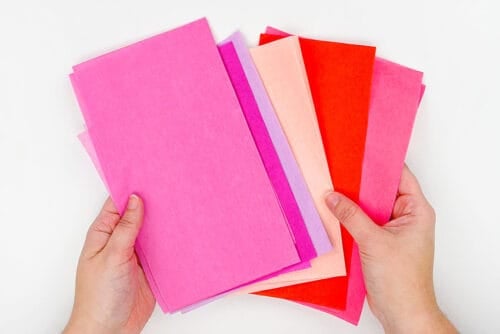
- Gather bleeding tissue paper in complementary shades. You’ll want at least 4 colours.
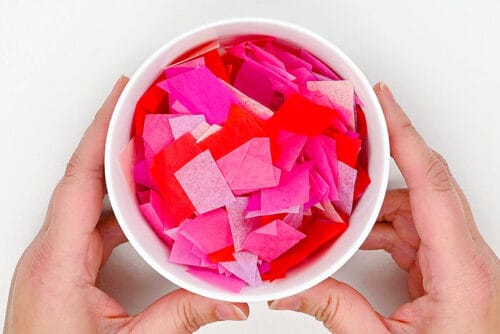
- Cut the tissue paper into little squares, about 1 inch in size. It’s okay if they’re a bit bigger or not uniform.
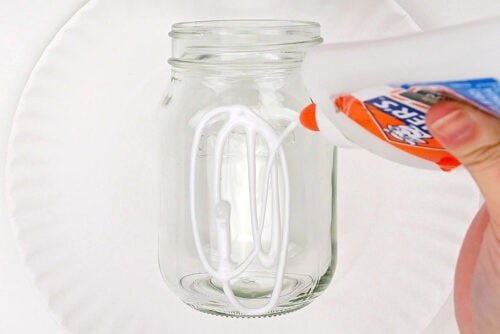
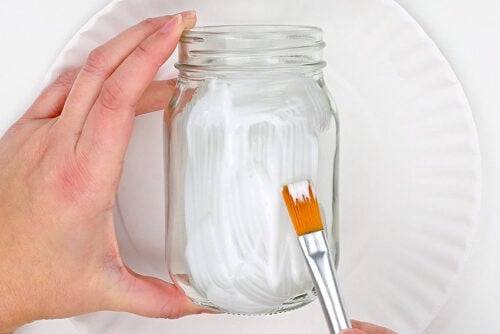
- Add white glue to the outside of a clean mason jar, working 1 side at a time.
- Use a paintbrush to spread the glue around.
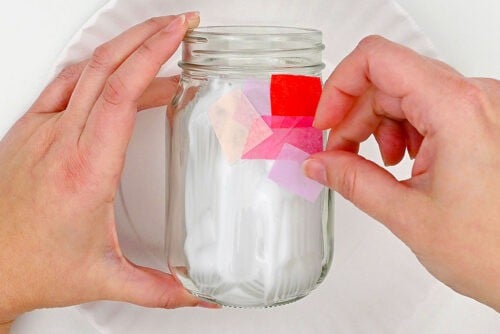
- Add squares of tissue paper into the glue, overlapping them.
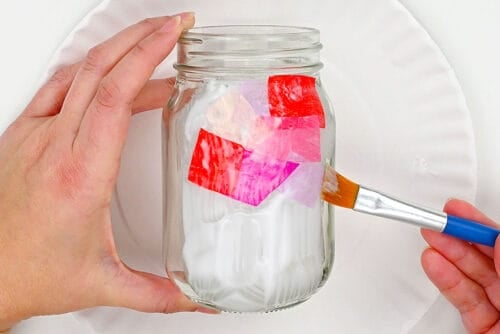
- Use the paintbrush to press the tissue paper down, so the glue soaks through.
- Continue adding tissue paper pieces to the jar and using the brush to adhere them into the glue. Add more glue if necessary.
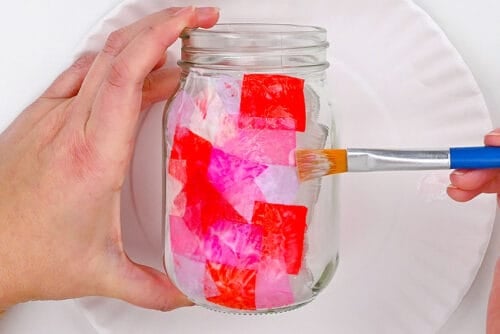
- Repeat this process until the whole jar is covered up to the neck. Allow to dry.
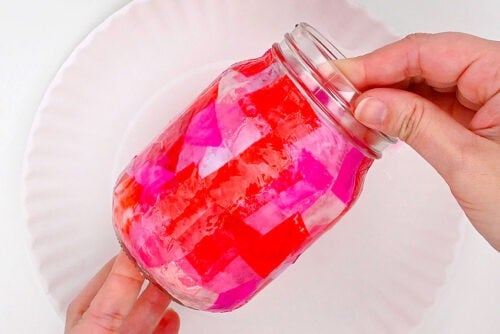
Step 3: Add a stained glass design
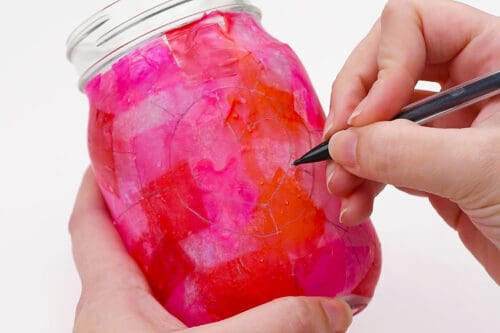
- Use pencil to draw a stained glass design on your jar, with a heart in the center. You can trace one of our heart outlines if you want help drawing a perfect heart.

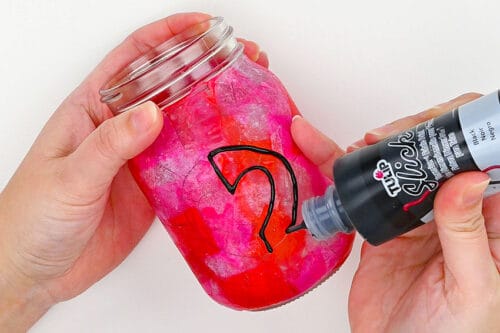
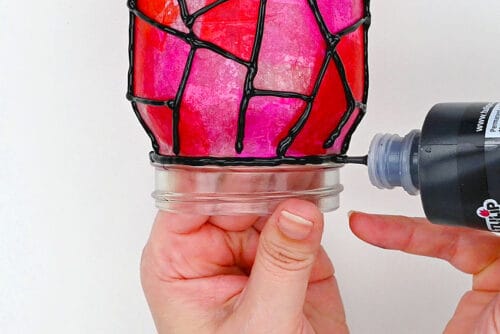
- Then use black puffy paint to trace the stained glass design.Move very slowly and carefully, using even pressure on the bottle. Make sure you shake it well and do a test on some scrap paper first, to remove any air bubbles.
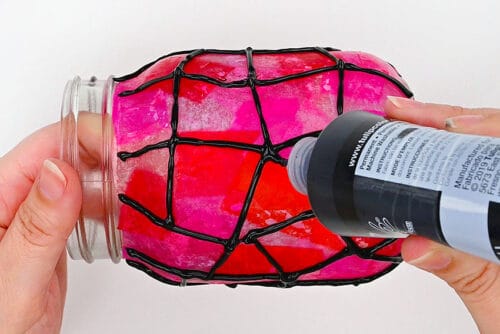
- Repeat around the rest of the jar, holding it very carefully at the neck so the paint doesn’t smudge on other sides while you’re working.
- Then add a line of paint around the top of the jar, just below the neck. Allow puffy paint to dry.
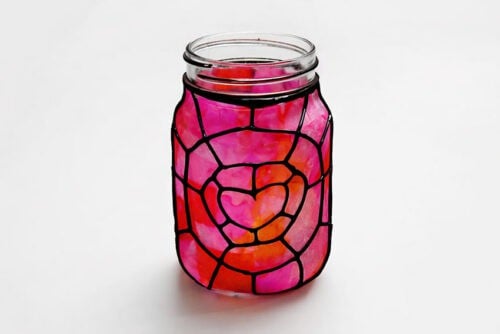
- Your Valentine’s mason jar lantern is complete!
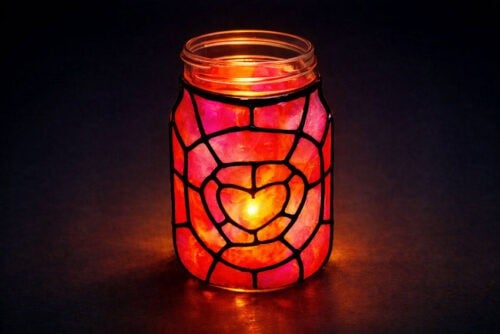
- Now add a flameless tealight and watch your Valentine luminary glow!
Helpful Tips:
- Dry jars upside-down: After adding the glue and tissue paper, flip the jar upside-down to dry. This way nothing sticky touches your work surface (and you won’t accidentally glue your lantern to the table).
- Use a toothpick for crisp details: If your puffy paint lines blob where they meet, use a toothpick to gently pull the paint so the lines connect cleanly.

Do I need to use bleeding tissue paper for these Valentine’s luminaries?
Nope — it’s optional. Bleeding tissue paper creates that pretty blended, watercolour look because the moisture in the glue lets the colours bleed and swirl together.
But if you only have regular tissue paper, you can absolutely use it — your lanterns will still look beautiful, just with more distinct pieces of colour.

What’s the best glue for making Valentine mason jars?
We used regular white school glue, and it worked great. You can also use Mod Podge, which is thinner and easier to spread (especially if you want a smoother, more even coat).

What’s the best way to add puffy paint to my DIY Valentine’s lantern?
Here are a few helpful tips to make your Valentine’s luminary look the best:
- Go slow and steady: Move slowly and confidently, keeping even pressure so the paint comes out consistently.
- Hover — don’t drag: Try not to let the bottle tip touch the glass. Hover just above the surface and keep moving. Puffy paint is a bit stretchy and will settle into place as you go.
- Work in stages to avoid smudges: If you’re worried about smearing, do one section/side, let it dry, then rotate the jar and continue.
- Expect a little shrinkage: Puffy paint can shrink slightly as it dries, so you may need to touch up areas where the paint meets. Just add a little more paint and use a toothpick to nudge it neatly into place if needed.

This Valentine’s mason jar lantern is one of those crafts that’s fun while you’re making it and even better once it’s finished! Pop a light inside and watch the heart design glow, showing off the stained glass look. Whether you make just one DIY luminary or create a whole group, you’ll definitely enjoy the cozy Valentine’s vibes.
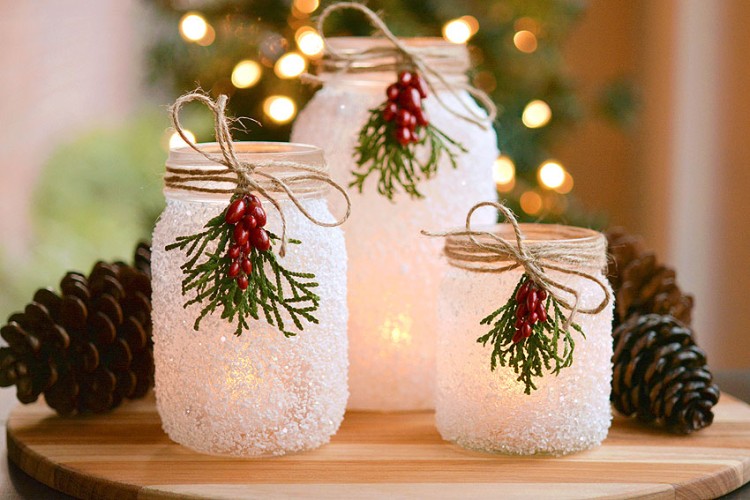
Here’s even more Valentine’s Day craft ideas:


Now available
Low-Mess Crafts for Kids Book
72 cute and fun crafts that kids and parents alike can enjoy. All with as little mess as possible!
Where to buy:
You can purchase Low-Mess Crafts for Kids from Amazon, or wherever books are sold:
Amazon | Barnes and Noble | Books-A-Million | Indiebound | Amazon Canada


Leave a Reply