

Pebble art is such a sweet and simple way to turn tiny stones into beautiful handmade decor. With just a few rocks, a shadow box frame, and a little imagination, you can create charming scenes with birds, flowers, butterflies, dragonflies, and more.
This pebble art craft is easy to customize using stones in different shapes, sizes, and colours, so every piece turns out completely unique. It’s a relaxing nature craft for older kids, teens, or adults, and the finished artwork makes a lovely homemade gift or keepsake to display at home.

This post contains affiliate links. If you use these links to buy something, we may earn a small commission at no extra cost to you. This helps support our website and allows us to keep creating fun, free content.
How to Make Pebble Art
Equipment:
See the craft in action:
Instructions:
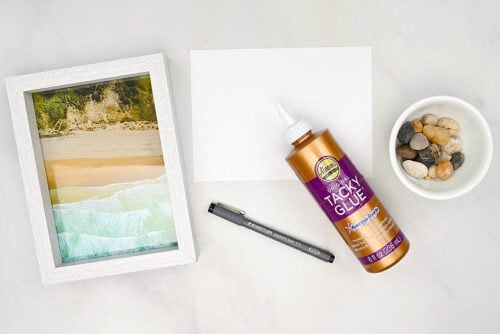
Step 1: Find what you need
- Gather your supplies and materials.

Step 2: Arrange the rocks
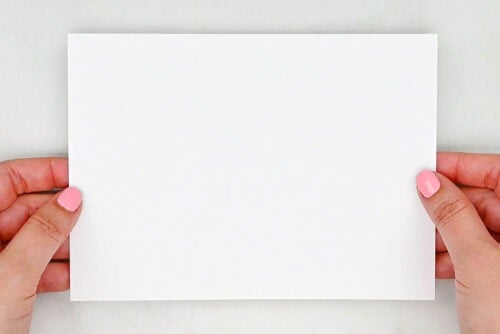
- Cut a piece of cardstock to fit in your picture frame. You can use the glass or frame backing as a guide to cut it out.
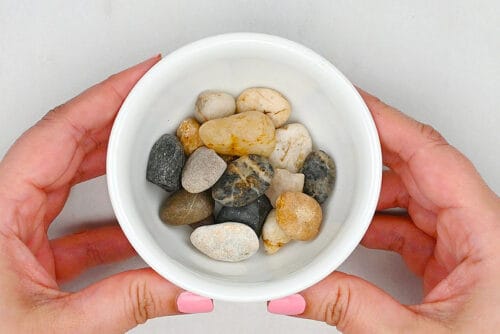
- Then gather some pebbles in different sizes and colours.
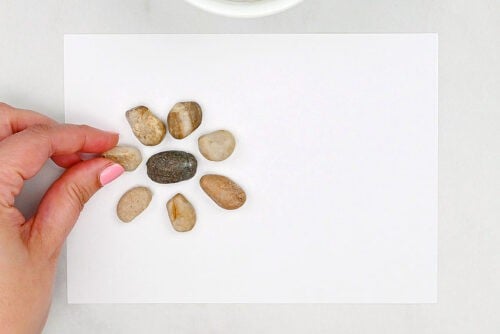
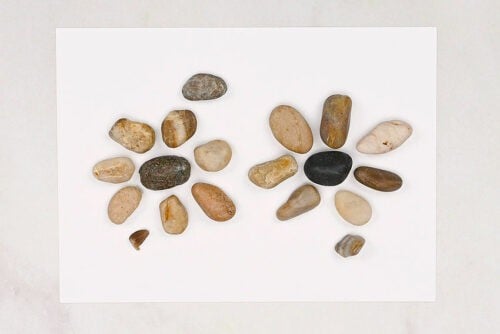
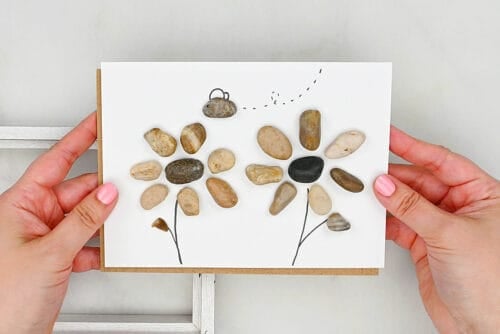
- Plan out your picture and choose rocks that will fit the shapes you want to make. Here we’ve made a flower with a larger center that’s also a different colour from the center.
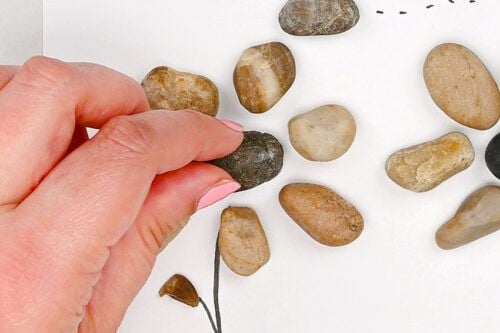
- Place the rest of your rocks on the page to make your chosen picture. It’s helpful to be able to “sketch out” the picture on the paper, moving the rocks around until you’re happy with it.
Step 3: Add details to the picture
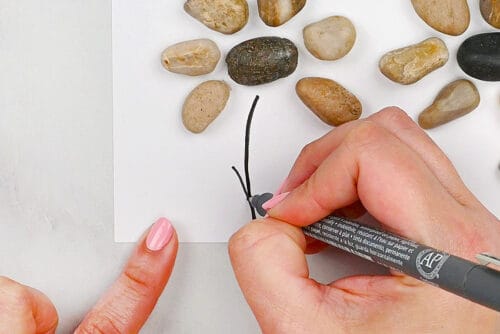
- Now use a fine tip black marker to draw details into the picture. Here we’ve set a couple rocks to the side and drawn a flower stem and base of a leaf.
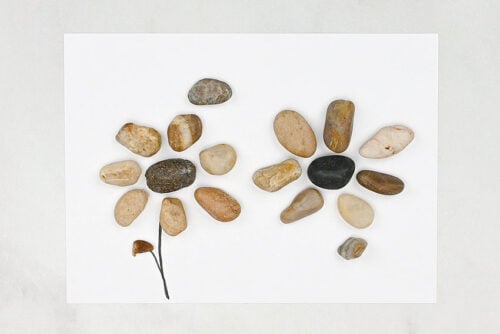
- Now you can set the rocks back into place. You can see the picture start to take form. The little rock was just sitting by the flower shape before, but now you can see how it forms the flower’s leaf.
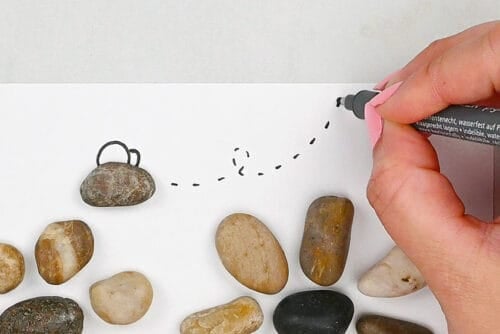
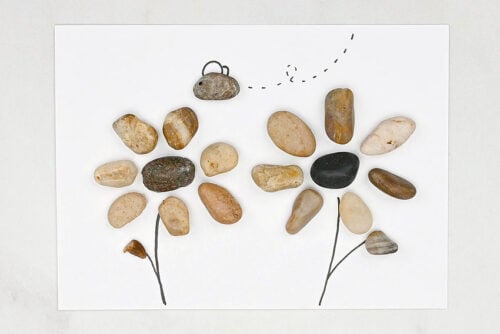
- Draw the rest of the details onto your picture. We added another stem and leaf for the other flower, and wing details and a flight trail for the top rock — which is clearly now a bee!
Step 4: Glue the rocks in place
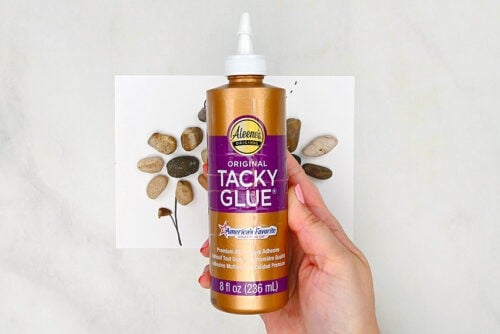
- To glue the rocks to the paper we’re going to be using tacky glue.Tacky glue is perfect for this project because it’s a thicker glue that offers a stronger bond than regular school glue, and it dries more quickly too.
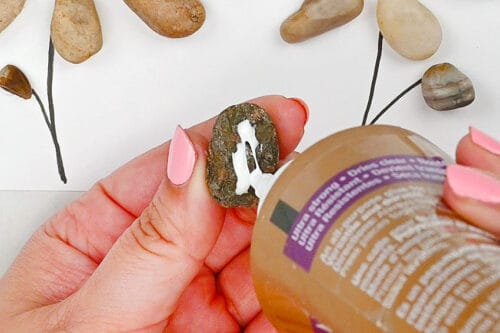
- Begin by picking up a rock and adding some glue to the back. We find it helpful to begin with a rock that’s the focus or center of a picture (in this case the center of the flower).

- Once you have glue on the back you can set the rock into place. If you’d like, you can also add glue to the paper and then set the rock into place. Whatever works best for you!
- Repeat, gluing the rest of the rocks into place. We’ve also used marker to add a little eye onto the bee!Allow to dry.
Step 5: Frame your masterpiece
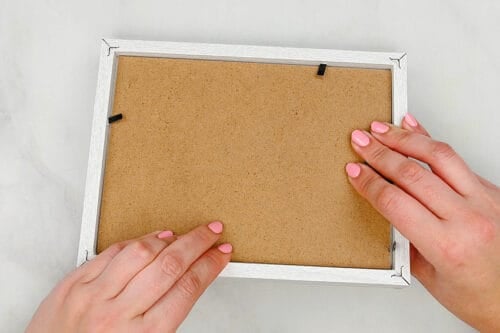
- Place your picture onto the backing of your frame.
- Then place the backing into the frame and secure it in place.
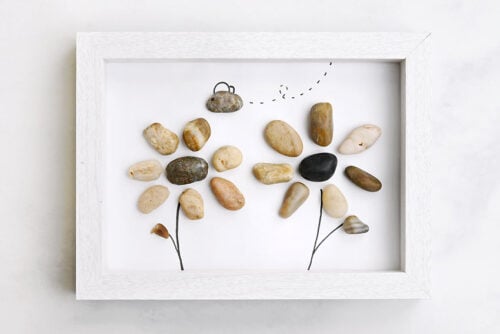
- Your pebble art is complete!
Helpful Tips:
- Arrange your pebble art picture before you start gluing. This lets you test the placement, move the stones around, and find the best layout before everything is permanent.
- Draw any lines or details before gluing down the rocks. This makes it easier to tuck the edges of the lines under the pebbles, giving the finished pebble art a cleaner, more polished look.

Where can I get rocks for making pebble art?
The easiest place to find small pebbles is at the dollar store or craft store. Look for decorative stones, vase filler, or small polished pebbles in different colours and sizes.
You can also go for a walk around your neighbourhood and look for small stones in public areas where it’s okay to take them. Don’t take pebbles from someone’s yard, garden, landscaping, or any place where removing rocks isn’t allowed.

What type of frame should I use for my pebble rock art?
A shadow box frame works best for pebble art because it gives you a nice backdrop and plenty of room for the raised stones. It also helps the finished artwork look neat and ready to display.
You can use a regular picture frame too, as long as you remove the glass. The pebbles may stick out above the edge of the frame, but if you don’t mind how that looks, it’s totally fine!

What kind of pebble art can I make?
You can make all kinds of simple pebble art designs! The possibilities are almost endless. Try making:
- Insects like dragonflies and butterflies
- Flowers and trees
- Birds sitting on branches
- Houses and families
- Animals like dogs or cats
Choose pebbles in shapes that already remind you of the design you want to make. Long stones work well for bodies or flower petals, round pebbles are great for heads and centers of objects, and tiny stones are perfect for adding small details.

Pebble art is such a fun way to turn basic stones into something creative and meaningful. The minimalist designs are so clever, and it’s really easy to make a recognizable picture using just rocks and simple line art. Each pebble has its own shape, colour, and texture, so every design feels one of a kind.
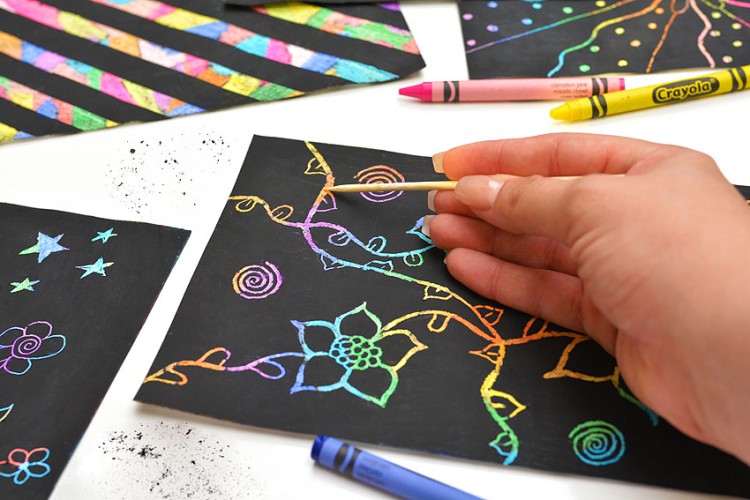
Here’s even more DIY decor ideas:


Now available
Low-Mess Crafts for Kids Book
72 cute and fun crafts that kids and parents alike can enjoy. All with as little mess as possible!
Where to buy:
You can purchase Low-Mess Crafts for Kids from Amazon, or wherever books are sold:
Amazon | Barnes and Noble | Books-A-Million | Indiebound | Amazon Canada


Leave a Reply