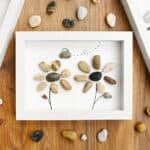
How to Make Pebble Art
This pebble art is so cute and really easy to make! Use small stones and other simple supplies to create this beautiful rock art. Follow our step-by-step tutorial or get inspired to create your own pictures.
Yield: 1 pebble art
Cost: $2
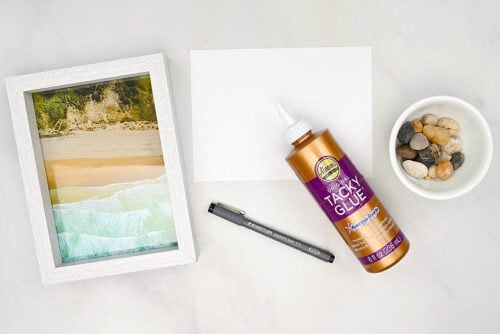
Equipment
Instructions
Step 1: Find what you need
- Gather your supplies and materials.
Step 2: Arrange the rocks
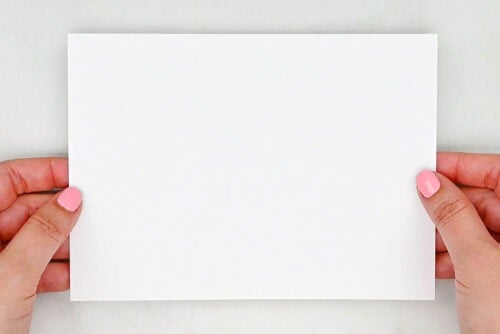
- Cut a piece of cardstock to fit in your picture frame. You can use the glass or frame backing as a guide to cut it out.
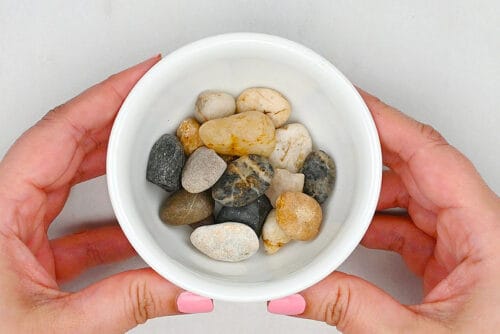
- Then gather some pebbles in different sizes and colours.
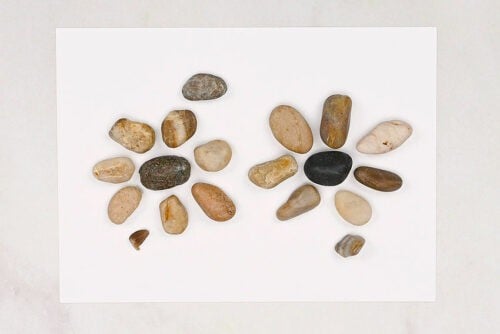
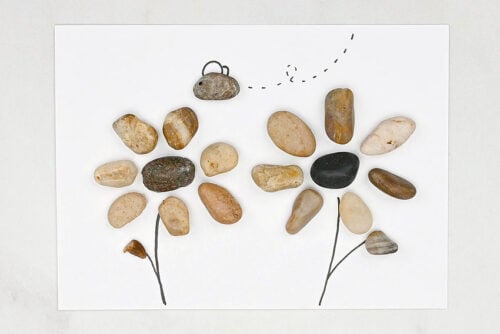
- Plan out your picture and choose rocks that will fit the shapes you want to make. Here we've made a flower with a larger center that's also a different colour from the center.
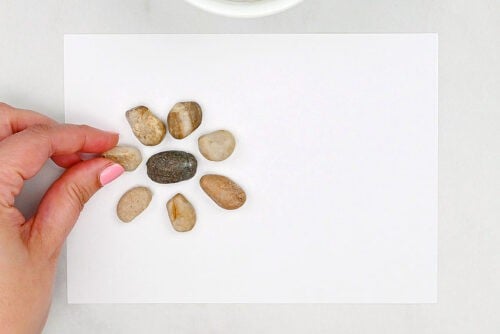
- Place the rest of your rocks on the page to make your chosen picture. It's helpful to be able to "sketch out" the picture on the paper, moving the rocks around until you're happy with it.
Step 3: Add details to the picture
- Now use a fine tip black marker to draw details into the picture. Here we've set a couple rocks to the side and drawn a flower stem and base of a leaf.
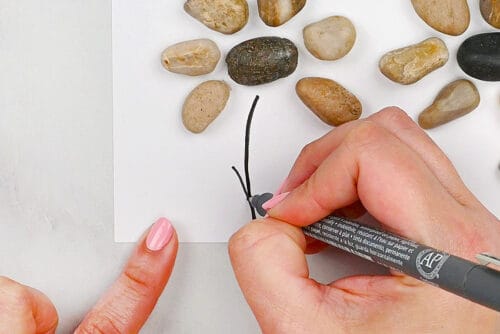
- Now you can set the rocks back into place. You can see the picture start to take form. The little rock was just sitting by the flower shape before, but now you can see how it forms the flower's leaf.
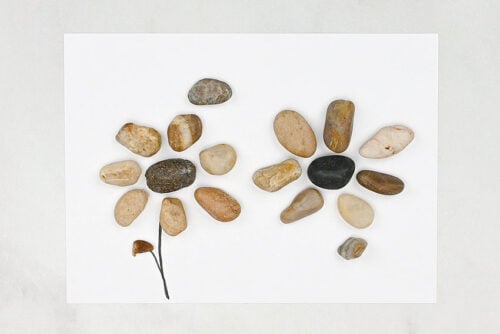
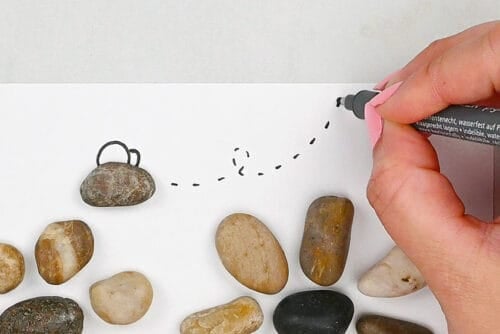
- Draw the rest of the details onto your picture. We added another stem and leaf for the other flower, and wing details and a flight trail for the top rock -- which is clearly now a bee!
Step 4: Glue the rocks in place
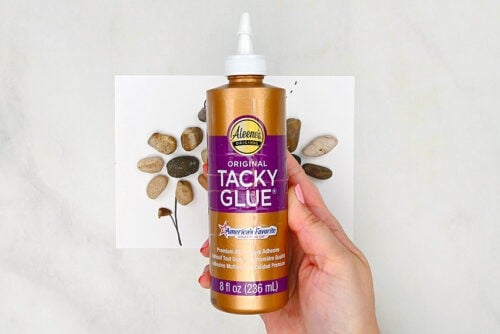
- To glue the rocks to the paper we're going to be using tacky glue.Tacky glue is perfect for this project because it's a thicker glue that offers a stronger bond than regular school glue, and it dries more quickly too.
- Begin by picking up a rock and adding some glue to the back. We find it helpful to begin with a rock that's the focus or center of a picture (in this case the center of the flower).
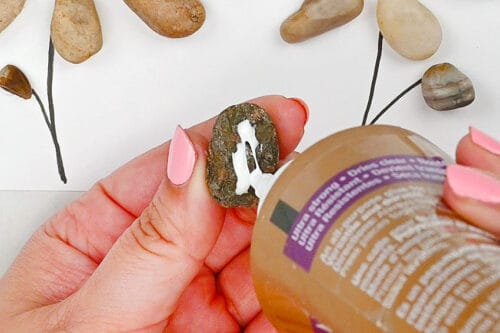
- Once you have glue on the back you can set the rock into place. If you'd like, you can also add glue to the paper and then set the rock into place. Whatever works best for you!
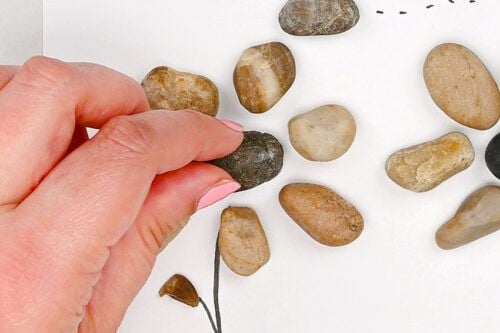
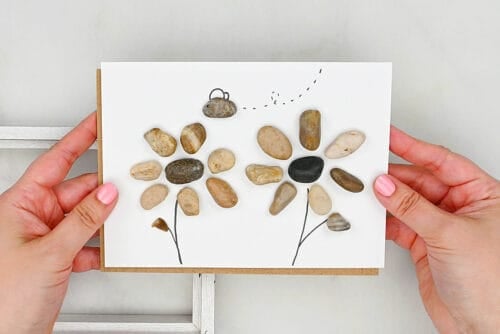
- Repeat, gluing the rest of the rocks into place. We've also used marker to add a little eye onto the bee!Allow to dry.
Step 5: Frame your masterpiece
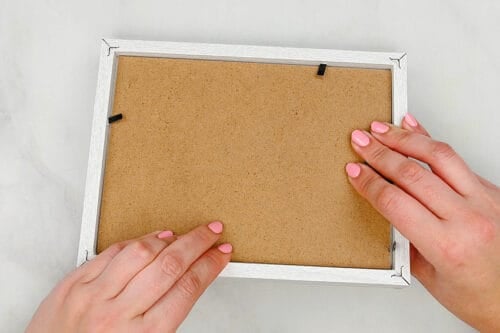
- Place your picture onto the backing of your frame.
- Then place the backing into the frame and secure it in place.
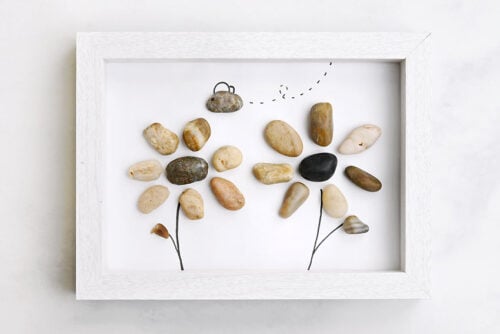
- Your pebble art is complete!
Video
Notes
Looking for other ways to craft with rocks? Here's a few of our favourites:
Pressed Flower Rocks
Cactus Painted Rocks
Ocean Sensory Bottle