Use our FREE felt donuts pattern to make adorable soft play food! These toy donuts are so cute, and they’re really easy to make, perfect for beginners to sewing.
Make these play donuts with your favourite colour of felt and beads or sequins for the sprinkles. This felt food makes a great pincushion and it’s also a fun DIY toy, perfect for storytime or pretend play. They also make great Christmas ornaments or decorations!

This post contains affiliate links. If you use these links to buy something we may earn a small commission which helps us run this website.
DIY Felt Donuts
Materials:
- FREE Printable Felt Donut Pattern
- Felt (light brown and pink, or other icing colour)
- Sewing thread (colours matching the felt)
- Fiber fill stuffing
- Bugle beads (shades matching icing colour)
Equipment:
Check Out The Video Tutorial:
Instructions:
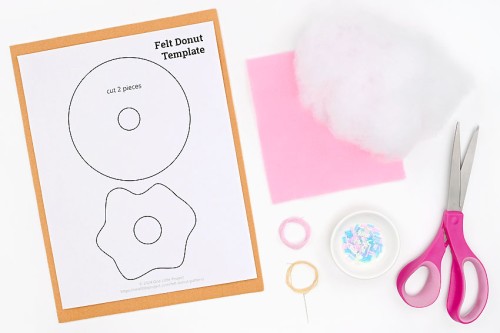
Step 1: Find what you need
- Gather your supplies and materials.

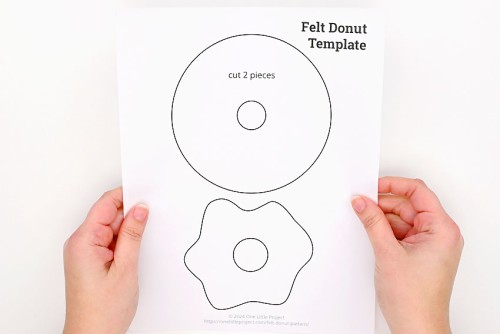
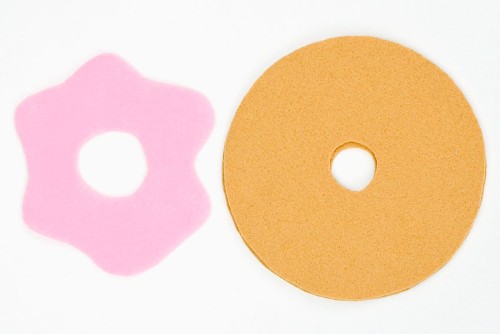
Step 2: Cut the felt donut pieces
- Print our felt donuts template (find the pattern link in the materials list above!) and cut out the pieces.

- Hold the pattern piece on top of the felt to cut it out.Use brown felt for the 2 donut pieces, and pink or another fun colour for the icing.You can also pin the pattern to the felt to make it easier to cut, or trace around the template with chalk or a gel pen.
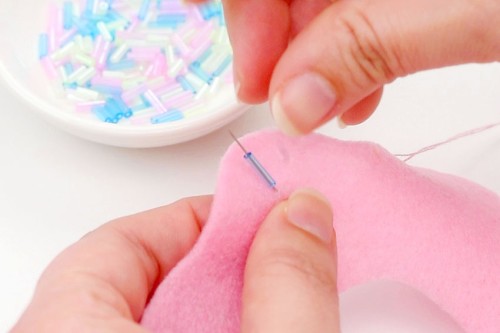
Step 3: Sew on the sprinkles
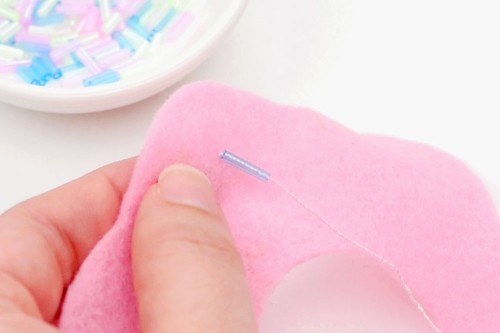
- To start, sew the sprinkles onto the icing felt.Bring a threaded needle in from the back and place a bugle bead onto the needle.
- Pull the thread through the felt leaving 1 inch or so extra thread at the back.
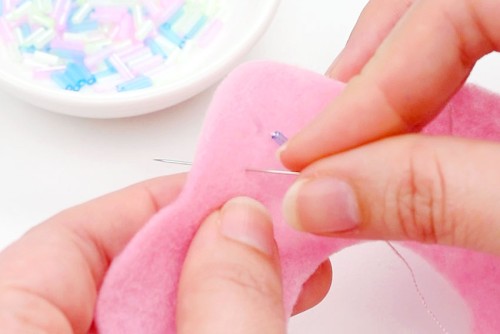
- Arrange your sprinkle bead how you'd like and push the needle back through the felt.
- Pull the thread through, but don't pull too tightly, or you'll pucker the felt.Tie the thread in a double knot on the back to secure the sprinkle, and then cut off the excess thread.
- Repeat, adding multiple sprinkles in different colours and at different angles until you're happy with how the icing looks.
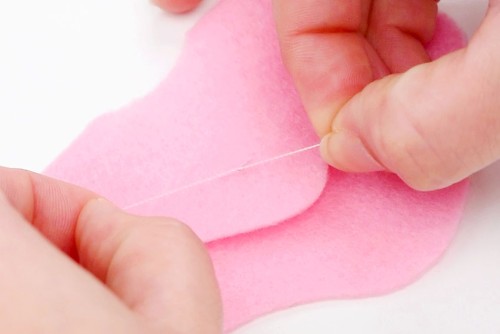
Step 4: Sew the icing onto the donut
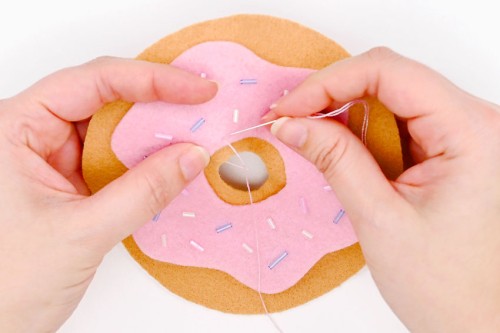
- Use a backstitch to sew the icing onto one piece of the donut felt.Place the icing where you'd like it on the donut. Starting with the center of the icing, bring your threaded needle up through both layers of felt.Leave about 1 inch of excess thread at the back, and put your needle down into the felt about 1/8 inch to the right of where the thread comes up.Don't push the needle all the way through.
- Bring your needle back up through the felt, about 1/8 inch to the left of the first stitch.
- Pull the thread through and push the needle back down through the previous stitch.Repeat the backstitch, working your way around the donut.
- Once you've sewn all the way around, tie the 2 thread ends together on the back.
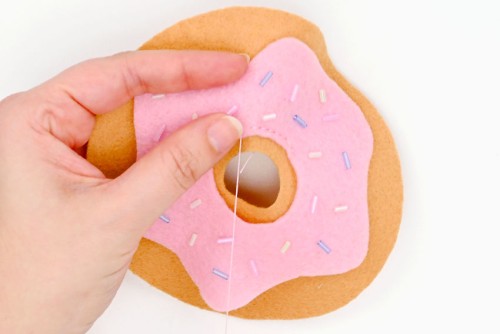
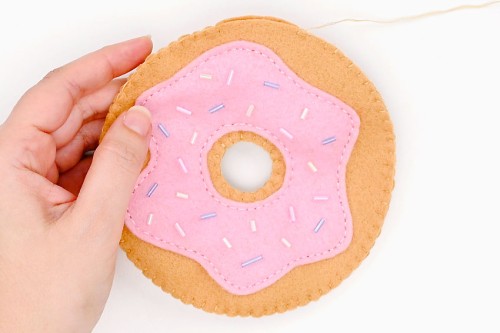
- Now sew the outside of the icing to the donut in the same way.

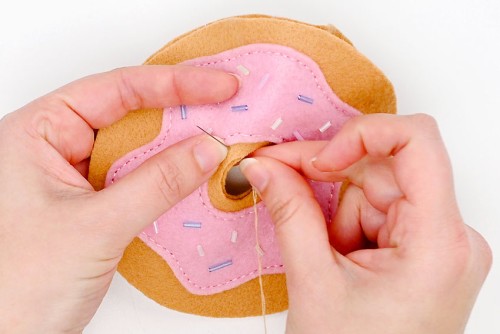
Step 5: Sew the donut together
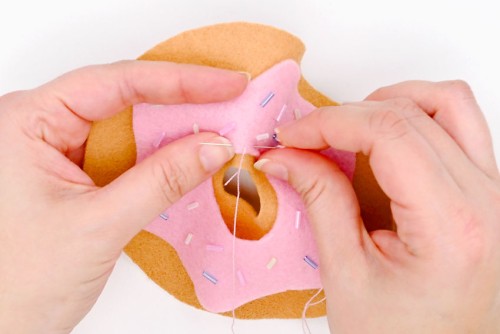
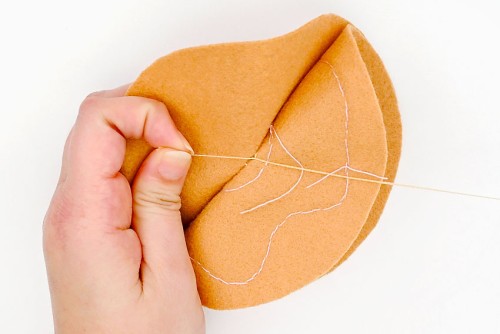
- Once the icing is sewn on, place the 2 sides of the donut on top of one another and sew them together with a blanket stitch.Again, start in the center, bringing the needle up through both layers of felt, about 1/8 inch from the edge.
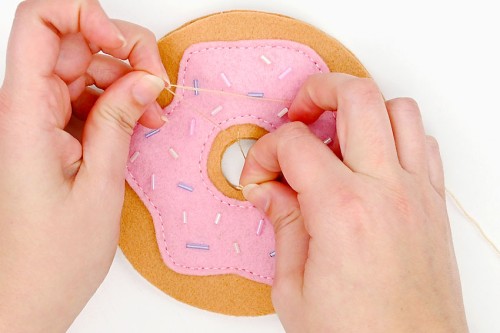
- Pull the thread through, leaving a 1 to 2 inch tail. Tie the tail to the thread at the front in a double knot.
- Tuck the excess thread between the pieces of donut and bring the needle in from the bottom of the felt, about 1/4 inch away from the last stitch.Wrap the thread around the needle before pulling it through.
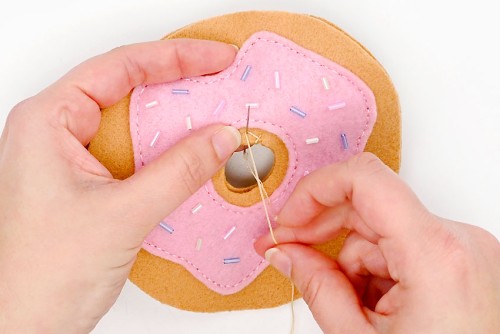
- Make your way around the donut, repeating the blanket stitch.
- To finish your thread, go through the last stitch about 3 times. Then tie the threads together inside the donut with a double knot.
- Repeat the blanket stitch around the outside of the donut, stopping when there's about 1 to 2 inches left.
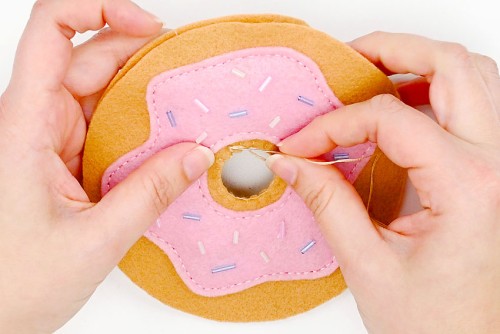
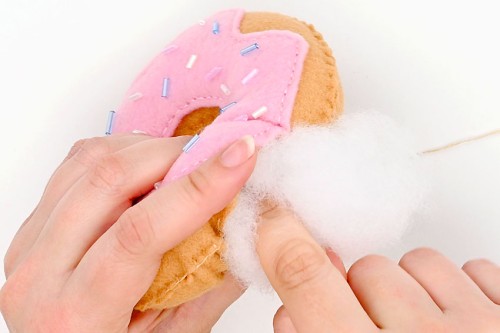
Step 6: Stuff the donut and close it off
- Add stuffing to the donut, pushing it down and around until it's even and firm.
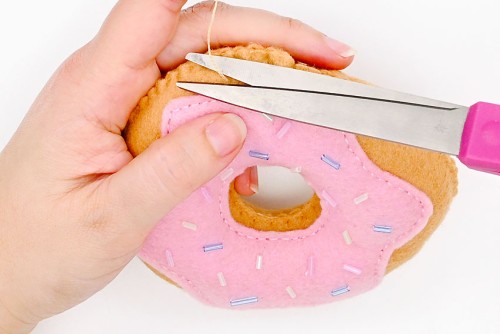
- Close off the donut, continuing your blanket stitch. Finish off your thread by going through the last stitch 3 times. Then push the needle down at the seam and bring it up through the donut. Cut off the excess thread and pinch the felt to hide the thread inside the donut.
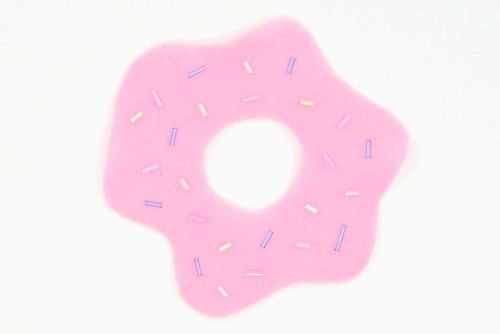
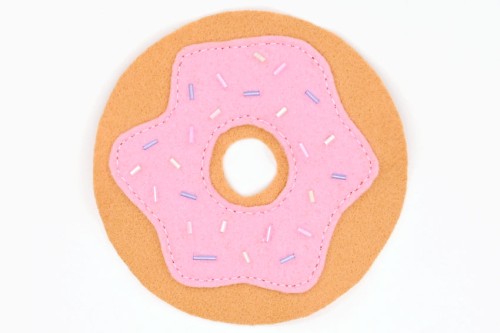
- Your felt donut is complete!
Helpful Tips:
- Use a pencil, knitting needle, or chopstick to help push the stuffing evenly around the donut.
- If you don’t have matching colours of thread you can also sew the donut together with embroidery floss.

Get our free printable felt donuts pattern:
The link and picture below will take you to our free, printable felt donuts pattern! The PDF file will open in a new window. Then simply print the template on 8.5 x 11 (letter size) printer paper.
>>> Felt Donut Pattern <<<

Do I have to sew the felt donuts together?
If you’d rather not sew, you can make the entire donut using glue. First glue the center of the donut pieces together with hot glue or white glue. Then stuff the donut and connect the outer edges with glue. Finally, attach the icing to the top of the donut and use small amounts of glue to adhere the sprinkles.
Just keep in mind that sewing the donut together gives the donut a more neat and tidy look, and also makes it a lot stronger. If you glue together your donut, the edges won’t be as strong and may eventually separate with repeated handling/play. If you’d like to see what a fully glued felt plushy looks like, you can check out our Halloween plushies tutorial.

What stitches are used to sew the felt donuts together?
We sewed the icing to the donut using a neat backstitch. It makes it easy to follow the curve of the frosting.
The actual donut is put together with a blanket stitch. Alternatively, you can also use a backstitch or running stitch to sew the donut together.
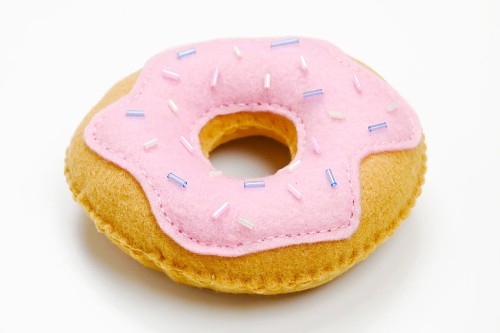
What size felt donut does this pattern make?
This felt donut has a diameter of about 5 inches and is 1-1/4 inches high. The exact dimensions will depend on how much you stuff your donut.

How else can I decorate my felt donuts?
We used bugle beads (aka tube beads) and sequins to make different types of sprinkles for our felt donuts. You can also use seed beads or Perler beads.
Puffy paint is another great way to add lines of icing or sprinkles to the donut. Or sew on sprinkles with different colours of embroidery floss, or glue on small pieces of felt.
You can turn your felt donut into an ornament by sewing in a hanger made from embroidery floss, ribbon, or twine.

These felt donuts are so much cuter than plastic play food! Make these sweet treats for your play kitchen using simple stitches. These felt doughnuts make such a cute soft toy that you can make in all your favourite colours and designs.

Here’s even more DIY toy ideas:


Our book Low-Mess Crafts for Kids is loaded with 72 fun and simple craft ideas for kids! The projects are fun, easy and most importantly low-mess, so the clean up is simple!

Where to buy:
You can purchase Low-Mess Crafts for Kids from Amazon, or wherever books are sold:
Amazon | Barnes and Noble | Books-A-Million | Indiebound | Amazon Canada

Let us know what you think: