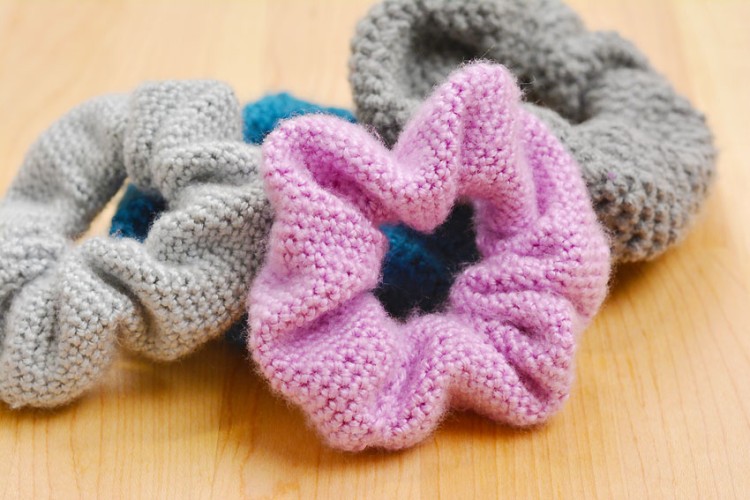
Learn how to make a scrunchie using our simple step by step photo and video tutorials. Add some colour and flair to your accessories!
Hair scrunchies are super trendy right now, and they’re also SO EASY to make, great for sewing beginners. These cute scrunchies are the perfect way to use up fabric scraps, and they also make a great homemade gift!

This post contains affiliate links. If you use these links to buy something we may earn a small commission which helps us run this website.
How to Make a Scrunchie
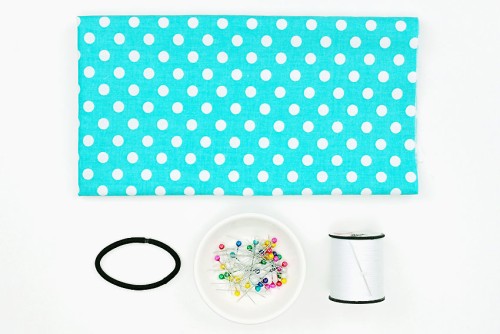
Materials:
- Cotton fabric (printed or plain, colour of choice)
- Hair elastic
- Sewing thread (white, or matching the fabric)
Equipment:
- Fabric scissors (or rotary cutter and mat)
- Sewing machine (optional, but easier)
Watch the step-by-step video tutorial:
Instructions:
Step 1: Find what you need
- Gather your supplies and materials.

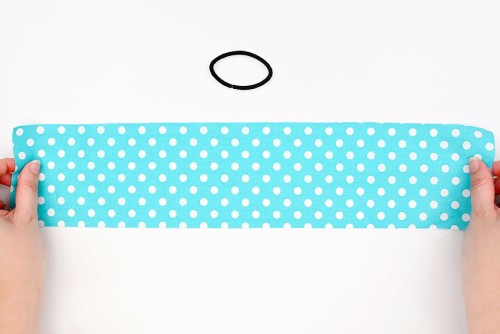
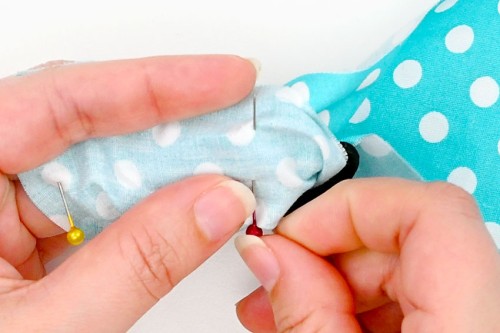
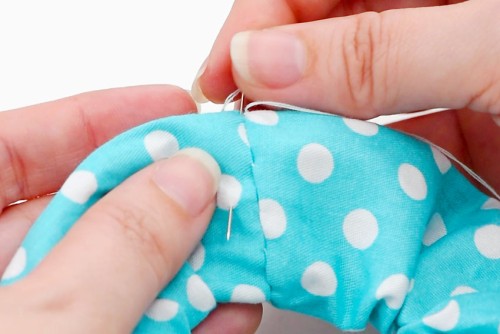
Step 2: Pin the fabric around an elastic
- Cut a piece of cotton fabric to 4 x 18 inches. Set it down with the pattern side (good side) up.
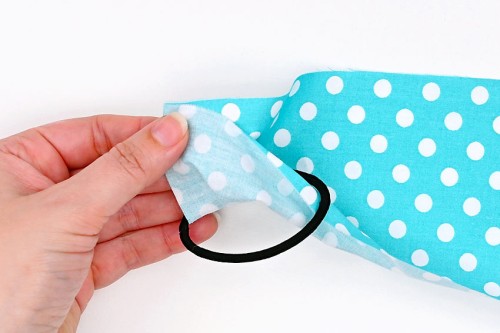
- Place a hair elastic along the side of the fabric. Insert one corner of the fabric into the elastic and fold the fabric up over it.

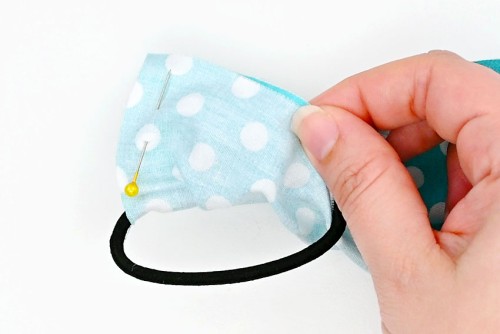
- Pin the two sides of the fabric together, making sure the edges are aligned.
- Line up more of the fabric and add a second pin about 1-1/2 inches away from the first.
- Continue adding pins, scrunching the fabric up on the elastic as you work your way down.

Step 3: Sew the fabric tube
- Machine sew the outer edges of the fabric together, leaving a 1/4 to 1/2 inch allowance.Go slowly and adjust the fabric as needed.(You can also hand sew the scrunchie if you don’t have a machine. More on that below this tutorial.)
- Turn the fabric tube right side out.Use a loop turner hook for ease, or manually push the fabric so the printed side is showing.


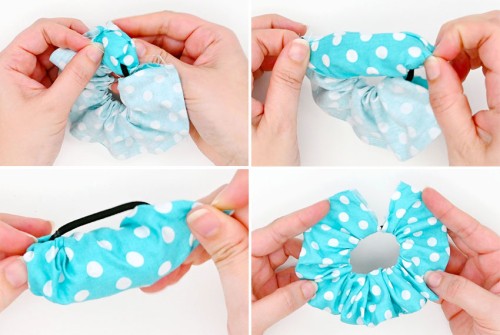
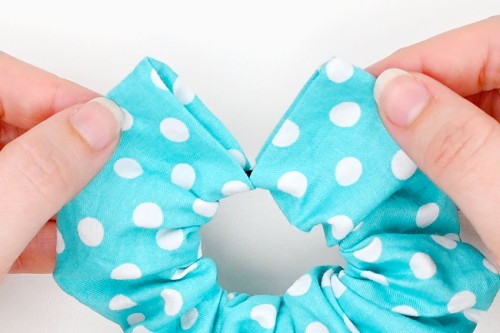
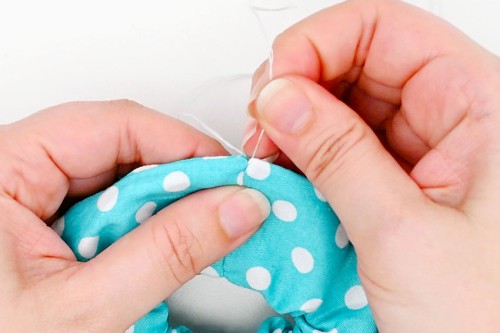
Step 4: Hand sew the scrunchie ends together
- Fold the edges of the tube inside, hiding the cut edge of the fabric.
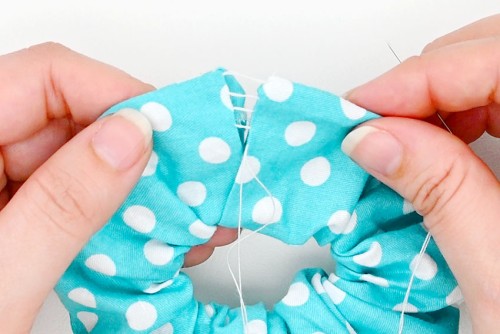
- Sew the edges of the scrunchie together with a ladder stitch (also called a slip stitch or invisible stitch).Push your needle up through the seam allowance on one side, and then go back and forth between the two sides, creating a ladder of hidden stitches.
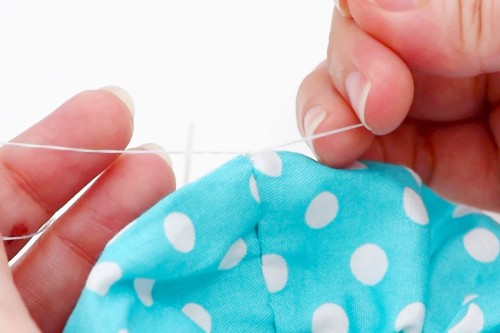
- Sew all the way around the scrunchie and then pull gently on the thread ends to hide the stitches inside the scrunchie. Don’t pull too hard, or the seam will pucker.
- Tie the thread ends together in a double knot.
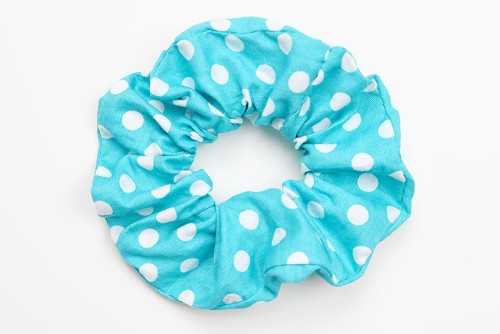
- Push the needle down through 1 side of the fabric to hide the thread, and then cut off the excess.
- Your DIY hair scrunchie is complete!
Helpful Tips:
- Be sure to pre-wash and iron your fabric before cutting and sewing!
- Sew your scrunchie on an “ouchless” elastic without a metal crimp. This will make the scrunchie a lot easier to pin and sew, and the fabric won’t get caught on the metal piece.

What’s the best fabric for making a DIY hair scrunchie?
We used cotton fabric to make our scrunchies. It’s lightweight, breathable, and it comes in a wide range of colours and patterns.
Cotton is also gentle on the hair and easy to sew. Plus it’s affordable and easy to find, making it easy to see why it’s the most popular choice for making a scrunchie.
You can also use fabrics like silk, satin, linen, or velvet. Choose a fabric that scrunches well and is hair-friendly, staying in place without snagging or pulling.

How to make a scrunchie without a sewing machine?
A sewing machine definitely makes it easier to put this DIY scrunchie together. But if you don’t have a machine you can also completely hand sew the scrunchie together.
We suggest using a backstitch, since it’s very strong and secure. See our felt donuts post for an example of backstitching.
Do I have to use a hair tie to make scrunchies?
No, you can also make a DIY scrunchie with regular sewing elastic. We recommend a soft, flexible elastic that’s about 1/4 inch wide.
To do this, sew the tube together and turn it right side out before inserting an 8 to 9 inch piece of elastic into it. Scrunch the fabric up and sew the two elastic ends together. Then hand sew the fabric together like usual.

How to make a scrunchie smaller or larger?
You can adjust the size of the fabric to make a smaller or larger scrunchie. A 3 inch wide fabric will make a skinnier scrunchie, while 5 inches will make a wider, more frilly scrunchie.
And if you’d like a scrunchie with even more “scrunch”, start with a strip of fabric longer than 18 inches. Keep in mind that the longer the fabric is, the more you’ll have to adjust it to pin it in place and sew it.

Learn how to make a scrunchie using fabric remnants and an elastic hair tie! Make a hair scrunchie in all your favourite colours to match every outfit and occasion.
These scrunchies for hair are a great way to upcycle old fabric, and they’re an easy seller at craft fairs!

Here’s even more fun DIY ideas:

Furoshiki Fabric Gift Wrapping


Our book Low-Mess Crafts for Kids is loaded with 72 fun and simple craft ideas for kids! The projects are fun, easy and most importantly low-mess, so the clean up is simple!

Where to buy:
You can purchase Low-Mess Crafts for Kids from Amazon, or wherever books are sold:
Amazon | Barnes and Noble | Books-A-Million | Indiebound | Amazon Canada


Leave a Reply