


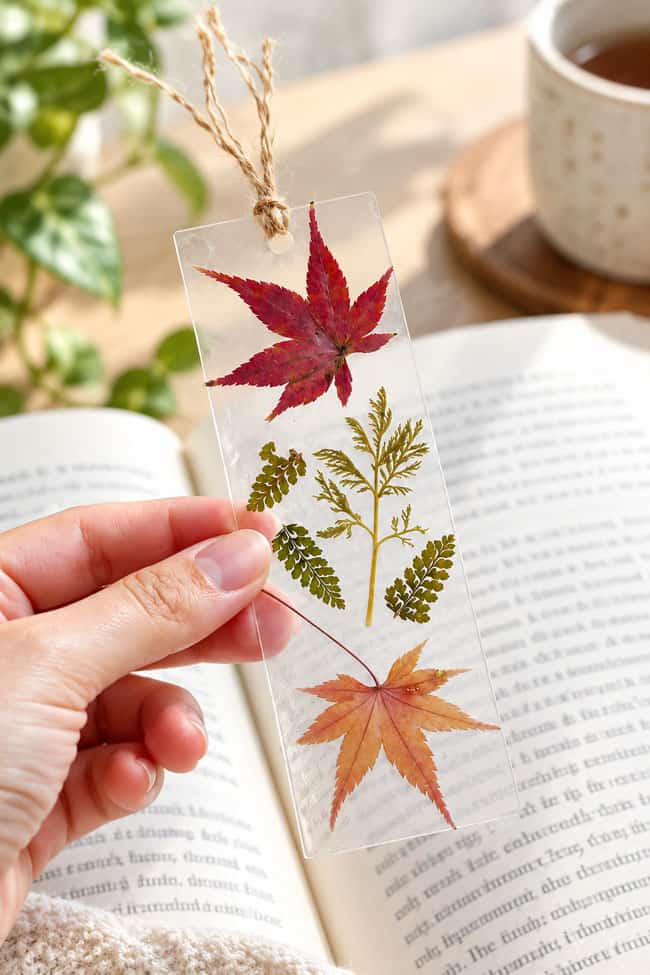
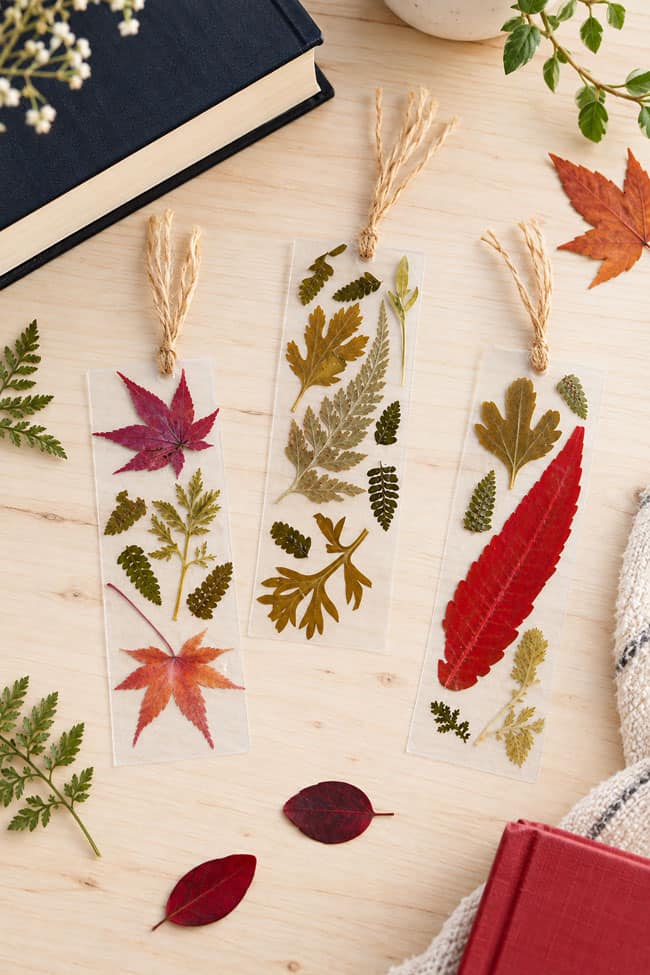
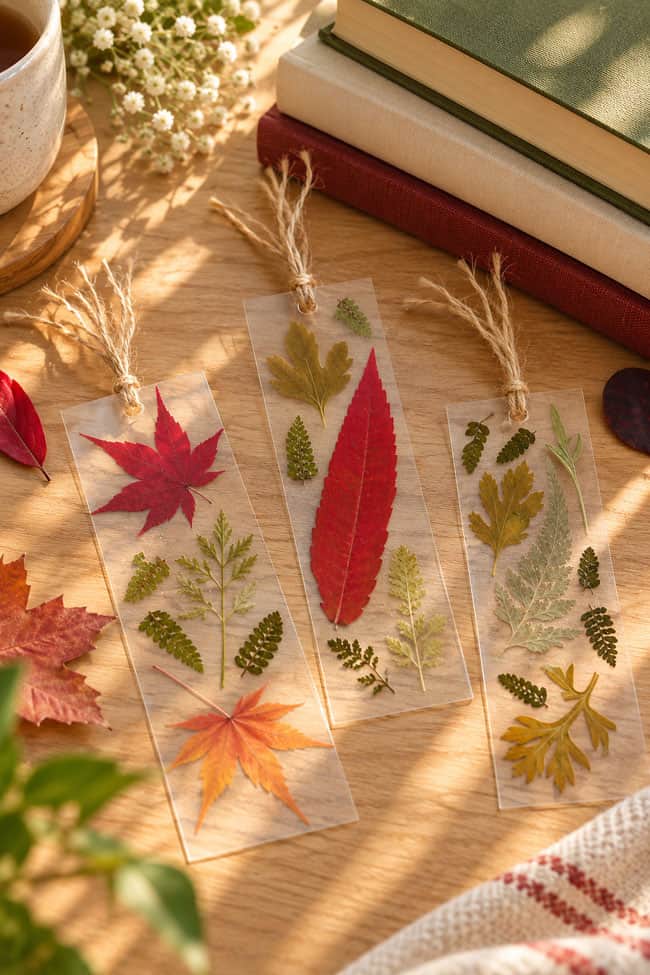
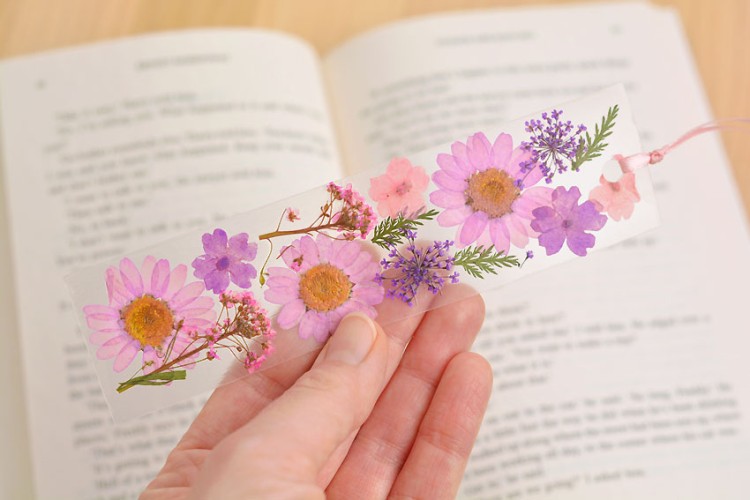
Pressed leaf bookmarks are such a pretty way to preserve a little piece of fall! Colourful leaves and tiny bits of greenery are arranged on a clear bookmark, creating a simple nature-inspired design that looks beautiful tucked between the pages of a favourite book.
Gather autumn leaves in different shapes, sizes, and colours, then arrange them into your own unique pattern. It’s a fun way to turn a fall walk into an easy craft, and the finished bookmarks also make thoughtful handmade gifts for readers, teachers, or anyone who loves the season.
This post contains affiliate links. If you use these links to buy something, we may earn a small commission at no extra cost to you. This helps support our website and allows us to keep creating fun, free content.
How to Make a Pressed Leaf Bookmark
Equipment:
Watch the step-by-step video tutorial:
Instructions:
Step 1: Find what you need
- Gather your supplies and materials.

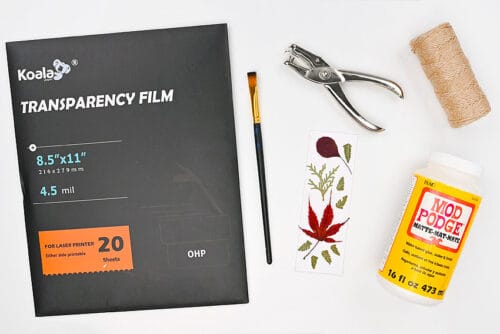
Step 2: Organize the bookmark supplies
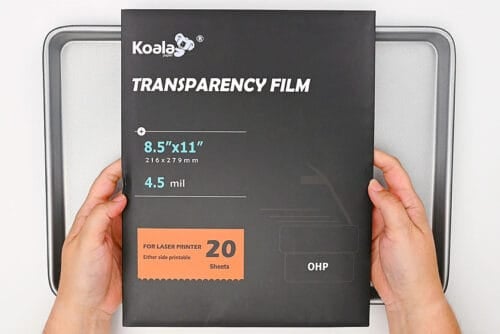
- To make your bookmark you’ll need an overhead transparency sheet or another thick piece of plastic.
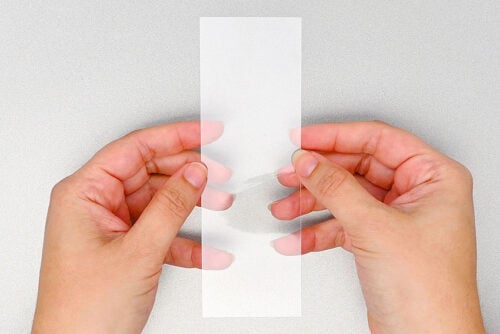
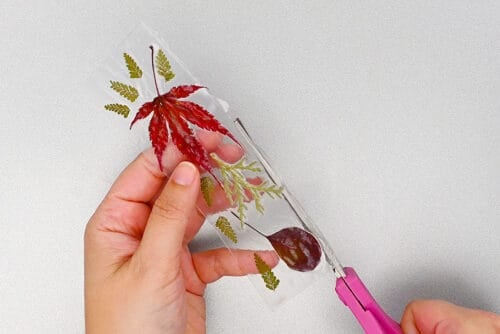
- Cut a 2 inch by 6 inch rectangle from the transparency sheet.(We found it easiest to cut a piece of cardstock to size and then trace it onto the sheet before cutting it out.)
- Grab a selection of pressed leaves. We recommend arranging them on cardstock the same size as your bookmark so you can ensure the leaves fit.(Note: If you’re using fresh leaves, first follow our tutorial on how to preserve leaves.)
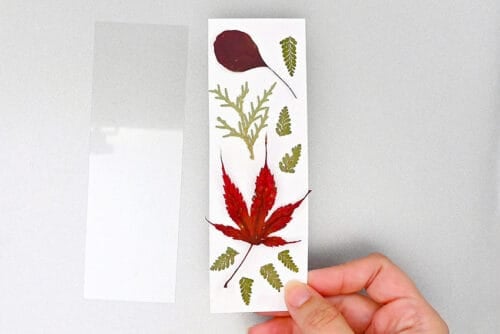
Step 3: Add the leaves to the bookmark
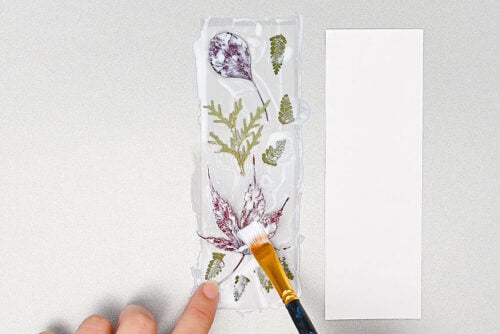
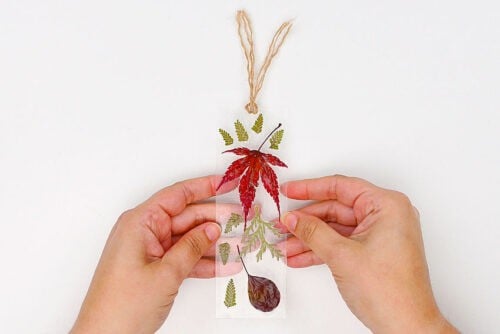
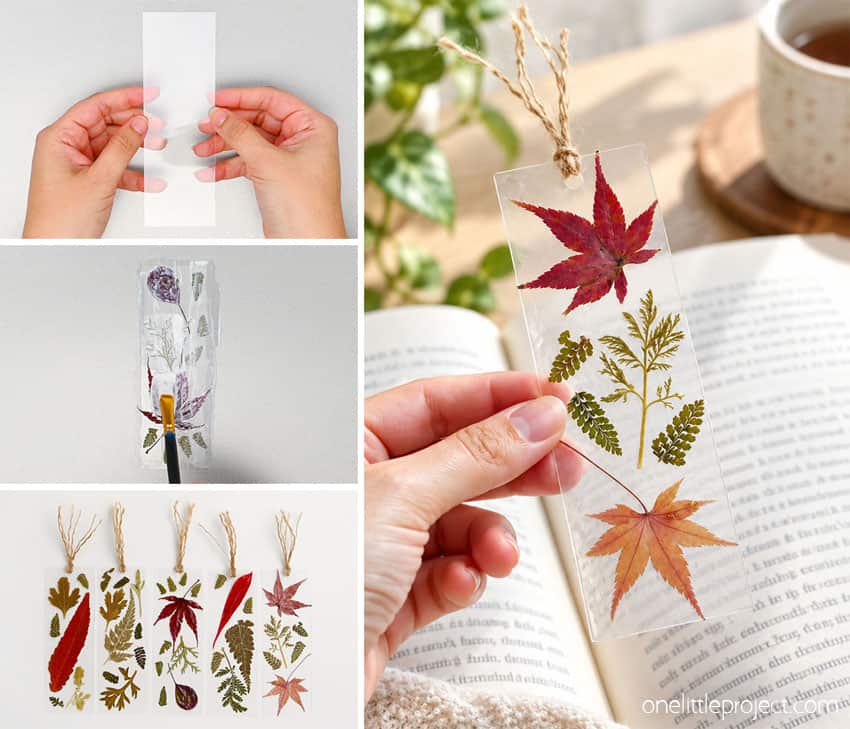
- Begin by brushing a thin coat of Mod Podge onto a section of the bookmark base.

- Then use the paintbrush (or tweezers) to pick up the first leaf.
- Set it in place on the bookmark and add more Mod Podge on top of the leaf.
- Repeat, adding the rest of the leaves to the bookmark in the same way.
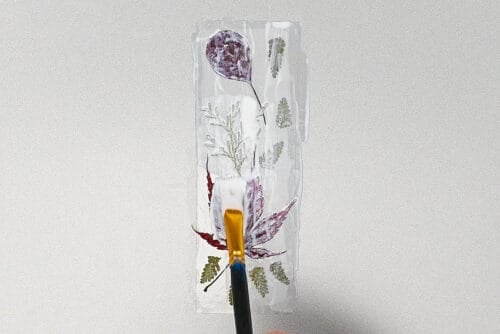
- Ensure all the leaves have a thin coat of Mod Podge on them, and allow to dry.
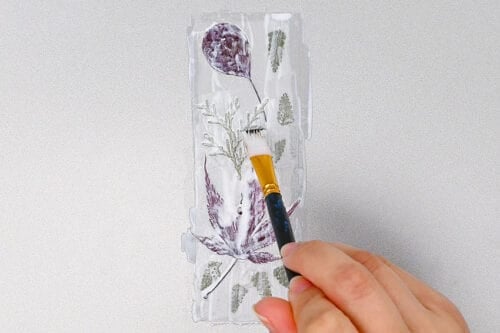
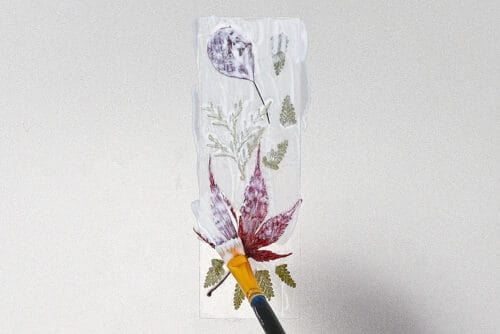
- Add a second full coat of Mod Podge across the whole bookmark. Allow to dry.
- Finally, add a third coat of Mod Podge. These coats of Mod Podge ensure that the leaves stay nicely in place.
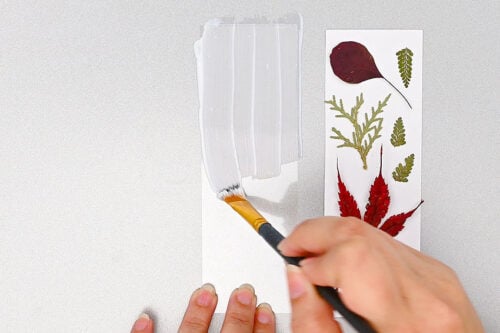
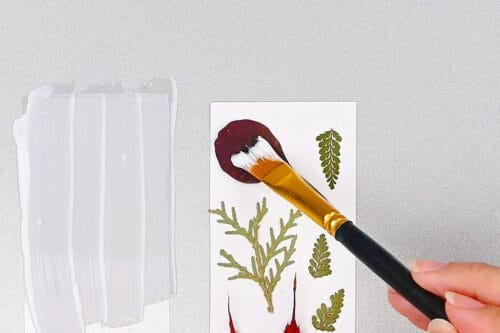
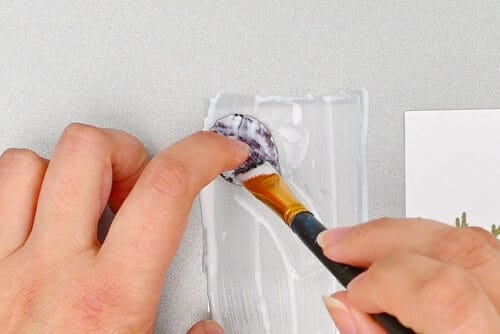
Step 4: Finish the bookmark
- Lift the bookmark from your working surface and clean up the edges, removing any Mod Podge that sticks outside the bookmark.
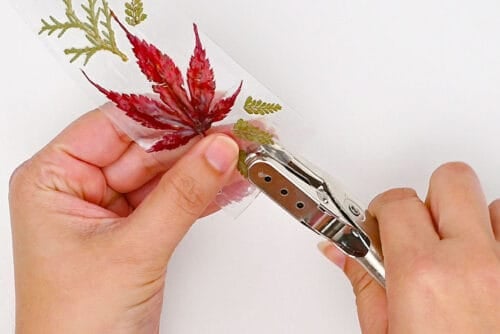
- Use a one hole punch to make a hole at the top center of the bookmark.
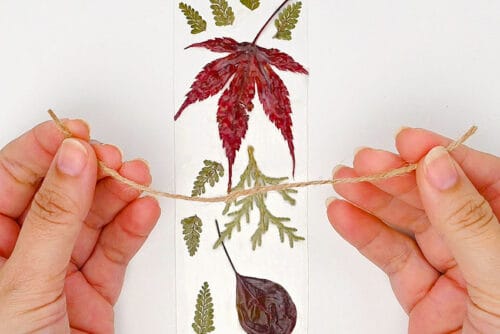
- Cut a 6 inch piece of twine.
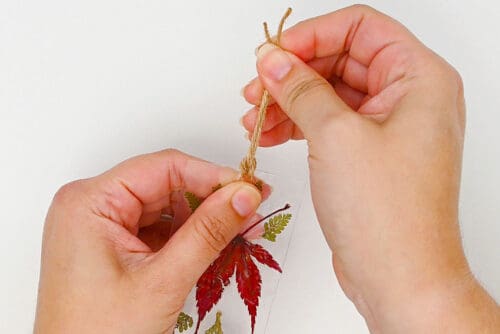
- Fold the twine in half and thread it though the hole in the bookmark. Then slide the ends up through the loop.
- Finally, separate the twine into separate strands. Cut the tassel shorter if you’d like.
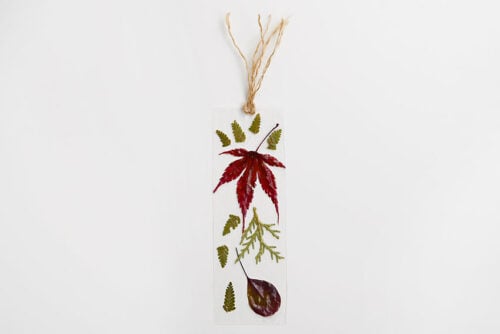
- Your pressed leaf bookmark is complete!
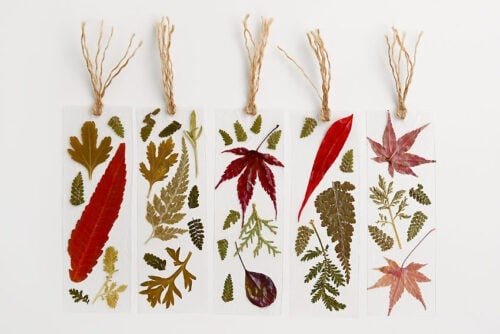
- Then have fun making more bookmarks with different colours and types of leaves.
Helpful Tips:
- Plan your design first: Arrange the leaves on the bookmark before gluing anything down so you can make sure everything fits and adjust the layout as needed.
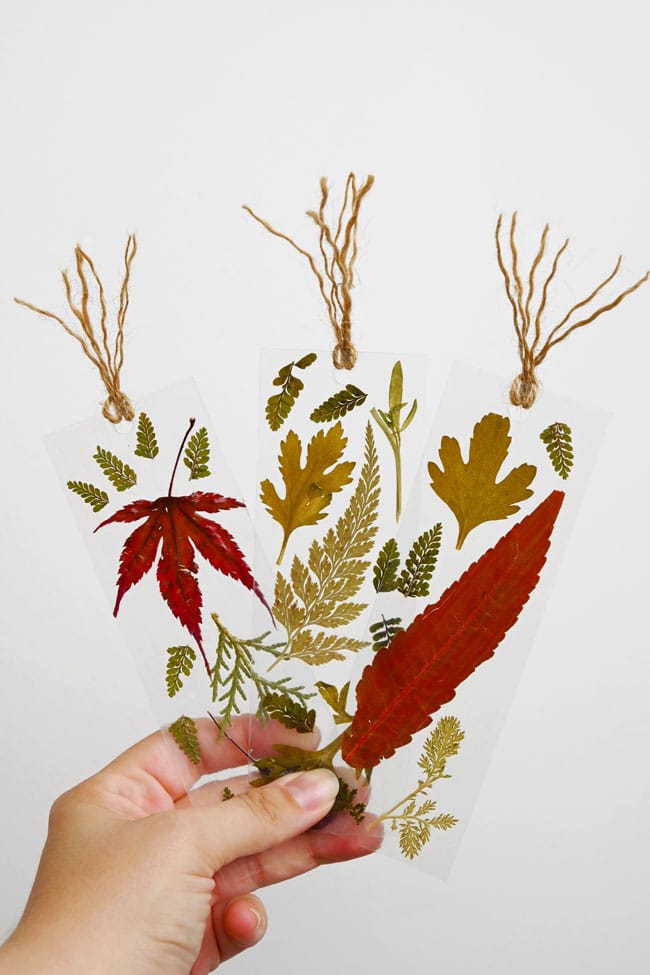
- Mix different sizes and colours: Combine larger statement leaves with smaller leaves and greenery to give your bookmark more variety and visual interest.
- Leave some clear space: You don’t need to cover every inch of the bookmark. Leaving a little open space around the leaves helps each shape stand out and keeps the design from looking too busy.
What can I use for the base of the bookmark?
We used a clear plastic base so the pressed leaves really stand out. A transparency sheet works well, as does a laminating sheet that has already been run through a laminator.
You can also repurpose a flat piece of clear plastic from clamshell bakery packaging. Just make sure the plastic is clean, smooth, and sturdy enough to hold its shape inside a book.
Where can I get leaves for a pressed leaf bookmark?
You can collect your own leaves on a nature walk and preserve them before making the bookmarks. See our guide on how to preserve leaves for different methods you can use.
Pressed flower packs are another easy option and often include small leaves, ferns, and greenery that are perfect for filling in your design.
What kind of leaves work best on pressed leaf bookmarks?
Thin, flat leaves are the easiest to work with, especially smaller fall leaves and fern-style greenery. Thick, waxy, or heavily curled leaves can be more difficult to glue down smoothly.
Make sure the leaves are completely dry and flat before attaching them to the bookmark. Fresh leaves still contain moisture, so they’re more likely to curl, turn brown, or deteriorate over time.
These pressed leaf bookmarks are a beautiful way to turn a handful of fall leaves into something you can actually use. Each one captures the colours and shapes of the season in a simple design. It feels a little like carrying a tiny piece of autumn inside your book!
Make a few with different leaf combinations and tuck them into your favourite reads, add them to a book you’re gifting, or hand them out to friends and teachers. They’re lightweight, easy to customize, and such a lovely way to make preserved leaves feel extra special.
Here’s even more bookmark craft ideas:

Now available
Low-Mess Crafts for Kids Book
72 cute and fun crafts that kids and parents alike can enjoy. All with as little mess as possible!
Where to buy:
You can purchase Low-Mess Crafts for Kids from Amazon, or wherever books are sold:
Amazon | Barnes and Noble | Books-A-Million | Indiebound | Amazon Canada





Leave a Reply