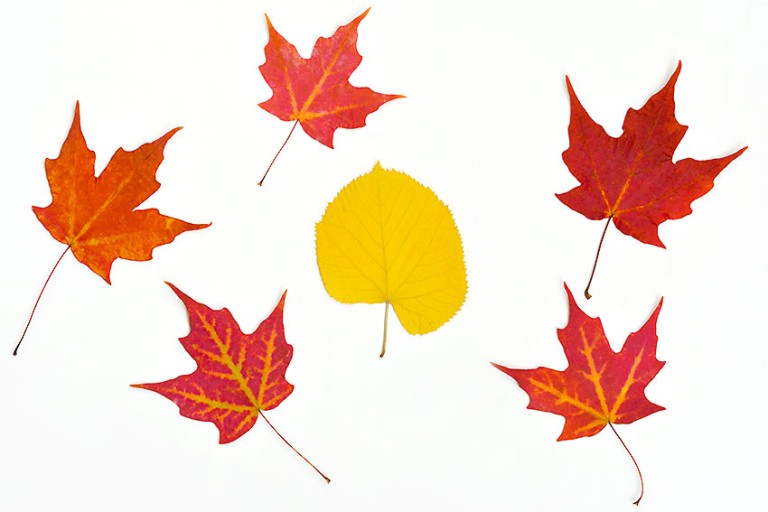
Learn how to preserve leaves using 3 easy methods! Follow our step by step tutorials and find the method of preserving leaves that works best for you.
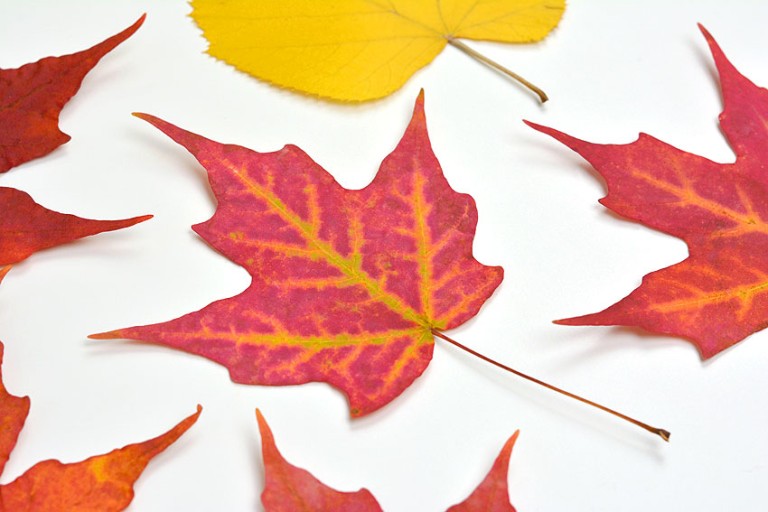
Fall leaves are so colourful and pretty, but they lose their autumn hue very quickly unless you preserve them. Read below and learn how to laminate leaves, press them in a book, or add a wax coating to them. It makes it so easy to enjoy fall colours all year-round!

This post contains affiliate links. If you use these links to buy something we may earn a small commission which helps us run this website.
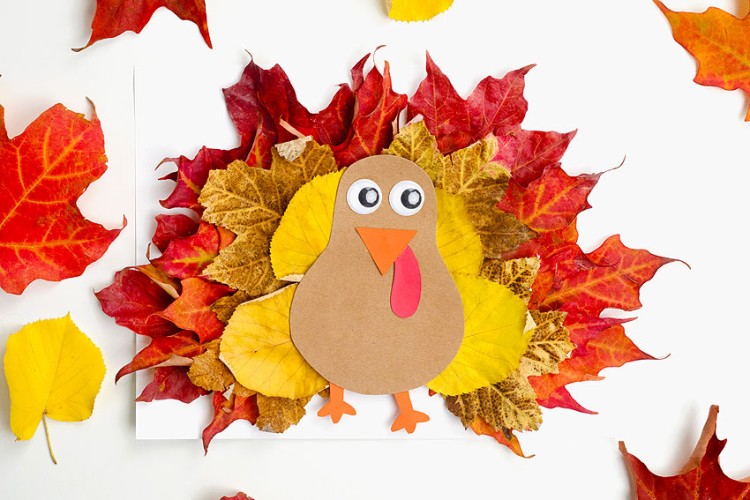
Looking for more leaf crafts? Here’s a few of our favourites:
Autumn Leaf Butterflies and Dragonflies

How to Preserve Leaves
Materials:
- Fall leaves
- Laminating sheet
Equipment:
- Stack of heavy books
Instructions:
- IMPORTANT: No matter which method you use for preserving leaves, make sure the leaves are clean and dry to the touch before you begin to preserve them.
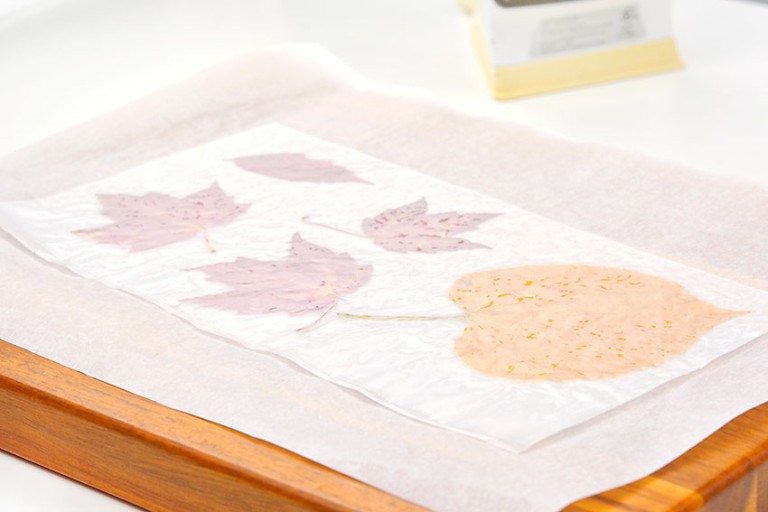
Method 1: Wax paper
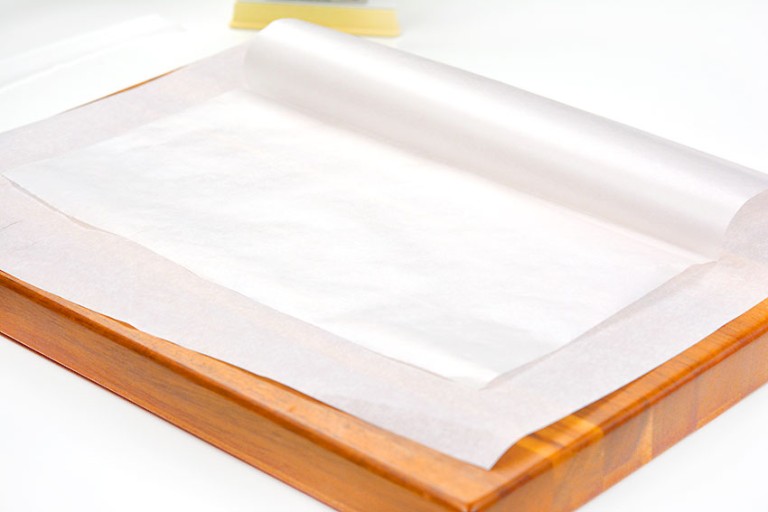
- Place a piece of wax paper over top of parchment paper or a kitchen towel. Make sure the wax side is facing up.

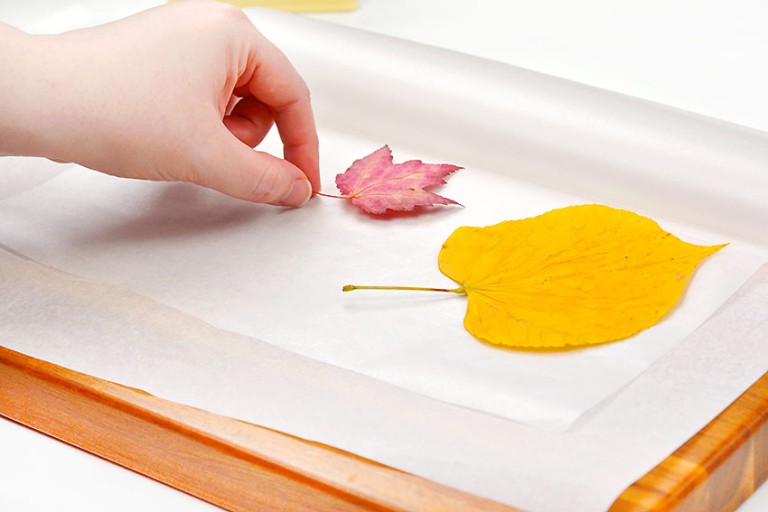
- Add leaves to the wax paper, spacing them out so they don’t overlap.
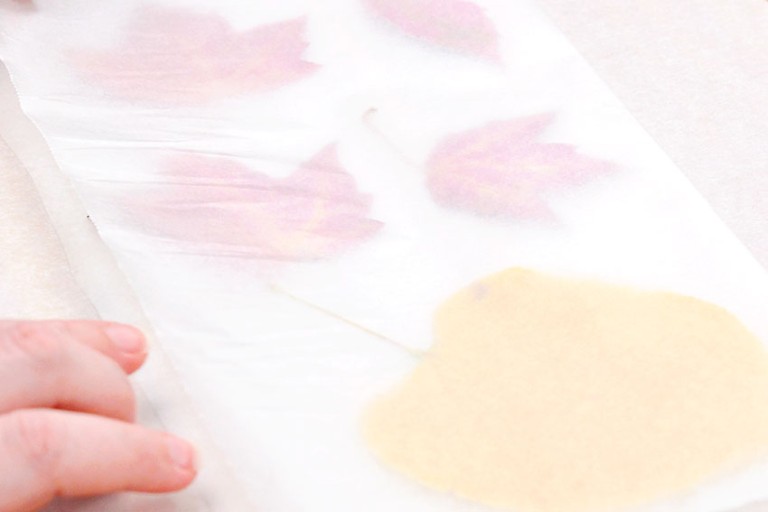
- Place more wax paper, wax side down, over top of the leaves.
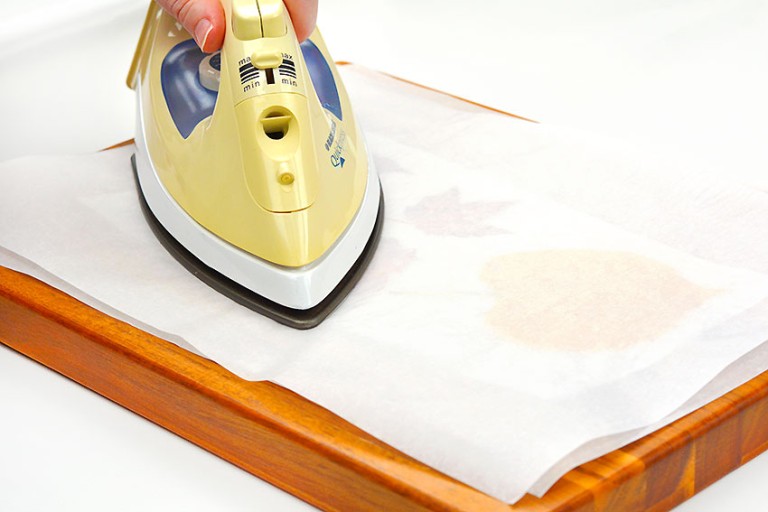
- Add another layer of parchment paper (or a kitchen towel) over top of the wax paper and begin to iron with a medium-high temperature, no steam.Press down with the iron at first, rather than moving it around. This will help keep the leaves flat and in place.
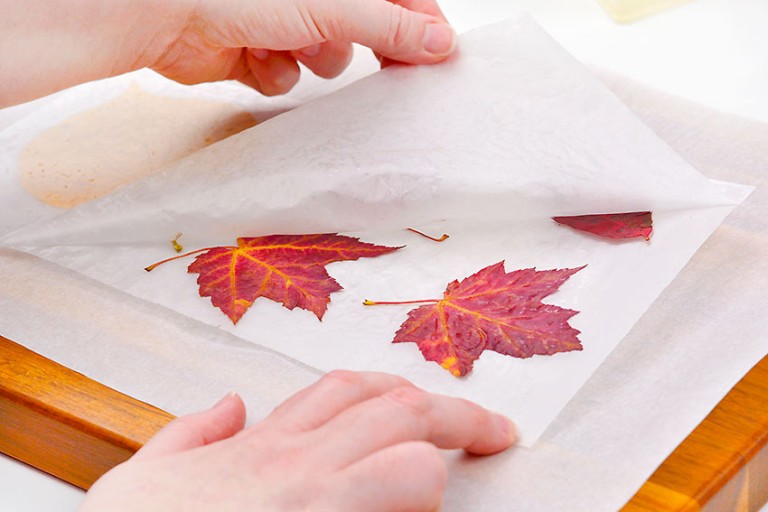
- Flip the wax paper bundle over, replace the top layer of parchment paper, and iron the other side of the leaves.
- Allow the leaves to cool and then peel the wax paper off the leaves.
- Your waxed leaves are complete!
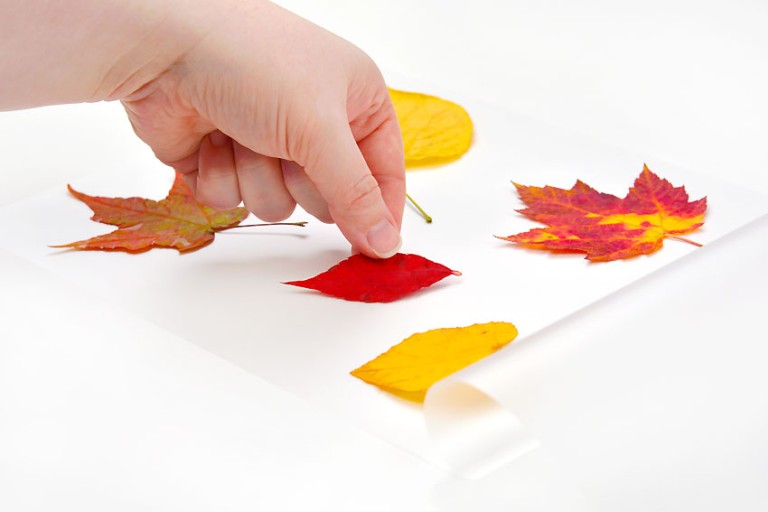
Method 2: Laminating
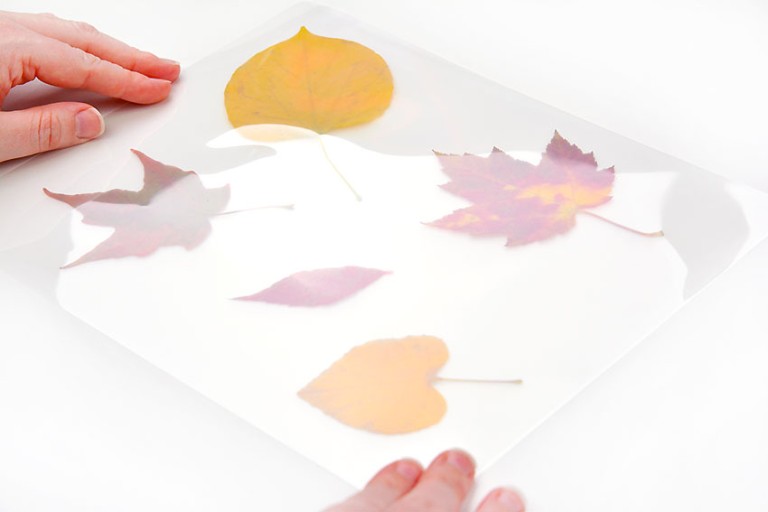
- Before laminating your leaves you may want to iron them, in-between sheets of parchment paper. This will remove excess moisture and flatten the leaves out, making them a lot easier to laminate.Arrange your leaves inside a laminating sheet, making sure they’re not too close to one another.
- Once you’re happy with the leaf placement, close the laminating pouch.
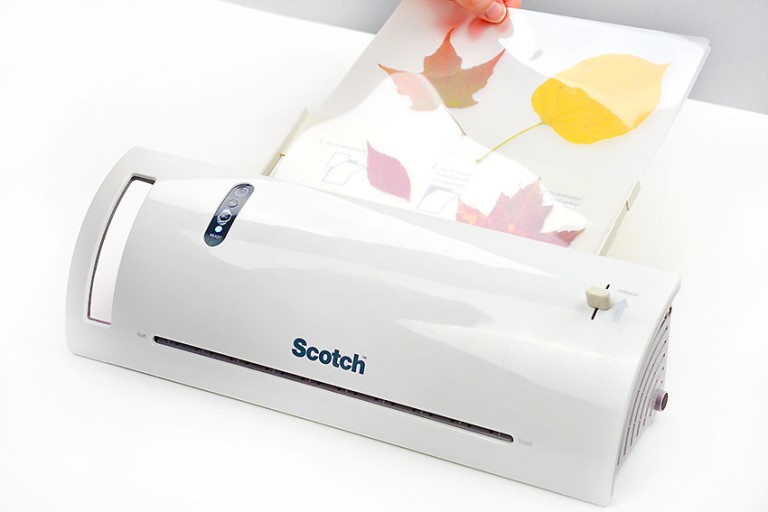
- Carefully insert the laminating sheet into the laminator.You need to be really careful, holding the sheet together so that the leaves don’t change position.
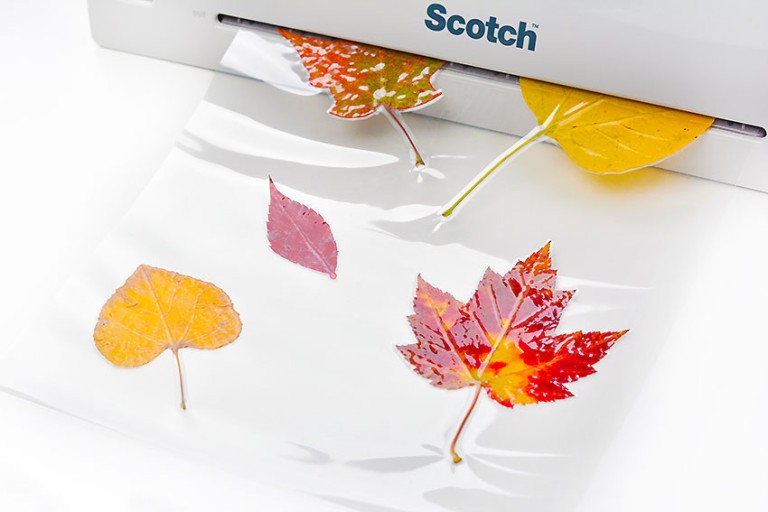
- Continue guiding the sheet through the laminator and see how pretty the laminated leaves are!
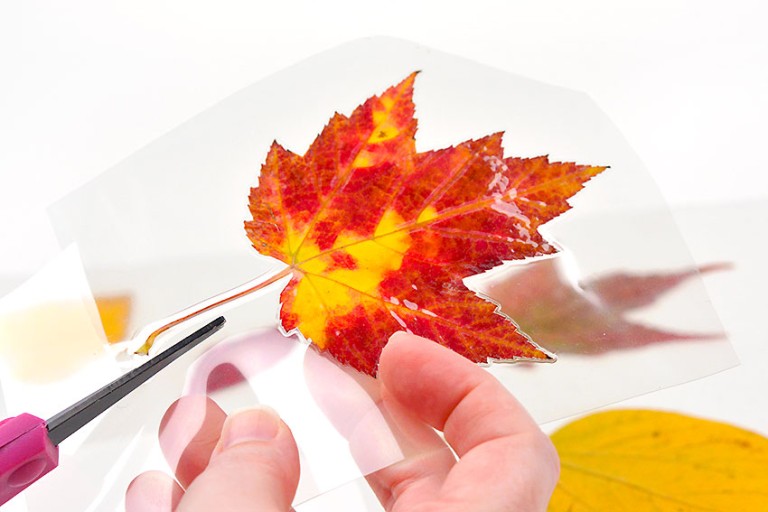
- OPTIONAL: Cut out the leaves. Make sure you leave about a 1/4 inch buffer around the leaf to keep it laminated.(You should be able to see where the laminating starts, especially around the stem.)
- Your laminated leaves are complete!
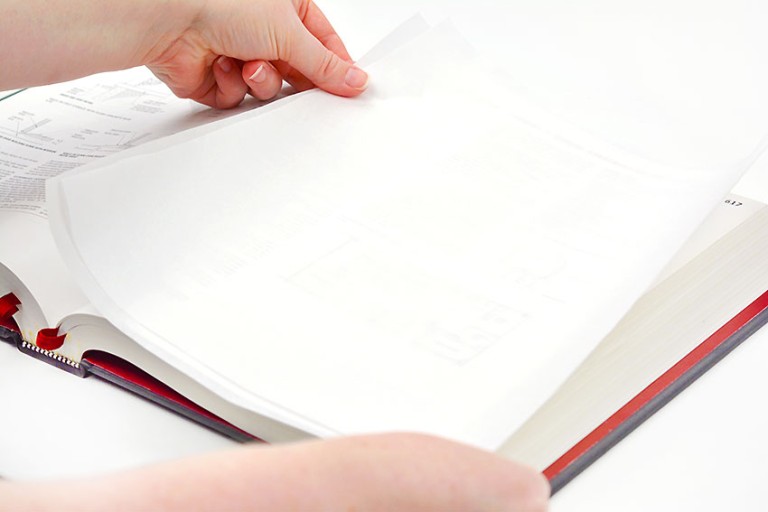
Method 3: Pressing in a Book
- Place 2 sheets of parchment paper inside a large book.
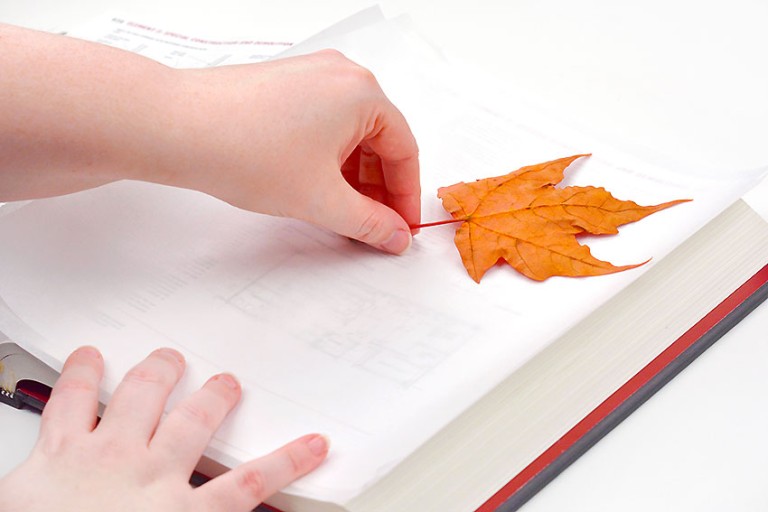
- Arrange leaves on top of the parchment paper, front side down.
- Make sure the leaves are flat and that they don’t overlap. Then add 2 more sheets of parchment paper on top.
- Close the book carefully and add a stack of books (or other heavy objects, like a brick or cinderblock) on top.Wait 1 to 2 weeks for the leaves to dry and become very flat.
- Your pressed leaves are complete!

How to press leaves the best way:
We don’t really think there is one best way for preserving leaves. All 3 of the methods above worked really well for us. (See the end of the post for the methods that didn’t work well!).
Each method has its pros and cons, depending on how you plan to use your preserved leaves.
Ironing leaves in wax paper
This method works really well to keep the leaf’s colour. It’s inexpensive and easy to do, and you have immediate results. However, the leaves turn out quite brittle and a bit crunchy, which means they’re really easy to break.
Laminating leaves
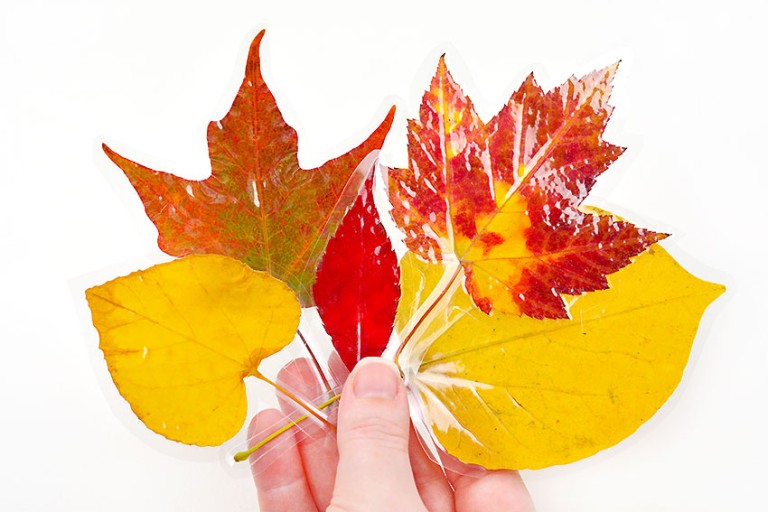
We love the look of these laminated leaves! It’s so cool how you can touch them freely and not worry about them crumbling.
This method is great for kids or seniors to explore different types of leaves. The downside is that the shiny look isn’t natural, and you need a laminator — so it’s not accessible to everyone.
Pressing leaves in a book
This method gave us the most beautiful looking leaves. It preserves the colours really well, and even though the leaves are flat, they aren’t brittle like with the wax paper method.
It’s really easy to press leaves (it’s just like pressing flowers) and you only need parchment paper and some books. The downside is that it takes a little bit of time to press them, so you won’t have immediate results.

How long do preserved leaves last?
The leaves we preserved using the 3 methods above have lasted at least a month without losing their shape or colour. Theoretically they should last several months or even longer depending on how much they’re touched. The laminated leaves should last at least a year or two since they’re sealed in the laminating sheets.
After preserving leaves, what can I do with them?
The pressed leaves or waxed leaves look gorgeous in a glass frame. You can also make a collage or simply use them as decoration on the mantel or Thanksgiving dinner table.
The laminated leaves are so much fun to work with. You can use one as a bookmark or add a magnet to the back and hang it on the fridge. You could even turn a small leaf into a keychain! They also look really pretty hanging in the window as a type of suncatcher.

What didn’t work for us:
How to preserve leaves with glycerin:
To preserve leaves in glycerin create a mixture of 2 parts water and 1 part glycerin. Soak the leaves and cover them so they won’t float up. Let the leaves soak for 3 – 5 days.
Glycerin replaces the natural moisture content of the leaves, allowing the leaves to stay soft and supple. A lot of websites recommend this method, but we didn’t have much luck with it. As the leaves dried out they turned brown, just like they would usually, without the glycerin.
How to preserve leaves with candle wax:
In principle, this method works similarly to ironing the leaves in wax paper. Dipping the leaves in melted candle wax provides a seal, stopping moisture from leaving.
This method works well to preserve the leaf’s colour, but it’s messy and it creates a thick coating of wax that might crumble. In the pro column, this method allows the leaf to keep its natural curves.
How to preserve leaves with glue:
Use a paintbrush to brush white glue or mod podge onto the leaves. Allow them to dry.
Glue creates more of a matte coating on the leaf, while even the matte mod podge gives the leaf a glossy look. These leaves stayed colourful for a couple of days, but within a week they were brown.

Learn how to preserve leaves using these three easy methods, or experiment with some of the other methods listed. It’s so fun to collect leaves while on a nature walk, and then use them in crafts or other DIY projects!

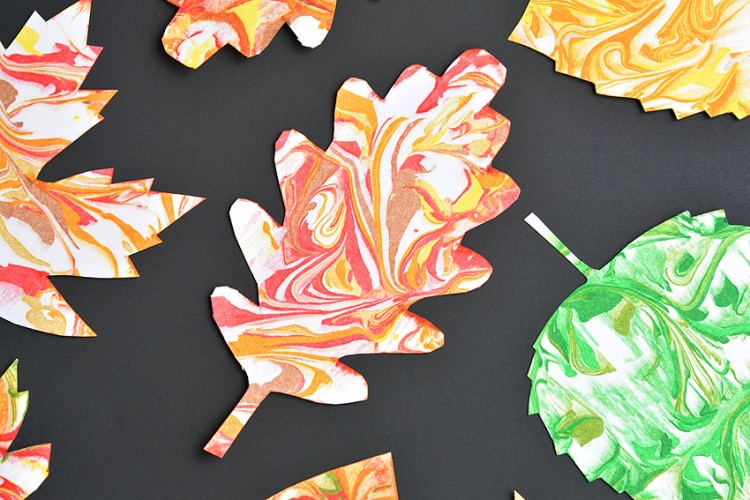
Here’s even more leaf craft ideas:


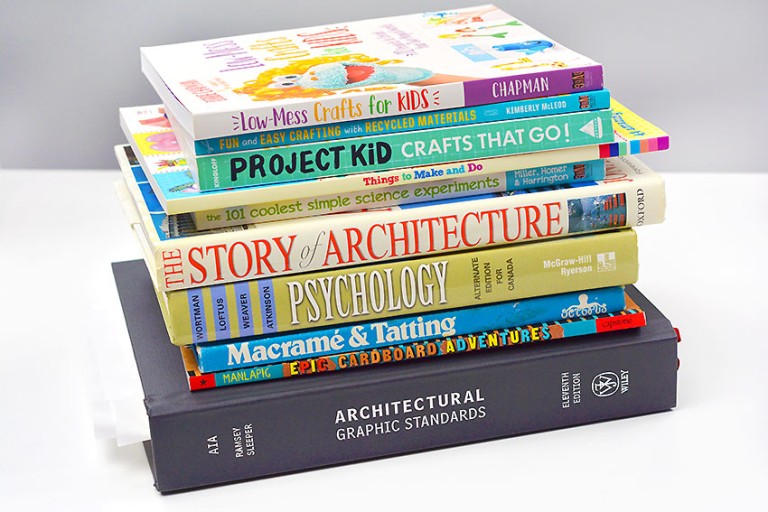
Our book Low-Mess Crafts for Kids is loaded with 72 fun and simple craft ideas for kids! The projects are fun, easy and most importantly low-mess, so the clean up is simple!

Where to buy:
You can purchase Low-Mess Crafts for Kids from Amazon, or wherever books are sold:
Amazon | Barnes and Noble | Books-A-Million | Indiebound | Amazon Canada


Leave a Reply