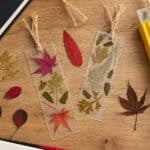
How to Make a Pressed Leaf Bookmark
These pressed leaf bookmarks are super pretty and SO EASY to make! Gather leaves, press them, and attach them to a bookmark to preserve them. A fun fall craft for people of all ages!
Yield: 1 pressed leaf bookmark
Cost: $1
Instructions
Step 1: Find what you need
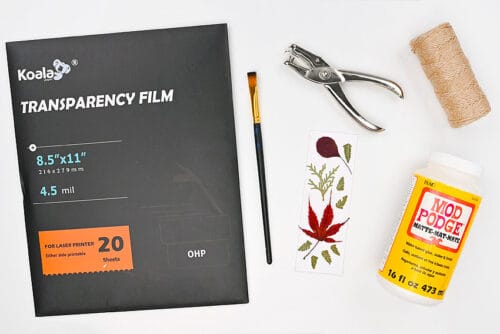
- Gather your supplies and materials.
Step 2: Organize the bookmark supplies
- To make your bookmark you'll need an overhead transparency sheet or another thick piece of plastic.
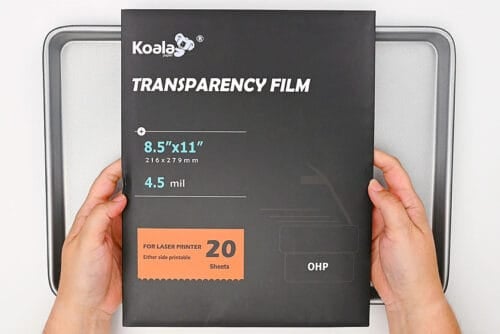
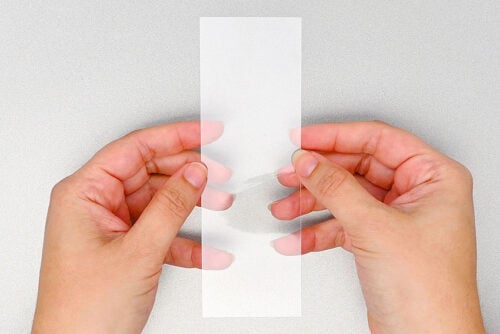
- Cut a 2 inch by 6 inch rectangle from the transparency sheet.(We found it easiest to cut a piece of cardstock to size and then trace it onto the sheet before cutting it out.)
- Grab a selection of pressed leaves. We recommend arranging them on cardstock the same size as your bookmark so you can ensure the leaves fit.(Note: If you're using fresh leaves, first follow our tutorial on how to preserve leaves.)
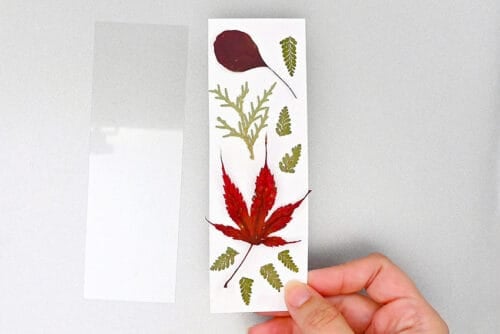
Step 3: Add the leaves to the bookmark
- Begin by brushing a thin coat of Mod Podge onto a section of the bookmark base.
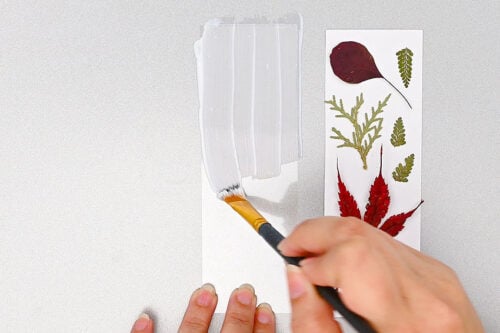
- Then use the paintbrush (or tweezers) to pick up the first leaf.
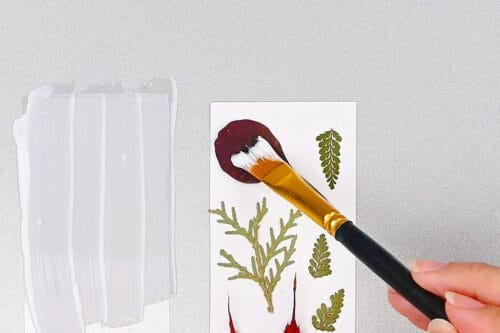
- Set it in place on the bookmark and add more Mod Podge on top of the leaf.
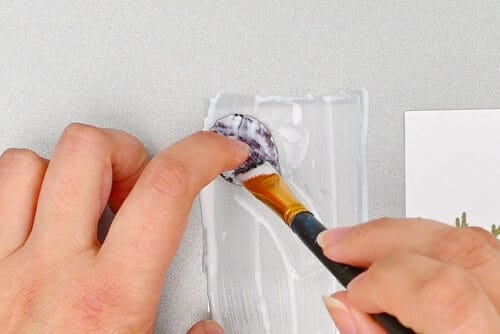
- Repeat, adding the rest of the leaves to the bookmark in the same way.
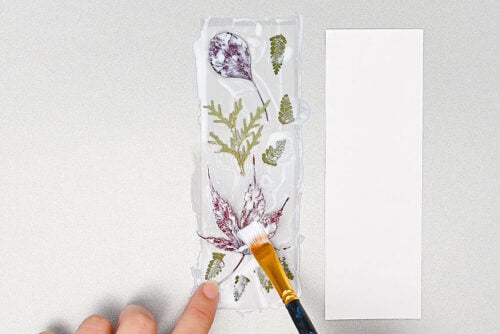
- Ensure all the leaves have a thin coat of Mod Podge on them, and allow to dry.
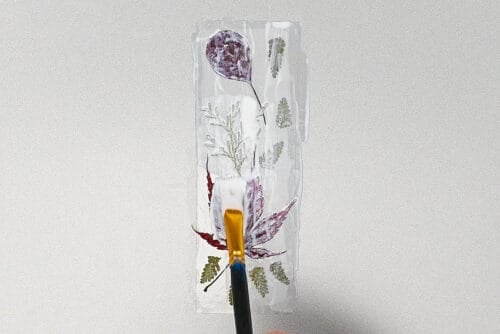
- Add a second full coat of Mod Podge across the whole bookmark. Allow to dry.
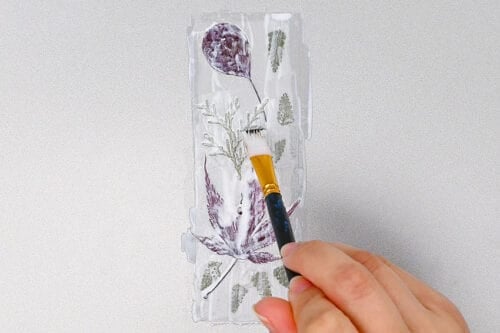
- Finally, add a third coat of Mod Podge. These coats of Mod Podge ensure that the leaves stay nicely in place.
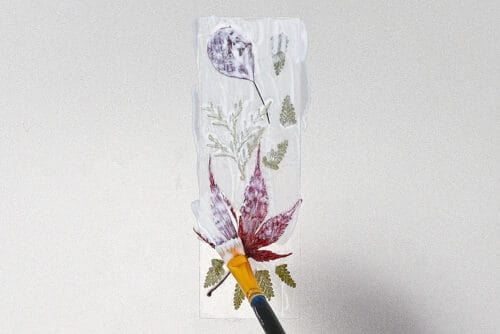
Step 4: Finish the bookmark
- Lift the bookmark from your working surface and clean up the edges, removing any Mod Podge that sticks outside the bookmark.
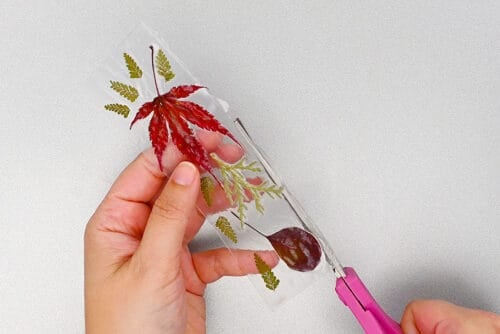
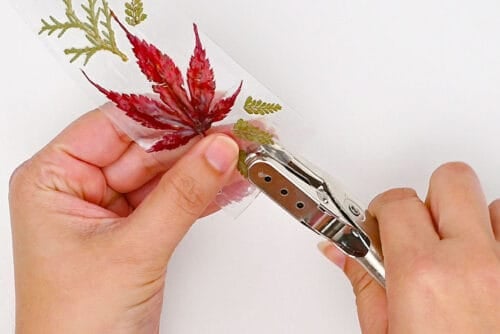
- Use a one hole punch to make a hole at the top center of the bookmark.
- Cut a 6 inch piece of twine.
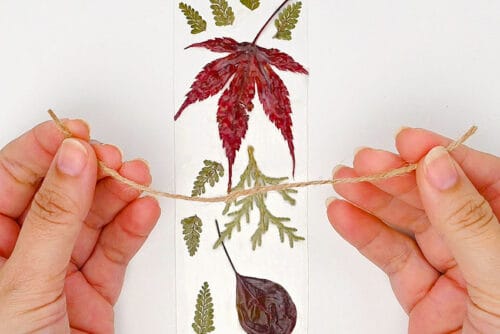
- Fold the twine in half and thread it though the hole in the bookmark. Then slide the ends up through the loop.
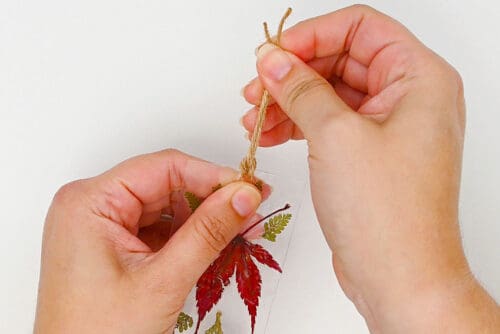
- Finally, separate the twine into separate strands. Cut the tassel shorter if you'd like.
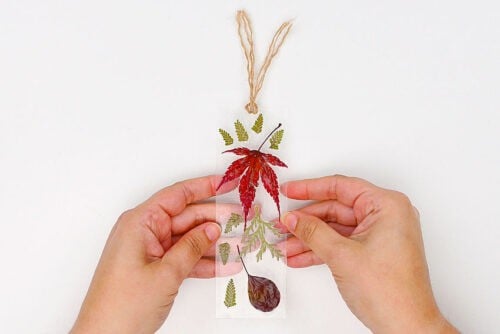
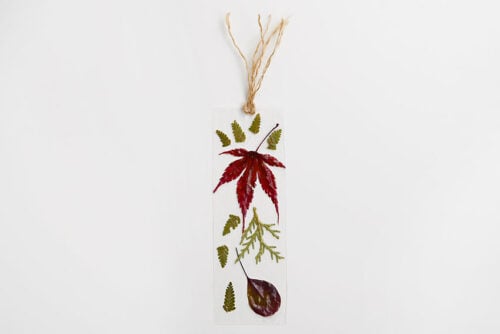
- Your pressed leaf bookmark is complete!
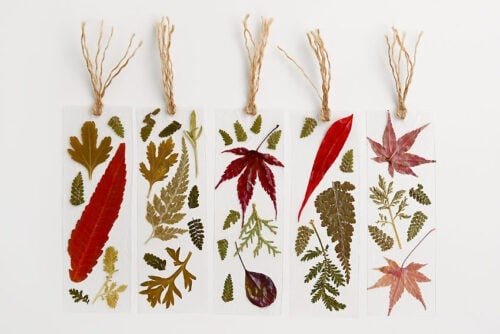
- Then have fun making more bookmarks with different colours and types of leaves.
Video
Notes
Looking for more leaf crafts? Here's a few of our favourites:
Clay Leaf Bowl
Fall Leaf People
Fall Leaf Turkey Craft