Make super cute Perler bead fruit using melty beads! Our fruit creations are easy to make, and they’re really bright and colourful, making them the perfect summer craft.
We have 8 Perler bead fruit patterns for you, with a customizable citrus fruit option! Use our free templates to make this adorable Perler bead craft, or have fun designing your own cute fruit. It’s such a fun indoor craft for kids and adults!

This post contains affiliate links. If you use these links to buy something we may earn a small commission which helps us run this website.
How to Make Perler Bead Fruit
Materials:
Equipment:
Check Out The Video Tutorial:
Instructions:
Step 1: Find what you need
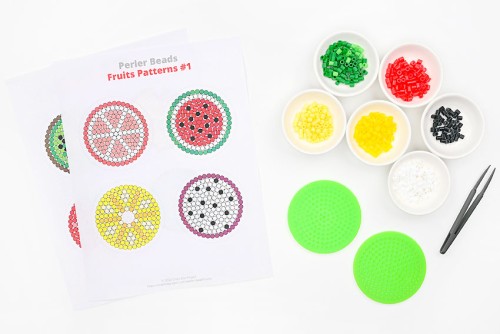
- Gather your supplies and materials.To make Perler bead fruit you'll need a small circle pegboard. We also find it helpful to sort the Perler bead colours we need and divide them into small bowls.

Step 2: Make your Perler bead design on the pegboard
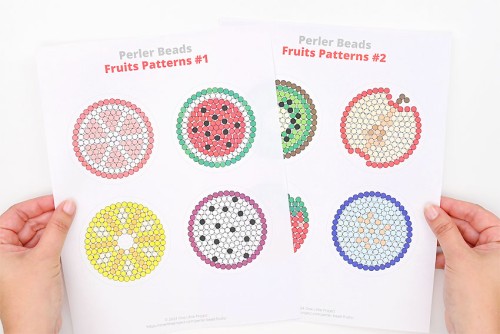
- Print our free Perler bead fruit patterns, or follow along with the template on your device's screen.Find the link to the patterns in the materials list above or scroll down below this tutorial.
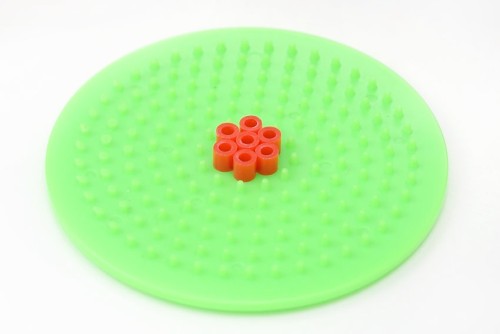
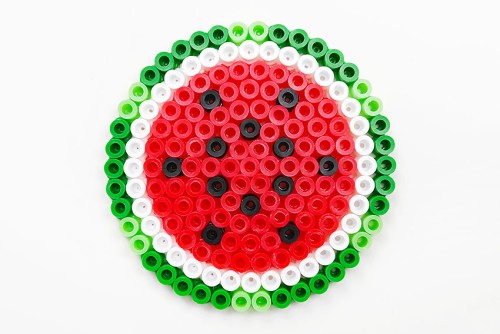
- We find it easiest to start our fruit designs from the center, but you can choose whichever way works best for you!Optional: Use tweezers to place the Perler beads. It makes it easier to add a bead to a specific peg, especially for larger (adult) fingers.
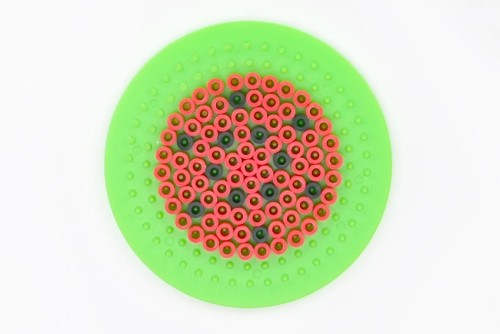
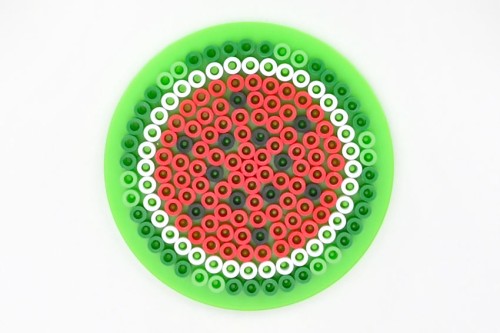
- After the first circle, work row by row towards the outside of the fruit, paying attention to the colour changes.
- Add a circle of white beads around the red, and then, for the outside row, add varying shades of green.Compare the watermelon (or other pattern) to the template one last time to make sure it's exactly how you want it to look.

Step 3: Iron your Perler beads
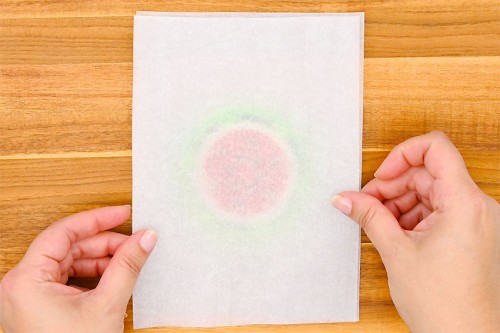
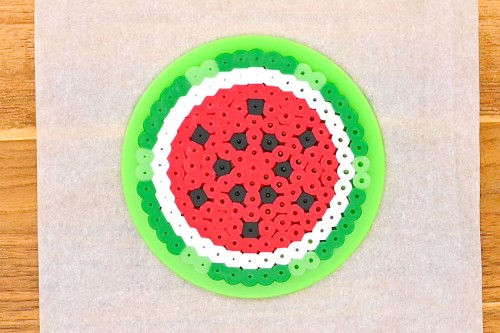
- Set the pegboard on an ironing board or a wooden cutting board. Place a piece of parchment paper over top of the Perler bead design.
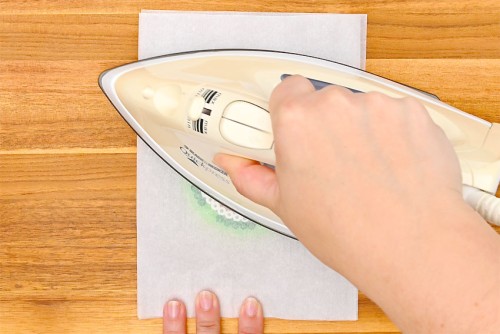
- Heat your iron to medium temperature, no steam. Place the iron on the parchment paper and move it around in circular motions for at least 15 to 20 seconds.
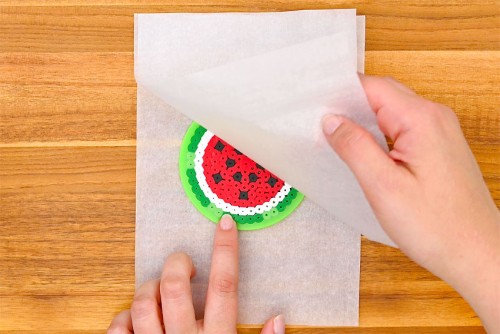
- Check the beads to see if they're melted together. Continue to iron for another 10 to 20 seconds, if necessary.The beads are melted correctly when the parchment paper sticks to the beads and needs to be peeled away from them.
- Leave the fruit Perler design on the pegboard until it's cool to the touch.
- Your watermelon Perler bead fruit design is complete!
Helpful Tips:
- If you have a clear pegboard you can set the pattern underneath it, making it super easy to follow along with the fruit template of your choice!
- Make half a pattern (a half circle) of the citrus fruits or the watermelon for an adorable Perler bead fruit slice.

Get our free printable Perler bead fruit patterns:
The links or pictures below will take you to our free, printable Perler bead fruit templates! The PDF files will open in a new window.
Then simply follow along with the pattern on your device’s screen, or print the patterns in colour on 8.5 x 11 (letter size) printer paper.
>>> Perler Bead Fruit Patterns #1 <<<

>>> Perler Bead Fruit Patterns #2 <<<

What are Perler beads?
Perler beads are cylindrical, plastic beads that are used for crafts. Perler beads are also known as “melty beads” or fuse beads”, because they’re made to be melted together!
Place your Perler beads on a plastic pegboard to form a cool design (like these fruit!). Then cover with parchment paper and iron the beads together. The heat from the iron will “magically” fuse the beads together into one piece.
What’s the best place to buy Perler beads?
You can find a large selection of Perler beads at the craft store, at a big box store like Walmart, or online. Amazon sells a wide variety of Perler beads, but if you’re looking for a specific colour or accessory you can buy from the Perler website directly.

What can I do with these Perler bead fruit?
Perler bead designs are fun to make, but you can also turn them into a functional craft. Here are some cute ideas:
- Add a magnet to the back for some adorable fruit fridge magnets
- Use them as a drink coaster for smaller glasses, or expand the design onto a large circular pegboard for a larger coaster
- Remove the middle beads (like the pineapple slice) and use it as a drink cover. Your straw can fit into the center space!
- Hang the ironed designs as a window decoration or suncatcher
- Attach a jump ring through an outside bead to make a keychain
- Make a Christmas tree ornament for a Christmas in July themed tree by attaching twine or ribbon through a bead
- Use a glue dot to attach the designs to cardstock and place them in a picture frame
- Attach your Perler bead fruit to the front of a DIY greeting card

What other Perler bead fruit designs can I make?
We stuck with a circular sliced theme for our fruit, making the following:
- Citrus (lemon, lime, orange, grapefruit)
- Watermelon
- Pineapple
- Dragon Fruit
- Kiwi
- Apple
- Strawberry
- Blueberry (we bet you’ve never seen a blueberry slice!)
But you can also make whole fruit shapes, having fun with the following:
- Cherries
- Grape bundle
- Banana
- Pear
- Peach
- Avocado
- Mango
- Pomegranate
- Cantelope, or another melon
You can even add faces to your fruit Perler bead designs to make them super kawaii!

These Perler bead fruit are an awesome low cost, low mess craft! Use our free, printable fruit Perler beads patterns to make your favourite fruit, or have fun designing your own.

Here’s even more Perler bead craft ideas:


Our book Low-Mess Crafts for Kids is loaded with 72 fun and simple craft ideas for kids! The projects are fun, easy and most importantly low-mess, so the clean up is simple!

Where to buy:
You can purchase Low-Mess Crafts for Kids from Amazon, or wherever books are sold:
Amazon | Barnes and Noble | Books-A-Million | Indiebound | Amazon Canada

Let us know what you think: