This rainbow craft is SO FUN and it’s really simple to make! If you have a pack of construction paper, a pair of scissors and a stapler, then you’re ready to go!

Rainbow Craft for Kids
You can make these cute paper strip rainbows in less than 10 minutes. This is a great way to use up your construction paper – and they’re SO PRETTY!
Tie a string around the red strip of paper and you can hang them from the ceiling, wall, or in the window. They also stand upright on their own! So you can use them as cute little decorations on kids night tables or dressers.

Video Tutorial: Make a Rainbow From Paper Strips
*Note: Scroll down for the step-by-step photo tutorial.
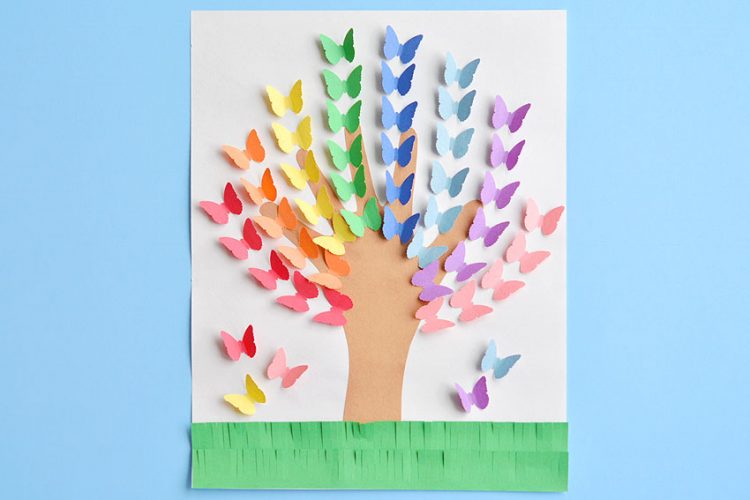
Here’s a few more craft ideas you can make using construction paper:
Here’s What You’ll Need to Make This Rainbow Craft:
The affiliate links below will take you to products on Amazon that are similar to the supplies we used to make this craft:
- Construction Paper (Rainbow Colours)
- Scissors
- Stapler
- Cotton Balls
You’ll need one sheet of construction paper from all the colours of the rainbow. The shape of these rainbows looks the nicest when you use 6 different colours.

How to Make a Rainbow from Paper Strips
These paper rainbows are such a fun way to celebrate spring time. Or any time really. Rainbows are pretty awesome no matter what time of year it is!?
Rainbow Craft for Kids
Materials:
- Construction paper (red, orange, yellow, green, blue, purple)
- 2 Cotton Balls
See the craft in action:
Instructions:
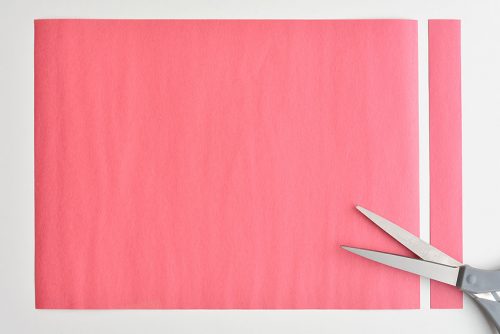
- Cut a 1 inch strip from the shorter end of a piece of 12 inch by 9 inch construction paper. The strip should be 1 inch by 9 inches.

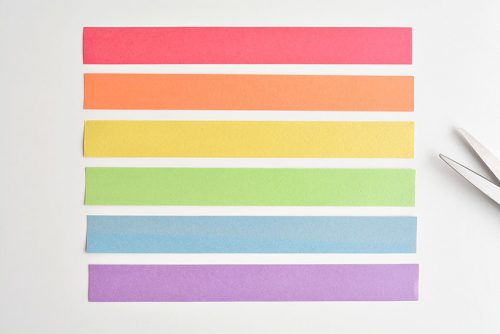
- Cut a 1 inch by 9 inch strip from the rest of the colours of the rainbow so you have red, orange, yellow, green, blue and purple strips.
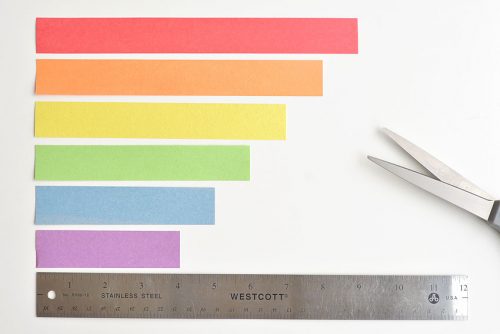
- Trim each colour so it’s about 1 inch shorter than the colour before it. Red: 9 inches (full length), Orange: 8 inches, Yellow: 7 inches, Green: 6 inches, Blue: 5 inches, Purple: 4 inches.
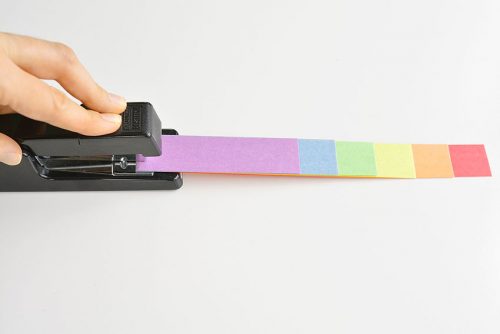
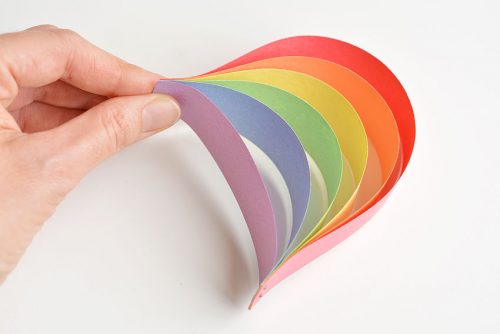
- Place the strips of paper in the order of the rainbow, one on top of the other. Line up the ends of the strips on one side then staple through all 6 strips, about a 1/4 inch from the end.
- Line up the ends of the other end of each strip of paper. Start by matching up the ends of the two shortest strips (purple and blue). Then one by one, line up the end of the next colour until all of the ends are together.
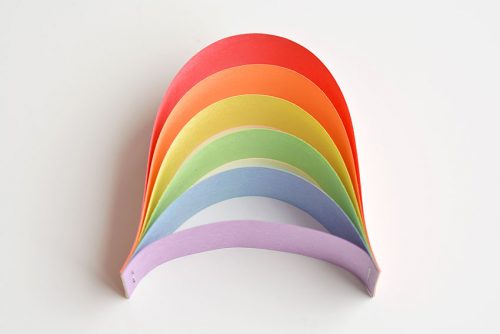
- Again, staple together the strips of paper, about a 1/4 inch from the end.
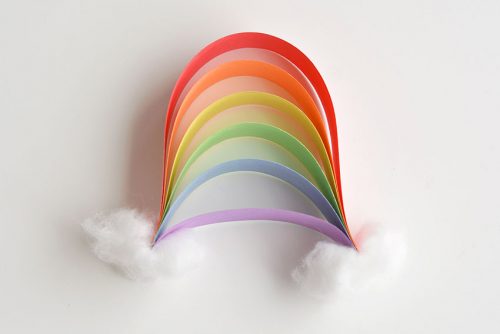
- Your strips of paper should arch just like a rainbow.
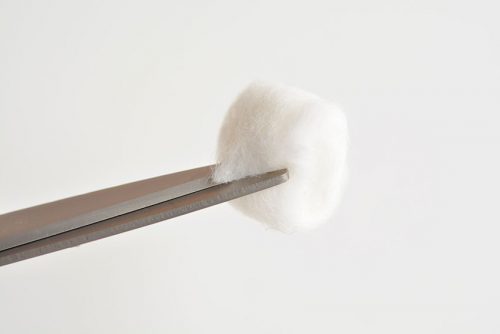
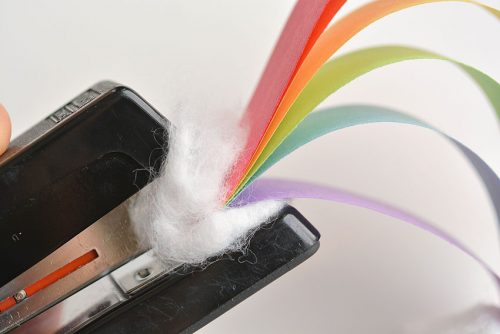
- To make the clouds, you’ll need to fluff up a cotton ball. If your cotton ball doesn’t pull apart easily use scissors to make a small cut on one side of the cotton ball.
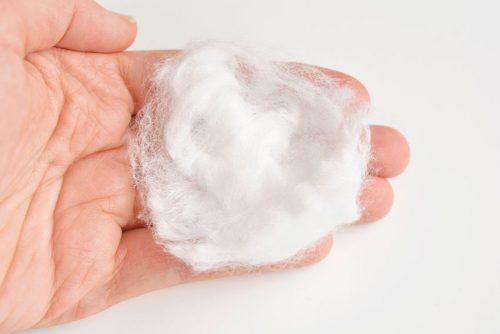
- Then stretch it and pull it apart into a cloud shape.
- Place one end of the rainbow in the middle of the cotton ball. Then fold the cotton ball up on each side and staple it to the rainbow to hold it in place.
- Repeat for the cotton ball on the other side of the rainbow, and your rainbow craft is complete!

I’m a pretty big fan of brightly coloured crafts… bonus points if there’s rainbow colours! I was inspired by the super cute tutorial over at Let’s Try This at Home.
Such a great kids activity for a rainy days!

These paper strip rainbows are SO CUTE and they’re really easy to make! This is such a great construction paper craft and a super fun craft for kids in springtime (or any time!).

Here’s even more easy construction paper crafts:
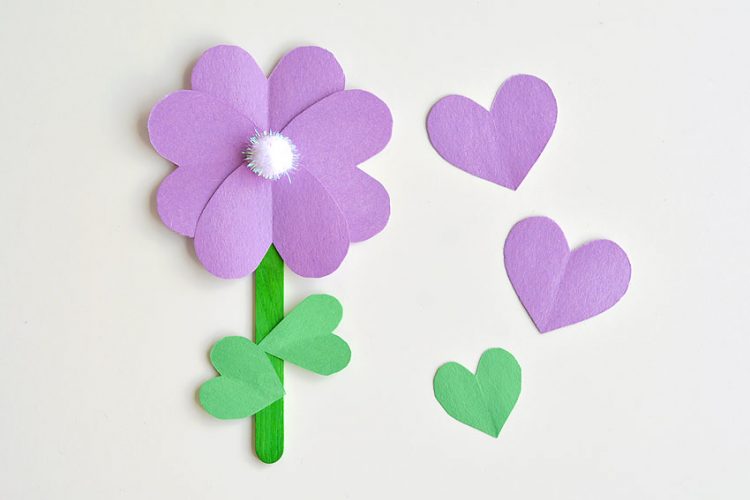
Easy Construction Paper Flowers

Our book Low-Mess Crafts for Kids is loaded with 72 fun and simple craft ideas for kids! The projects are fun, easy and most importantly low-mess, so the clean up is simple!

Where to buy:
You can purchase Low-Mess Crafts for Kids from Amazon, or wherever books are sold:
Amazon | Barnes and Noble | Books- A- Million | Indiebound | Indigo | Amazon Canada


Leave a Reply