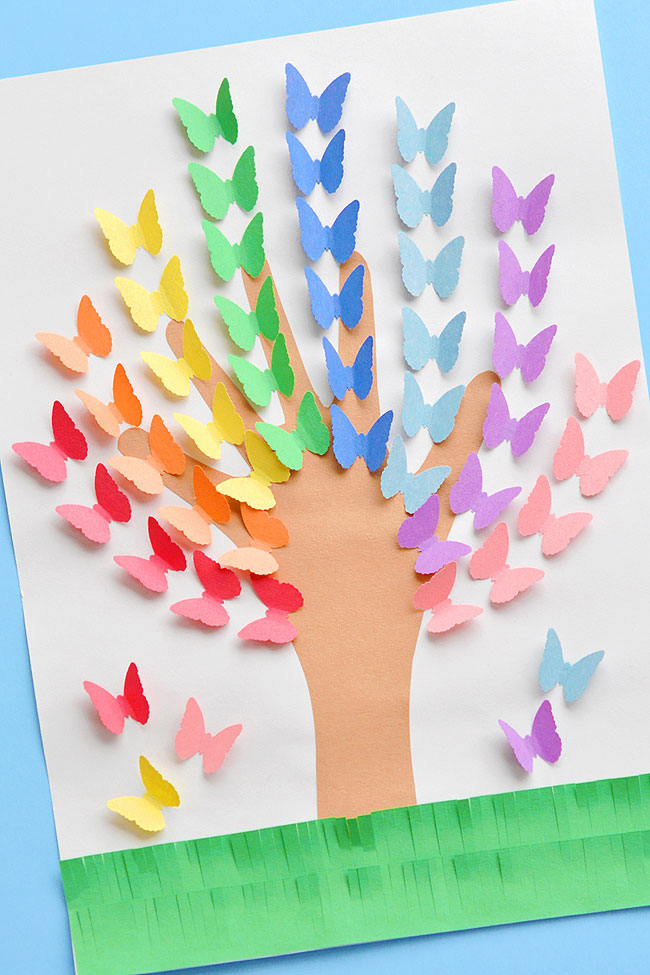
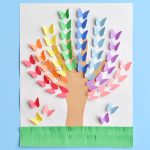
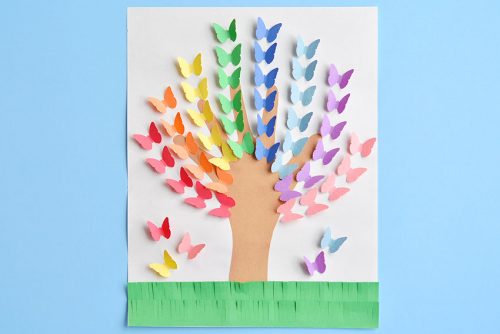
This rainbow tree made from construction paper is such a beautiful art idea for spring, summer or anytime. The paper punched butterflies look 3D on the paper!
Rainbow Tree Craft
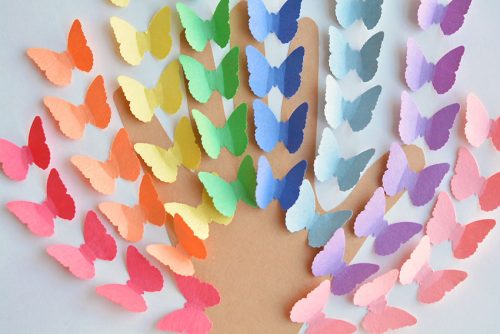
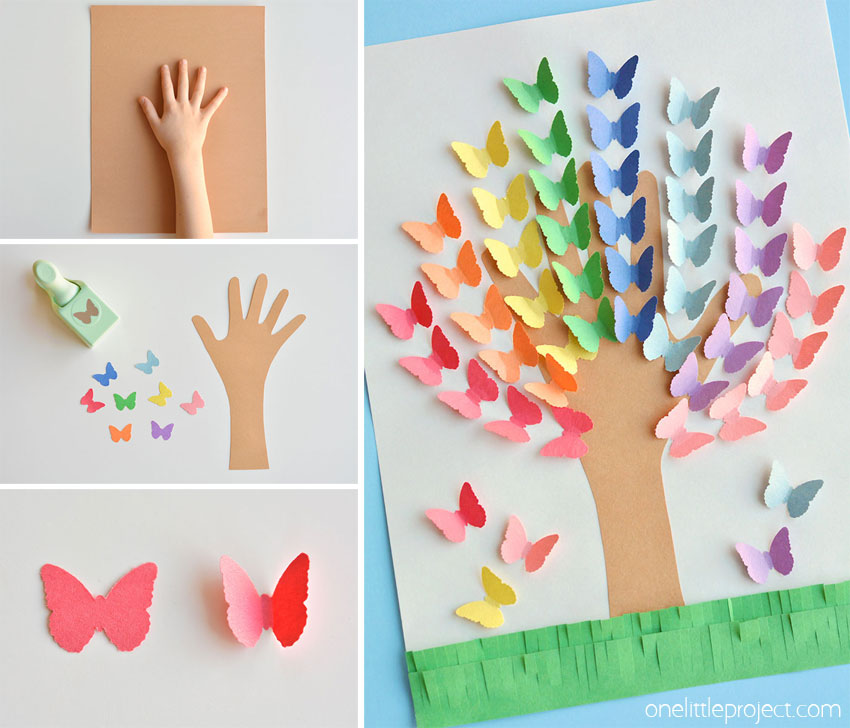
This rainbow handprint butterfly tree made from construction paper is so pretty and easy to make! We used a butterfly paper punch to cut out the butterflies and folded them in half to make them look 3D.
This craft takes about 30 minutes to complete. Gluing on all the butterflies definitely takes a bit of time. But it’s also super relaxing and really fun to watch it come together!
Plus when you’re done, it’s a really pretty keepsake you can put on display somewhere.
Video Tutorial: Rainbow Handprint Butterfly Trees
*Note: Scroll down for the step-by-step photo tutorial.
Looking for easy crafts you can make using your stash of construction paper? Here’s some more to try:
Paper Strip Rainbows (My new favourite!)
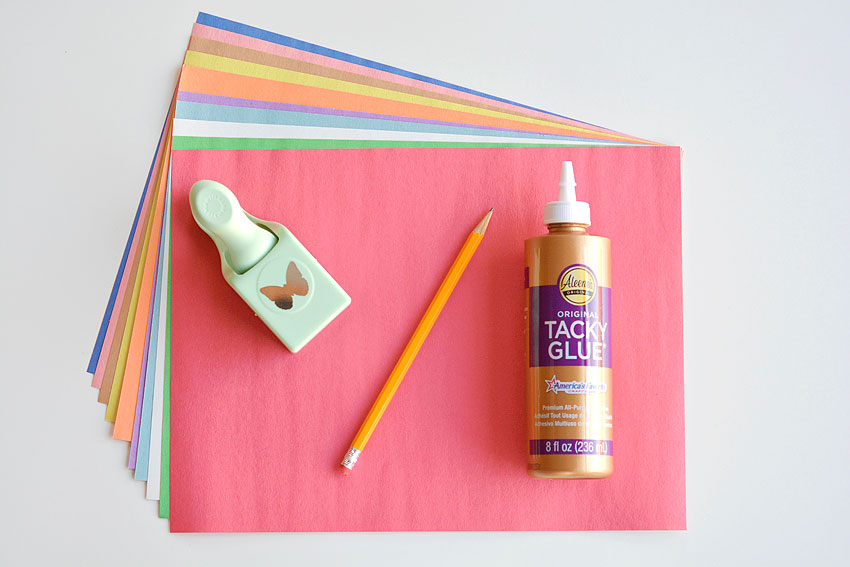
Here’s What You’ll Need:
Here’s a list of affiliate links that will take you to products on Amazon that are similar to the supplies we used to make this craft:
- Construction Paper – assorted colours
- Butterfly Punch – 1 inch
- Tacky White Glue
- Pencil
- Scissors
We used almost every single colour of construction paper in our pack. You’ll need all the colours of the rainbow, plus white for the background and brown for the tree.
What’s the best way to glue the butterflies to the paper?
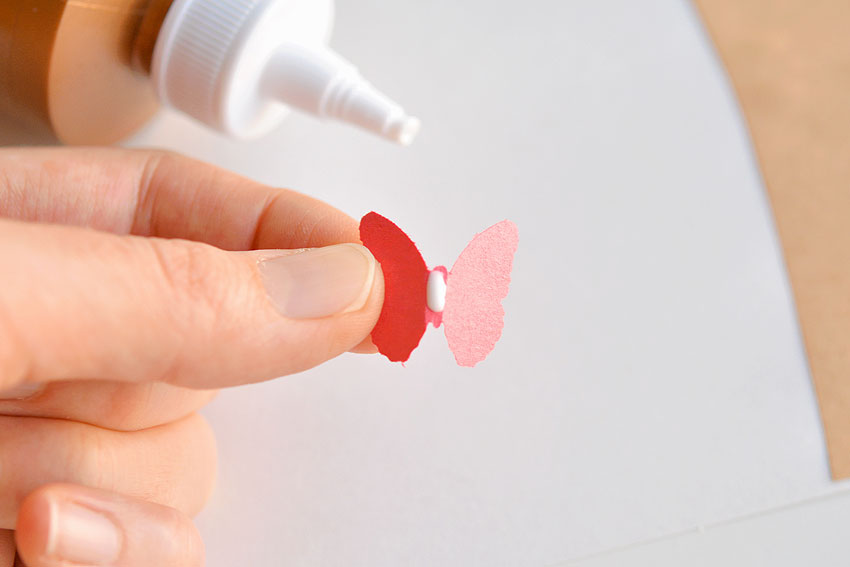
I recommend using Aleene’s Tacky Glue if you have it. It does a great job of holding the butterflies upright as they dry.
There are two ways you can glue the butterflies to the paper.
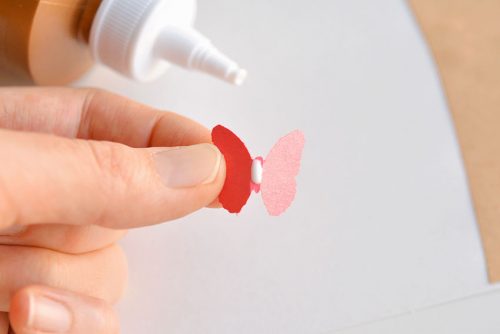
- Add a small dot of glue to the crease on the bottom of the butterfly. (I preferred this method)
- Add a small dot of glue onto the paper where you plan to place the butterfly.
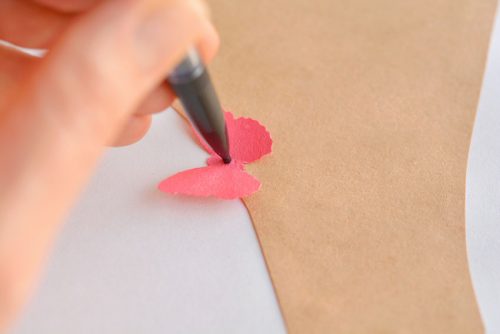
Then use a mechanical pencil or a toothpick to press them onto the paper.
How old should kids be to make this tree craft?
All three of my kids made one of these trees. Just to give you an idea of the skill level it takes:
- My 10 year old made hers completely by herself.
- My 7 year old thoroughly enjoyed punching the butterflies and laying them out on the handprint tree trunk, but she wanted my help with the gluing.
- And my 5 year old needed a bit more help. He donated his handprint but he made me do the rest. (But he’s not big into crafts!)
Rainbow Tree Craft
Materials
- Construction paper assorted colours
- Butterfly punch 1 inch
- Tacky white glue
- Pencil
- Scissors
Instructions
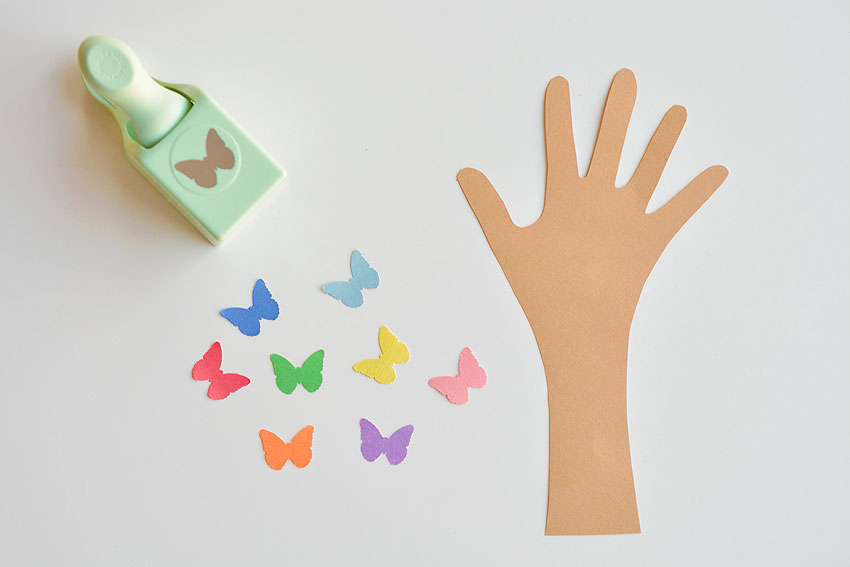
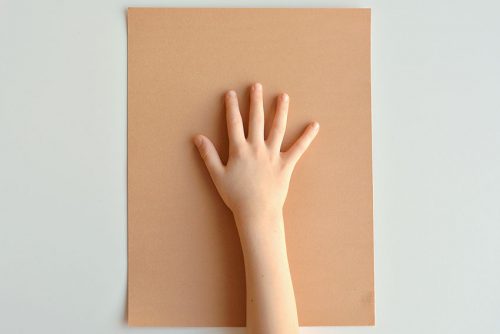
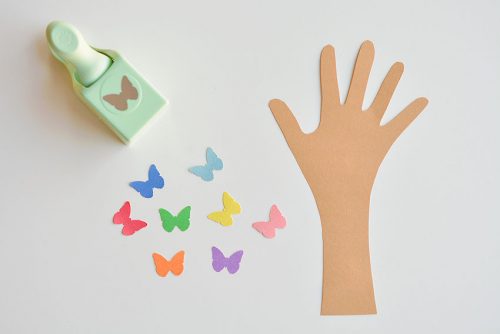
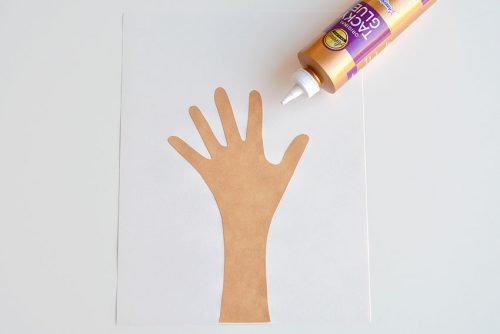
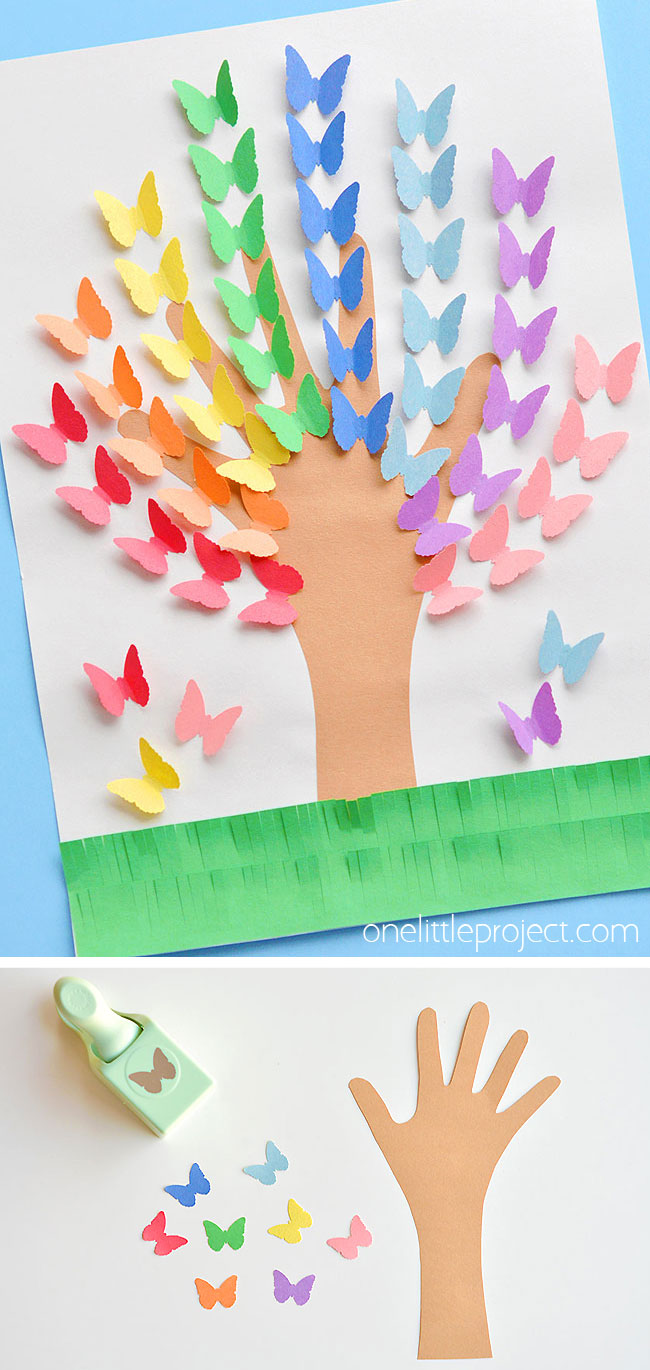
- Trace a handprint in the middle of a brown piece of paper. Then trace the arm down to the bottom edge of the paper to make the tree trunk. Cut out the handprint and tree trunk.
- With a 1 inch butterfly paper punch, punch out about 7 or 8 butterflies each in all the colours of the rainbow, (red, orange, yellow, green, blue, light blue, purple and pink.)
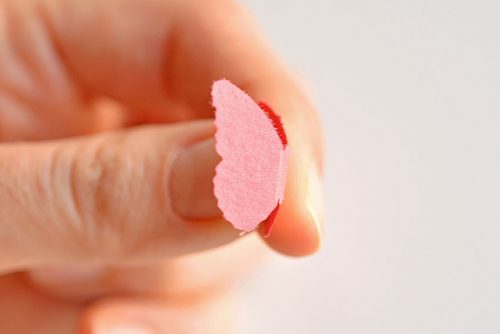
- Use your thumb nail to fold the butterflies in half. You can fold them in half with a single fold, or you can use your thumb nail to make two folds on either side of the butterfly’s body so it stands up on its own. Either will work.
- Glue the handprint onto the middle of a white piece of construction paper so that the bottom of the tree trunk lines up with the bottom of the paper.
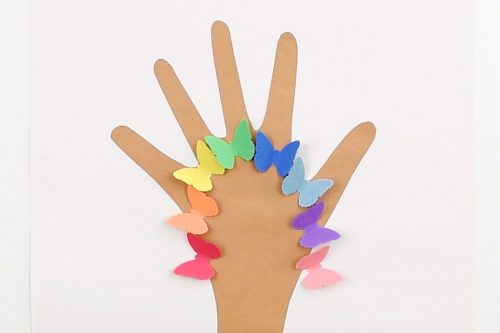
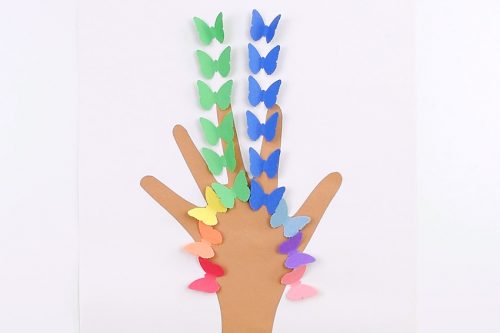
- Set out one butterfly of each colour on the hand print (don't glue them yet) just to make sure everything is centered and spaced properly. Start with the middle two colours (in my case green and blue), just below the middle finger. Then curve out with the other butterfly colours.
- Glue the butterflies to the paper. You can either add a small dot of glue to the crease on the bottom of the butterfly, or add a small dot of glue onto the paper where you plan to place it.
- Then use a mechanical pencil (with the lead pushed all the way back in) or a toothpick to push the butterfly down into the glue, onto the paper. Make sure you only press into the middle of the butterfly, not on the butterfly wings, since you want the wings to be raised.
- One by one, glue the butterflies onto the paper. Start with the two middle butterfly colours (in my case green and blue). This well help keep everything straight. If you start with the reds, your tree might look like it’s blowing in the wind by the time you get to the opposite side. (Or at least mine did!)
- After the middle two rows of butterflies, glue on the remaining butterflies, working your way outwards.
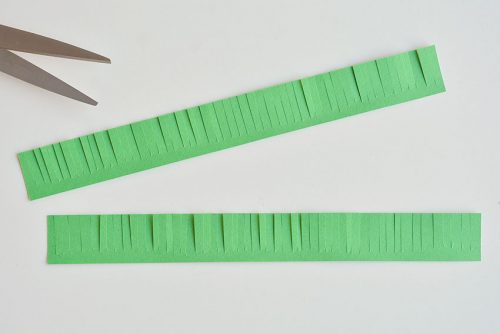
- Cut out two strips of green construction paper, the full width of your paper and about 1 inch wide. Then cut small slits along the long edge to make them look like grass. Bend the edges back and forth, here and there to make it “less perfect” and more grass-like.
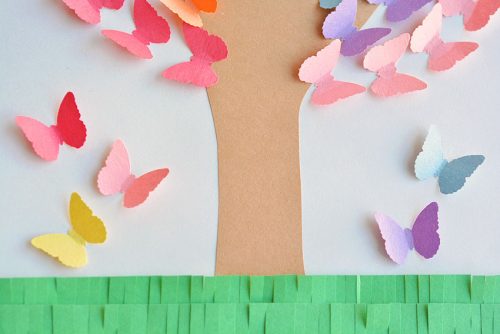
- Glue the grass onto the paper along the bottom edge, overlapping one on top of the other to give it some depth. Then, glue on a few stray butterflies under the tree.
- Your rainbow tree is complete!
Notes
It took me a few tries to get this craft right. The first time I made it, I had all the coloured butterfly “branches” coming out of the tree in straight lines. My 7 year old looked at it and said, “That doesn’t look anything like a tree!?” lol Thanks kid.
So her advice was to make the rows of butterflies curved to make it look more like a tree. And she was right! With a slight curve, it looks way better!
These rainbow trees are such a great construction paper craft and a super fun kids craft for spring and summer.
Here’s even MORE easy and fun paper craft ideas:
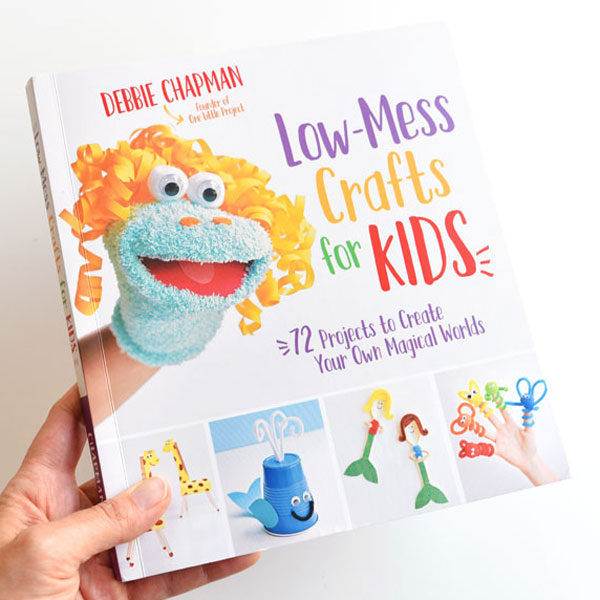
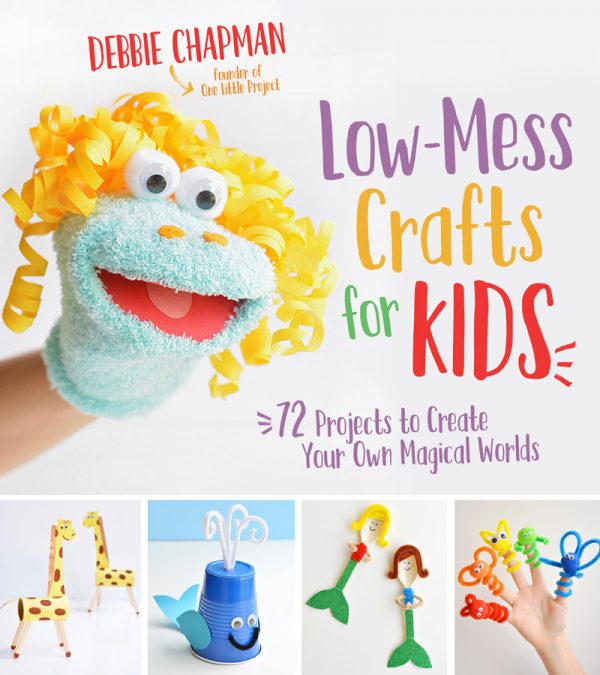
Our book Low-Mess Crafts for Kids is loaded with 72 fun and simple craft ideas for kids! The projects are fun, easy and most importantly low-mess, so the clean up is simple!
Where to buy:
You can purchase Low-Mess Crafts for Kids from Amazon, or wherever books are sold:
Amazon | Barnes and Noble | Books- A- Million | Indiebound | Indigo | Amazon Canada



What a cheerful project to make with your kids! I especially like the hand cutout to make the trunk of the tree. It’s so creative! Thank you for all the detailed steps, I can’t wait to share it with my nephews and nieces!
Julia
Hi! The butterfly link is not the same used, would you be able to tell me where to find the one you used? I think it is cuter!!
Thank you!
Heidi
You’re right, there’s a lot of variety when it comes to these things! This link looks a bit closer to the one that we have.