
Pickles are seriously having a moment. They’re popping up as cute characters, funny gifts, and the kind of “why is this so adorable?” plushie you suddenly need in your life. In our little homage to the emotional support pickle, we’ve whipped up a loom knit pickle that’s equal parts quirky, cozy, and weirdly comforting.
In this post, you’ll find two loom knitting patterns so you can make your knitted pickles in different sizes — perfect for gifting, decorating, or knitting up a whole jar full of pickle friends. Whether you’re new to loom knitting or just looking for a fun, low-pressure project, these pickles are simple, beginner-friendly, and full of personality!

This post contains affiliate links. If you use these links to buy something, we may earn a small commission at no extra cost to you. This helps support our website and allows us to keep creating fun, free content.
How to Make a Loom Knit Pickle
Materials:
- Green chenille yarn (bulky; size 5)
- Polyester fiber fill
- Safety eyes (10 mm)
- Printable Loom Knit Pickle Pattern
Equipment:
- Flower loom (12 pegs)
- Knitting spool (8 pegs)
- Row counter (optional, but helpful)
Instructions:
Find what you need:
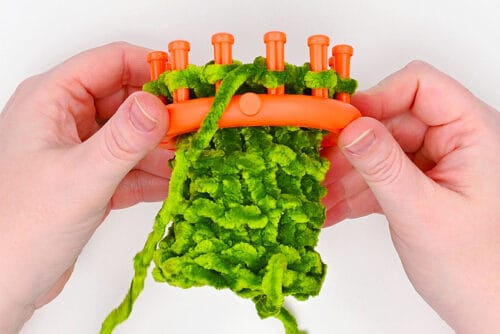
- Gather your supplies and materials. The larger pickle is made on a 12-peg flower loom, while the small pickle is made on an 8-peg knitting spool.

How to U-knit (UK):
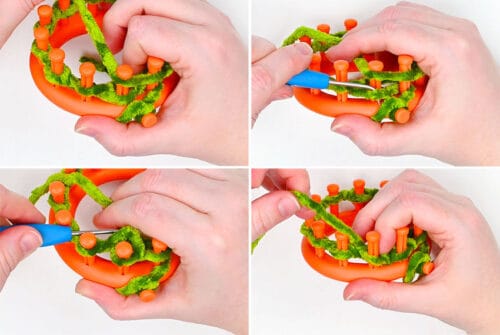
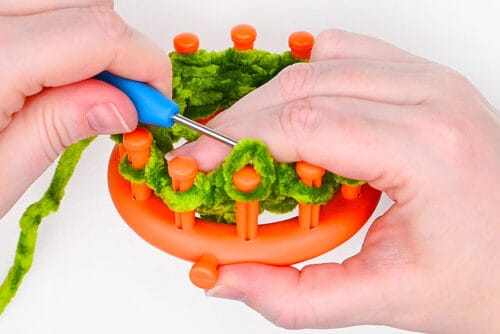
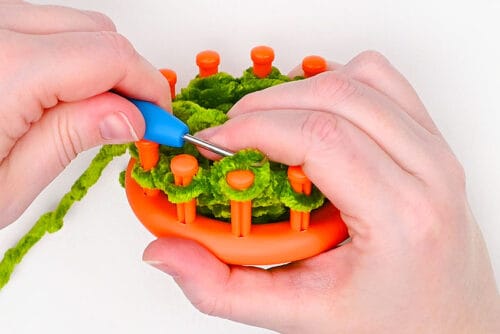
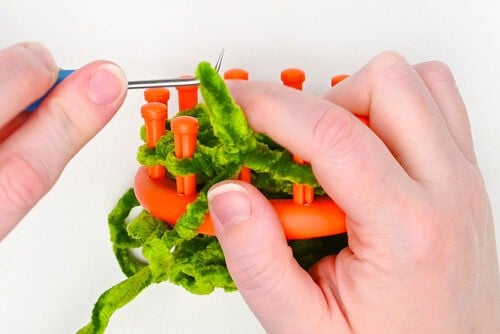
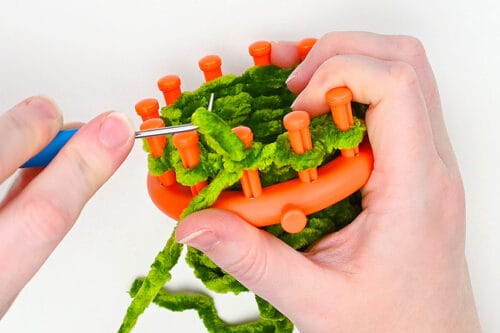
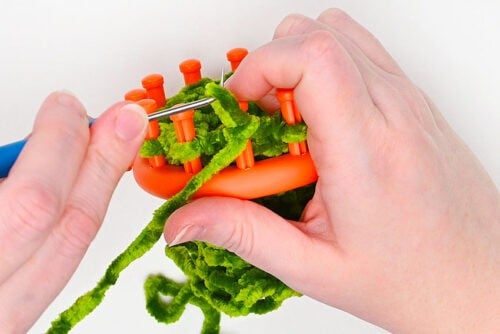
- To do the u-knit stitch, bring the working yarn across the peg above the loop currently on the peg. Use your non-dominant hand to hold the working yarn towards the inside of the loom.Use your hook to grab the loop at the bottom. Bring the bottom loop over the wy, taking it off the peg. Optional: Push the new loop down on the loom to make room for your next st.
How to Purl (p):
- To do a purl stitch on a loom bring the wy below the loop on the peg and insert your hook down through the top loop.Grab the working yarn with your hook and pull it up through the existing loop.Pull the existing loop off the peg and put the new loop (made from the wy) on the peg.Pull the wy to tighten the loop on the peg.
>> Larger Loom Knit Pickle <<
Drawstring cast-on:
- Begin by making a slip knot and attaching it to the anchor peg on the side of the flower loom.
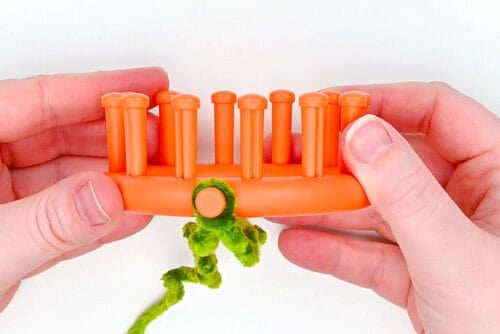
- Use a drawstring cast-on to attach the yarn. To do this, weave the yarn around the pegs. Start by going behind one peg, in front of the next, repeating (behind, in front, etc.) all the way around.I’m left handed, so I’m going around the loom clockwise, starting with the peg to the left of the anchor peg. If you’re right handed you may prefer counter-clockwise — the pattern works either way.
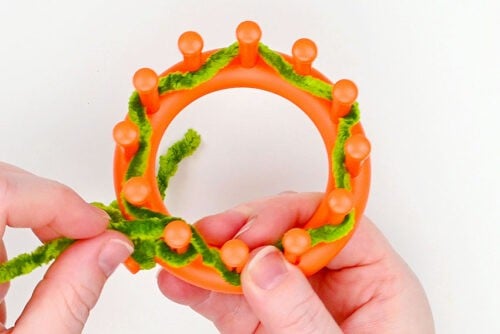
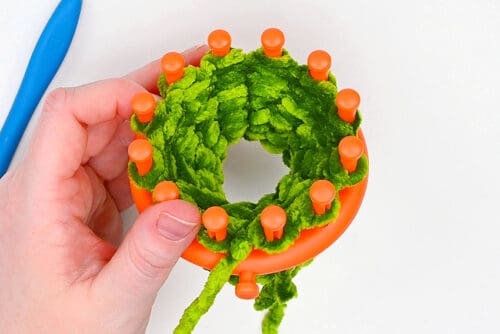
- Next, wrap the yarn around the whole loom, going in front of the pegs and above the first strands of yarn.Knit over on each peg that has 2 loops (i.e. use your loom hook to lift the bottom loop up and over the top loop, and off the peg — to the back).
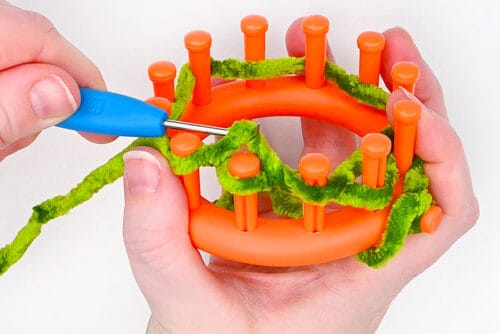
- Repeat around, until you’re back at the anchor peg. This completes the CO.
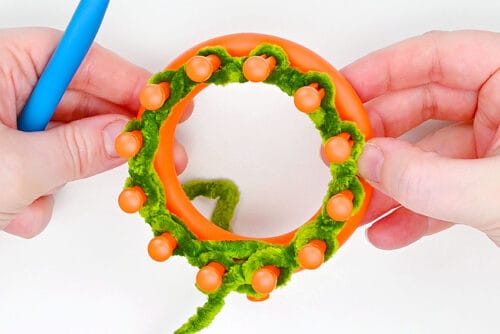
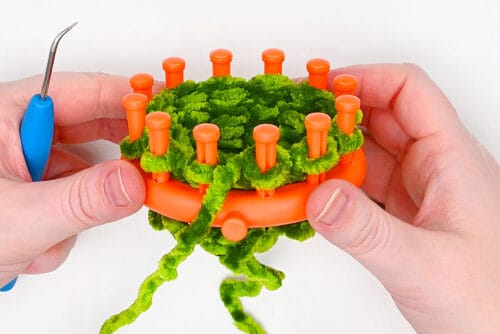
Rounds 1-3:
- UK around.“Around” means to repeat on every peg for a full round. After your first round of knits you can release the slipknot from the anchor peg and push it to the inside of the loom.
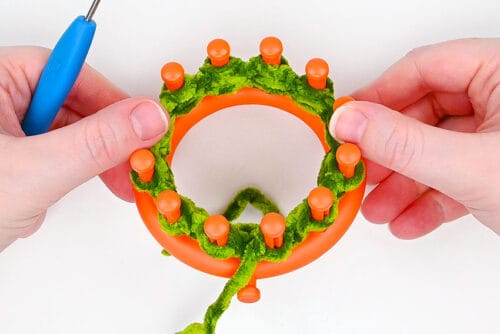
Round 4:
- P around.Here’s what your project should look like. Normally you can tell the difference of what a loop made with a purl looks like versus a knit, but it’s a lot harder to see on the chenille yarn.
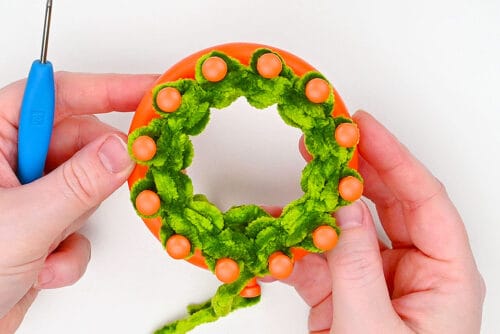
Rounds 5-6:
- UK around.
Round 7:
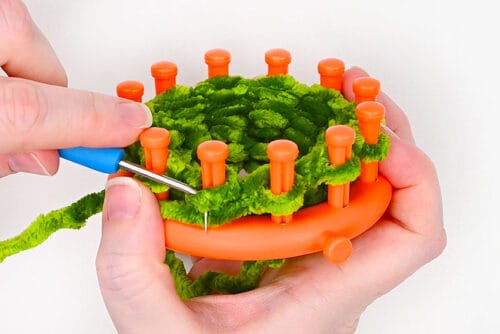
- Now we’re going to do a round that has knits and purls in it. Work the following stitches around:UK, UK, p, UK, p, UK, UK, p, UK, UK, p, UK.

Rounds 8-9:
- UK around.
Round 10:
- P around.
Rounds 11-12:
- UK around.
Round 13:
- UK, p, UK, UK, p, UK, p, UK, UK, p, UK, UK.
Rounds 14-15:
- UK around.
Round 16:
- P around.
Rounds 17-18:
- UK around.
Round 19:
- UK, UK, p, UK, UK, p, UK, p, UK, UK, p, UK
Rounds 20-21:
- UK around.

Round 22:
- P around.
Rounds 23-24:
- UK around.
Round 25:
- p, UK, UK, p, UK, p, UK, UK, p, UK, UK, UK.
Rounds 26-29:
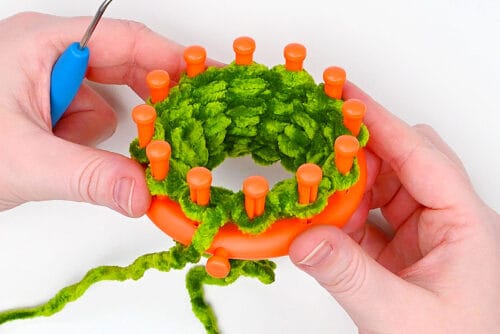
- UK around.
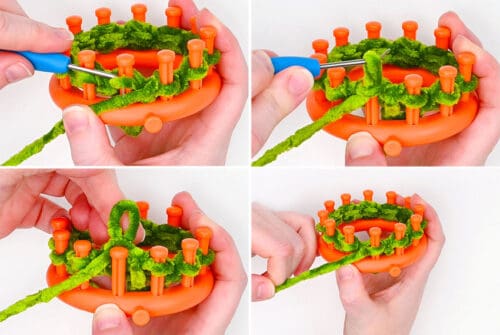
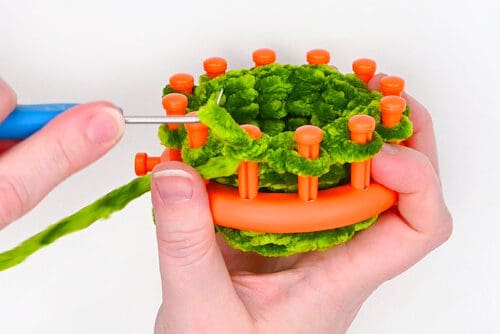
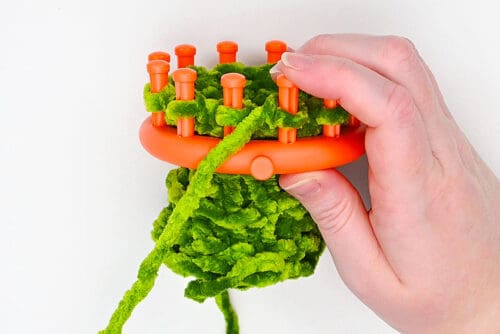
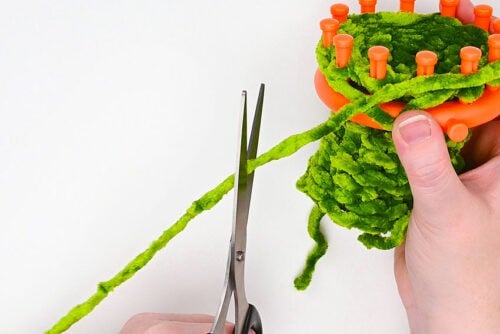
Gather bind-off:
- Wrap the wy around the loom once and cut it off from the ball.
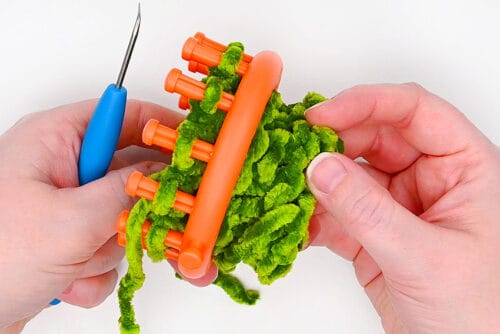
- Thread the yarn end through a yarn needle and then bring the needle up through the front of the first loop.
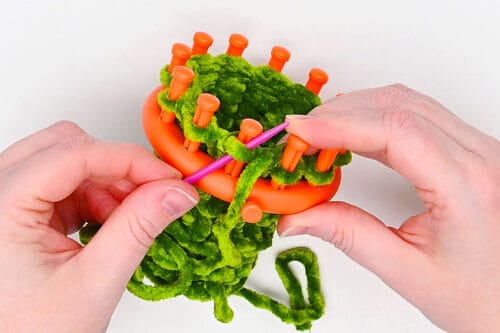
- Pull the yarn through the loop and then lift the loop off the loom.
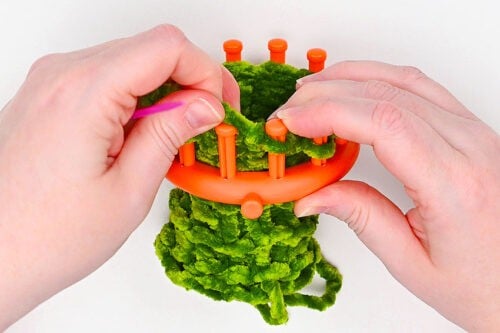
- Repeat around until the work is removed completely from the loom.
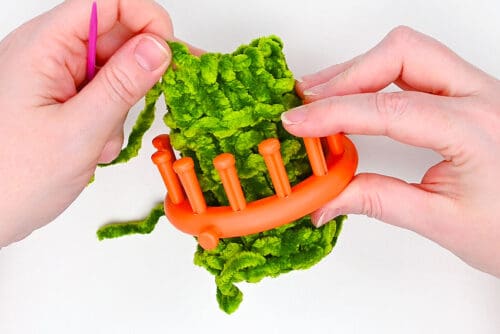
Close off and stuff the pickle:
- Pull on the yarn end (the one you just did the cast-off with) to close one end of the pickle.
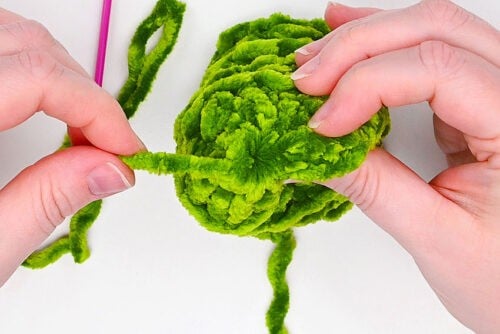
- Then weave in your end, sewing back and forth through the bottom of the pickle. End with the yarn on the inside of the pickle, and cut off the excess.
- Add a bit of stuffing to the pickle, pushing it down to the bottom.

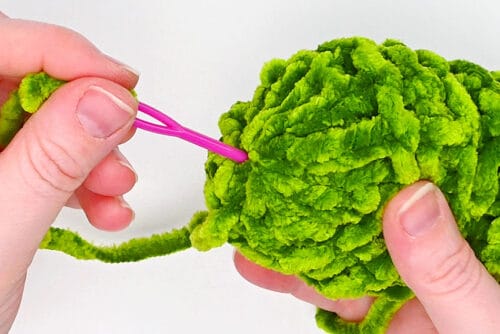
- Insert safety eyes between the last two purl rows, placing them a couple of stitches apart. Secure them with the backings inside.

- Add black yarn on your needle and sew a little smiley face mouth. Tie the ends together inside to secure.

- Fill the pickle with more stuffing and then pull gently on the end to close off the pickle. The drawstring is a bit harder to close than the gathered end, but it will close with gentle persuasion. Don’t pull too hard, as chenille yarn can break off if you do this.Then weave in the end and cut it off, using your needle or hook to push the end back inside the pickle.

- Your loom knit pickle is complete!

>> Small Loom Knitted Pickle <<
Drawstring cast-on:
- To make a smaller loom knit pickle you can use an 8 peg knitting spool.Since they don’t have an anchor peg we find it useful to mark your starting peg with a stitch marker, small elastic, or even a piece of yarn.

- Add the yarn to the spool with a drawstring cast-on (see instructions above).

Round pattern:
- Rounds 1-3: UK around.Round 4: p around.Rounds 5-6: UK around.Round 7: UK, UK, p, UK, UK, p, UK, p.Rounds 8-9: UK around.Round 10: p around.Rounds 11-12: UK around.Round 13: UK, p, UK, UK, p, UK, p, UK.Rounds 14-15: UK around.Round 16: p around.Rounds 17-19: UK around.

Gather bind-off:
- Remove your work from the loom using a gather bind-off (see instructions above).

- Close off the pickle, stuff it, and weave in the ends, following the steps above.We didn’t add a face to this baby pickle, but you definitely can if you’d like!

- Your baby dill knitted pickle is complete!

- We hope you have fun with this pattern, whether you make a jar full of baby dill pickles, create an emotional support pickle friend, or both!

Helpful Tips:
- Super easy to follow: This pattern is basically 2 rounds knit, 1 round purl, 2 rounds knit, 1 round mixed knit & purl — then repeat.
- Mixed knit & purl rounds don’t need to be perfect copies: You don’t have to follow the pattern exactly for the combined rounds. Just space the purls out, adding 4 purls per round (or 3 purls per round on the smaller pickle).
- Don’t pull the yarn too tight with the u-knit: If you pull tight like you would with an e-wrap knit, the loops will get way too difficult to lift off the pegs.
Loom Knitting Abbreviations & Terms:
around = repeat across every peg (one full round)
CO = cast on
GBO = gather bind off
p = purl stitch
st(s) = stitch(es)
UK = u-wrap knit
wy = working yarn
Download our loom knit pickle pattern:
Click on the link below to download our loom knitted pickle pattern. The PDF file will open in a new window. Then simply follow along on your device’s screen or print on 8-1/2 by 11 inch (letter size) paper.
>> Loom Knit Pickle Pattern <<

What type of loom do I need to make a loom knit pickle?
For the larger pickle, we used a 12-peg large-gauge loom, often called a flower loom. To make the smaller pickle, you can use a knitting spool.
If you have a Flexee Loom (or any loom where you can snap pegs together to create different sizes), that works great too — this pattern is very adjustable, so you can adapt it to whatever loom you have handy.

What size pickle plushie does this pattern make?
Made with size 5 yarn, the small baby dill pickle turns out just over 3-1/2 inches long and about 1-1/2 inches wide. The larger pickle plush is about 5 inches tall and around 2 inches across.
If you want a shorter or longer pickle, it’s easy to tweak by adding or removing rounds — just make sure you end with 3 knit rounds so the top stays nice and smooth.

How can I give character to my loom knitted pickle plush?
To give your pickle a little personality, you can add safety eyes and use black yarn to sew on a simple smile. If you prefer, you can also embroider the eyes instead.
You can even make little loom knitted or crochet accessories for your emotional support pickle. We added a crochet hat ornament to one of the pickles, and it honestly looks so cute.
What should I use to stuff a knitted pickle?
For stuffing, we used poly-fil, but you can even use stuffing from an old pillow or yarn and fabric scraps.
If you want your pickle to have a bit of weight so it sits more nicely, you can add poly-pellets. The easiest way to do this is tying the pellets into part of a nylon stocking. Then tuck that in alongside the stuffing at the bottom.

Whether you make one tiny baby dill or a whole jar full of chunky pickle friends, this loom knit pickle is one of those projects that’s quick, satisfying, and just plain fun to finish. It’s the kind of soft, silly plush that makes people smile the second they see it.
So have fun playing around with different loom sizes and adjusting the pattern as you like. Have fun giving each pickle its own little face and personality, and enjoy this fun reminder that quick, relaxing projects can bring you a ton of joy!
Here’s even more cute plushie ideas:


Now available
Low-Mess Crafts for Kids Book
72 cute and fun crafts that kids and parents alike can enjoy. All with as little mess as possible!
Where to buy:
You can purchase Low-Mess Crafts for Kids from Amazon, or wherever books are sold:
Amazon | Barnes and Noble | Books-A-Million | Indiebound | Amazon Canada


Leave a Reply