
Who can resist a fluffy little otter?! This pom pom otter craft is irresistibly cute and surprisingly simple to put together! With a couple of yarn colours and a few felt details, you’ll end up with an adorable fuzzy friend that’s perfect for imaginative play or an animal-themed display.
Whether you’re crafting with older kids, putting together a pom pom critter collection, or just need a fun yarn project to make you smile, this little otter fits the bill. With a sweet nose, tiny ears, and a tapered tail, it’s got all the personality of the real thing in a palm-sized package!

This post contains affiliate links. If you use these links to buy something, we may earn a small commission at no extra cost to you. This helps support our website and allows us to keep creating fun, free content.
How to Make a Pom Pom Otter
Materials:
- Yarn (brown, taupe)
- Round black beads (4mm or 1/8 inch)
- Black felt
- Brown felt
- Tacky glue
Equipment:
- Pom Pom maker (3.5cm or 1-3/8 inches)
- Latch hook tool (optional)
- Tweezers (optional)
Watch the step-by-step video tutorial:
Instructions:
Step 1: Find what you need
- Gather your supplies and materials.


Step 2: Make the otter’s head
- Hold the two sides of a 3.5 cm pom pom maker together. Wrap half of one side with taupe yarn until it’s full.You’ll know it’s full when the yarn on the bottom of the maker is flush with the bottom edge of the plastic.
- Cut the yarn and tuck the tail under a neighboring strand to secure it in place.We find a latch hook tool makes this easy to do, but you can also use tweezers or scissors with a fine tip.

- Wrap the remaining half of this side and the entire other side of the maker in brown yarn until it’s full. Cut the yarn and secure the tail.
- Close and latch the pom pom maker.
- Cut a 10 inch piece of brown yarn and set it aside for the moment.
- Slide scissors into the gap between the two sides of the pom pom maker and cut through the middle of the yarn.
- Insert the piece of brown yarn you set aside into the gap and wrap it all the way around the maker, so the ends meet where the brown and taupe yarn in the pom pom touches.Pull it tight, and tie it securely. You’ll need at least a double knot to secure it. We often tie it in a single knot on each side, and then a double knot back on the first side for extra security, but this isn’t 100% necessary. Remove the pom pom from the maker.


Step 3: Create the body
- Using the same size pom pom maker, wrap half of one side in taupe until it’s almost full. Cut the yarn and secure the tail.
- Wrap brown yarn overtop of the taupe yarn, covering as much of the taupe as you can. Cut the yarn and secure the tail.
- Wrap the other side of the pom pom maker in brown yarn until it’s full. Close and latch the pom pom maker.
- Cut a 10 inch piece of brown yarn. Cut and tie off the pom pom where the taupe and brown sections meet.Remove the pom pom from the maker.
- Make another pom pom the same size. Begin by covering 2/3 of one side of the pom pom maker with taupe yarn. Then cover the taupe and remaining 1/3 with brown yarn.Wrap the other half of the maker with brown yarn until full.
- Cut a piece of brown yarn. Cut and tie off the pom pom at the hinge (where the brown yarn is).


Step 4: Make the feet and tail
- Cut an 8 inch piece of brown yarn and insert it into the center space between the middle two tines of a dinner fork.
- Wrap brown yarn across and around the middle of the tines 40 times. Try to concentrate the wraps in a 3/4 inch area.
- Cut the yarn and hold it in place while you pull the piece of yarn from between the tines up and around the bundle of yarn on the fork.Tie a single knot and pull tight. Slide the bundle off the fork, pull the single knot tight again and add a double knot.

- Cut between the loops to create a small oval pom pom.
- Repeat, making 5 more small pom poms (for a total of 6).


Step 5: Cut the nose and ears
- Cut black felt to make the otter’s nose. Begin with a 1/2 inch square and round the points. Hold it like a diamond and cut 2 small triangles from the bottom edges for nostrils.
- Cut 2 small rectangles from brown felt, about 1/4 inch by 1/8 inch. Round one end on each to make the ears.


Step 6: Assemble the otter
- Connect the head and the first body pom pom (the one with more taupe).To do this, slide a latch hook tool (or other suitable item) under the strand on the body pom pom where the taupe and brown yarns meet, opposite the long strings.
- Grab one of the long strands from the head pom pom and pull it through the body pom pom’s tied strand.Arrange the pom poms so the colours line up, and tie the 2 long strands in a double knot to secure the head to the body. Then cut the excess strands close to the knot.
- Use the same process to connect the second body pom pom below the first. There should be 2 long strands hanging down from the bottom.
- Repeat again, attaching one of the small brown pom poms below the second body pom pom. This is the first half of the tail.
- Then attach a second small brown pom pom for the other half of the tail. For this one you can tie the 2 sets of strings together to connect them.
- Push the latch hook tool through the center of one of the body pom poms. Insert both long strands of a small pom pom into the hook.
- Pull the latch hook back through to the other side of the body pom pom, bringing the strings with it.Use these to tie on a second pom pom, securing with a double knot. Cut the excess yarn off close to the knot.
- Repeat, attaching the last 2 small pom poms to the second body pom pom.
- Use sharp scissors to trim the pom pom otter, evening out its “fur” and shaping it how you’d like. You’ll need to trim the tail a fair bit to get a tapered look.


Step 7: Add the facial features
- Dip the nose in tacky glue and apply to the head pom pom where the brown and taupe yarns meet.
- Make a little trench in the yarn for the ear on one side, diagonally up from the nose. Dip the flat end of the ear into glue and place it in the trench.Push the yarn back together to secure it. Repeat on the other side to add the second ear.
- Use tweezers to hold the small bead. Dip it in glue and place it up and to the right of the nose (it should be in line with the ears).Repeat with the second eye on the other side.
- Your pom pom otter is complete!
- Now have fun making a whole family of cute, fluffy otter friends!


Want 4 weeks of easy summer activities already planned?
Our 4-Week Summer Boredom Buster Plan gives you 28 simple crafts, sensory play ideas, outdoor activities, printable challenges, supply lists, and quick backup ideas, all chosen, organized, and ready to use.
Helpful Tips:
- Use sharp scissors. Dull blades can make it difficult to cut through the layers of yarn and leave the ends looking frayed.
- Use a lint roller or rolled piece of tape to clean your work surface. All that yarn fluff can add up fast! A quick pass with a lint roller between pom poms helps keep things tidy and prevents stray fibers from sticking to your finished otter.

Can I make a smaller version of this pom pom otter?
Yes, you can make a pom pom baby otter! Just use a smaller pom pom maker and trim the feet and tail pom poms smaller. You can also glue craft pom poms together, instead of making your own, to create a teeny tiny otter!

What should I use for my pom pom otter’s eyes?
We used 4mm round black beads for our DIY pom pom otter’s eyes. You can also use safety eyes, glass eyes for doll-making, tiny black pom poms, or black felt.

Do I need a latch hook tool for this pom pom otter craft?
A latch hook tool makes assembly of your pom pom otter easier, especially when threading yarn through tight pom pom centers. But you can also use tweezers, a large blunt needle, or even a crochet hook in a pinch.

This pom pom otter craft is such a fun project for animal lovers and yarn crafters alike! From its dark eyes to its cute little tail, it’s definitely full of charm. Whether you’re making the yarn otter for a gift or keeping it for yourself, this fuzzy little critter is bound to make a splash!
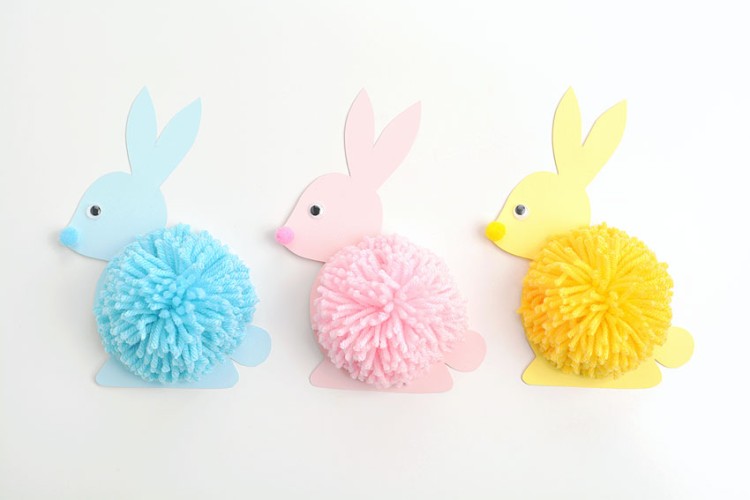
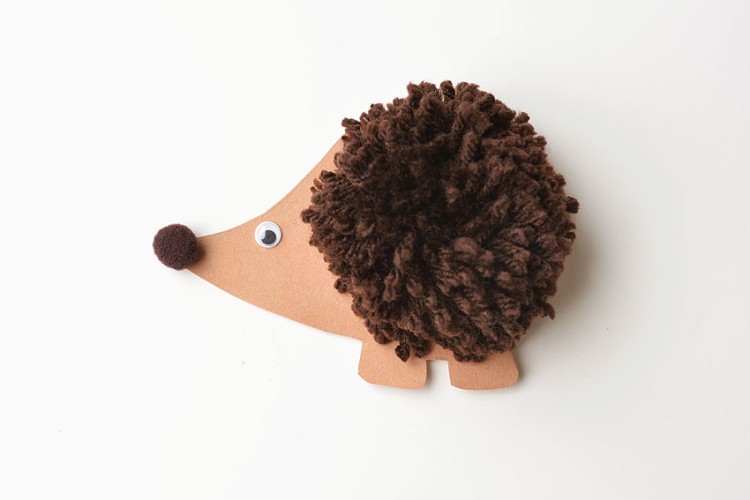
Here’s even more cute animal craft ideas:

How to Make a Pipe Cleaner Dog


Now available
Low-Mess Crafts for Kids Book
72 cute and fun crafts that kids and parents alike can enjoy. All with as little mess as possible!
Where to buy:
You can purchase Low-Mess Crafts for Kids from Amazon, or wherever books are sold:
Amazon | Barnes and Noble | Books-A-Million | Indiebound | Amazon Canada


Leave a Reply