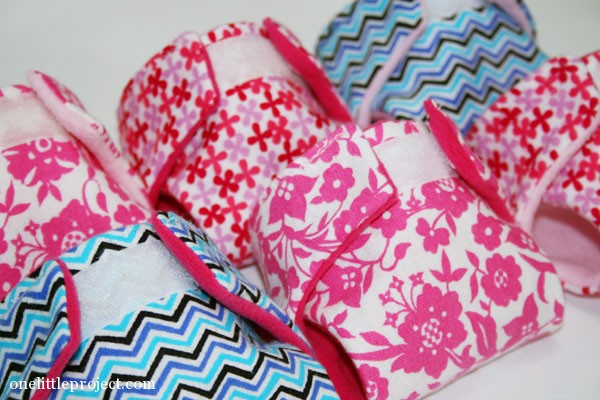
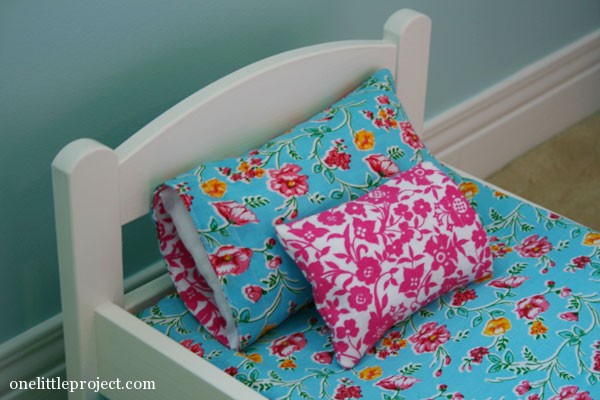
You know the IKEA Duktig doll’s bed that I painted last week? I’ve had big plans to spruce it up for the Baby Alive doll that we plan to give Leah for her birthday at the end of the month (the one that I made the cloth doll diapers for last week). I started today by making a pillow and pillow case for the doll’s bed. 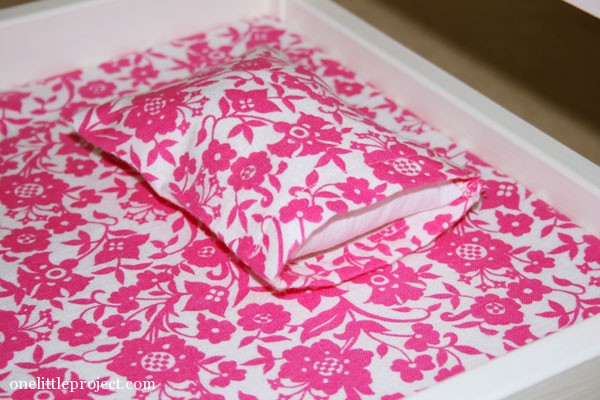
Now, admittedly, this pillow is a little on the small side for the size of the doll’s bed. I was running out of fabric so I made it as big as I could with what I had. Maybe we should just call it a doll’s throw pillow instead? Or it could be considered a very luxurious Barbie pillow? I’m pretty sure Leah is going to love it regardless of its size!
How to make a doll pillow and pillow case
For the pillow:
This tutorial will work for any size pillow – even a throw pillow for your living room.
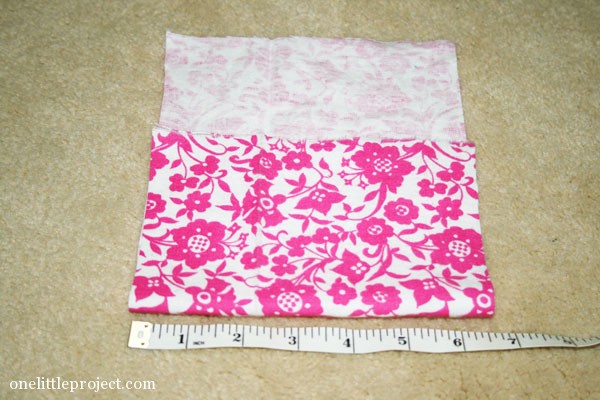
Cut a strip of fabric the desired height of your pillow. I used the cotton fabric used for men’s dress shirts because it was on mega sale.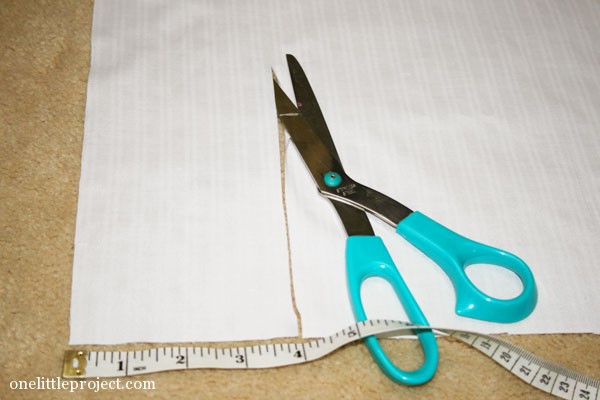
Fold the strip in half and cut the fabric the desired width of your pillow: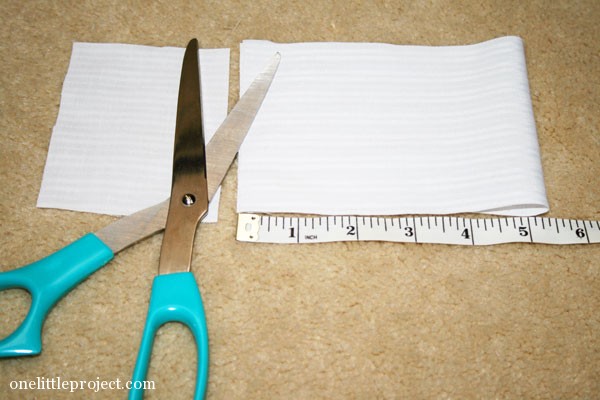
Sew the edges of the pillow, leaving a small opening to turn it right side out: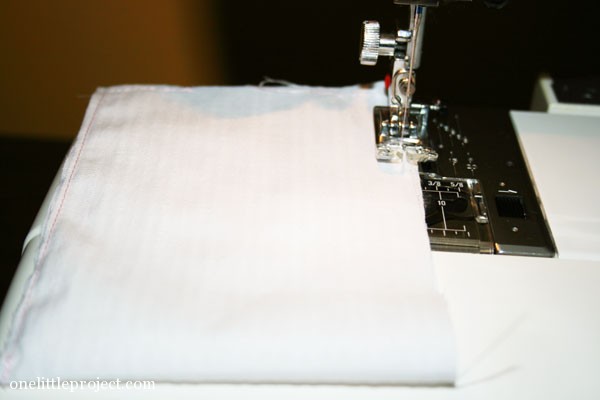
You can see in the photo below that I left about an inch and a half to turn my pillow right side out: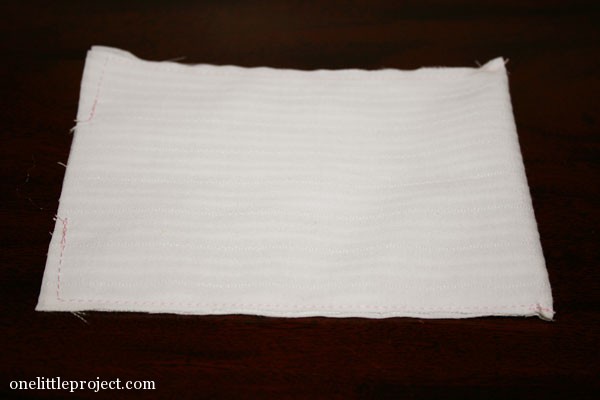
Use the back of your seam ripper to poke the corners of the pillow out so they are nice, crisp corners: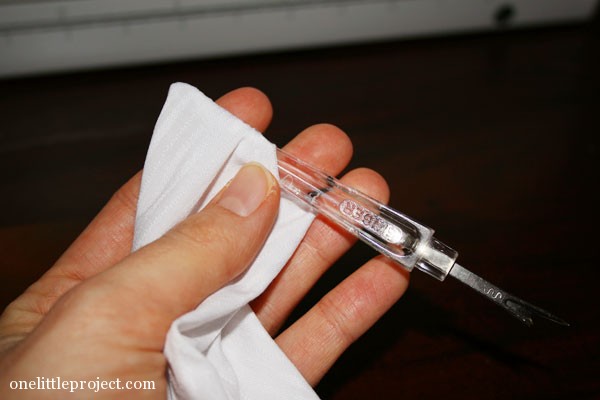
Stuff the pillow – I used some stuffing out of an old pillow that I opened up originally for the girly hobby horse that I made Leah for Christmas.
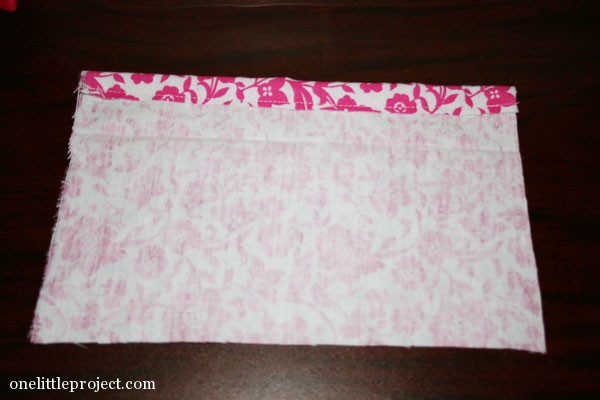
Fold in the raw edges and pin the opening closed: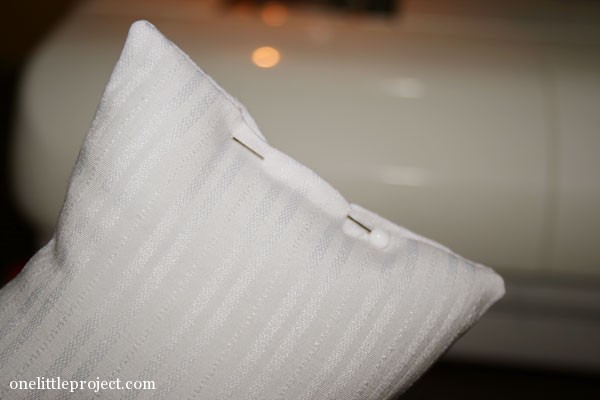
Sew the entire edge of the pillow to close the opening and the pillow is complete: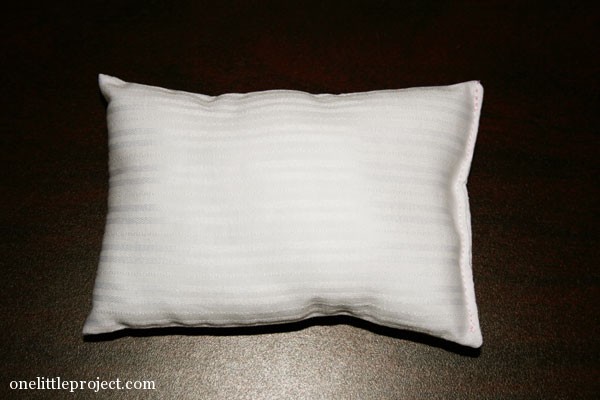
For the pillow case:
Cut your fabric about 1/2″ – 1″ larger than the length and width of your pillow. I used leftover flannel fabric from when I made the baby doll diapers last week, but pretty much any fabric would work.
Fold the fabric in half and cut it to the height you’d like the pillow case to be, again making sure it’s bigger than the pillow: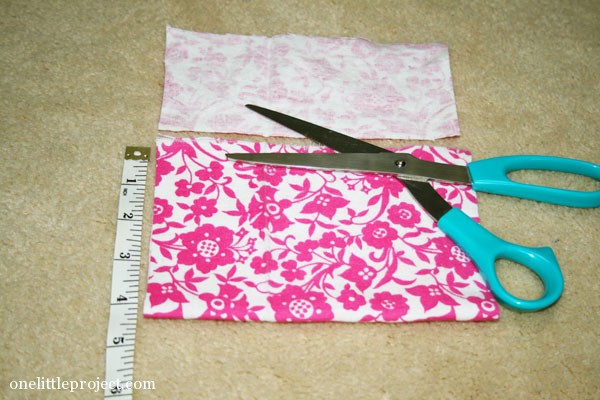
Fold over the edge where the doll’s pillow case opening is going to be and hem the edge: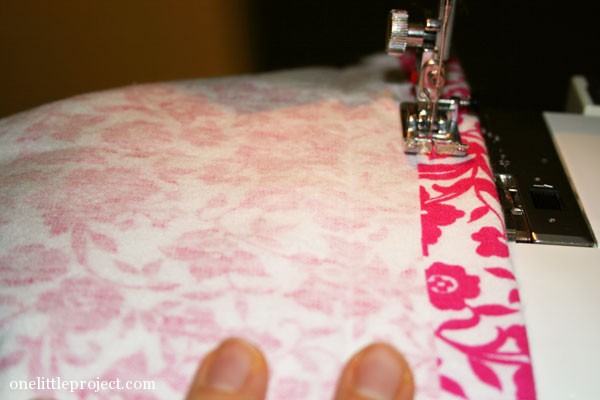
Fold the pillow case in half and with it inside out, sew the other edges (but not the opening): 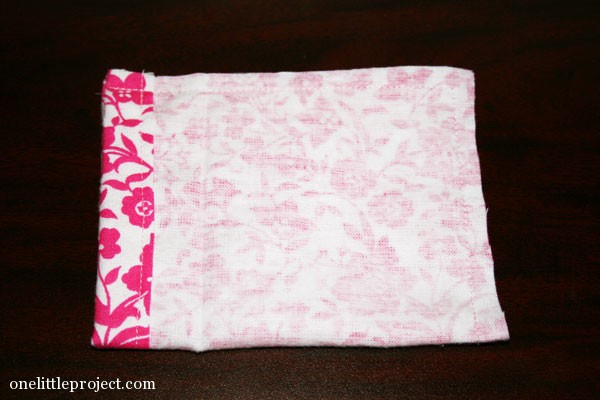
Snip the fabric at the corners for cleaner corners when you turn it right side out: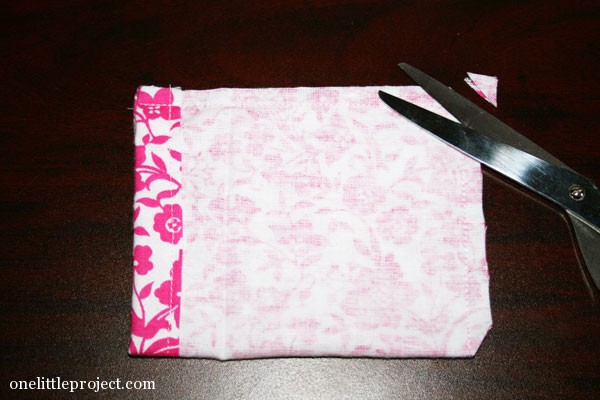
Zig zag stitch the edges to help prevent them from fraying: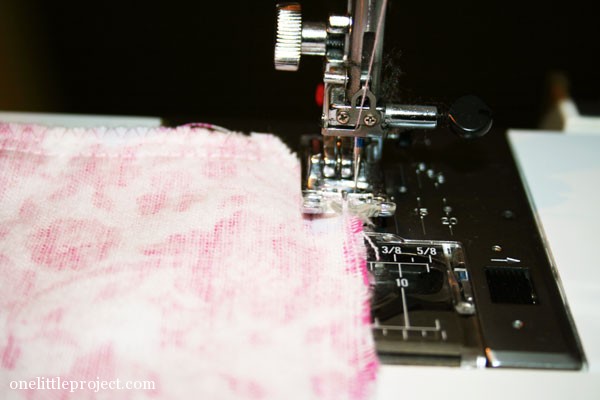
Turn it right side out and you have a pillow case: 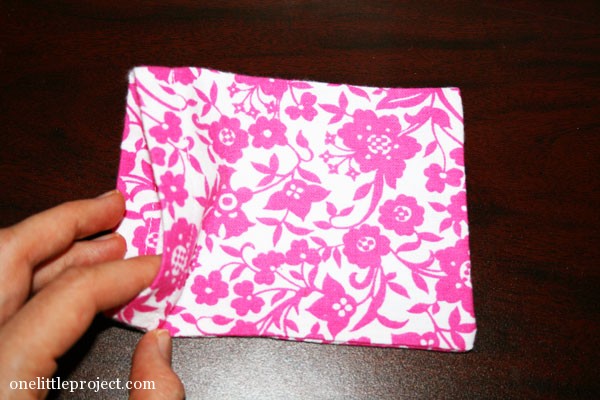
Since the pillow case is a little bigger than the pillow it should easily slide onto the pillow: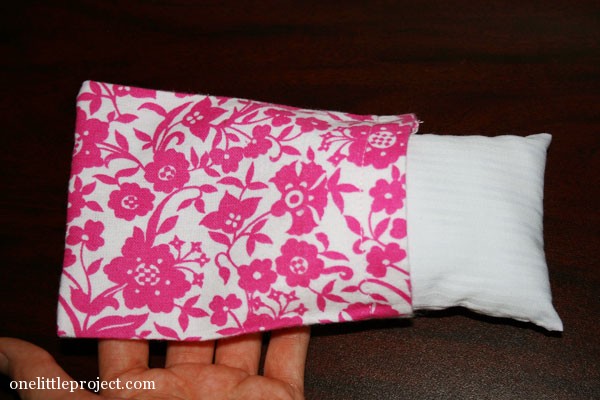
I think Leah is going to really love that the pillow comes out of the pillow case! 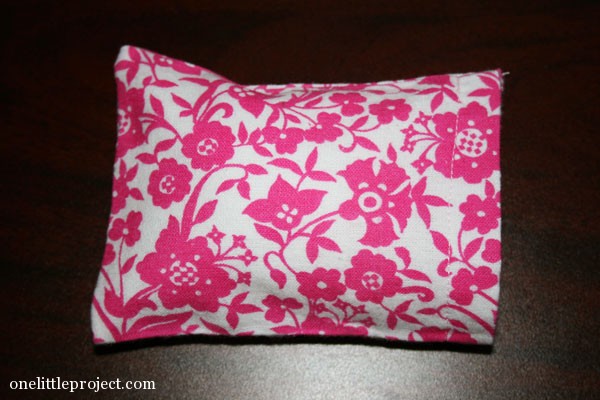
And at least it’s a poofy pillow and not just the flat piece of fabric included with the IKEA doll’s bed: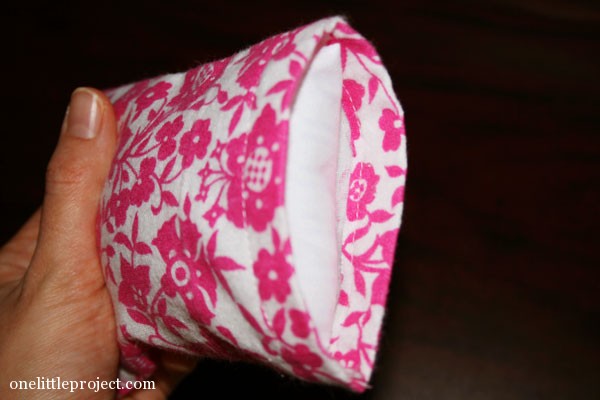
So even though it’s slightly on the small side for the doll’s bed, it’s still pretty cute, and I think Leah will have lots of fun playing with it. I’m pretty sure many toys will be napping on this pillow! 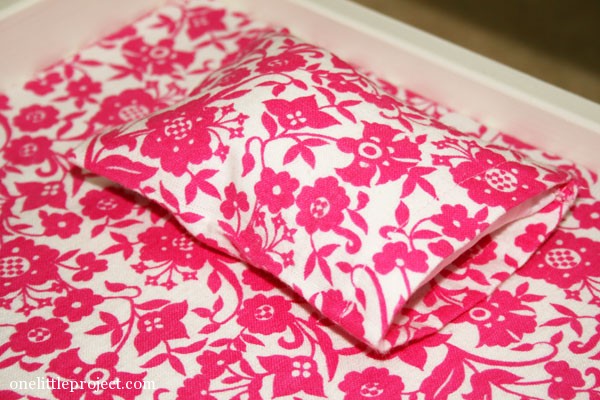


Leave a Reply