
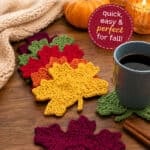
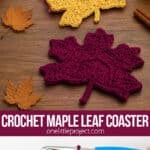
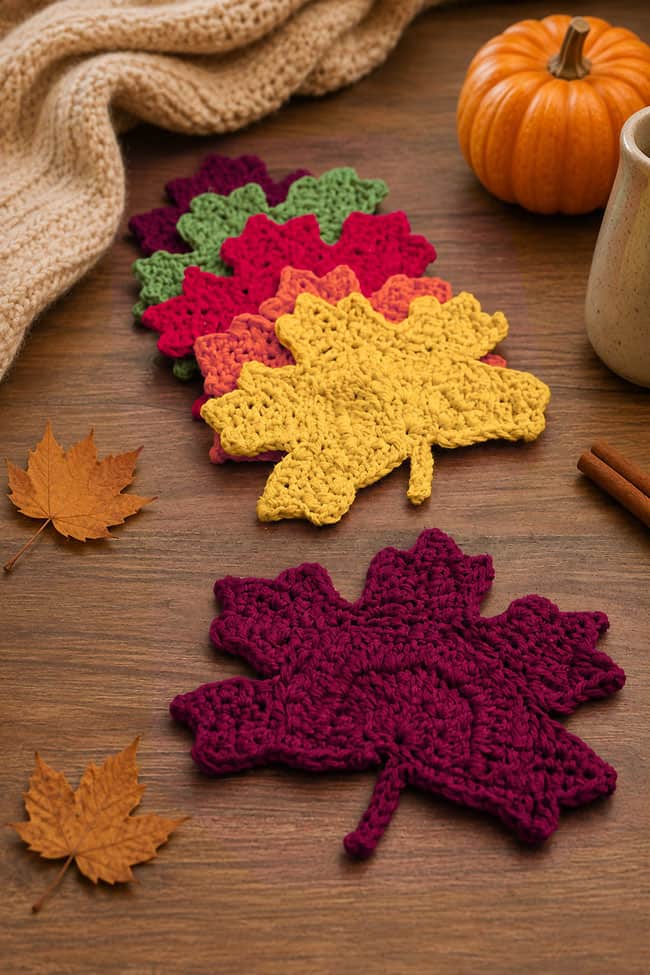
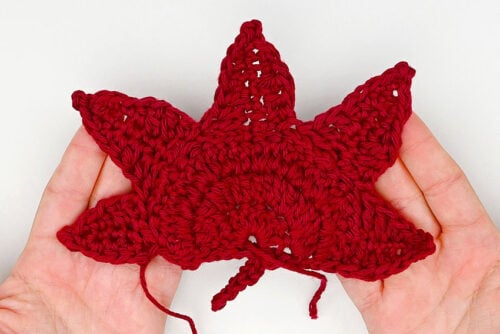
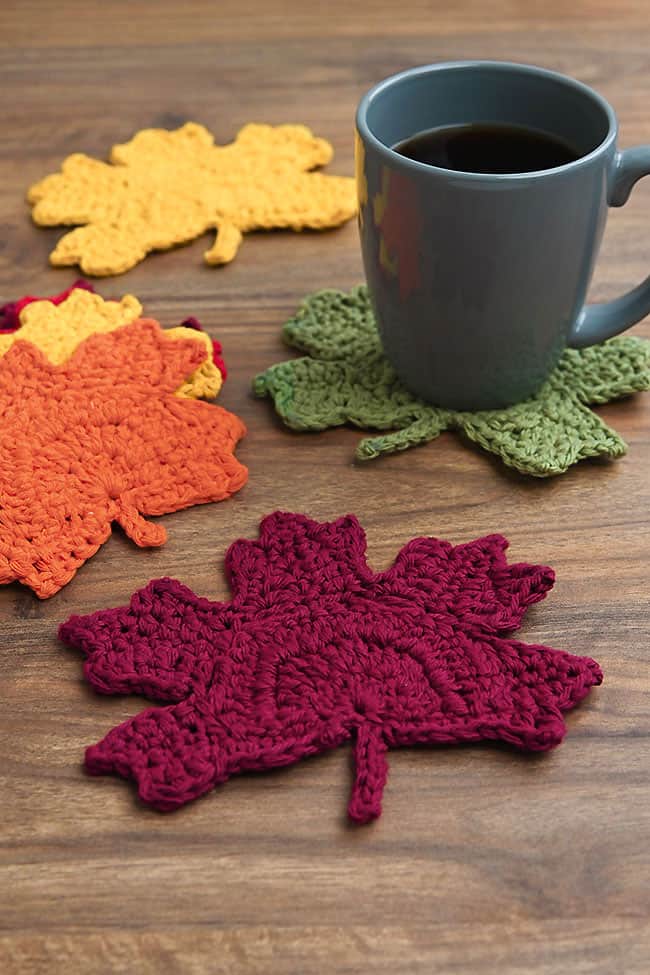
These crochet maple leaf coasters are such a pretty way to bring a little fall colour to your home! The classic maple leaf shape looks beautiful in shades of red, orange, yellow, and green, and the textured crochet stitches give each leaf a cozy handmade look.
Use the FREE crochet maple leaf pattern below or purchase the printable, ad-free pattern with BONUS Quick Guide from our Etsy shop! Use these coasters under mugs of coffee, tea, or hot chocolate, or scatter a few across the table as simple autumn decor. This crochet maple leaf pattern is a fun seasonal project that works up into a practical little coaster you’ll want to make in every fall colour.
This post contains affiliate links. If you use these links to buy something, we may earn a small commission at no extra cost to you. This helps support our website and allows us to keep creating fun, free content.
How to Make a Crochet Maple Leaf Coaster
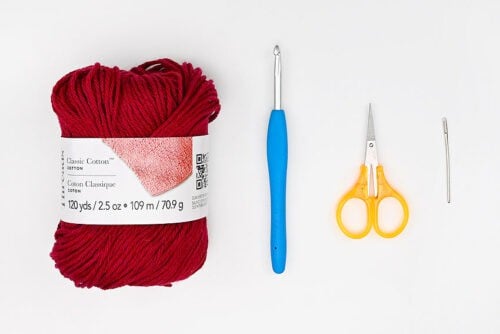
Materials:
- Cotton yarn (fall leaf colour)
- Crochet Maple Leaf Coaster Pattern (No Ads)
Equipment:
See the craft in action:
Instructions:
Find what you need:
- Gather your supplies and materials.

Leaf base:
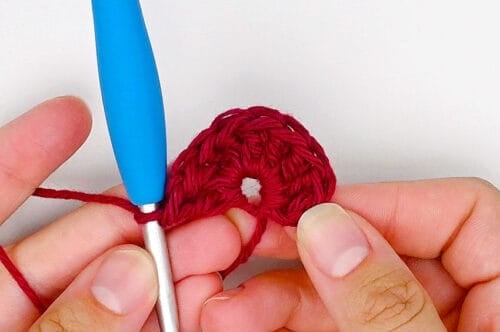
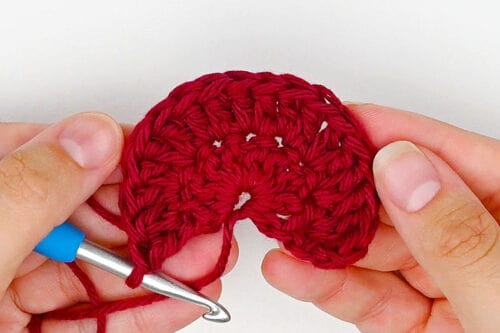
- Work 9 double crochet in a magic circle.Pull the tail to tighten the circle, but don’t close it off. (9)


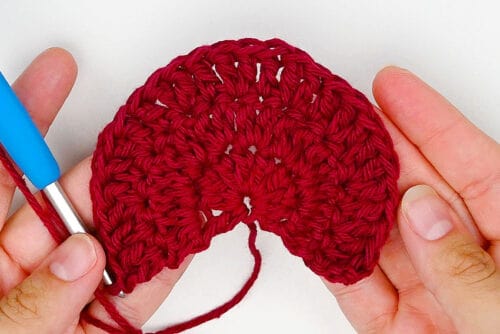
- Turn, ch 2, and *insert 1 dc in the first st. Inc in the next st.*Rep from * to * across. (27)
Leaf points:
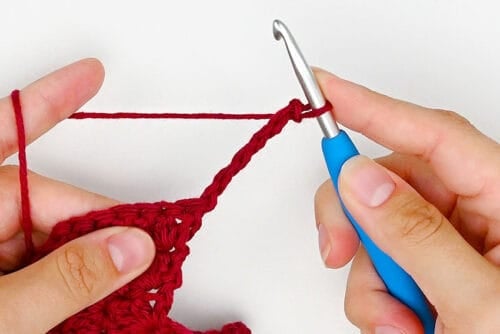
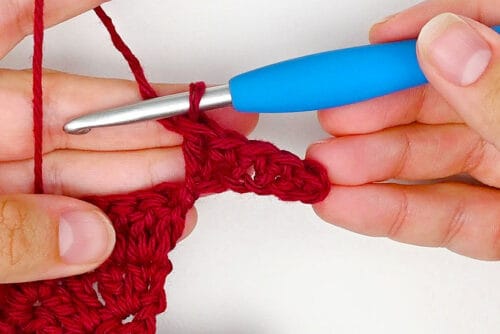
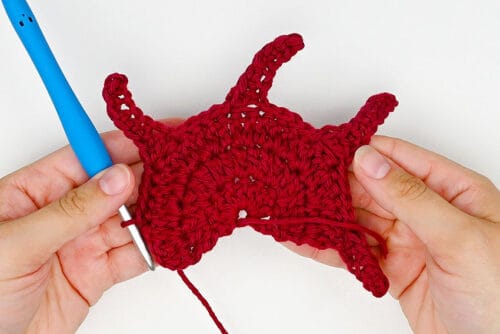
- Turn. Ch 6.
- Point 1: Starting in the 2nd ch from the hook, insert 1 single crochet in each of the first 4 chs. Insert 1 dc in the last ch. (5)
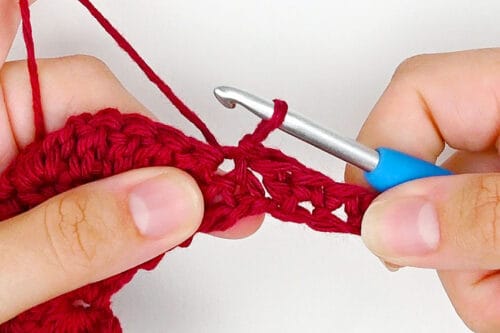
- *Sk the next st on the leaf base and slip stitch in the next st to anchor the point.
- Sl st in each of the next 4 sts.
- Point 2: Ch 8. Starting in the 2nd ch from the hook, insert 1 sc in each of the first 6 chs. Insert 1 dc in the last ch.* (7)
- Rep from * to * (over the last 3 steps) twice to create Point 3 and Point 4.Then sk a st, anchor point 4 with a sl st, and insert 1 sl st in each of the next 4 sts.
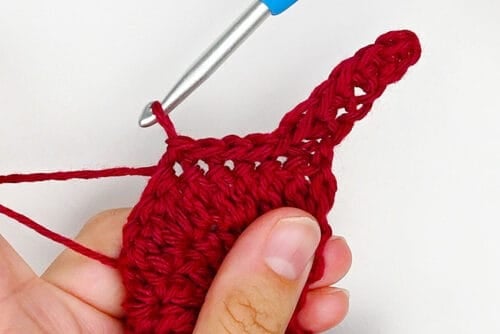
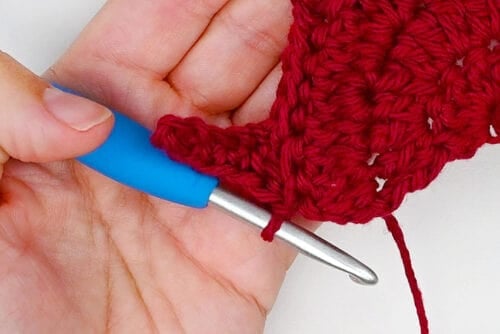
- Point 5: Ch 6. Starting in the 2nd ch from the hook, insert 1 sc in each of the first 4 chs. Insert 1 dc in the last ch. (5)Sk 1 st and sl st in the last st on the base.
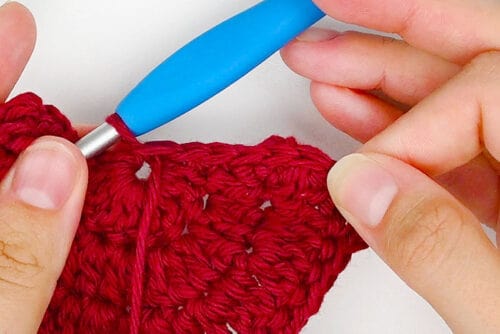
- Insert 1 sl st in each of the next 6 sts along the bottom of the leaf (until you reach the center of the magic circle).
Stem:
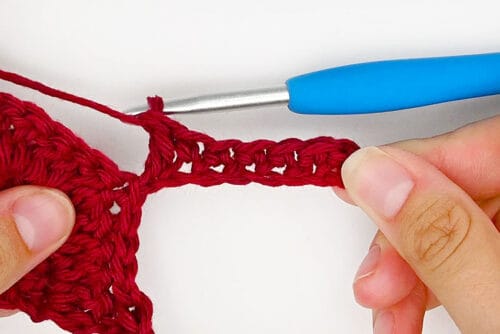
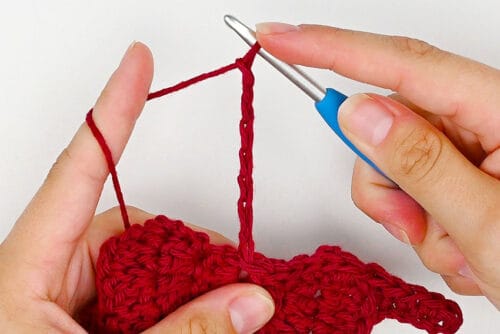
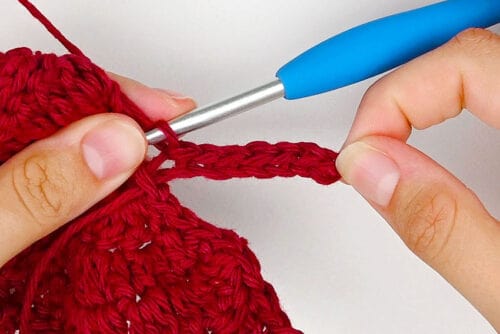
- Ch 8.
- Starting in the 2nd ch from the hook, insert 1 sl st in each ch across. (7)
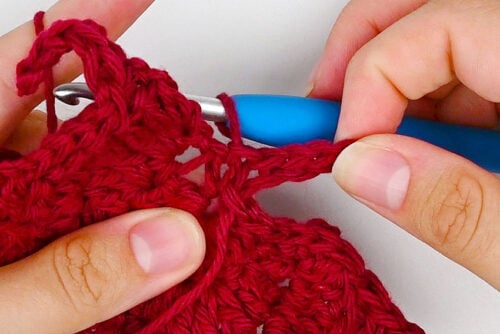
- Sl st in the next st on the base to anchor down the stem.
Build up the points:
- Insert 1 sl st in each of the next 6 sts along the bottom of the leaf (until you reach the base of the first leaf point).
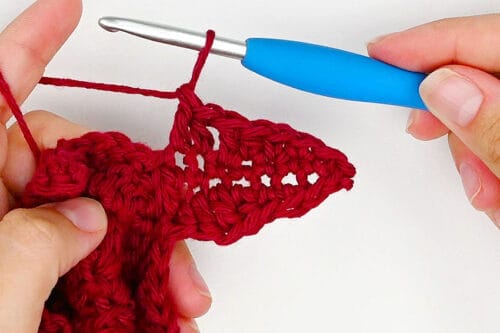
- Point 1: Working up one side of the point, make 1 st in each st as follows: half double crochet, dc, hdc, sc, sl st.
- Ch 2 and insert 1 sl st in the 2nd ch from the hook. This will create the tip of the leaf point.
- Working down the opposite side of the point, insert 1 st in each st as follows: sl st, sc, hdc, dc, dc.
- *Sk the sts between this point and the next.Point 2: Sl st in the base of Point 2.
- Working up one side of the point, insert 1 st in each st as follows: hdc, dc, dc, hdc, sc, sc, sl st.
- Ch 2 and insert 1 sl st in the second ch from the hook to create the tip.Working down the opposite side, insert 1 st in each st as follows: sl st, sc, sc, hdc, dc, hdc, dc.*
- Rep from * to * (over the last 3 steps) twice to create shaping on Point 3 and Point 4.
- Sk the sts between Point 4 and Point 5. Sl st in the base of this last point.
- Working up one side, insert 1 st in each st as follows: hdc, dc, hdc, sc, sl st.Ch 2 and insert 1 sl st in the 2nd ch from the hook.Working down the opposite side, insert 1 st in each st as follows: sl st, sc, hdc, hdc, sl st.
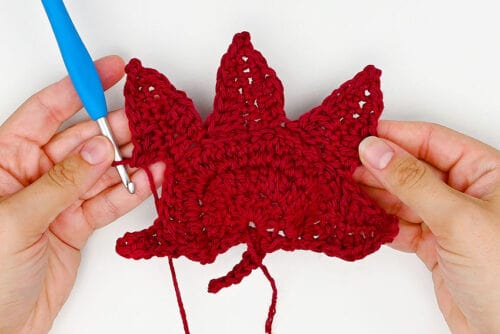
- Fasten off the yarn.
Leaf shaping:
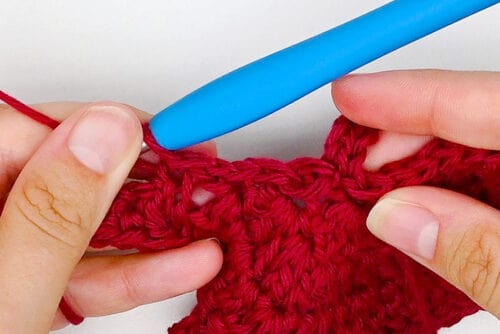
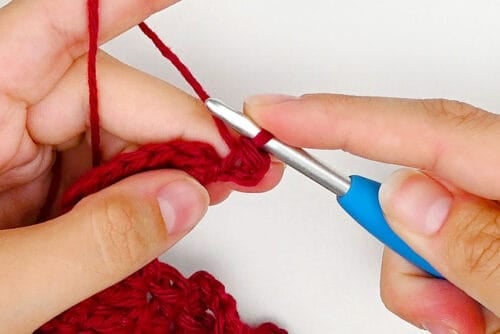
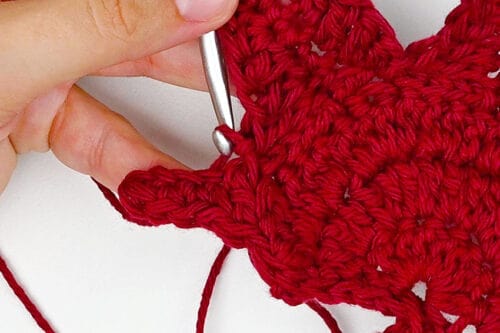
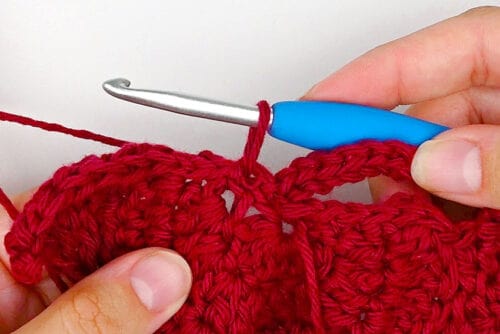
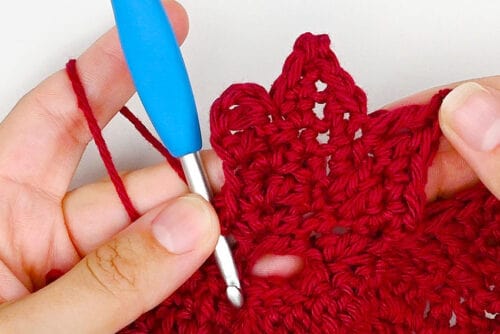
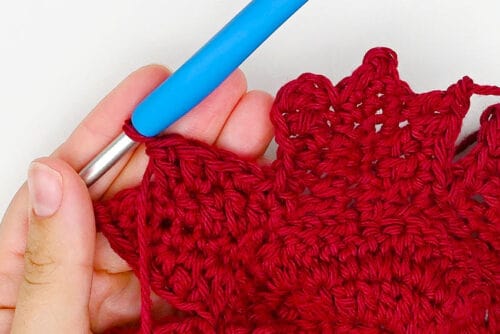
- Attach the yarn in the st directly to the right of the stem.
- Insert the following sts along the base of the leaf and the start of Point 1:1 sc in each of the first 5 sts. 1 dc in each of the next 3 sts.
- Fasten off the yarn.
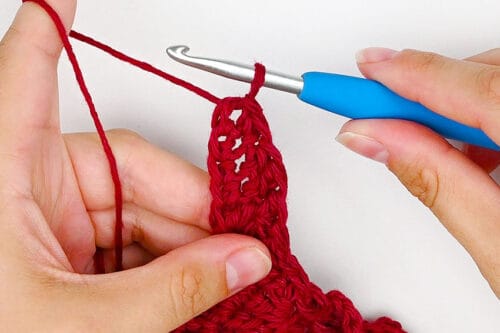
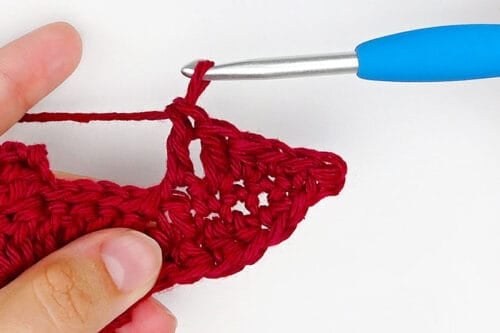
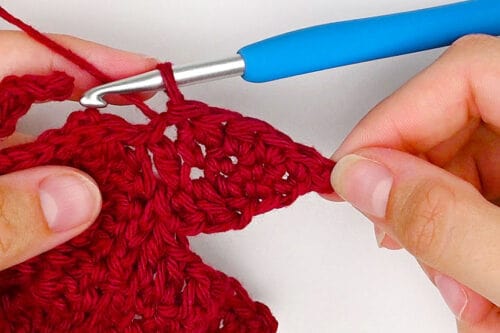
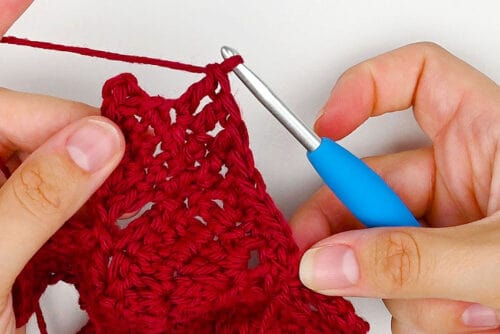
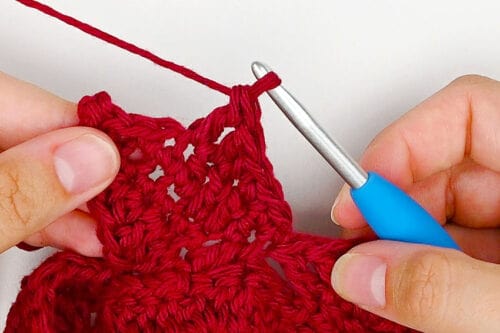
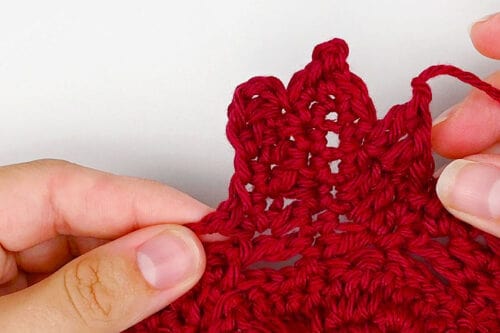
- Attach the yarn again in-between Points 1 and 2.
- Working up Point 2, insert the following sts:1 sc in each of the first 3 sts. 1 dc in each of the next 2 sts.Fasten off the yarn.
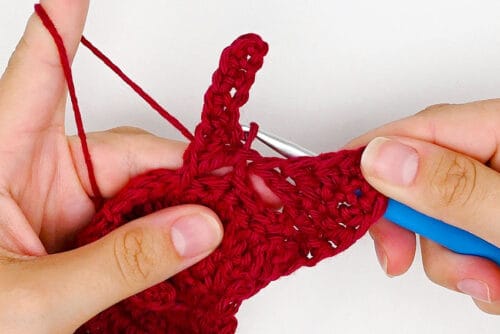
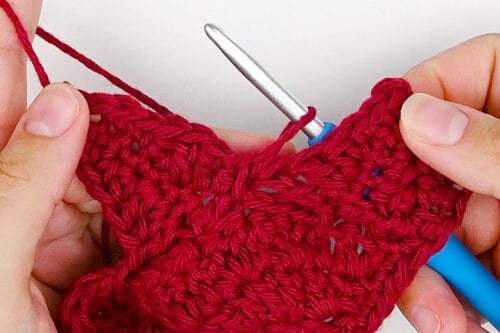
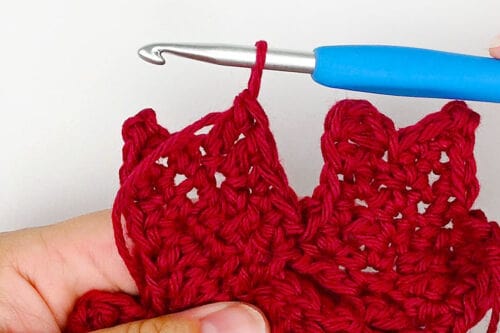
- *Rejoin the yarn on the opposite side of Point 2, about 1/3 of the way down (in the 3rd st from the point).This will allow the tip of Point 2 to stand out.
- Working down Point 2, ch 2 and insert the following sts: 1 dc in each of the first 2 sts. 1 sc in each of the next 3 sts.Do not fasten off the yarn this time.
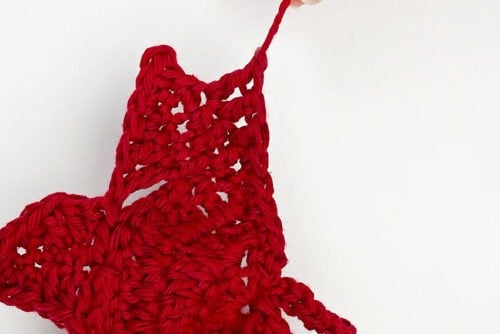
- Continue working directly up Point 3 as follows: 1 sc in each of the first 3 sts. 1 dc in each of the next 2 sts.Fasten off the yarn.*
- Rep from * to * (over the last 3 steps) starting on the opposite side of Point 3.
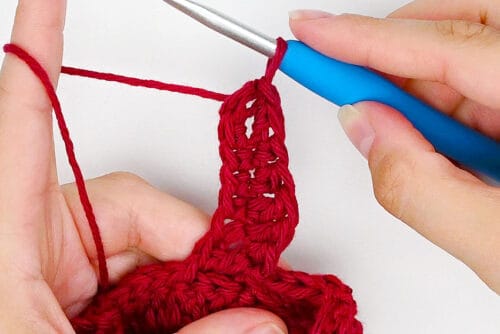
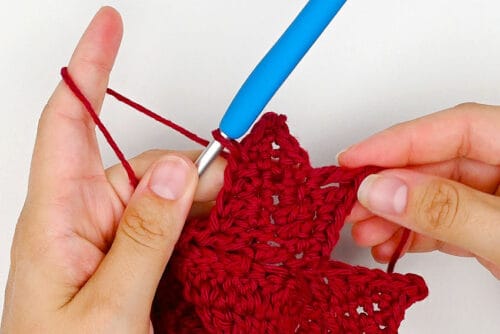
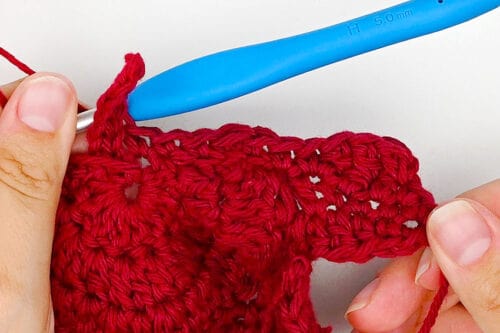
- Rejoin the yarn on the opposite side of Point 4, 3 sts down.Working down Point 4, ch 2 and insert the following sts: 1 dc in each of the first 2 sts. 1 sc in each of the next 3 sts.Fasten off the yarn.
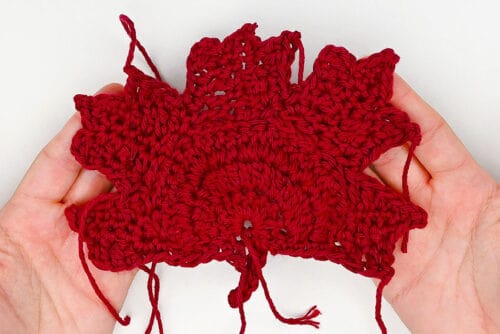
- Attach the yarn again on the opposite side of Point 5, in the 3rd st down.Ch 2 and insert the following sts down Point 5 and across the bottom of the leaf: 1 dc in each of the first 3 sts. 1 sc in each of the next 6 sts.The last sc should sit directly beside the stem.
- Fasten off the yarn.
Finishing:
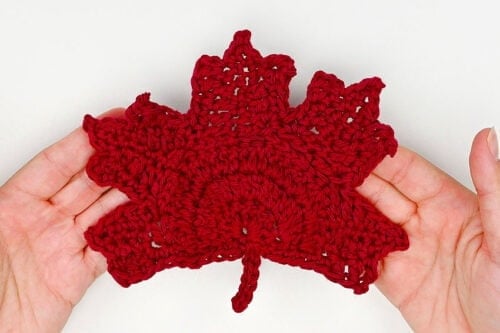
- Weave in all the many ends.Optional (not shown): For a flatter coaster with more defined points we recommending blocking the finished leaf coaster. Read below for more details.
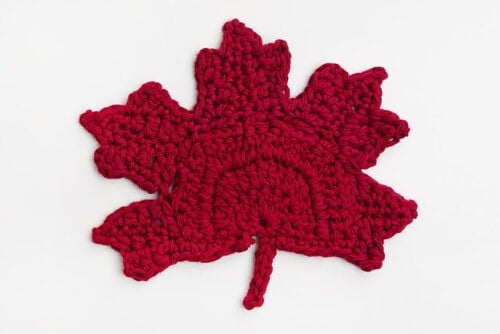
- Your crochet maple leaf coaster is complete!
Helpful Tips:
- Brush up on the basics: New to crochet or looking to improve your skills? Check out our crochet basics tutorials! They have step-by-step instructions for all the basic crochet stitches and techniques, along with lots of helpful tips.
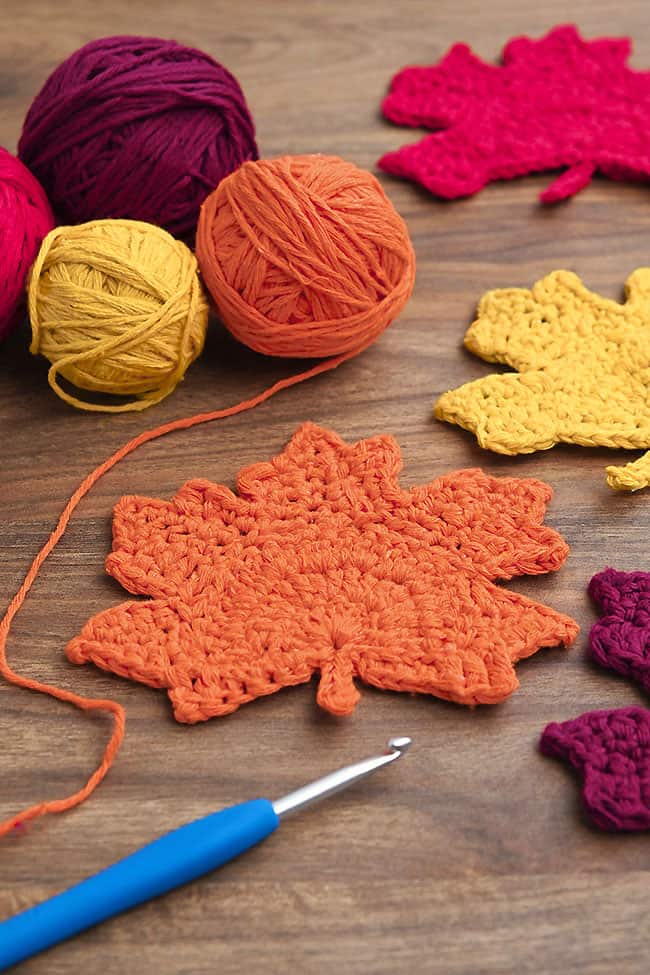
- Make a colourful set: Crochet all your maple leaf coasters in the same shade for a coordinated look, or use red, orange, yellow, and green yarn to create a colourful collection of fall leaves.
Crochet Abbreviations & Terms:
This pattern uses standard US crochet terms. Here’s what each abbreviation means:
ch(s) = chain(s)
dc = double crochet
hdc = half double crochet
inc = increase
rep = repeat
sc = single crochet
sk = skip
sl st = slip stitch
st(s) = stitch(es)
Get our crochet maple leaf coasters pattern:
You can follow the full crochet maple leaf coaster pattern with step-by-step instructions for free right here in this post (supported by ads). Or, if you’d like a printable leaf coasters PDF pattern with BONUS Quick Guide, you can purchase it in our Etsy shop. It’s perfect to keep by your side as you crochet!
Printable Crochet Maple Leaf Coaster Pattern
Get the printable Crochet Maple Leaf Coaster Pattern PDF with step-by-step photos + BONUS Quick Guide in our Etsy shop!
What yarn is best for a crochet maple leaf coaster?
Cotton yarn is the best choice for crochet coasters. It’s absorbent, easy to wash, and handles heat better than synthetic fibers, making it great for catching condensation or small drips from your mug.
Acrylic yarn can also work for decorative coasters or cups that aren’t especially hot, but it isn’t as absorbent as cotton and can soften or melt when exposed to high heat. Don’t use an acrylic coaster as a trivet or underneath hot cookware.
What size crochet leaf coaster does this pattern make?
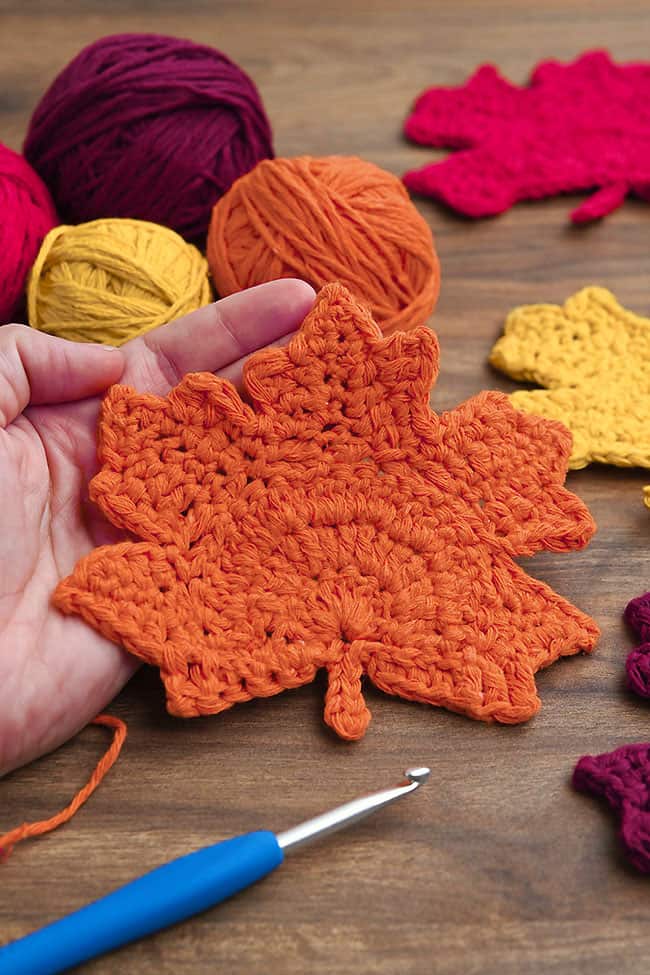
This crochet maple leaf pattern makes a coaster approximately 5 inches wide at the bottom and 3-3/4 inches tall (excluding the stem), which gives you plenty of room for a large cup or mug.
Do I need to block my crochet maple leaf coaster?
Yes, we do recommend blocking the finished coaster. The points of the maple leaf can curl or bunch up a little after crocheting, and blocking helps open them up and gives the leaf its nice, defined shape.
Wet the coaster until it’s evenly damp, but not soaking wet. Lay it flat on a foam blocking mat and gently stretch the leaf into shape. Secure the edges and each point with rust-resistant pins, then leave it in place until it’s completely dry.
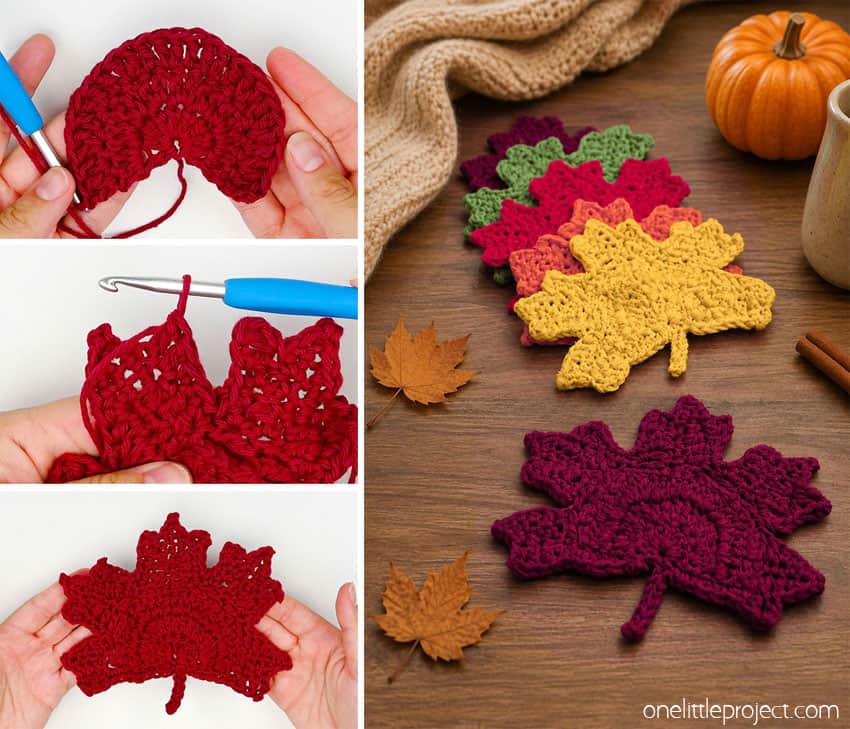
These crochet maple leaf coasters are such a cozy little project for fall! Make them in classic autumn shades, stick with one favourite colour, or crochet a whole set to match your seasonal decor.
They’re practical enough to use every day, but pretty enough to leave out as part of your fall table decor. Add a warm drink, and you’ve got the perfect handmade touch for a cozy autumn afternoon!
Here’s even more fall crochet ideas:


Now available
Low-Mess Crafts for Kids Book
72 cute and fun crafts that kids and parents alike can enjoy. All with as little mess as possible!
Where to buy:
You can purchase Low-Mess Crafts for Kids from Amazon, or wherever books are sold:
Amazon | Barnes and Noble | Books-A-Million | Indiebound | Amazon Canada







Leave a Reply