
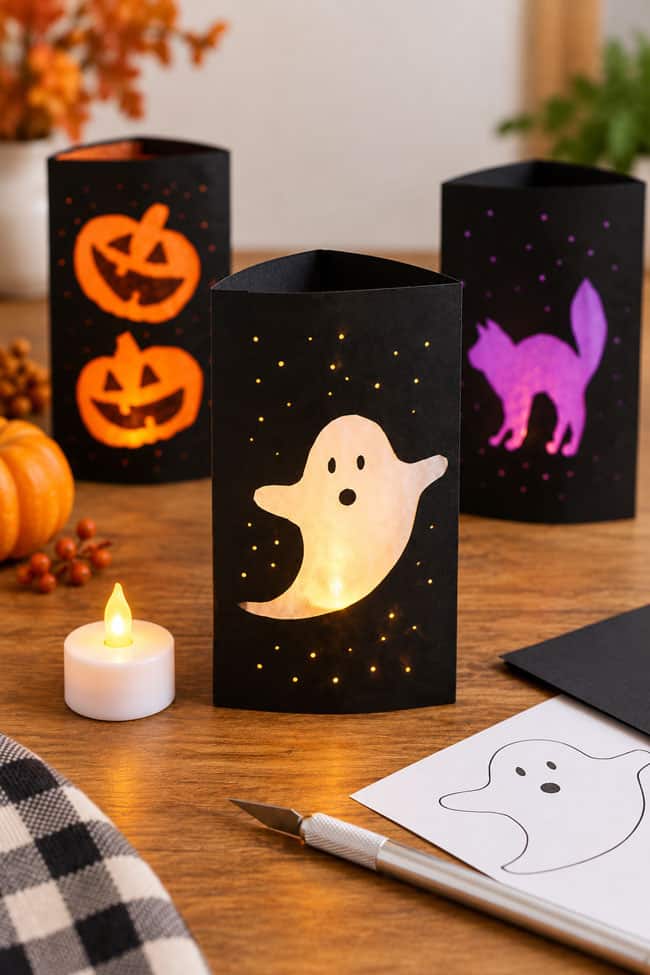
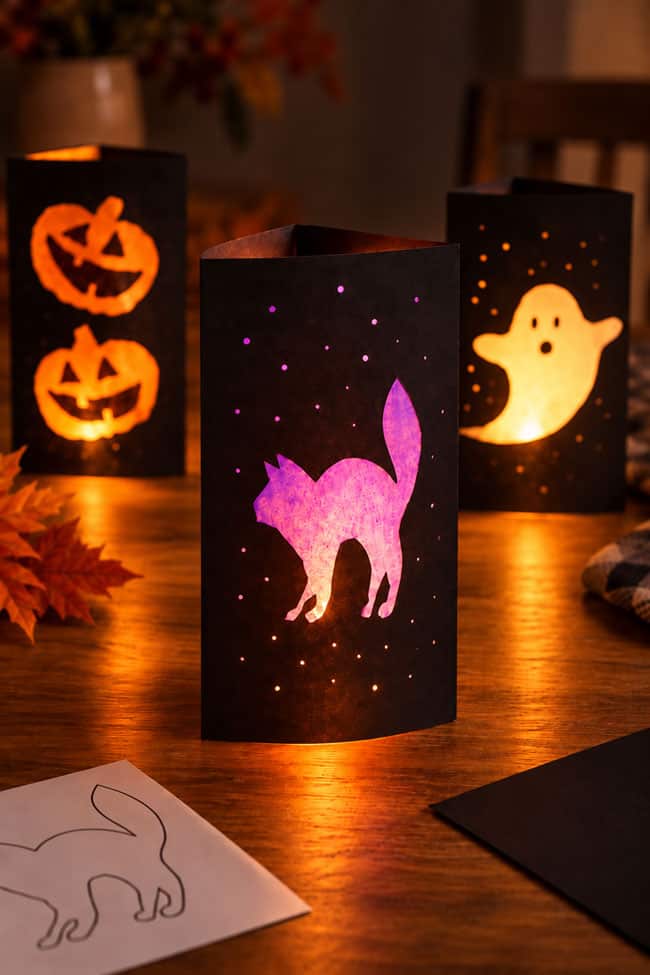
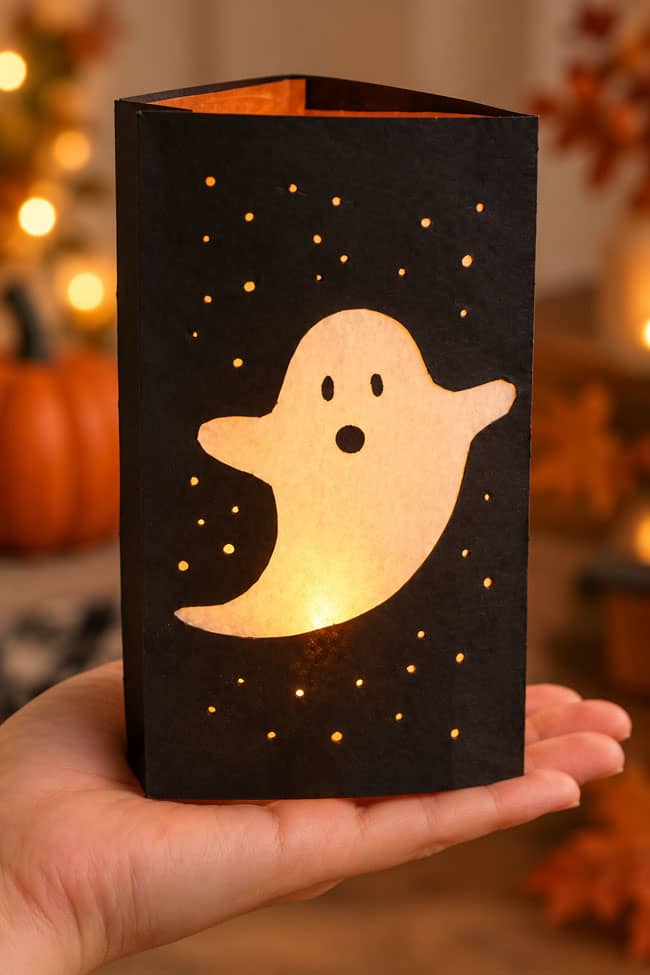
These Halloween paper lanterns are such a fun way to turn a few simple sheets of paper into glowing Halloween decor! The black paper makes the ghost, cat, and jack-o-lantern designs really stand out, while the tiny punched holes look like little stars once the lanterns are lit from inside.
These paper lanterns are easy to customize with different Halloween shapes, and you can make each one look completely different depending on the design you choose. Use our printable templates to get started, then add a battery-operated tealight or fairy lights to bring them to life. They’re perfect for a mantel, windowsill, party table, or anywhere that could use a little extra Halloween glow.
This post contains affiliate links. If you use these links to buy something, we may earn a small commission at no extra cost to you. This helps support our website and allows us to keep creating fun, free content.
How to Make a Halloween Paper Lantern
Materials:
Equipment:
- Nail (or pushpin)
Watch the step-by-step video tutorial:
Instructions:
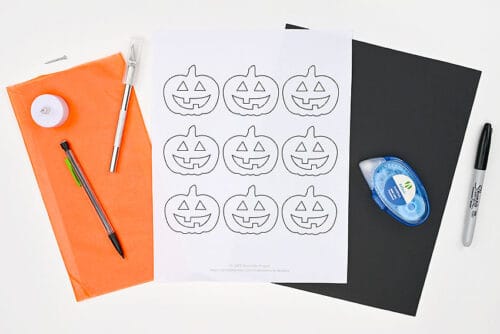
Step 1: Find what you need
- Gather your supplies and materials.

Step 2: Cut the templates and fold the paper
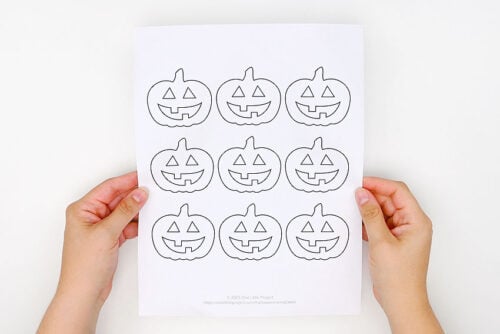
- Print the Halloween template of your choice. Find a link in the materials list above, with more details below the tutorial.
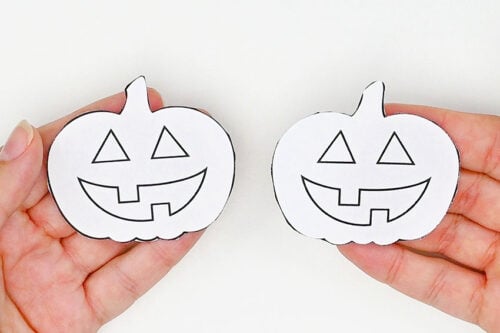
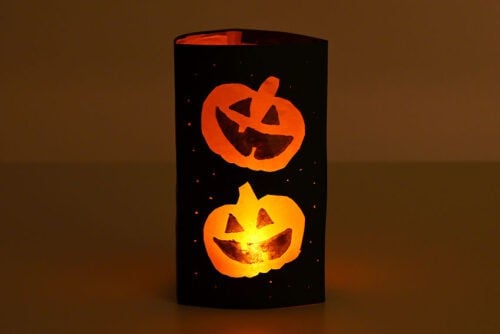
- Cut out 1 or 2 of the shapes from the template page. We used 1 larger shape on most of our lanterns, but 2 small pumpkins on this one.

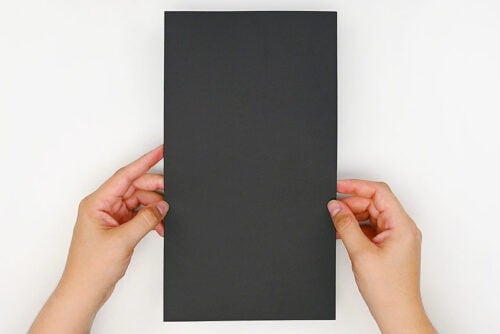
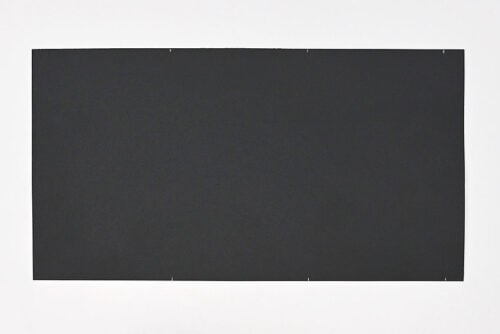
- Trim down a black piece of paper so it’s 6 inches wide and 11 inches tall.
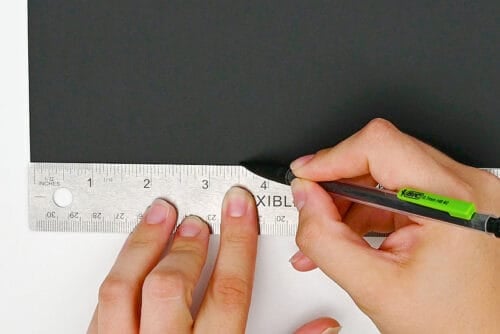
- Measure 3-1/2 inches in along the long edge of the paper.
- Repeat, making 2 more marks, each of them 3-1/2 inches away from the last mark.Then measure and make the same marks on the other edge of the paper (across from the first ones).
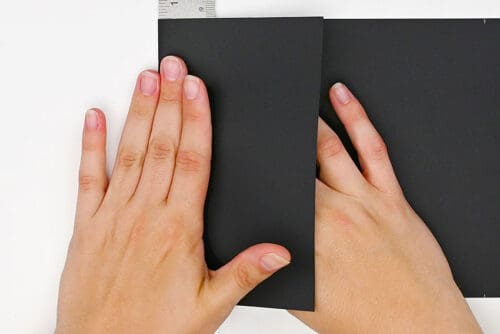
- Line up a ruler with the first marks and fold the paper over the ruler. This gives you a straight, crisp fold.
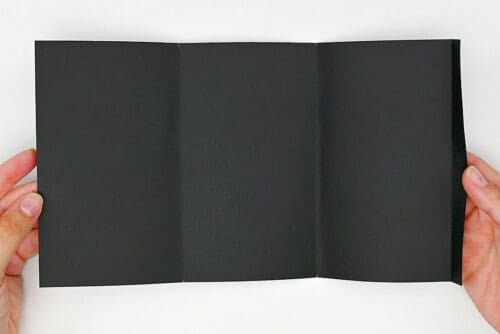
- Repeat along the other marks so you have 3 even sections and one small fold along the edge.
Step 3: Make the pumpkin cutouts
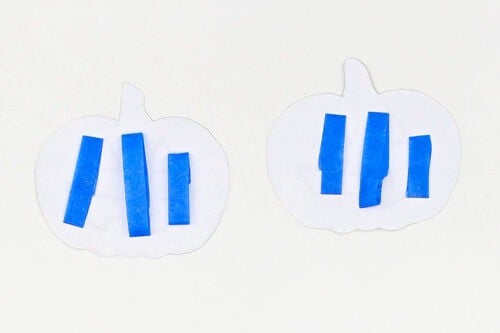
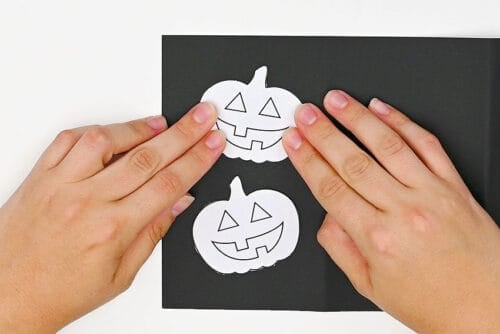
- Make loops with painter’s tape and add them to the back of the pumpkin outlines.
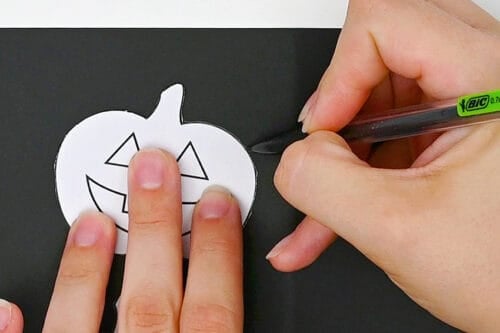
- Arrange the pumpkins on one section of the paper.(Note: If you print the outline on cardstock you can probably hold the outline in place to trace, rather than attaching it with tape.)
- Trace around the pumpkin shapes with a pencil.
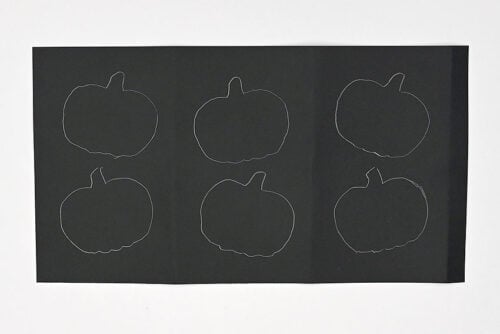
- Carefully remove the outlines and move them over to the next section. Repeat tracing around them, and then repeat again on the third panel.
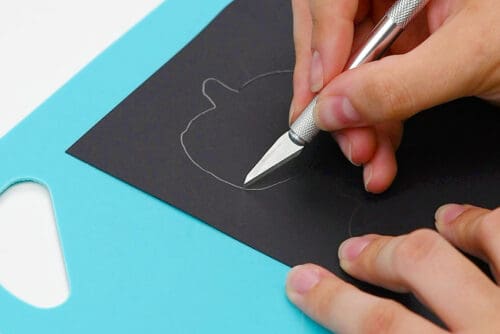
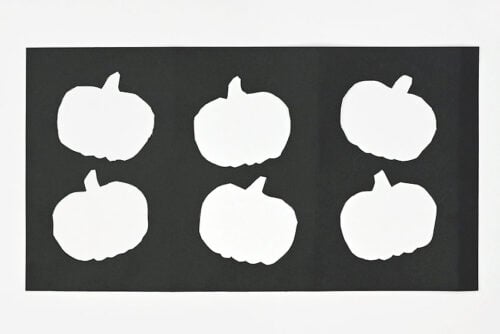
- Place the paper on a cutting mat or other protected surface and use a craft knife to cut out the pumpkin shapes along the trace marks.
- Repeat, cutting out all the pumpkin outlines.
Step 4: Add “stars” to the lantern
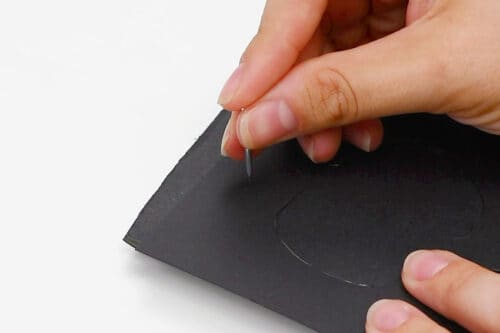
- Place a piece of foam board under the paper.If you don’t have foam, corrugated cardboard or a cork trivet will also work.
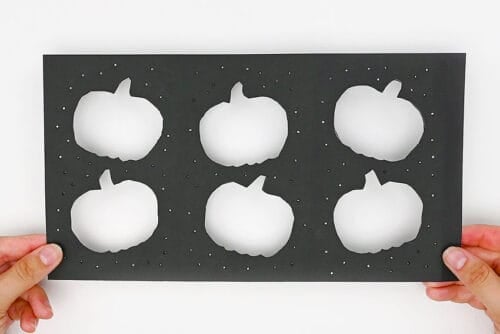
- Push a nail or pushpin into the paper, creating a small hole.
- Repeat around the outline randomly, and then continue across the whole lantern.
Step 5: Attach tissue paper panels
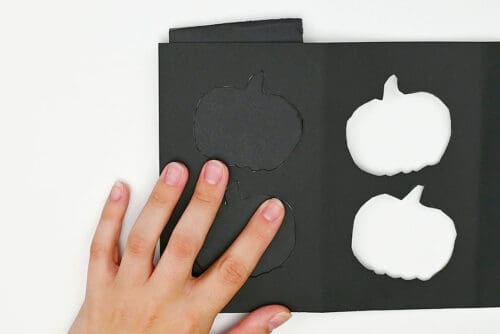
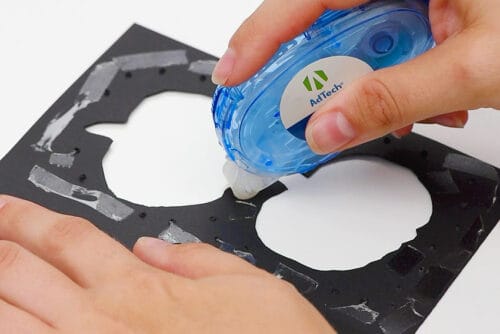
- Apply glue tape (or glue stick) around the outlines on one panel.
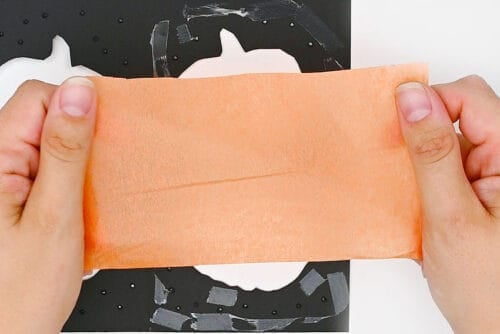
- Cut a rectangle of tissue paper that’ll cover the majority of the panel, without overlapping the edge.(Roughly 3-1/4 inches by 5-3/4 inches.)
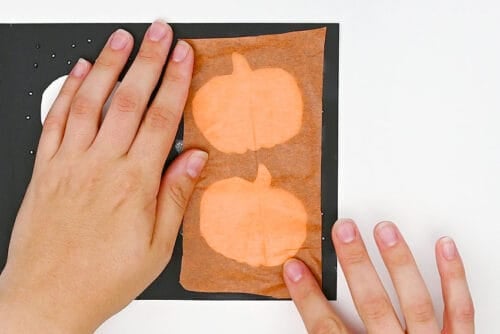
- Press the tissue paper into the glue tape, smoothing it down from one side to the other.
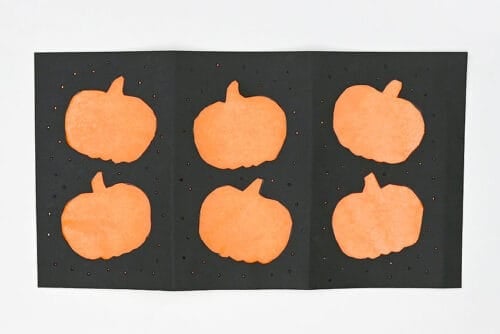
- Repeat on the other 2 panels and then flip over the paper.
Step 6: Finish the lantern
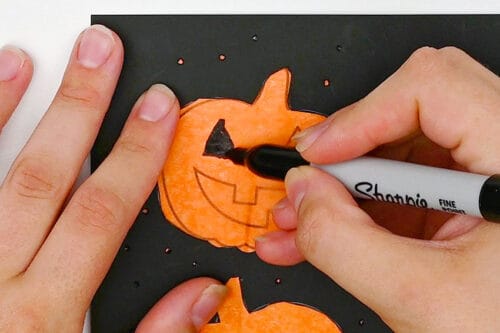
- Place the template under the cutout and use it as a guide for drawing details on the tissue paper. Here we used a black marker to draw the jack-o-lantern faces.
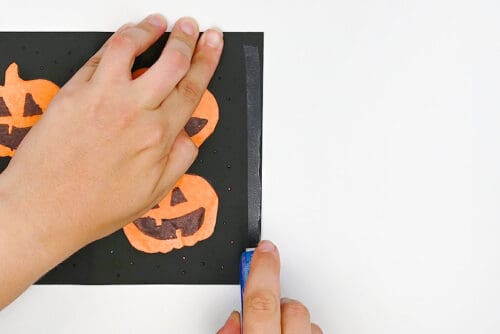
- Repeat across the rest of the cutouts and then add glue tape down the front of the short fold.
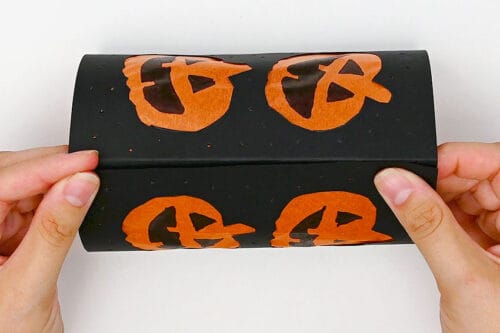
- Connect the other end of the paper into the glue tape, creating a paper lantern with 3 sides.
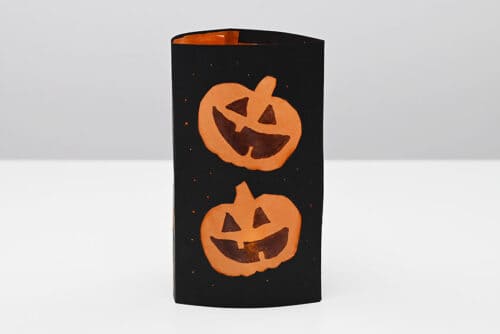
- Your Halloween paper lantern is complete!
- Now place a flameless tealight inside the lantern and watch it glow!
Helpful Tips:
- Use a battery-operated light only: An LED tealight or small set of fairy lights will make the punched stars glow without the fire risk of putting a real candle inside a paper lantern.
- Have an adult make the punched holes: A nail or push pin is sharp, so this is a good step for an adult to do for younger kids.
- Mix and match the cutout designs: Add one larger Halloween shape to each side of the lantern, or create an arrangement using several smaller shapes. You can repeat 2 or 3 of the same shape for a coordinated look, or combine different shapes on one lantern to make your own design.
Where can I get templates for DIY Halloween paper lanterns?
We used the ghost, cat, and jack-o-lantern shapes from our Halloween templates. There are lots of other designs available too, including a bat, haunted house, spider, and more!
You can also find additional shapes in our ghost outline, bat template, and pumpkin template posts.
What paper is best for making Halloween paper lanterns?
We recommend using black copy paper, around 24 lb weight (the same as printer paper). It’s sturdy enough to hold the lantern shape, but still thin enough to fold easily and cut through when making the Halloween designs.
Cardstock will also work and makes a sturdier standing lantern, although it can be a little harder to fold and cut. Construction paper is another good option.
What glue works best for paper lanterns?
We like to use glue tape because it holds the paper securely without adding any moisture. A glue stick also works well, as does double-sided tape.
What can I use to make little star holes in my Halloween paper lanterns?
We used a nail to punch the tiny star-shaped light holes into the paper, but you can also use a push pin, thumbtack, large sewing needle, or awl.
Place the paper on a piece of foam board or a cork trivet, then press the sharp tool straight through the paper to make each hole. A few layers of corrugated cardboard will also work if you don’t have foam or cork. An adult should do this step or closely supervise younger kids.
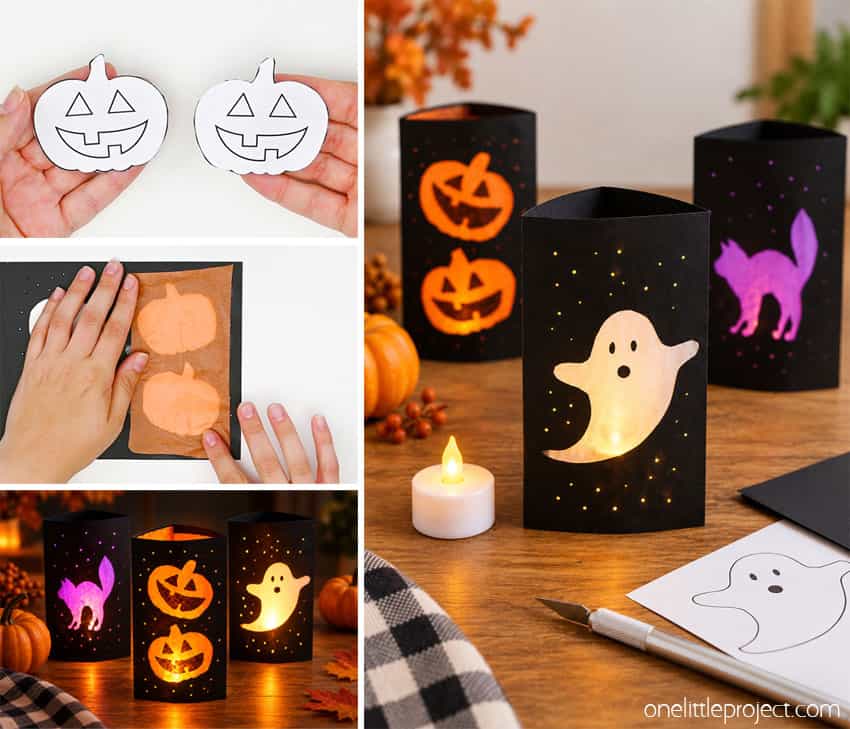
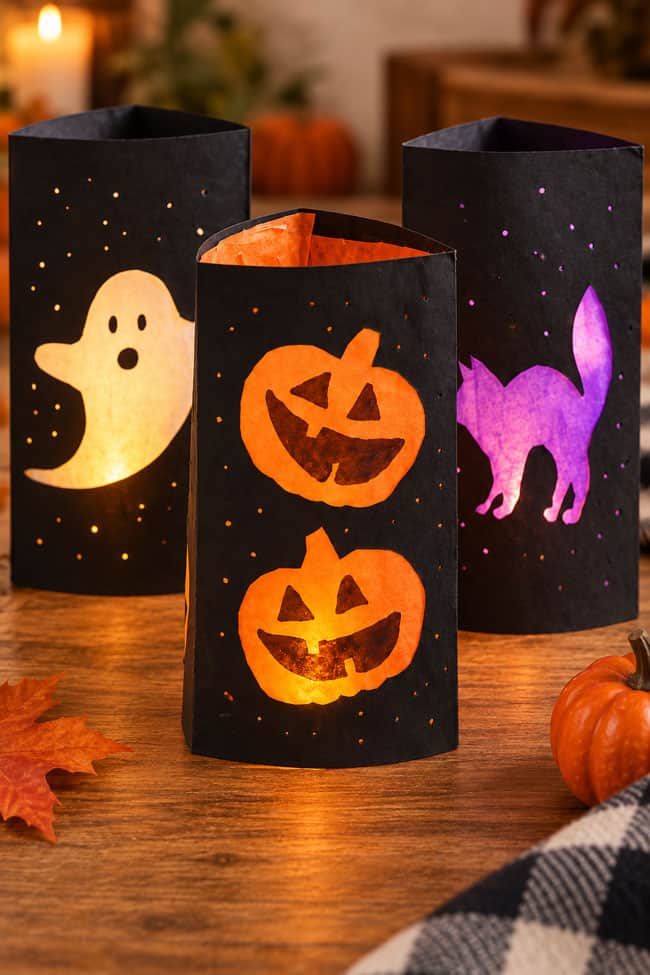
These Halloween paper lanterns are such a fun way to add a spooky glow to your Halloween decor! The cutout designs look especially cool once a tealight is shining inside, and the tiny punched holes create an extra twinkle of light around each shape.
Make a whole set of lanterns with different Halloween designs and line them up on a mantel, windowsill, or party table. They’re an easy paper craft that looks impressive once the lights go down!
Here’s even more Halloween craft ideas:
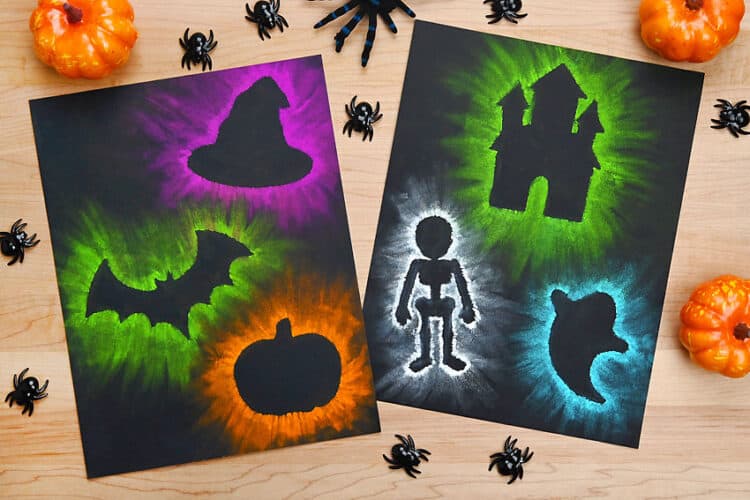
Halloween Chalk Art Silhouettes

Now available
Low-Mess Crafts for Kids Book
72 cute and fun crafts that kids and parents alike can enjoy. All with as little mess as possible!
Where to buy:
You can purchase Low-Mess Crafts for Kids from Amazon, or wherever books are sold:
Amazon | Barnes and Noble | Books-A-Million | Indiebound | Amazon Canada







Leave a Reply