
How to Make a Halloween Paper Lantern
Use printable templates and simple craft supplies to create your own Halloween lantern! These DIY paper lanterns are easy to make, featuring your favourite Halloween colours and characters.
Yield: 1 Halloween lantern
Cost: $1
Equipment
- Nail (or pushpin)
Materials
Instructions
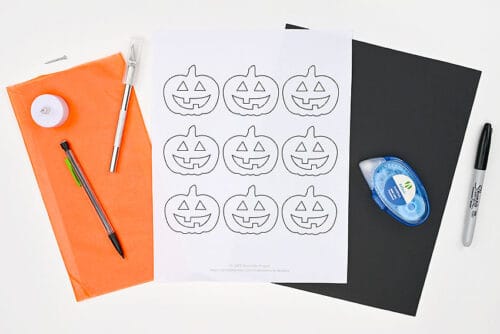
Step 1: Find what you need
- Gather your supplies and materials.
Step 2: Cut the templates and fold the paper
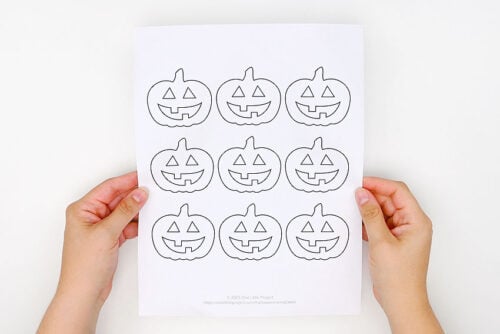
- Print the Halloween template of your choice. Find a link in the materials list above, with more details below the tutorial.
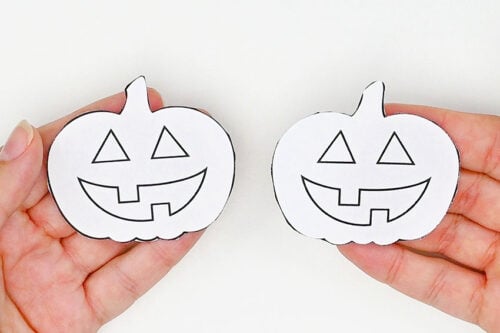
- Cut out 1 or 2 of the shapes from the template page. We used 1 larger shape on most of our lanterns, but 2 small pumpkins on this one.
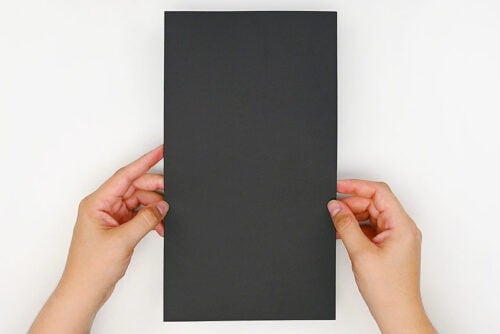
- Trim down a black piece of paper so it's 6 inches wide and 11 inches tall.
- Measure 3-1/2 inches in along the long edge of the paper.
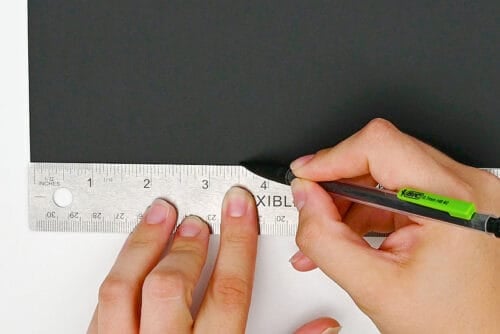
- Repeat, making 2 more marks, each of them 3-1/2 inches away from the last mark.Then measure and make the same marks on the other edge of the paper (across from the first ones).
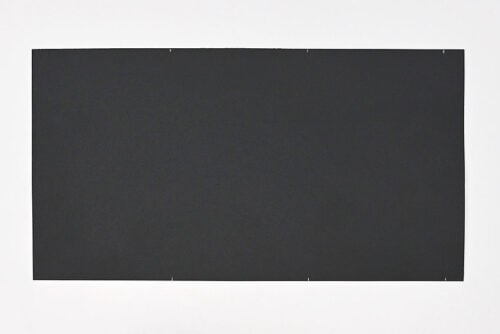
- Line up a ruler with the first marks and fold the paper over the ruler. This gives you a straight, crisp fold.
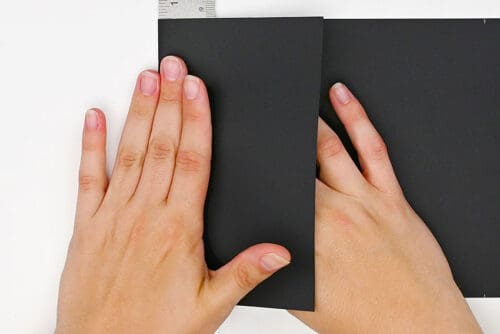
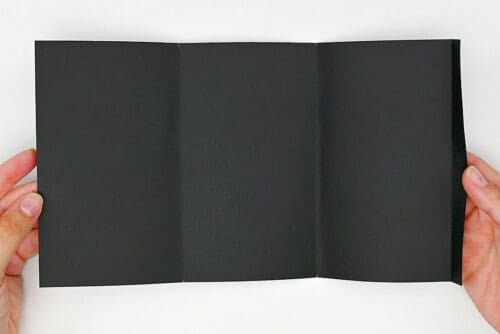
- Repeat along the other marks so you have 3 even sections and one small fold along the edge.
Step 3: Make the pumpkin cutouts
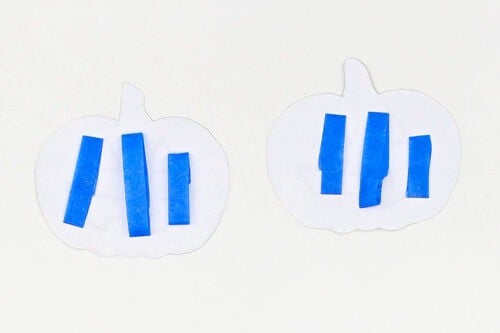
- Make loops with painter's tape and add them to the back of the pumpkin outlines.
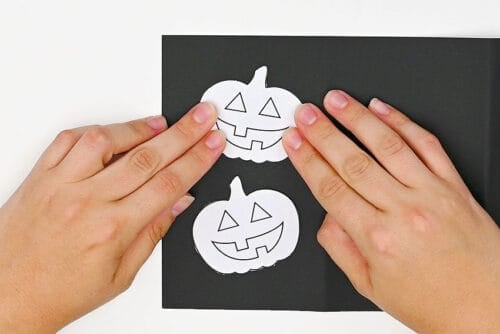
- Arrange the pumpkins on one section of the paper.(Note: If you print the outline on cardstock you can probably hold the outline in place to trace, rather than attaching it with tape.)
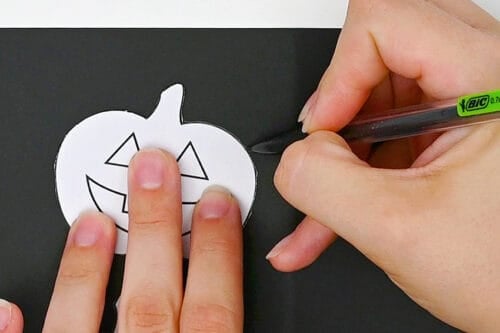
- Trace around the pumpkin shapes with a pencil.
- Carefully remove the outlines and move them over to the next section. Repeat tracing around them, and then repeat again on the third panel.
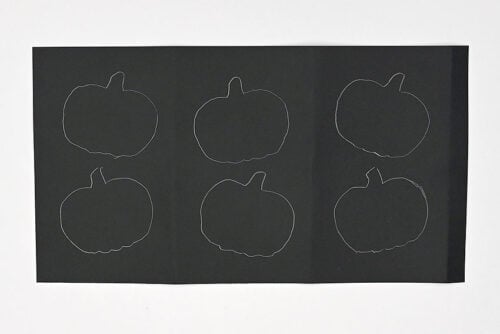
- Place the paper on a cutting mat or other protected surface and use a craft knife to cut out the pumpkin shapes along the trace marks.
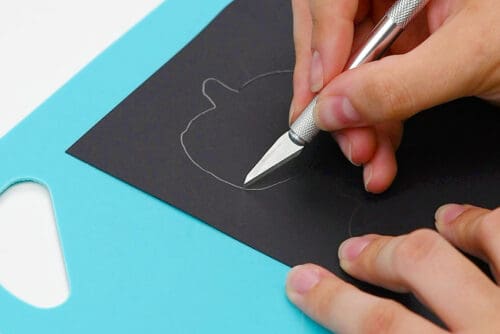
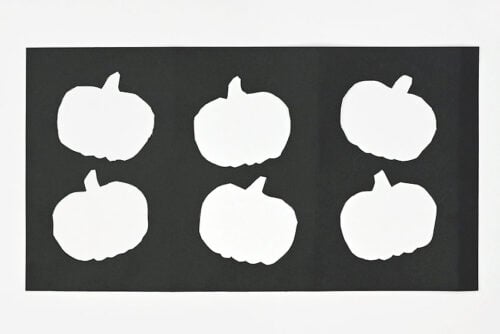
- Repeat, cutting out all the pumpkin outlines.
Step 4: Add "stars" to the lantern
- Place a piece of foam board under the paper.If you don't have foam, corrugated cardboard or a cork trivet will also work.
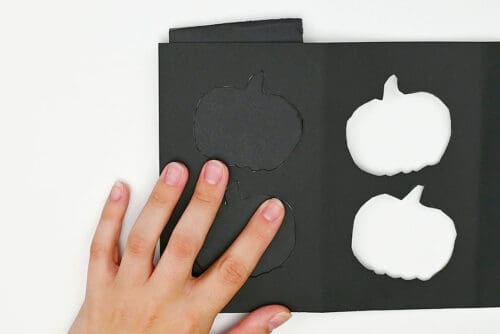
- Push a nail or pushpin into the paper, creating a small hole.
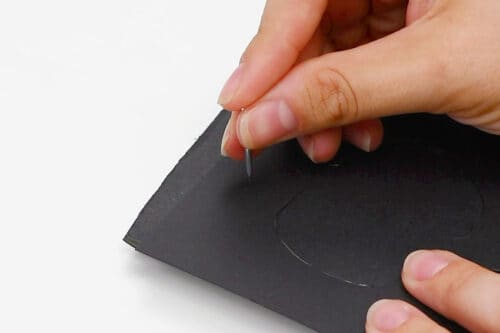
- Repeat around the outline randomly, and then continue across the whole lantern.
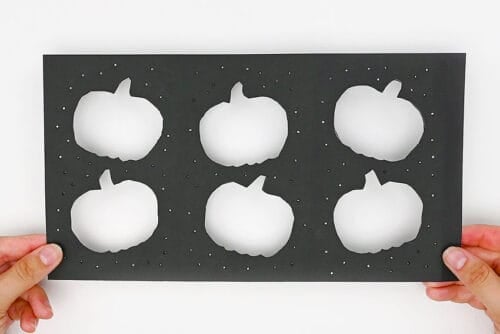
Step 5: Attach tissue paper panels
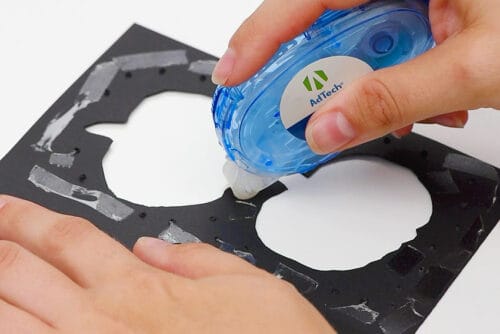
- Apply glue tape (or glue stick) around the outlines on one panel.
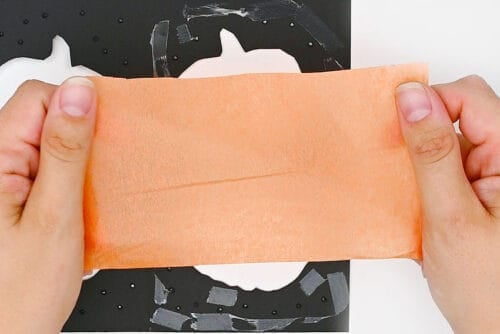
- Cut a rectangle of tissue paper that'll cover the majority of the panel, without overlapping the edge.(Roughly 3-1/4 inches by 5-3/4 inches.)
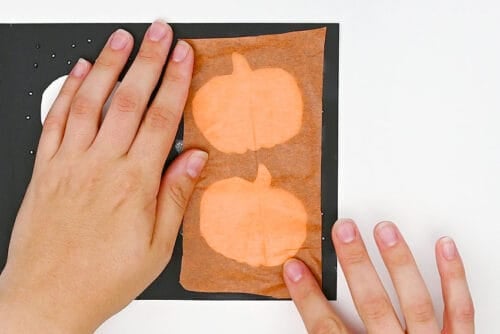
- Press the tissue paper into the glue tape, smoothing it down from one side to the other.
- Repeat on the other 2 panels and then flip over the paper.
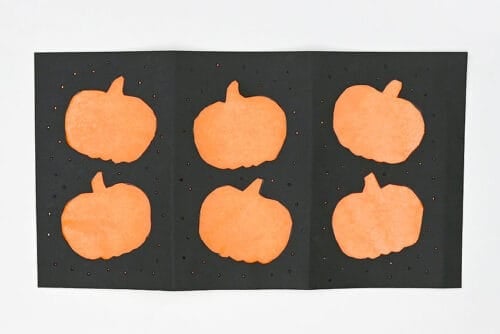
Step 6: Finish the lantern
- Place the template under the cutout and use it as a guide for drawing details on the tissue paper. Here we used a black marker to draw the jack-o-lantern faces.
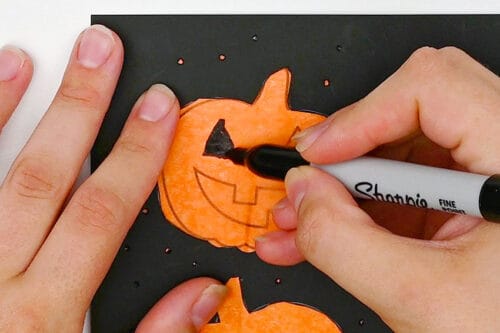
- Repeat across the rest of the cutouts and then add glue tape down the front of the short fold.
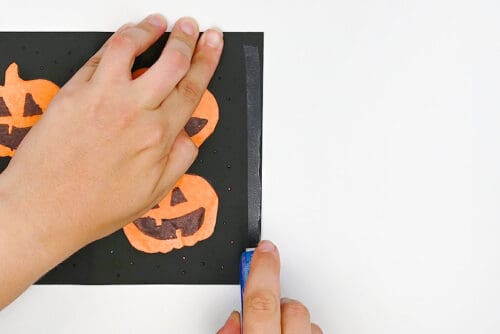
- Connect the other end of the paper into the glue tape, creating a paper lantern with 3 sides.
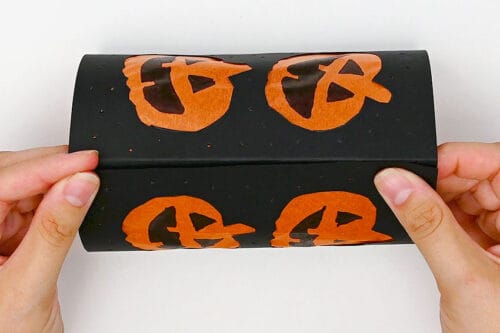
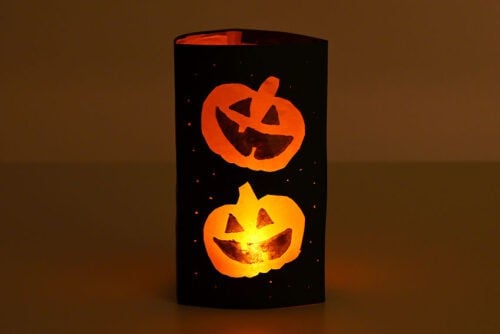
- Your Halloween paper lantern is complete!
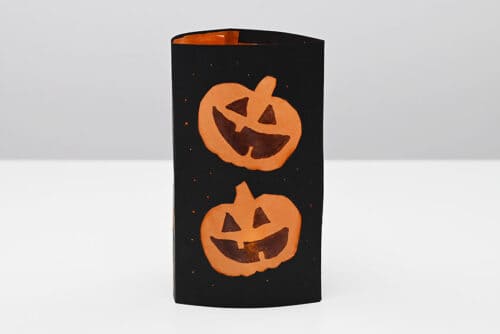
- Now place a flameless tealight inside the lantern and watch it glow!
Video
Notes
Looking for more lantern crafts? Here's a few of our favourites:
Tin Can Lanterns
Upcycled Mushroom Lantern
Pressed Flower Lanterns