
Get ready for some spooky crafting fun with these Halloween paper rosettes. With just a little folding and a few simple decorations, you can transform plain paper into the cutest ghost, pumpkin, bat, and more!
This easy Halloween craft is fun for kids and adults alike. All you need are a few basic supplies, and you’ll have festive rosettes ready to hang as decorations, use for party backdrops, or simply enjoy as a fun holiday project. These Halloween paper rosettes are quick, budget-friendly, and guaranteed to add handmade charm to your celebration!

This post contains affiliate links. If you use these links to buy something, we may earn a small commission at no extra cost to you. This helps support our website and allows us to keep creating fun, free content.
DIY Halloween Paper Rosettes
Materials:
- Coloured printer paper (orange, green, and black)
- Glue tape
- Large googly eyes (1 inch)
Instructions:
Step 1: Find what you need
- Gather your supplies and materials.


Step 2: Cut and fold the paper
- Cut an 8-1/2 by 11 inch piece of paper into 3 equal parts, lengthwise.(To divide the paper easily we made each piece 7 centimeters wide, cutting off a tiny sliver at the end.)

- Hold one of the pieces with the short end towards you. Fold about 1 centimeter of the end down. Then fold it back on itself.
- Continue folding the paper like an accordion, in 1 centimeter sections, until you reach the end.
- Repeat with the other 2 pieces of paper.


Step 3: Connect the papers
- Add a line of glue tape along one short end of one of the papers.
- Connect a second piece, lining up the edges nicely, and then repeat with the third piece, creating one long accordion.
- Add more glue tape to one end of the paper and connect the other end, creating a circle.


Step 4: Make the rosette
- Press the top of the circle in, creating the basic rosette shape.
- Cut a square piece of scrap paper (cardboard or cardstock also work) and add a generous amount of hot glue.
- Pick up the rosette and place it on the glued paper, bringing the center in so there’s as small a hole as possible.


Step 5: Decorate your Halloween character
- Cut pieces from printer paper, cardstock, or construction paper to decorate your character.For the jack-o-lantern we cut leaves and a stem from green paper, and a mouth from black. Then gather some large googly eyes.
- Use hot glue to attach the decorations to the rosette.
- Your Halloween paper rosette is complete!
- Now have fun making all kinds of cute Halloween characters using different colours of paper!


Helpful Tips:
- Use our Halloween characters as inspiration, or design your own fall friend!
- You can also use tacky glue if you don’t have a hot glue gun, but it will take longer to dry.

What other Halloween characters can I make with DIY paper rosettes?
Follow the tutorial above to make a cute jack-o-lantern, or make some of the following characters:
- Ghost: Use white paper for the rosette and attach googly eyes plus a black paper mouth. Cut an extra piece of white paper for the bottom of the ghost, trimming it into a wavy edge so it looks like a floating sheet.
- Bat: Make the rosette with purple or black paper, then cut and attach matching bat wings. Add a little mouth and sharp white fangs cut from paper. For wing shape inspiration, check out our bat outline post!
- Frankenstein: Start with a green rosette. Add a jagged strip of black paper for hair, a pink paper mouth, and grey bolts on the sides to complete the look.
- Mummy: Make a black rosette, then cut long strips of white paper. Layer and attach the strips crisscrossed over the face, just like spooky bandages.

What’s the best paper for making Halloween rosettes?
Coloured printer paper (24 lb), construction paper, and lightweight cardstock all work well. Cardstock is harder to fold cleanly, but it makes for a stronger rosette.
How can I hang my Halloween paper rosettes?
Glue or tape a piece of twine or ribbon to the back, then hang it on a picture hook or pushpin. You can also attach painter’s tape to the back and hang them as party decorations or on your windows.

How can I make different sizes of Halloween paper rosettes?
Our tutorial above uses 1 piece of letter sized paper to make a rosette that’s just over 5-1/2 inches across. To make a larger rosette, cut a piece of letter paper in half lengthwise and connect them to another half piece of paper.
To make a smaller rosette, cut a paper into four (or even six!) even strips. Then use only 2 or 3 pieces to create a tiny rosette — perfect for mini ghosts or bats.

These Halloween paper rosettes are proof that spooky doesn’t have to be scary — it can be silly, fun, and full of personality! Kids will love mixing and matching colours, decorating their rosettes, and even inventing brand-new characters, like a silly skeleton or a candy-corn monster.
Hang the finished rosettes in windows, on doors, or string them together as a festive garland. No matter how you display them, these cheerful little creations are sure to make your Halloween feel extra special — and give kids a craft project they’ll be proud to show off!
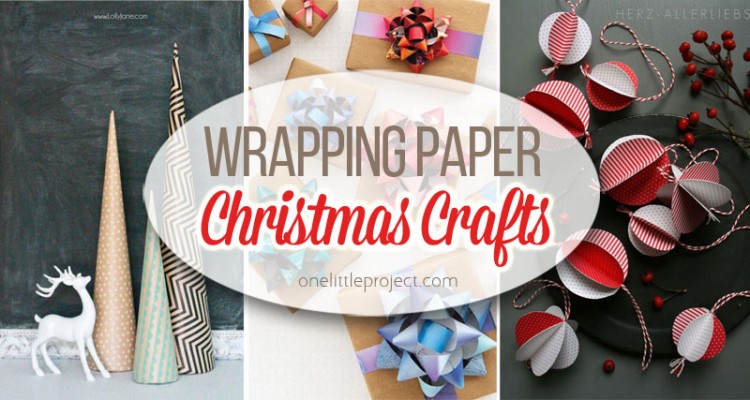
Here’s even more Halloween craft ideas:


Now available
Low-Mess Crafts for Kids Book
72 cute and fun crafts that kids and parents alike can enjoy. All with as little mess as possible!
Where to buy:
You can purchase Low-Mess Crafts for Kids from Amazon, or wherever books are sold:
Amazon | Barnes and Noble | Books-A-Million | Indiebound | Amazon Canada


Leave a Reply