
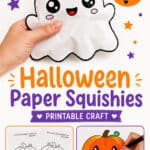
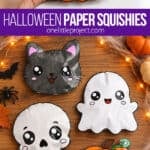
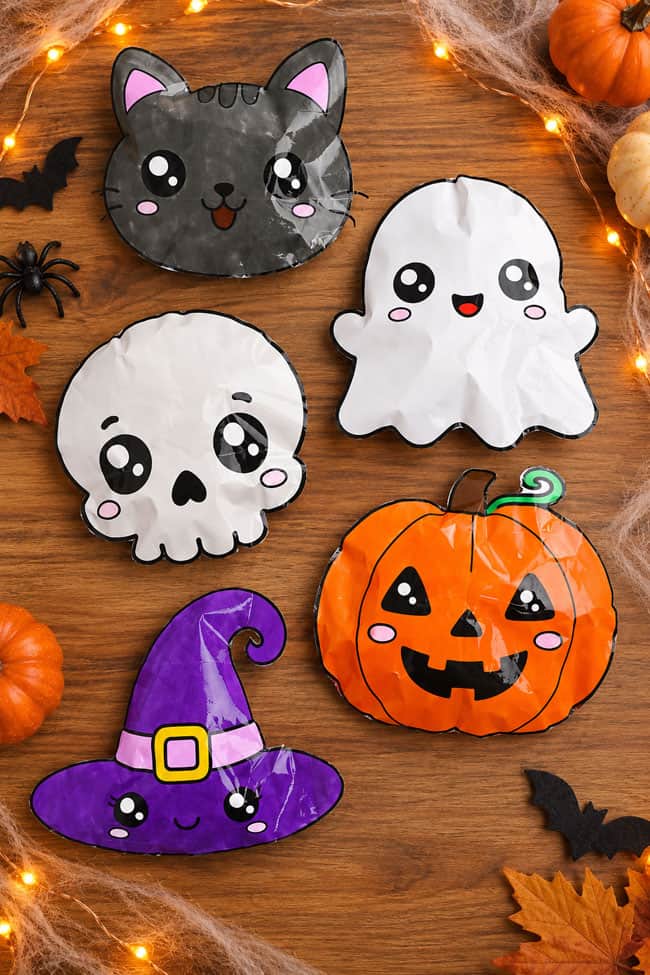
These Halloween paper squishies are super cute and so much fun to make! With just paper, tape, and a little stuffing, kids can turn simple drawings into puffy Halloween characters that are surprisingly satisfying to squeeze. Colour them any way you like to bring each spooktacular design to life!
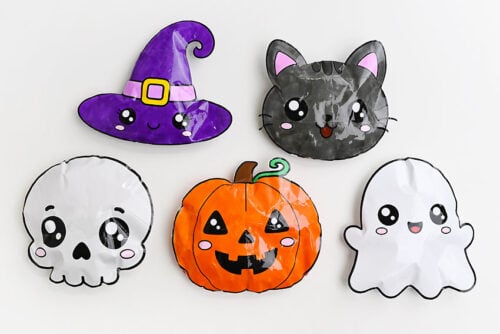
We have lots of printable templates to make it easy, including a witch hat, ghost, skull, jack-o-lantern, and more. Pick your favourite or make the whole collection for a fun Halloween craft activity. These DIY Halloween squishies are perfect for kids, tweens, and anyone who loves not-so-spooky projects!
This post contains affiliate links. If you use these links to buy something, we may earn a small commission at no extra cost to you. This helps support our website and allows us to keep creating fun, free content.
How to Make Halloween Paper Squishies
Materials:
- Free Printable Halloween Squishy Template
- Alcohol markers (or other coloring tools)
- Packing tape
- Polyester fiber fill
Equipment:
Watch the step-by-step video tutorial:
Instructions:
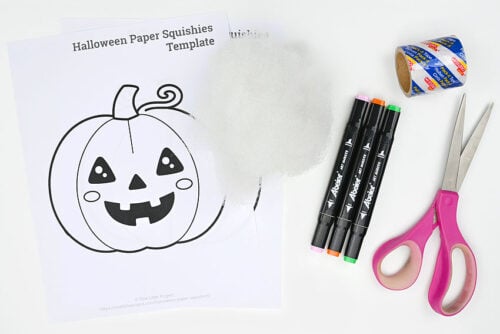
Step 1: Find what you need
- Gather your supplies and materials.

Step 2: Print and colour the template
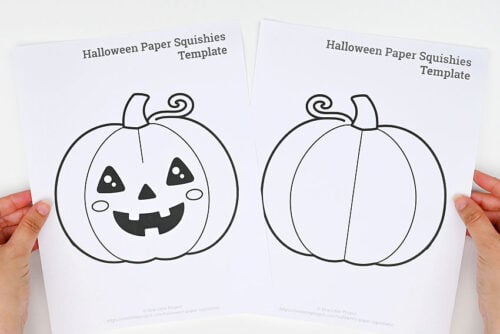
- Print one of our free Halloween paper squishy templates!Find the link for the jack-o-lantern in the materials list above, or keep reading below to find the other characters.
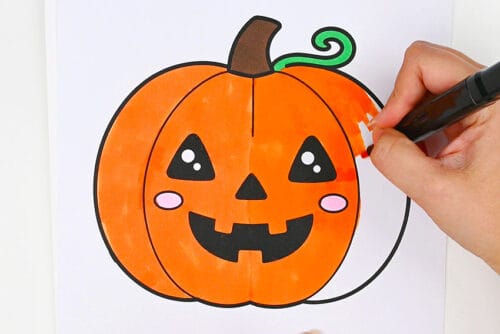
- Use alcohol markers (or another coloring tool) to colour both pages of the squishy template.
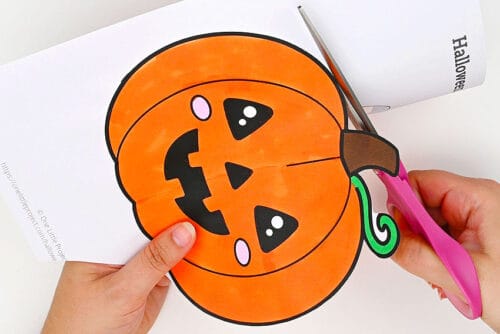
- Cut out the squishy shape close to the black line, so no white shows around the edge.Repeat with the second page.
Step 3: Add tape to the squishy
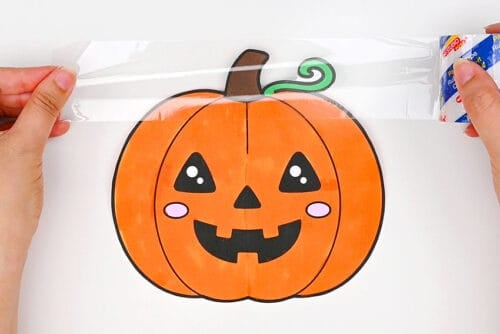
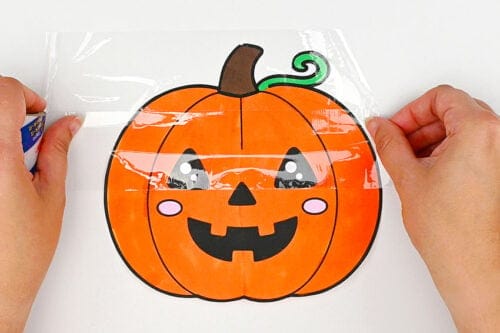
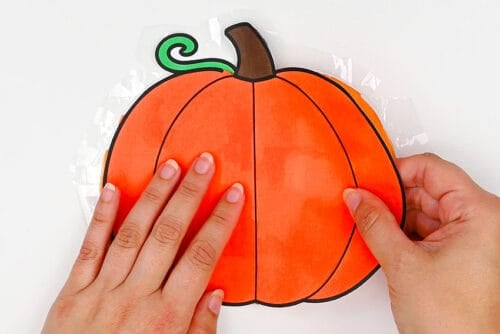
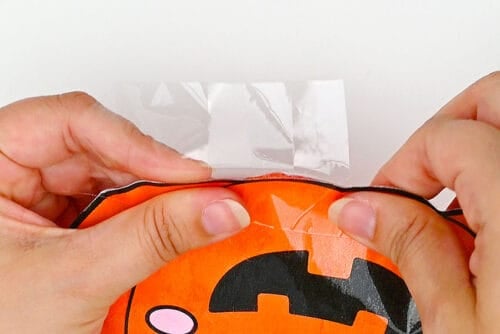
- Cut a piece of packing tape that’s at least 4 inches longer than your squishy is wide. Place the tape onto the paper so it’s overlapping both the top and the sides.Press it down smooth and ensure it’s totally adhered to the paper. You can also use a ruler or scraper tool to do this.
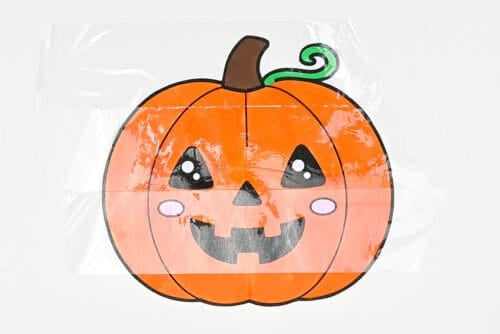
- Place a second piece of tape below the first, as close as you can get without overlapping.Again, smooth the tape down.

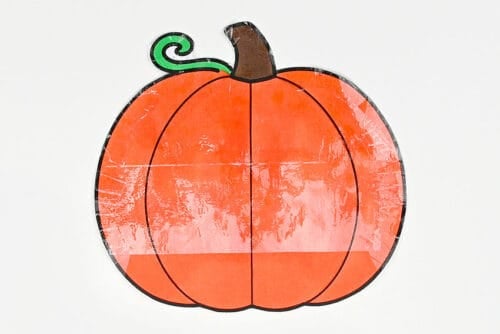
- Add another piece or 2 of tape (depending on how tall your squishy is). Stop when the next piece would overlap the bottom of the paper.Leave the bottom section of the paper tape-free.
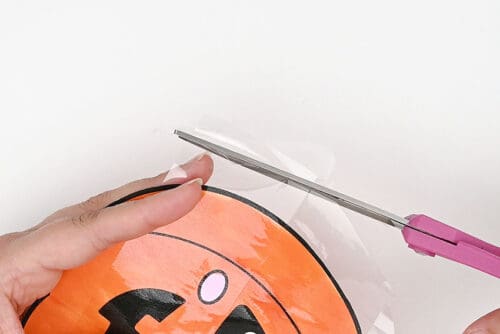
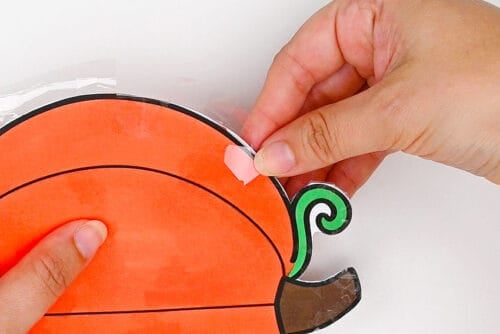
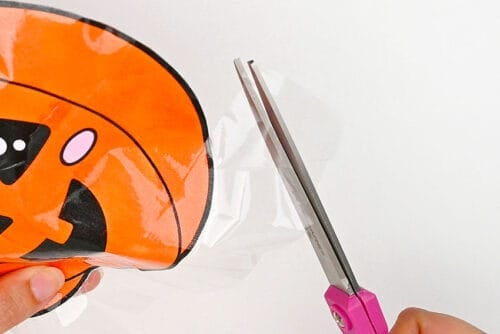
- Lift the template up, carefully pulling the tape away from your working surface.Cut off some of the excess tape, following the shape of the squishy and leaving about an inch along each side.
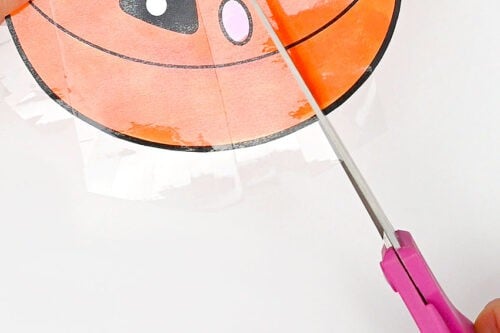
- Cut slits in the tape wherever there’s a rounded edge, making sections between 1/2 to 1 inch in size.This will make it easier to connect the two sides.
Step 4: Attach the back of the squishy
- Flip the template upside down so that the sticky side of the tape is facing up. Carefully line up the back piece of the squishy so the edges match.
- Hold the back in place as you fold the tape around from the front. This will connect the 2 pieces of paper. Repeat all the way around.
- Then add more tape so the back is covered, again leaving the bottom section tape-free.
Step 5: Add stuffing and close off the squishy
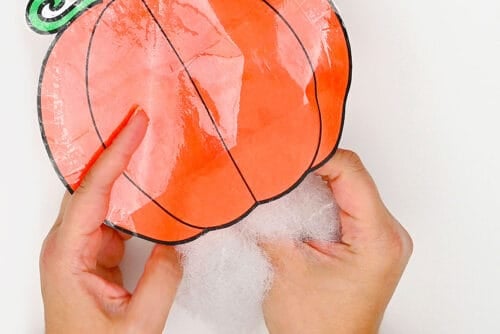
- Carefully add stuffing into the bottom of the squishy. Do this slowly so you don’t rip the paper.
- Make sure all the stuffing is nicely inside and then add another piece of tape to the bottom, overlapping the sides and bottom. Trim around it like you did with the first pieces.
- Fold the tape around, closing off the squishy completely.
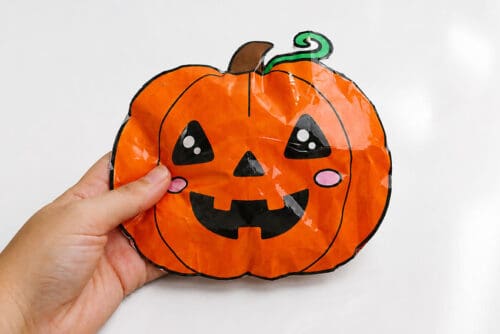
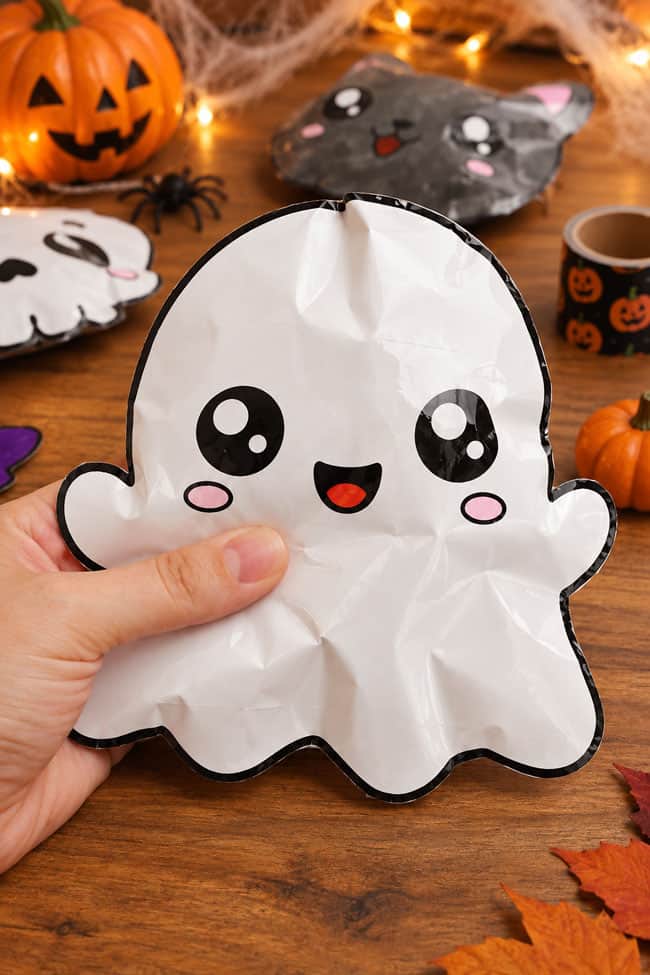
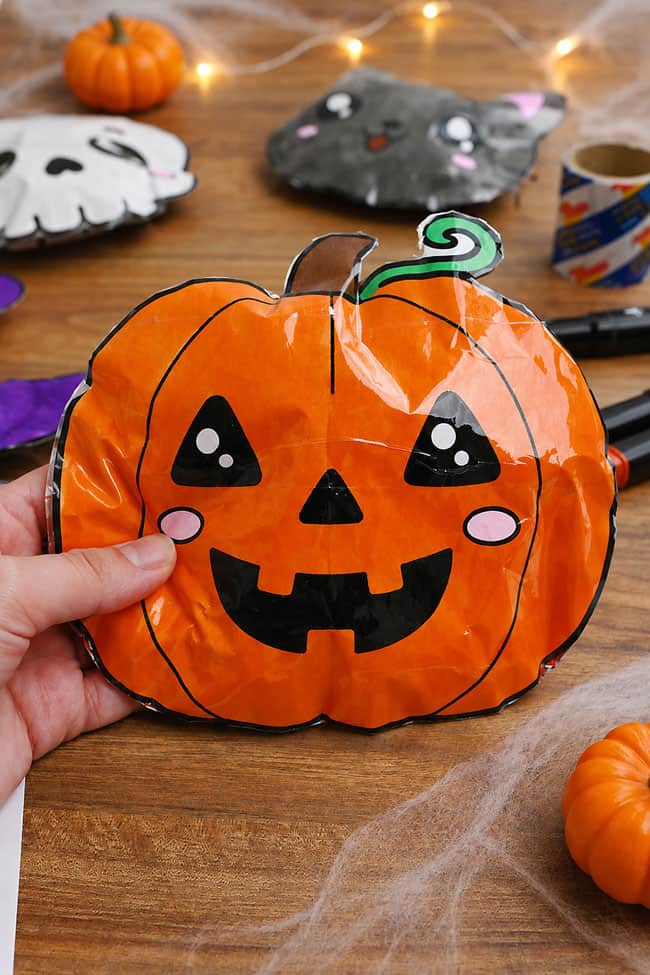
- Your Halloween paper squishy is complete!
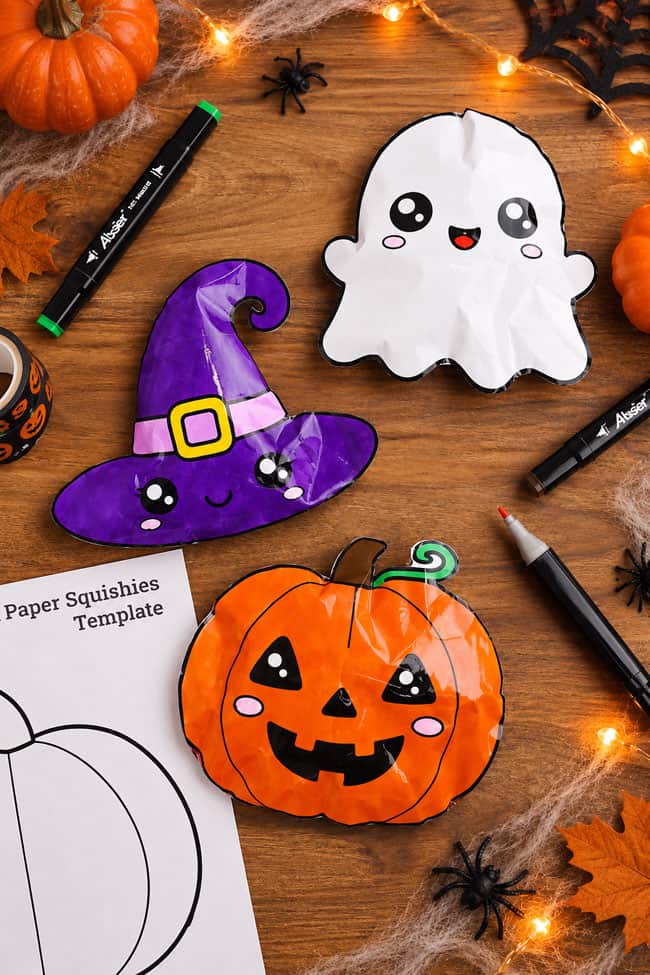
- Have fun making all the different paper squishies for Halloween. Find the links for the templates below!
Helpful Tips:
- Don’t overstuff your squishy: You can add as much or as little filling as you like, but we prefer using a smaller amount. Leaving some extra space inside gives the air room to move around and makes the finished paper squishy easier and more satisfying to squeeze.
- Wide packing tape works best: It’s quick to cover the paper and helps create a smooth, durable surface. Regular Scotch tape will also work if that’s what you have on hand.
Get printable templates for Halloween paper squishies:
The links below will take you to our free, printable Halloween paper squishy templates! The 2 page PDF files will open in a new window. Then simply print the patterns on 8.5 x 11 (letter size) printer paper.
>> Jack-o-Lantern Paper Squishy Template <<
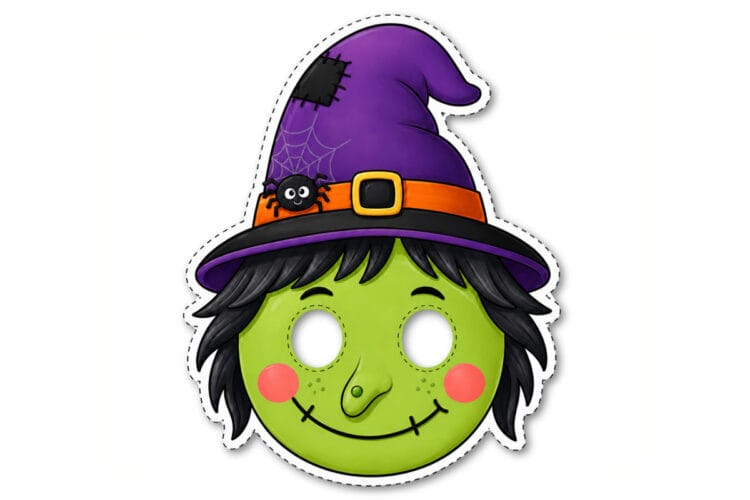
>> Witch Hat Paper Squishy Template <<
>> Skull Paper Squishy Template <<
>> Candy Corn Paper Squishy Template <<
>> Ghost Paper Squishy Template <<
>> Cat Paper Squishy Template <<
>> Potion Bottle Paper Squishy Template <<
What’s the best filling for Halloween paper squishies?
Poly-fil or stuffing from an old pillow works really well because it’s lightweight, soft, and easy to spread evenly inside the squishy.
But you definitely don’t need to buy special stuffing for this craft. You can also try:
- Cotton balls
- Makeup sponges
- Crumpled or shredded paper
- Tissue paper
- Plastic bags (either cut into pieces or loosely crumpled)
Whatever you use, avoid packing it in too tightly. A little empty space helps the squishy compress when you squeeze it.
What should I use to colour Halloween paper squishies?
Alcohol markers are a great choice because they dry quickly and make it easy to blend different shades together. Regular washable markers and permanent markers also work really well.
You can also decorate the templates with coloured pencils, crayons, or gel pens. If you use markers or pens, make sure the ink is completely dry before adding the tape so the colours don’t smear.
How do you keep a paper squishy from ripping?
Cover the entire front and back of the paper with strips of packing tape before assembling the squishy. The tape acts like a protective layer, reinforcing the paper and helping prevent tears when the squishy is squeezed over and over.
Pay extra attention to the outer edges and corners, since these are the spots most likely to split. It also helps to avoid overstuffing the squishy. Too much filling puts extra pressure on the seams and can cause the paper or tape to pull apart.
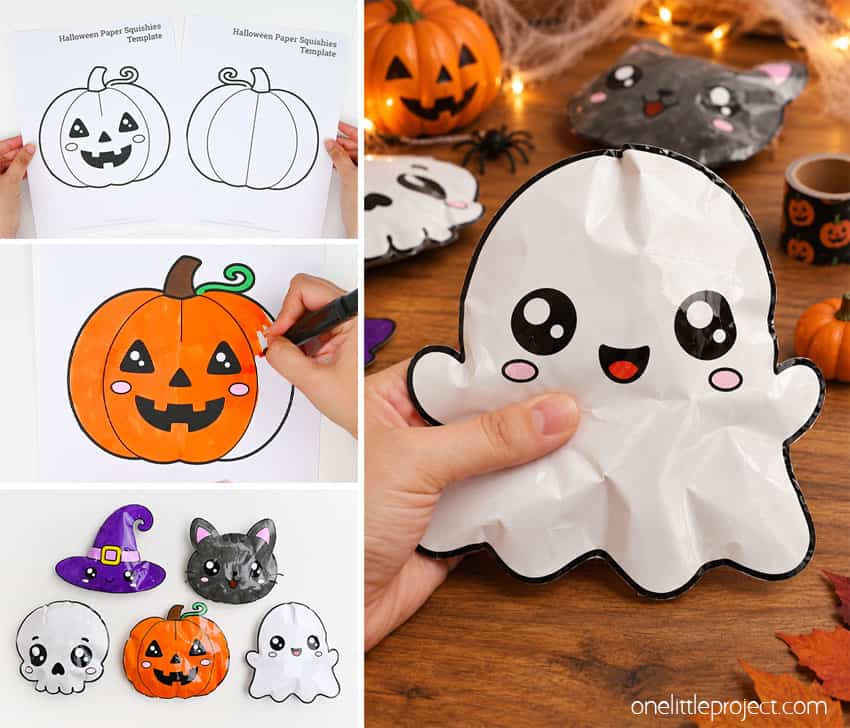
These Halloween paper squishies are such a fun way to turn a simple printable into a cute, squeezable craft! Kids can colour the designs however they like, experiment with different fillings, and make everything from friendly ghosts and pumpkins to potion bottles and candy corn.
Make one favourite or print a few templates and create a whole spooky-cute collection. They’re an easy Halloween craft for home, school, parties, or anytime you need a simple activity with a really fun finished result.
Here’s even more Halloween sensory craft ideas:

Now available
Low-Mess Crafts for Kids Book
72 cute and fun crafts that kids and parents alike can enjoy. All with as little mess as possible!
Where to buy:
You can purchase Low-Mess Crafts for Kids from Amazon, or wherever books are sold:
Amazon | Barnes and Noble | Books-A-Million | Indiebound | Amazon Canada







Leave a Reply