
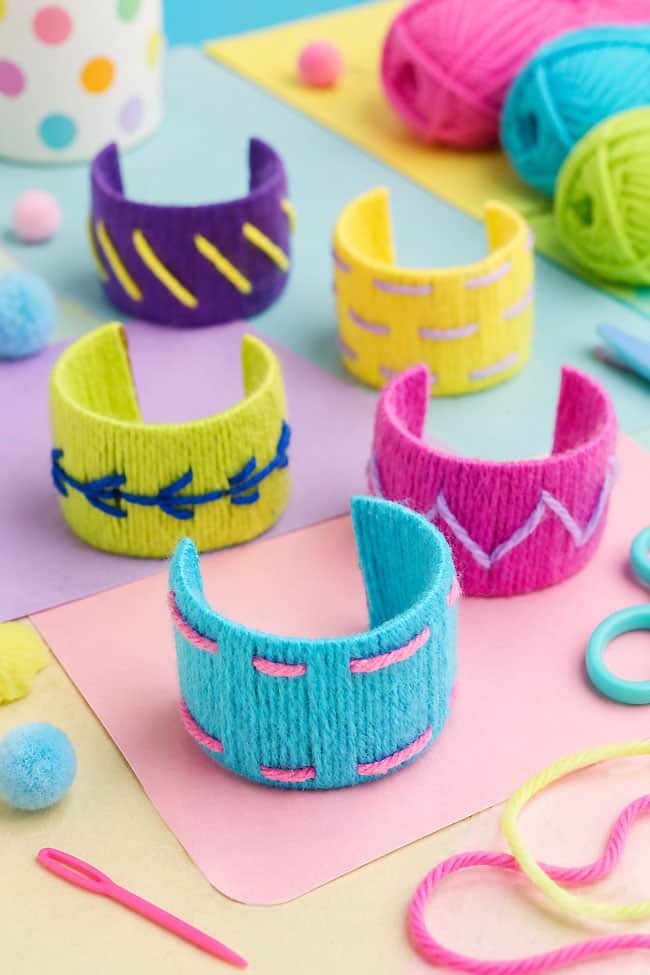
These yarn wrapped paper roll bracelets are a colourful and creative way to turn simple recycled materials into fun handmade jewelry! By wrapping pieces of paper roll with bright yarn and adding easy embroidered designs, kids can create bold bracelets with stripes, zigzags, and other playful patterns.
These yarn bracelets are inexpensive to make and easy to customize with different colours and stitches. They’re a great craft for older kids who want to practise basic sewing skills, but the designs can also be kept simple for younger crafters. Make one bracelet to match a favourite outfit, create a whole stack in coordinating colours, or trade them with friends for a fun handmade accessory!
This post contains affiliate links. If you use these links to buy something, we may earn a small commission at no extra cost to you. This helps support our website and allows us to keep creating fun, free content.
DIY Yarn Wrapped Paper Roll Bracelets
Materials:
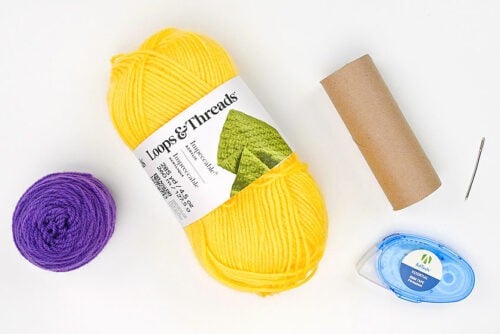
- Toilet paper roll
- Glue tape (or glue stick, hot glue)
- Worsted weight yarn (2 colours)
Equipment:
Watch the step-by-step video tutorial:
Instructions:
Step 1: Find what you need
- Gather your supplies and materials.

Step 2: Cut out the bracelet
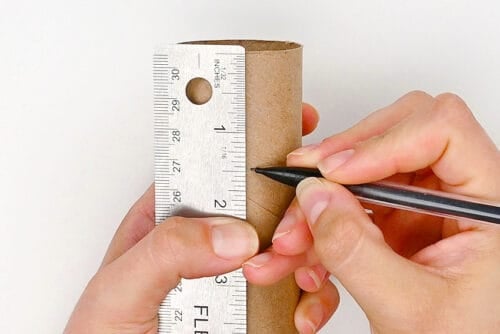
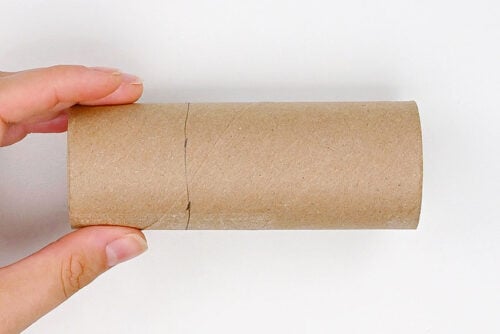
- Measure 1-1/2 inches down from the end of a paper roll and make a pencil mark. Repeat around, marking 4 to 5 more spots.
- Connect the marks to make a straight line.
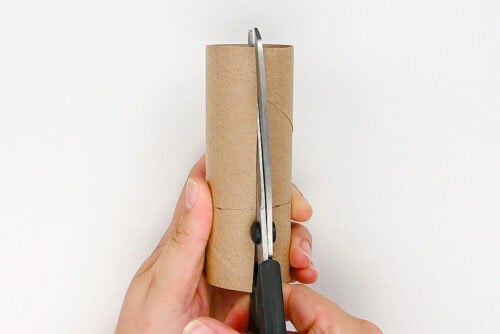
- Cut one side of the paper roll down the middle. (Yes, you’ll be cutting through the line you just made.)
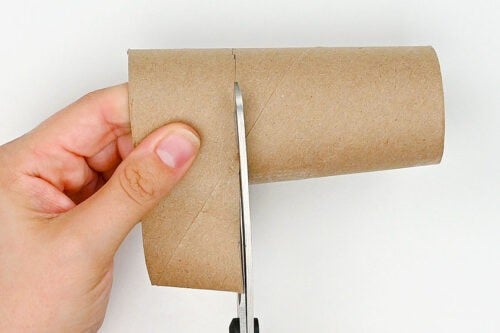
- Now use the marked line to cut a strip from the paper roll. This will be the base of your bracelet.

Step 3: Wrap the bracelet with yarn
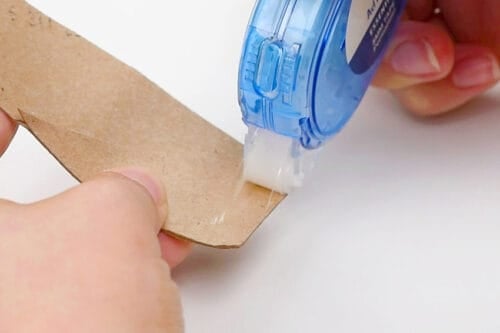
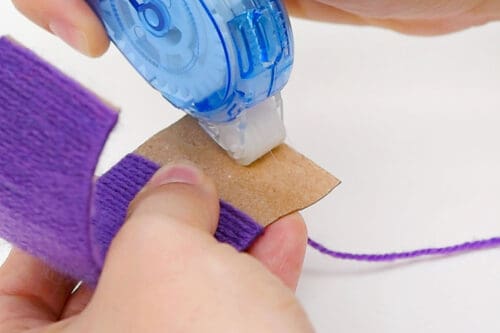
- Add glue tape or another adhesive to the inside edge on one end of the bracelet.
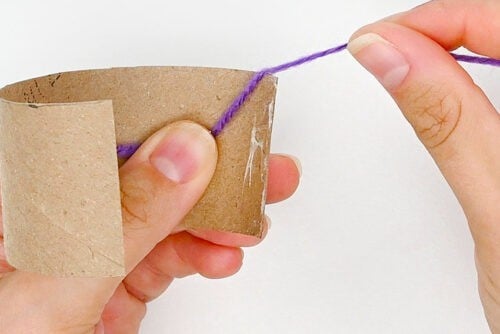
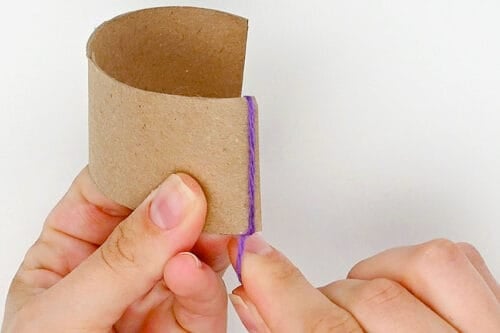
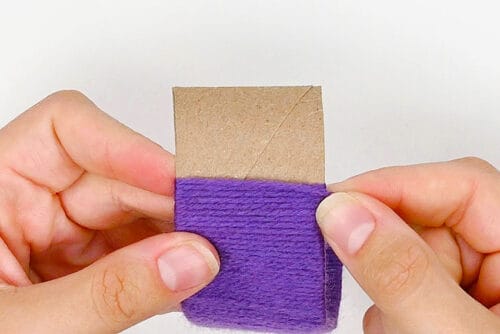
- Hold the yarn end on the inside of the bracelet, keeping a couple inches of tail. Place the yarn so it’ll catch in the glue spot.
- Wrap the yarn tight around the paper roll, bringing it to the outside of the bracelet and back in.
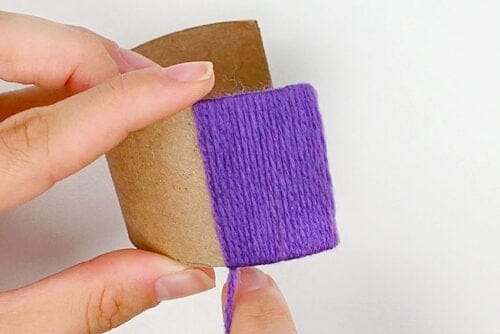
- Continue wrapping the yarn around the bracelet. Keep the wraps tight together so that you don’t see the paper roll underneath.
- Repeat for the length of the bracelet, stopping when you get about 1 inch from the other end.
- Add another line of glue tape to the inside edge of the bracelet.
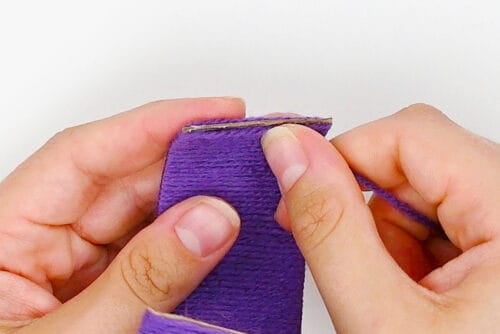
- Continue wrapping until the end, ensuring that the yarn stays put in the glue.
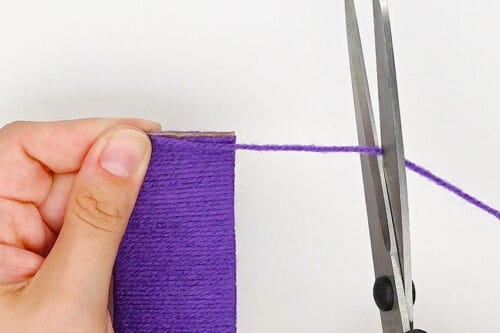
- Cut the yarn from the ball, leaving a short tail.
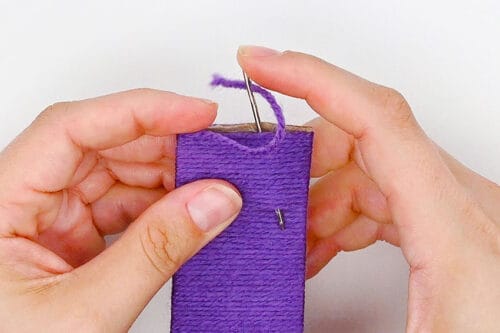
- Thread the tail onto a yarn needle and secure it by going down underneath the wraps of the bracelet, coming back up about 20 wraps down.
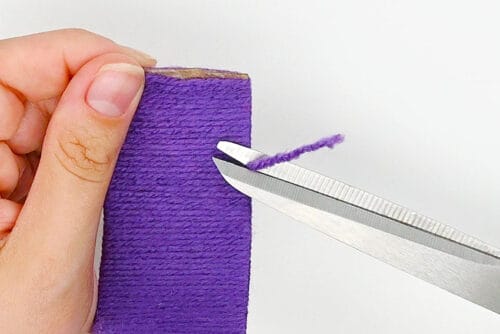
- Pull the needle through and cut off the excess yarn close to the bracelet, so the end is hidden under the wraps.
Step 4: Add a decoration
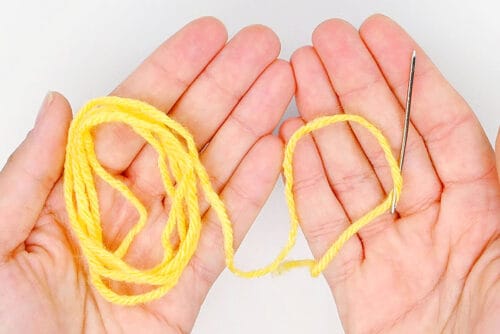
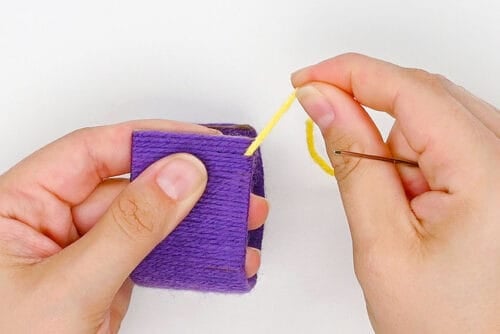
- Cut a piece of yarn in a contrasting or complementary colour, about 36 inches long. Thread it onto a yarn needle.
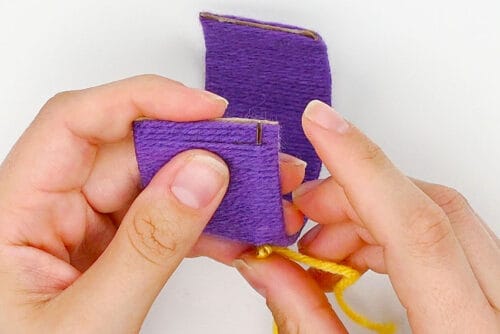
- Insert the needle through the bracelet wraps, starting about 1-1/2 inches from where you want your starting point to be, and bringing it back up at the starting point for the decoration.
- Pull the yarn through until the tail is hidden inside the bracelet wraps.
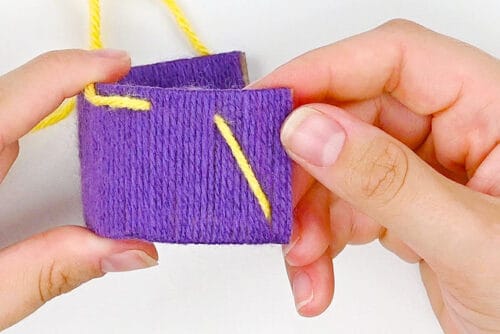
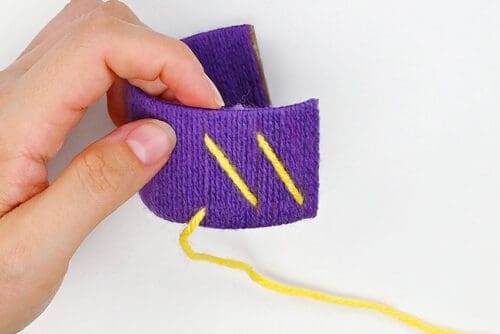
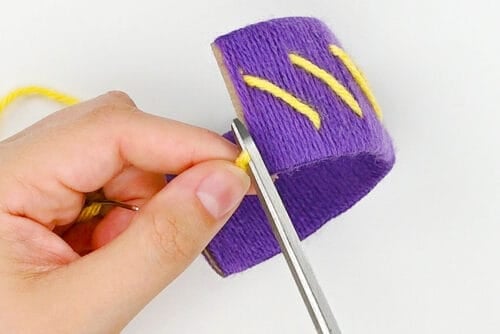
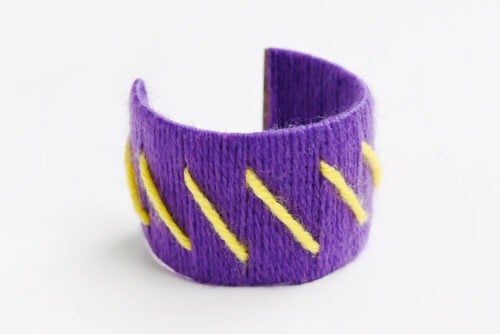
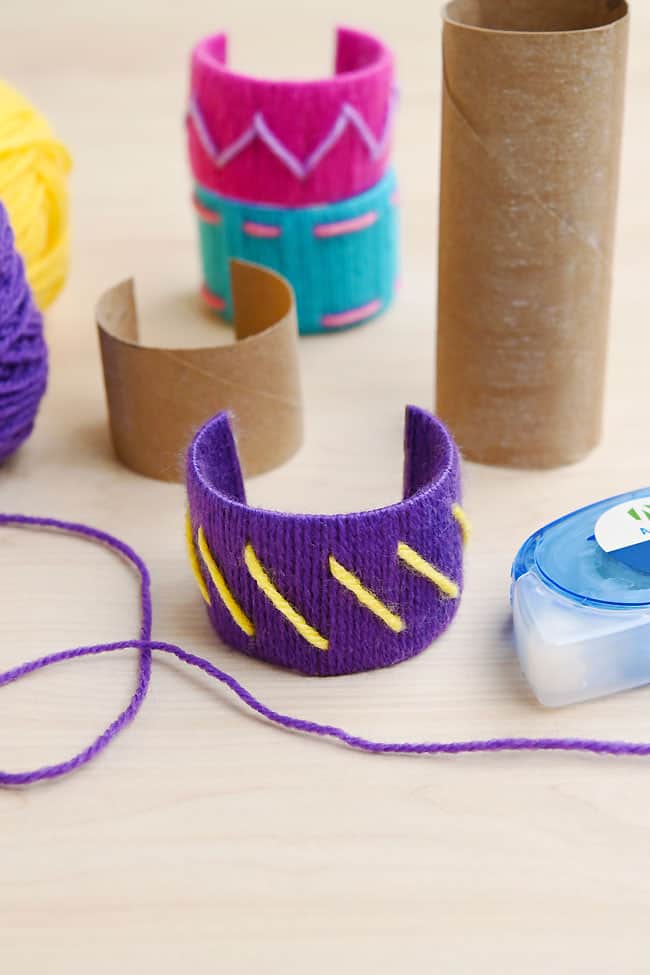
- Now you can begin adding the design on the bracelet. For this one we made an angled line from bottom to top, going over about 10 wraps.Then bring the needle out another 10 wraps away.
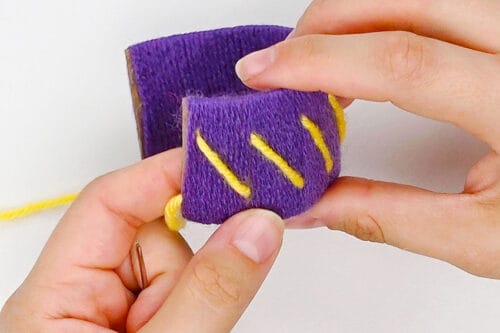
- Continue the design, this time bringing the yarn down. Keep the yarn lined up with the first line so it looks nice and neat.
- Repeat this same design (or start a new one!) across the bracelet.
- Bring the yarn out the side of the bracelet and cut off the excess.
- Your yarn wrapped paper roll bracelet is complete!
Helpful Tips:
- Experiment with the bracelet width: We cut our bracelets to be 1-1/2 inches wide, but you can make them thicker or thinner depending on the look you want.
- Choose coordinating yarn colours: Use complementary colours for a bold contrast, or decorate the bracelet with a lighter or darker shade of the base colour for a more subtle design.
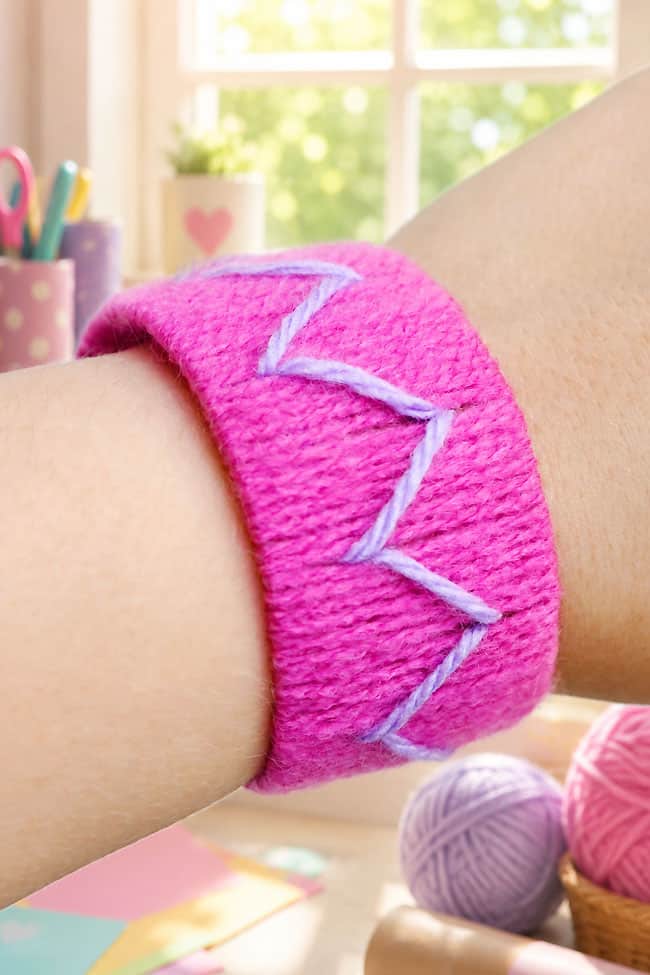
What designs can I add to my paper roll bracelet?
There are lots of simple patterns you can stitch onto yarn wrapped paper roll bracelets. Try angled lines running from the top to the bottom, a chevron or zigzag pattern, horizontal lines along the upper and lower edges, or a row of X-shaped stitches. You can also combine several designs or change yarn colours as you work!
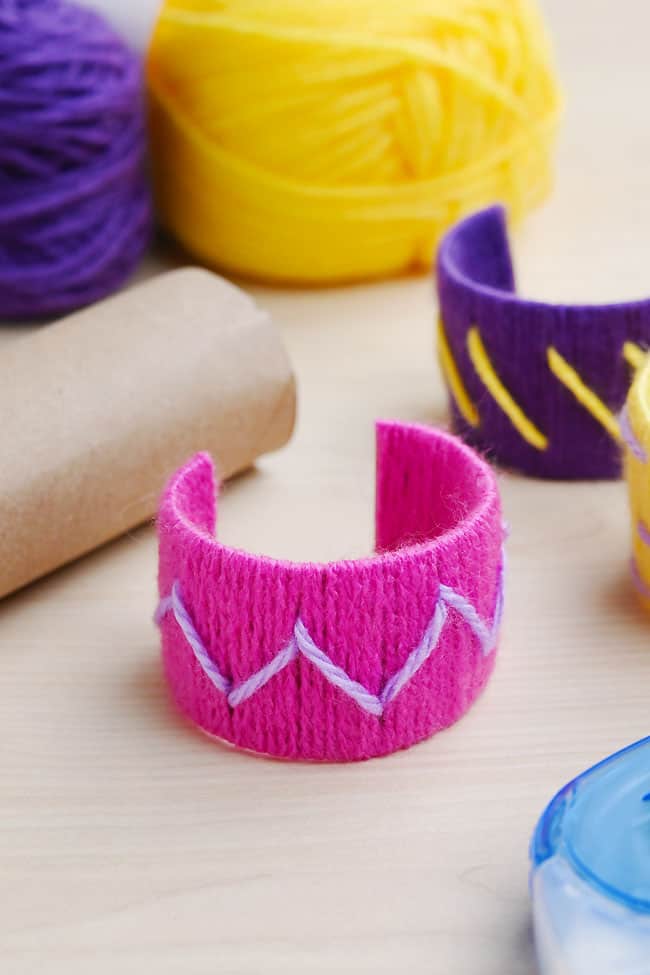
What type of yarn works best for these yarn wrapped bracelets?
Basic worsted weight acrylic yarn works well for both wrapping and decorating the bracelets. This project is perfect for using leftover yarn from your stash or inexpensive dollar store yarn that may not be soft enough for wearable crochet or knitting projects.
You can also experiment with macrame cord or embroidery floss. When using embroidery floss, keep all the strands together rather than separating them.
What can I use for my DIY bracelet if I don’t have a paper roll?
You can buy cardboard craft tubes online or cut sections from a paper towel roll or wrapping paper tube. You can also make the bracelet base from sturdy cardstock. Cut the cardstock approximately 1-1/2 inches tall by 5-1/2 inches long, then gently curve it into a cuff shape before wrapping it with yarn.
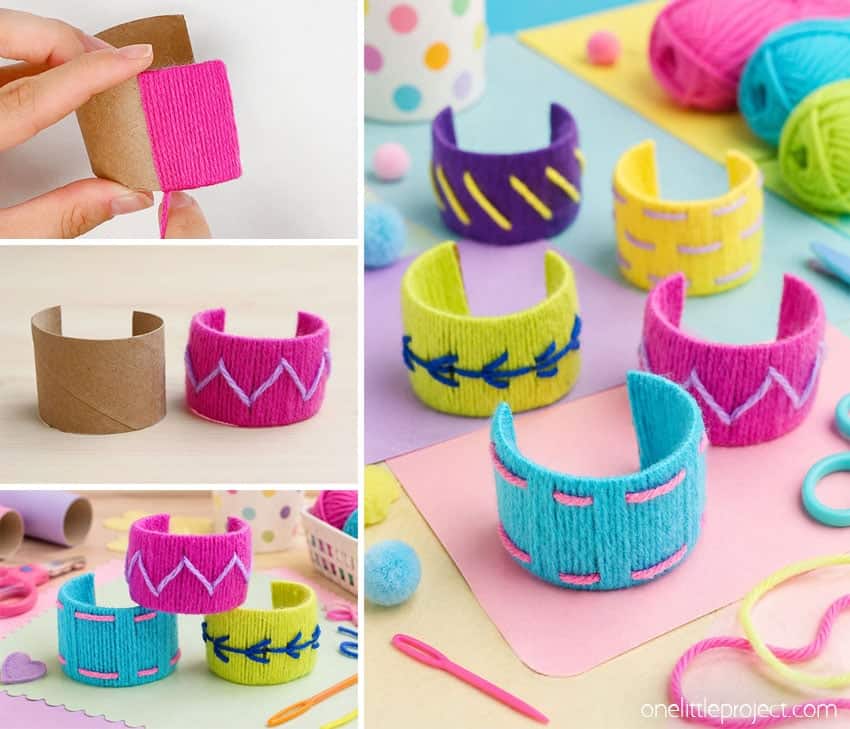
These yarn wrapped paper roll bracelets are such a fun way to make something stylish from materials that might otherwise be tossed away. Each bracelet turns out a little different, and the simple stitched patterns give them a handmade look that feels extra special.
They’re also a great project for making small gifts, friendship bracelets, party crafts, or colourful accessories for dress-up. Choose a few favourite yarn colours, try a new pattern on each bracelet, and build a whole collection of bright cuffs to mix and match.
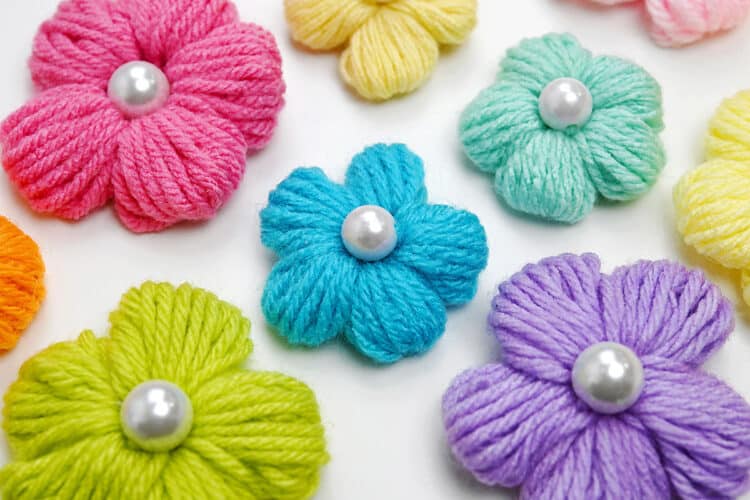
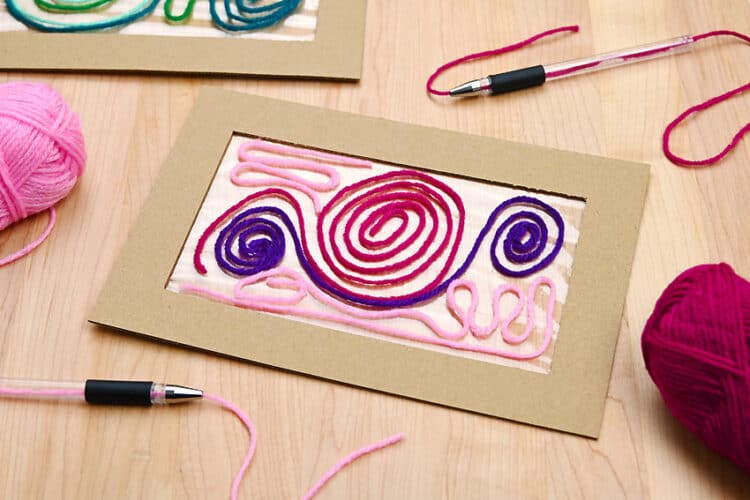
Here’s even more yarn craft ideas:

Now available
Low-Mess Crafts for Kids Book
72 cute and fun crafts that kids and parents alike can enjoy. All with as little mess as possible!
Where to buy:
You can purchase Low-Mess Crafts for Kids from Amazon, or wherever books are sold:
Amazon | Barnes and Noble | Books-A-Million | Indiebound | Amazon Canada








Leave a Reply