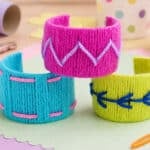
DIY Yarn Wrapped Paper Roll Bracelets
These yarn wrapped paper roll bracelets are super cute! They're a fun accessory for kids to make, and are the perfect introduction to stitching and embroidery. Make one of these soft and colourful DIY bracelets today!
Yield: 1 paper roll bracelet
Cost: $1
Equipment
Materials
- Toilet paper roll
- Glue tape (or glue stick, hot glue)
- Worsted weight yarn (2 colours)
Instructions
Step 1: Find what you need
- Gather your supplies and materials.
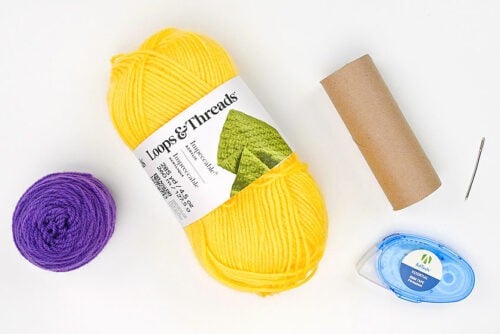
Step 2: Cut out the bracelet
- Measure 1-1/2 inches down from the end of a paper roll and make a pencil mark. Repeat around, marking 4 to 5 more spots.
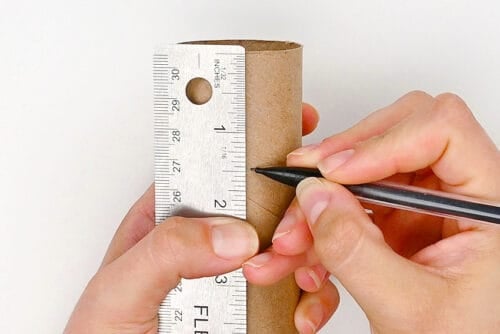
- Connect the marks to make a straight line.
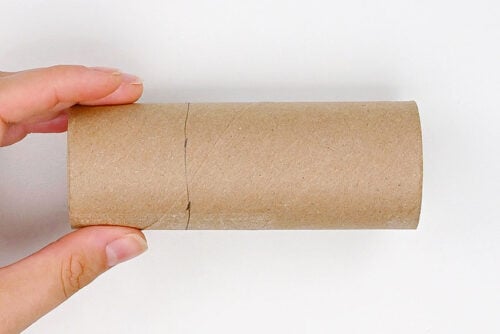
- Cut one side of the paper roll down the middle. (Yes, you'll be cutting through the line you just made.)
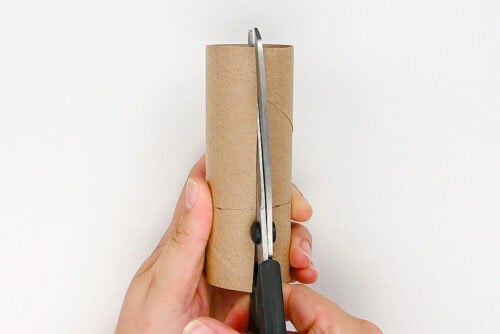
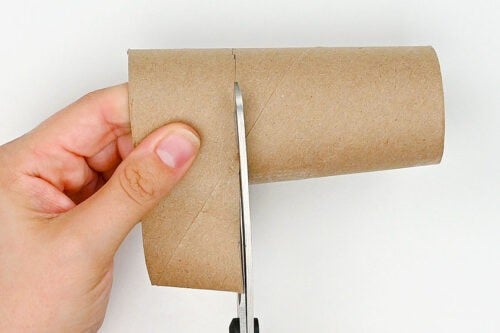
- Now use the marked line to cut a strip from the paper roll. This will be the base of your bracelet.
Step 3: Wrap the bracelet with yarn
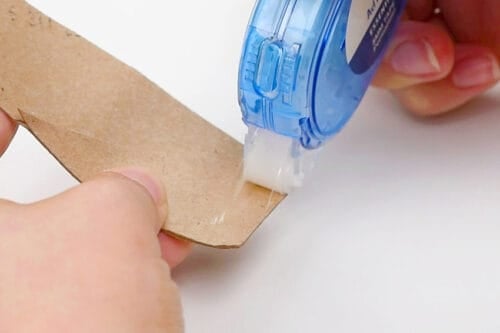
- Add glue tape or another adhesive to the inside edge on one end of the bracelet.
- Hold the yarn end on the inside of the bracelet, keeping a couple inches of tail. Place the yarn so it'll catch in the glue spot.
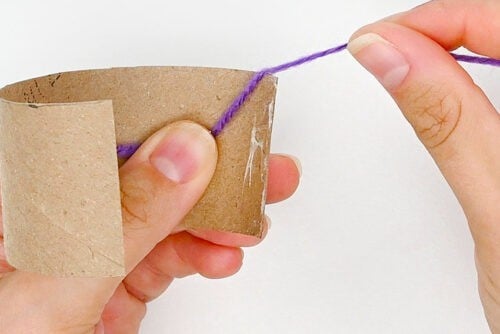
- Wrap the yarn tight around the paper roll, bringing it to the outside of the bracelet and back in.
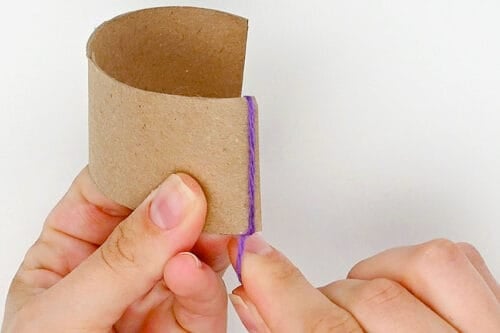
- Continue wrapping the yarn around the bracelet. Keep the wraps tight together so that you don't see the paper roll underneath.
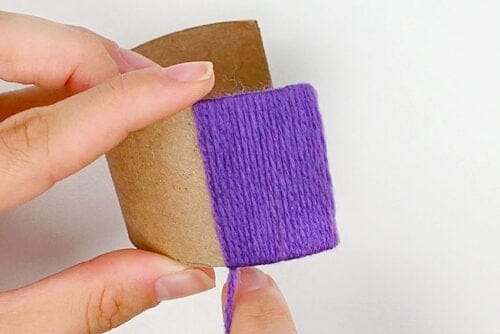
- Repeat for the length of the bracelet, stopping when you get about 1 inch from the other end.
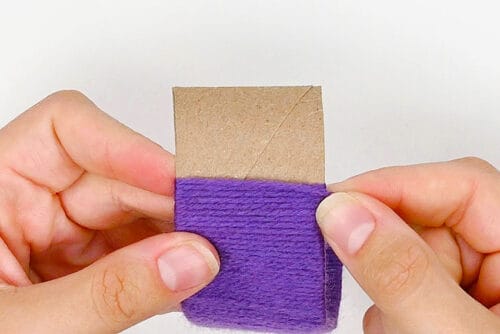
- Add another line of glue tape to the inside edge of the bracelet.
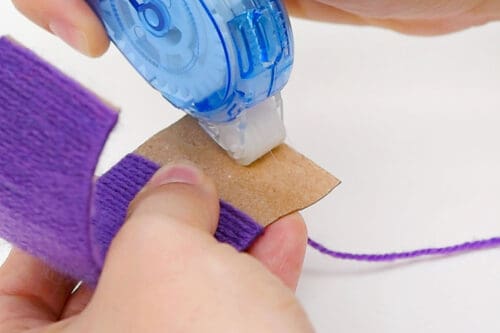
- Continue wrapping until the end, ensuring that the yarn stays put in the glue.
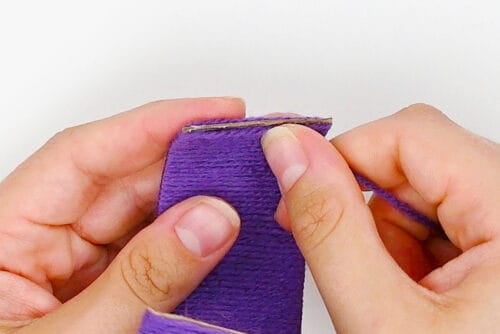
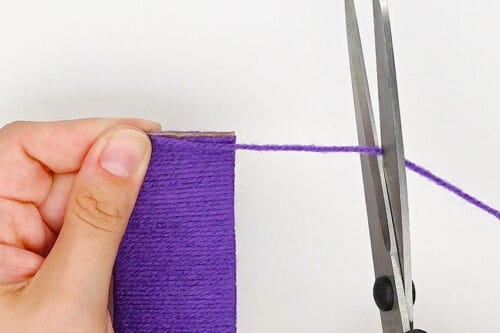
- Cut the yarn from the ball, leaving a short tail.
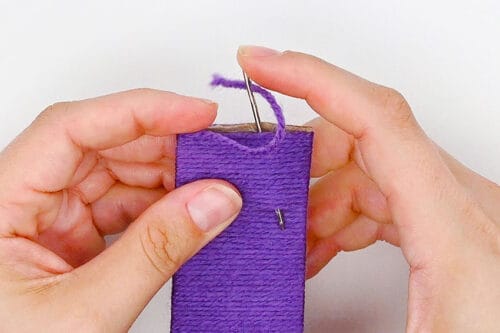
- Thread the tail onto a yarn needle and secure it by going down underneath the wraps of the bracelet, coming back up about 20 wraps down.
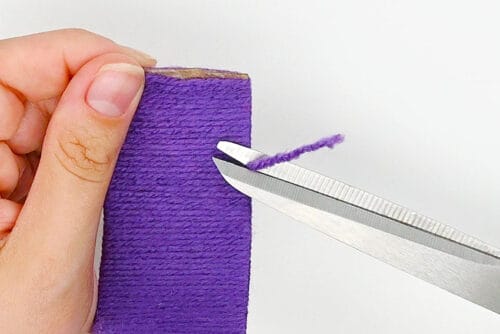
- Pull the needle through and cut off the excess yarn close to the bracelet, so the end is hidden under the wraps.
Step 4: Add a decoration
- Cut a piece of yarn in a contrasting or complementary colour, about 36 inches long. Thread it onto a yarn needle.
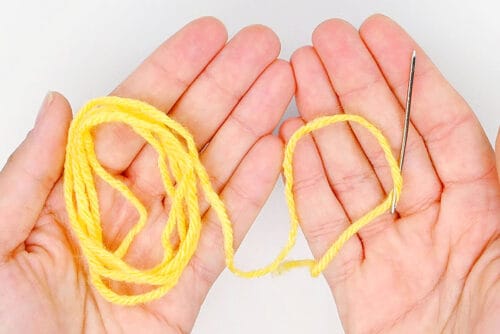
- Insert the needle through the bracelet wraps, starting about 1-1/2 inches from where you want your starting point to be, and bringing it back up at the starting point for the decoration.
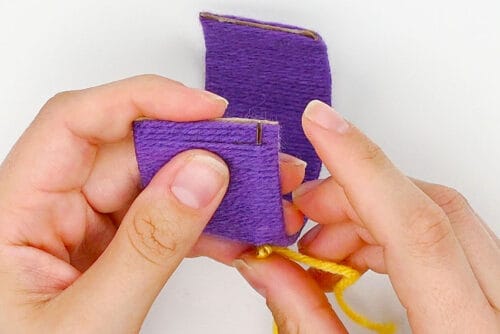
- Pull the yarn through until the tail is hidden inside the bracelet wraps.
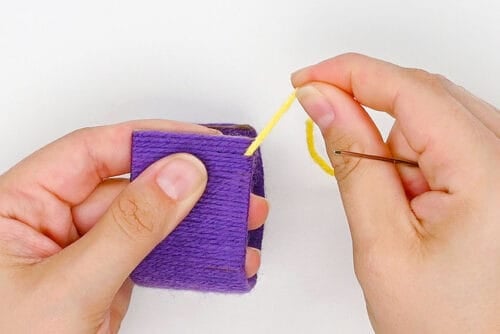
- Now you can begin adding the design on the bracelet. For this one we made an angled line from bottom to top, going over about 10 wraps.Then bring the needle out another 10 wraps away.
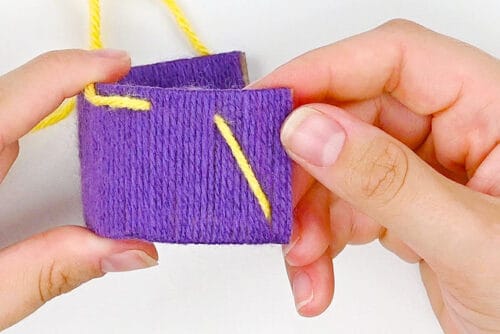
- Continue the design, this time bringing the yarn down. Keep the yarn lined up with the first line so it looks nice and neat.
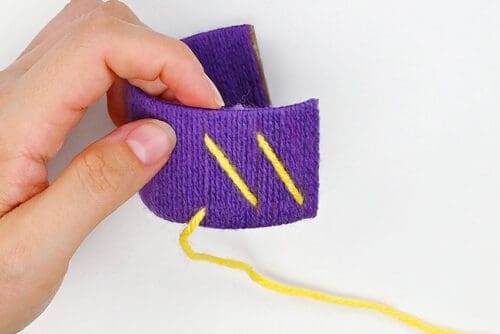
- Repeat this same design (or start a new one!) across the bracelet.
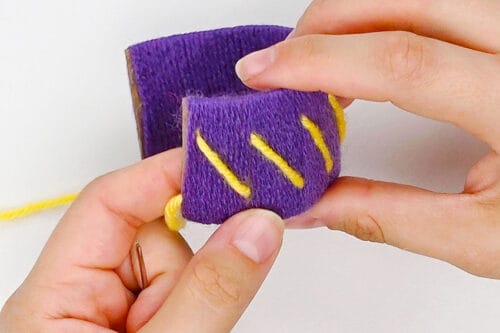
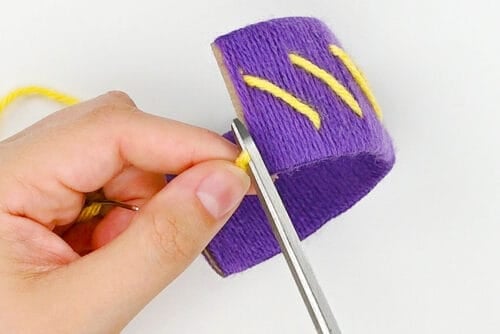
- Bring the yarn out the side of the bracelet and cut off the excess.
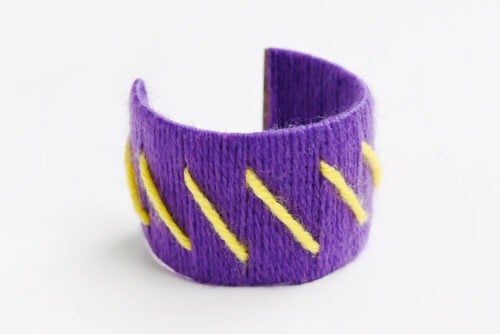
- Your yarn wrapped paper roll bracelet is complete!
Video
Notes
Looking for more DIY jewelry that kids can make? Here's a few of our favourites:
Cardboard Loom Bracelet
Perler Bead Earrings
Bottle Cap Photo Necklace