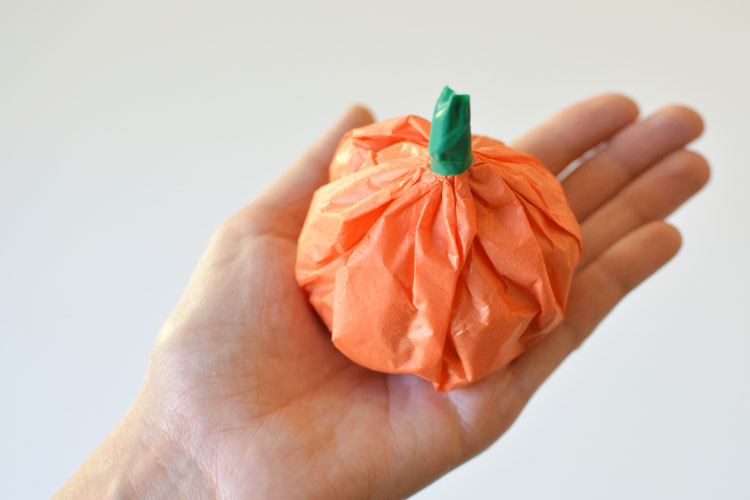
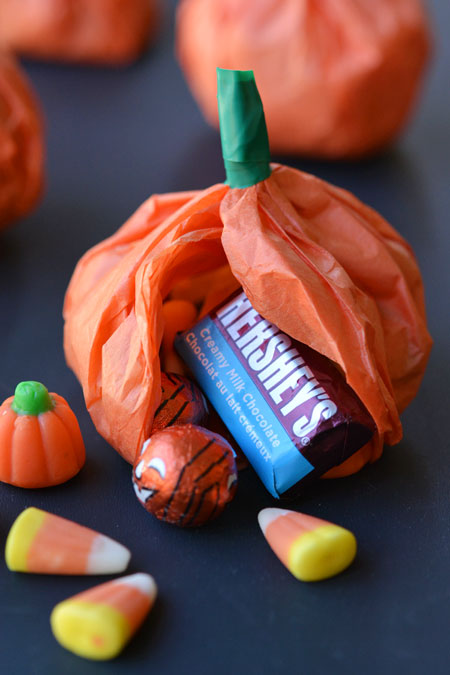
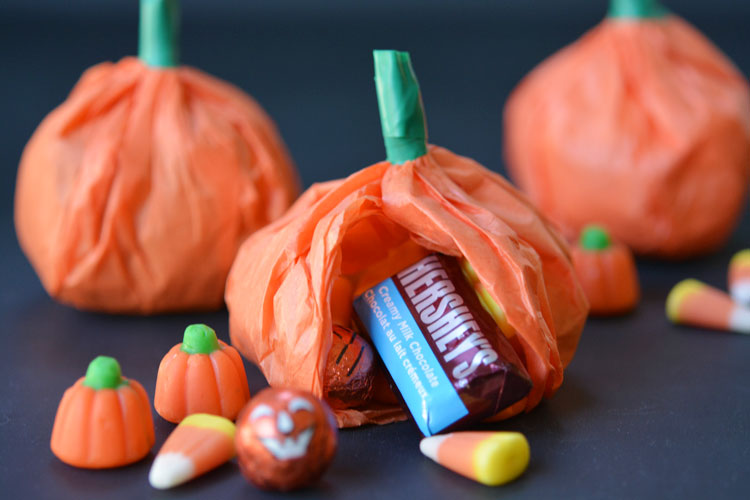
There are two things my kids LOVE. 1. Candy, and 2. Presents! And these tissue paper pumpkin favours fall beautifully into both of those categories! Wrap up your favourite Halloween treats, and then open up the pumpkins like presents to get to the candy inside. Wouldn’t these make adorable favours at a Halloween party? And I’m so tempted to make a bunch of them to send to school as treats on Halloween! As for the ones I made, I gave them to my girls as a special after-dinner treat last night.
Am I a terrible mother for bribing my kids with candy in order to get them to eat their dinners? I feel guilty and a little bit embarrassed for admitting it, but almost every day I use the parenting cliche “If you’re hungry enough to eat candy, then you’re hungry enough to finish your dinner!” Without it, my girls would barely eat anything! So when I pulled these out last night, my girls got SO excited that they immediately gobbled up everything on their plates! (Score for me!) They were like a little present, sitting on the table, silently calling “eat-your-dinner-so-you-can-open-me-up!”
They are amazingly easy to make too! Here’s what you’ll need:
- Orange tissue paper
- Green tape (floral, electrical or painters tape)
- Assorted candy
- 9″ cake pan
- Scissors
- Pencil
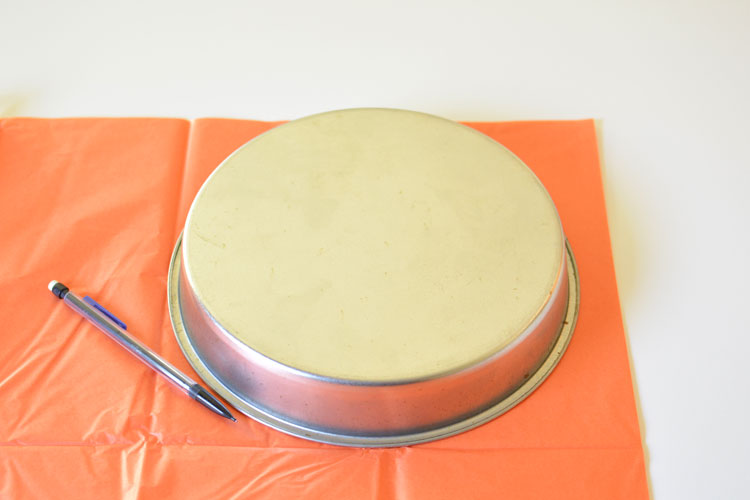
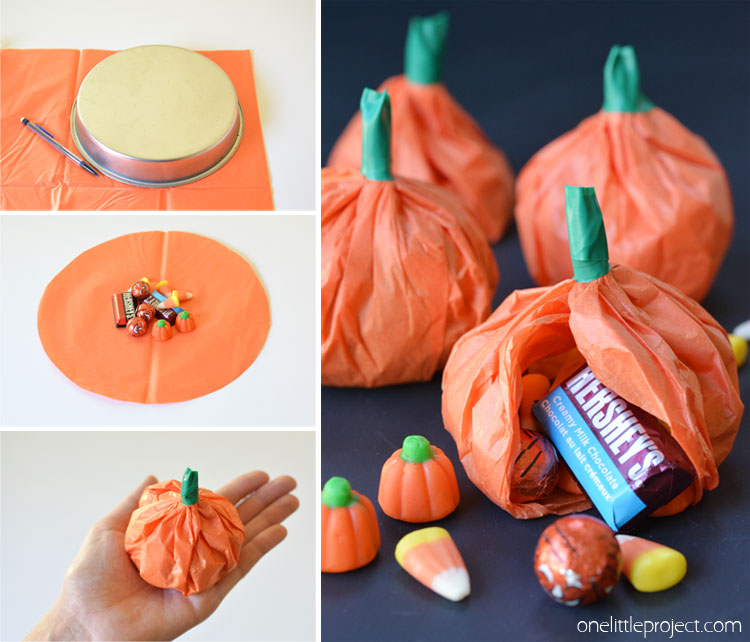
Pile 2 pieces of tissue paper together and draw the outline of a circle. I used an upside down 9″ cake pan to draw the circles, but you could use anything round that’s around the same size.
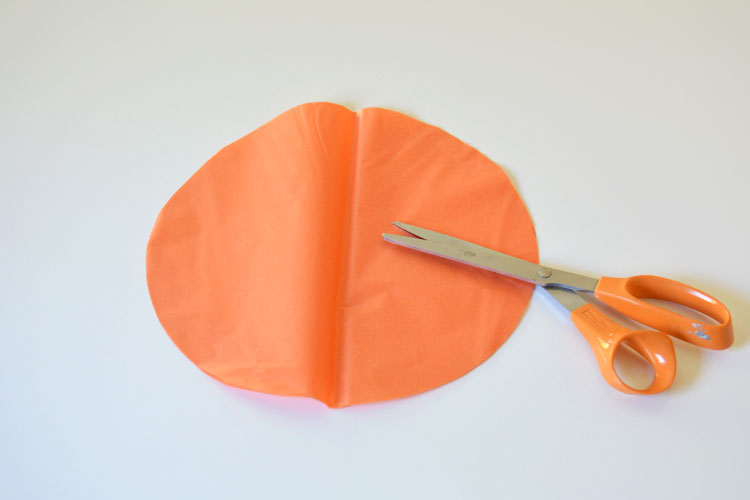
Using sharp scissors, cut out the circle. You need to end up with two tissue paper circles on top of each other. If you want to make more than one pumpkin, you could probably pile as many as 6 to 8 sheets of tissue paper together to speed things up.
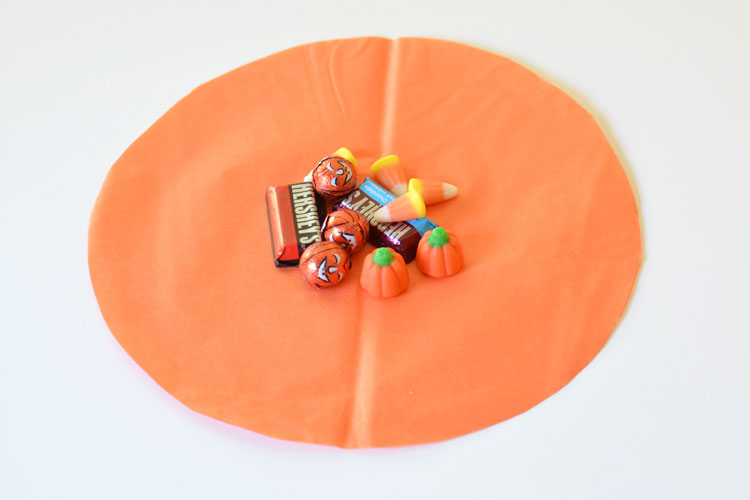
Pile your favourite candy into the center of the circle. You’ll have to do a little trial and error to see how much will fit. The more candy you add, the more round and “full” looking the pumpkin will be. The first one I made didn’t have enough candy in it, so it kind of looked a little droopy.
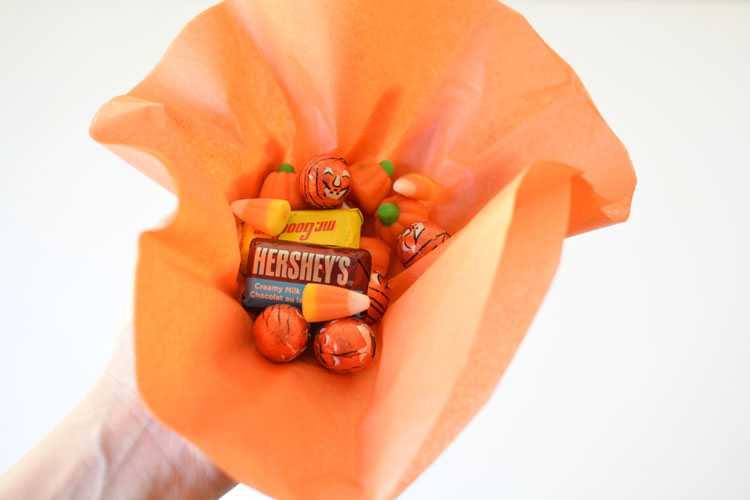
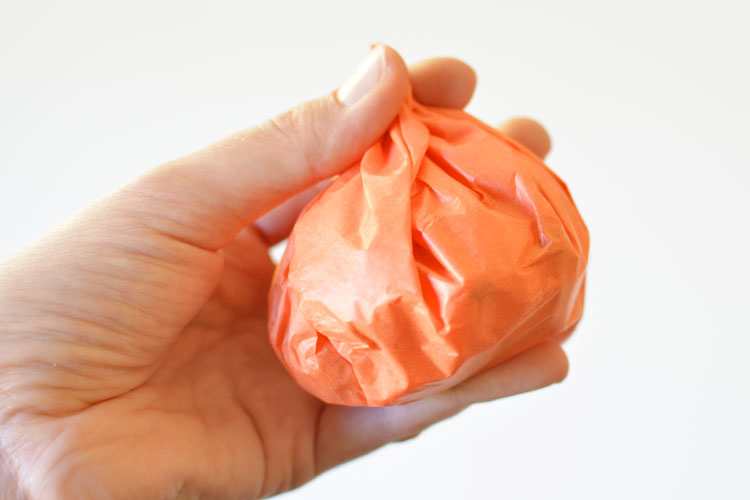
Take the circles and the candies and center them over your hand. Use your fingers to gently bend the paper around the candy. Try to get the folds as neat and tidy as possible.
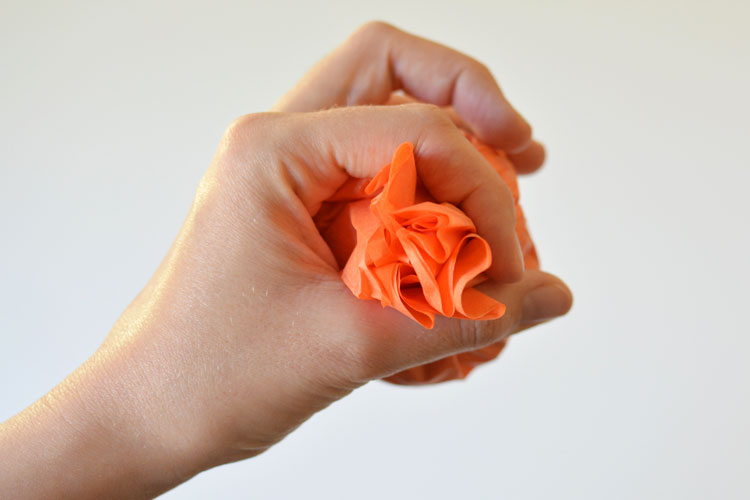
Gather up the edges of the circle.
And then pinch and twist them closed as best you can. I thought it would be tricky to get the creases to look natural and tidy, but it really wasn’t too bad. Just do your best and I’m sure they’ll be great!
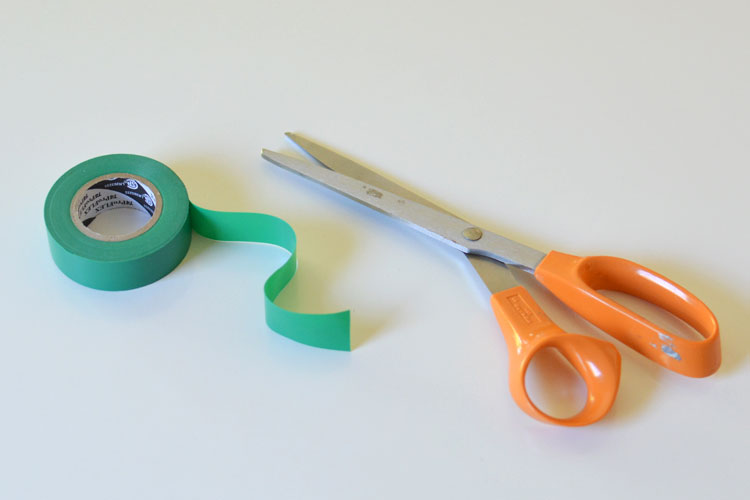
Cut a small piece of green tape. I used dollar store electrical tape, but you could also use floral tape or green painters tape.
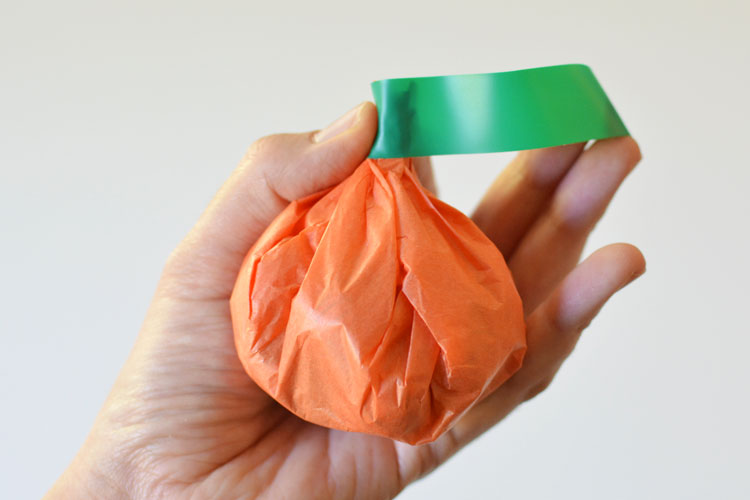
Wrap the tape around the twisted end of the pumpkin top.
And twist it around to get the pumpkin stem.
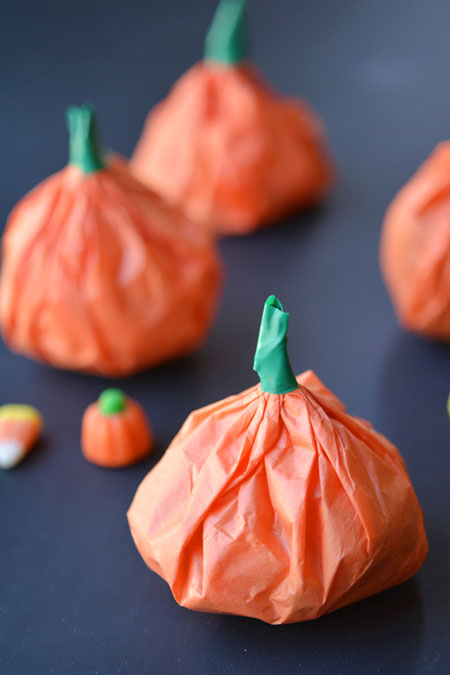
Don’t these make the cutest party favours!? They are like miniature pumpkin pinatas!
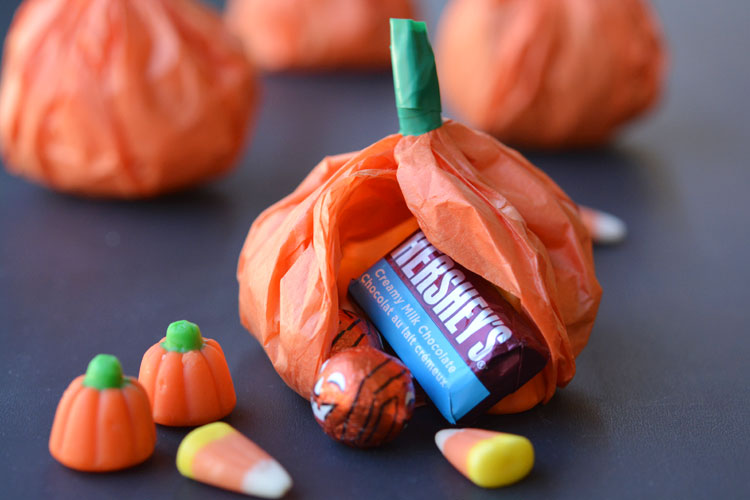
And when you open them up, they are filled with a wonderful surprise! Candy? Check! Presents? Check!
I love the way they look for a Halloween party! Or even Thanksgiving? They aren’t spooky, so you could really use them for any autumn occasion.
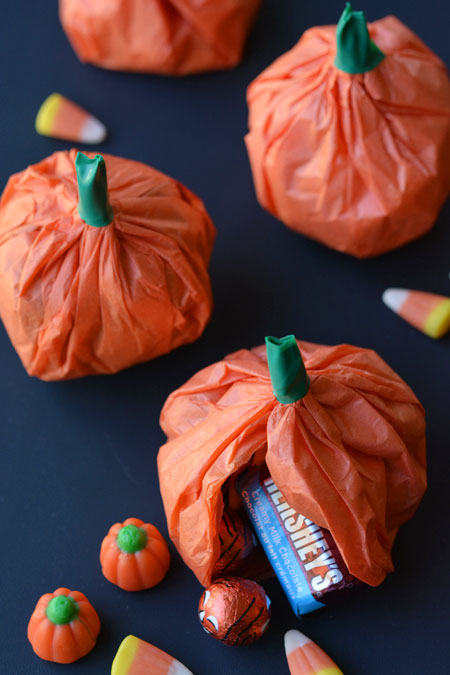
We went to the bulk store to choose a variety of different candies. I included candy corn, candy pumpkins, Halloween chocolate balls and assorted Hershey’s chocolates.
Choose your favourites! You can use mini chocolate bars, but make sure you include something else that’s small along with it (candy corn is perfect!) so that the little bundles have a round shape.
These tissue paper pumpkin favours are a fantastic treat to send to school on Halloween or they also make super cute party favours! They are non-spooky, so you can use them for any occasion this fall. They take less than 5 minutes each to make (they’ll go even faster if you cut more tissue paper circles at once) and turn into adorable little pumpkin bundles!
If you enjoyed this post, you also might enjoy these:
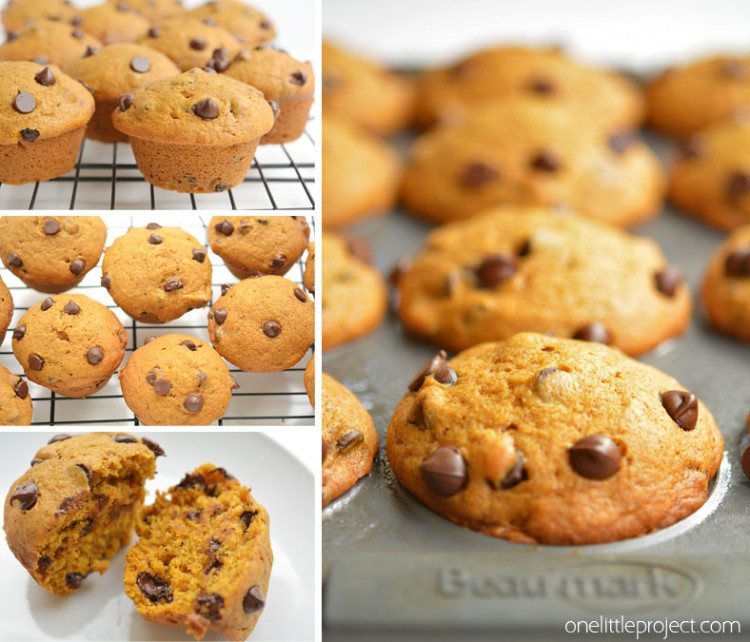
Chocolate Chip Pumpkin Muffins
23 Clever Pumpkin Carving Hacks:


These look super-easy to make! Keeping these in mind for our upcoming Girl Scout Halloween party!
Might also do for our GS party!
Awesome idea!
pumpkin pinatas!! so precious!! I love these! And anyway youcan get them to eat is a win!
Here from Inspire Me Monday.
I saw these little guys last year and wanted to make them but didn’t get around to it. I’ll have to be sure to make them this year!
Oh my! these are too cute!! Can’t wait to make with my boys!
How adorable! Perfect for the kiddies. Thanks for joining in the fun for Thursday Favorite Things Blog Hop!
these are so cute! Thank you for sharing at the Thursday Favoritte Things blog hop. Watchfor your feature tomorrow. xo
These are brilliant, so simple but so cute! My kids were always told if you are hungry for sweets (UK candy!) then you are hungry for dinner and they’ve all turned out ok I think!
Very nice! I featured you on last week’s Wicked Awesome Wednesday blog party.
These are a great idea and easy to get the kids involved in them too. The kids would go nuts over them I’m sure 🙂
Cut 3 different sizes of tissue–if you want less candy inside–so do 5″, 7 ” and the 9 inch. Can dole out the little ones , one at a time after eating their protein and then another after veggies, etc. but can’t open them until after plate almost clean or have eaten some “no Thank You” helpings