
This rainbow density experiment is such a cool way to turn a few simple ingredients into a bright, layered rainbow! By mixing different amounts of sugar into coloured water, kids can watch the colours stay in place instead of blending together — and the finished result looks almost too magical to be science.
All you need is sugar, water, and food colouring to create this eye-catching experiment. Carefully add the liquids one colour at a time, then see them form distinct rainbow layers based on their density. It’s a seriously impressive science project for home, the classroom, or your next STEM activity!
This post contains affiliate links. If you use these links to buy something, we may earn a small commission at no extra cost to you. This helps support our website and allows us to keep creating fun, free content.
How to Make a Rainbow Density Tower
Materials:
- Warm water
- Food colouring
- Sugar
- Test tubes (or other tall, narrow jars)
Equipment:
- Spoons (or popsicle sticks)
Watch the step-by-step video tutorial:
Instructions:
Step 1: Find what you need
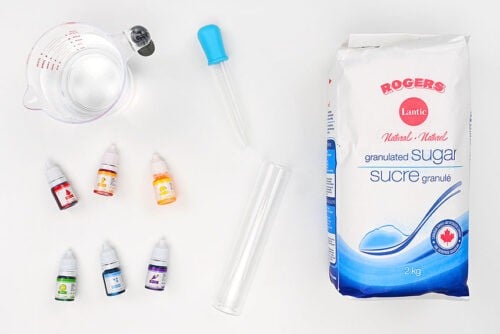
- Gather your supplies and materials.

Step 2: Create your rainbow colours
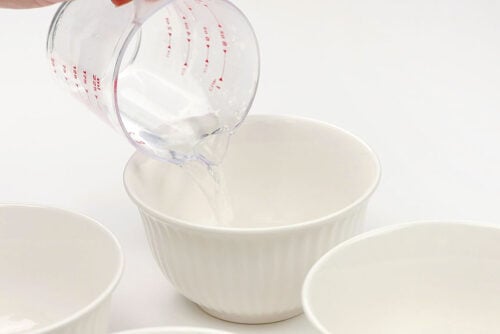
- Pour 1/4 cup of hot water each into 6 different bowls.
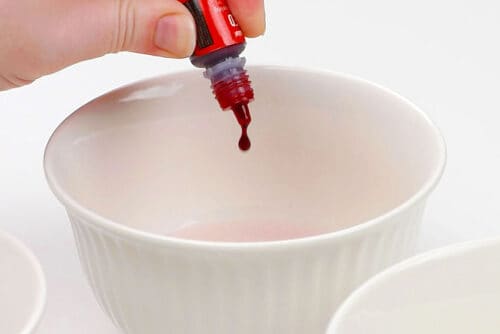
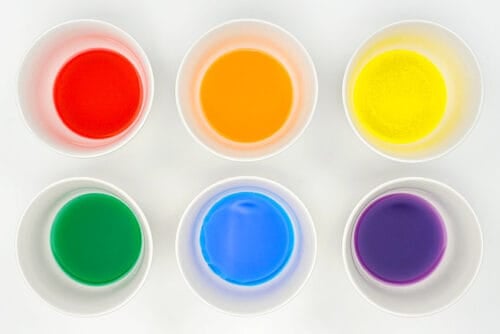
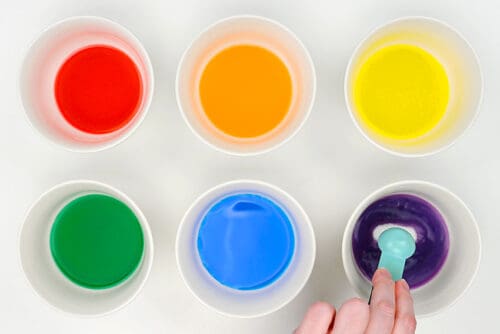
- Add a few drops of red food colouring into the first bowl. Stir to mix in the colour.
- Add one basic rainbow colour (orange, yellow, green, blue, purple) to each remaining bowl.
Step 3: Add sugar to the colours
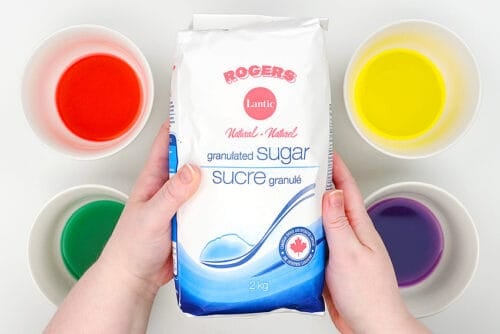
- To make our density rainbow we’re going to add different amounts of sugar to each bowl. The more sugar, the heavier the liquid will be.
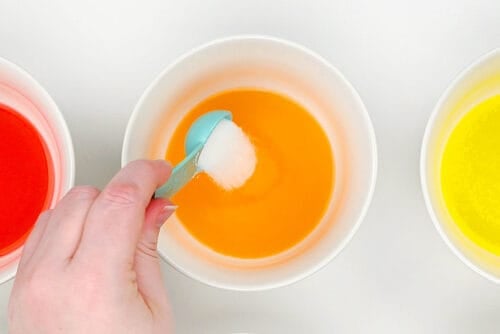
- We’re going to skip the red bowl (no sugar added) and add 2 teaspoons of sugar to the orange bowl.There will be a 2 tsp difference between each colour.
- Add sugar the rest of the bowls, in the following amounts:Yellow: 4 teaspoonsGreen: 6 teaspoonsBlue: 8 teaspoonsPurple: 10 teaspoons
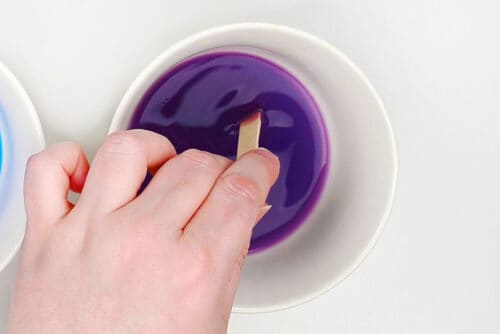
- Stir the sugar into each bowl, using a different popsicle stick or spoon for each bowl.The more sugar, the more you’ll need to stir the mixture. Blue and purple will need the most stirring, of course — but if your water was warm enough the sugar should all dissolve.Allow the water to cool to room temperature.
Step 4: Make your rainbow
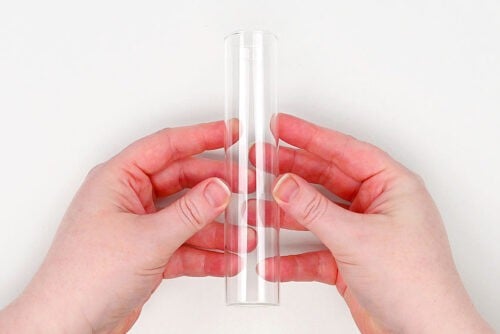
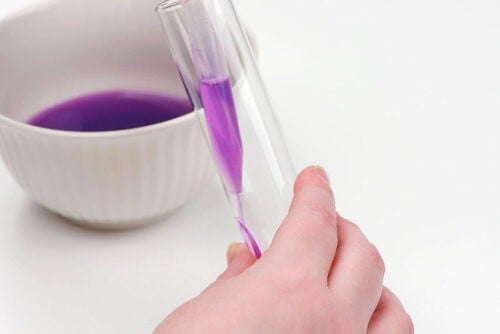
- To make your rainbow you’ll need a test tube or another narrow vessel.You can use a jar or glass, but it’s a lot harder to do. The narrow area of the test tube makes it easier to create a beautiful, clearly separated rainbow.
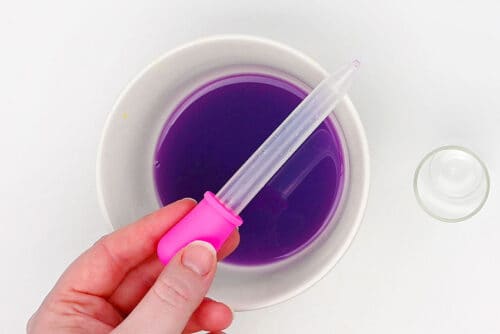
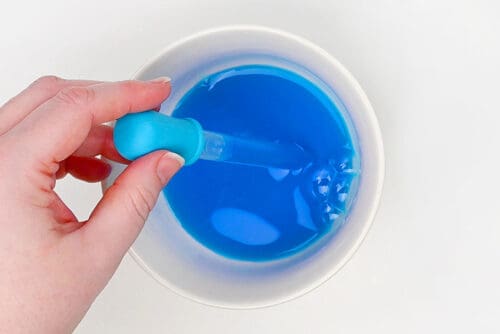
- You’ll also need an eyedropper to add the liquid into the test tube. This allows you to add each colour very slowly.
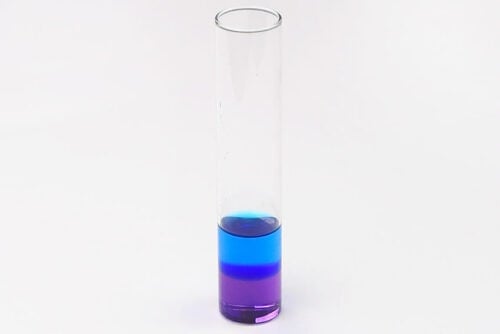
- Use the eyedropper to add the purple liquid to the bottom of the test tube.We added 3 larger eyedroppers worth of each colour so our test tube would be full at the end.
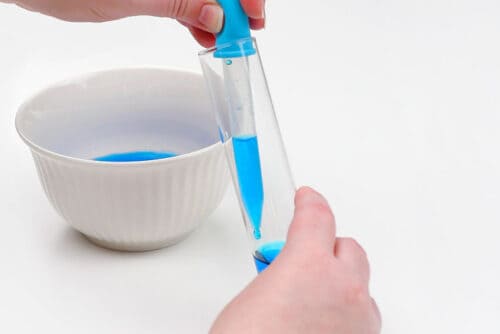
- Next you’ll add the blue to the test tube. It’s important to use a different eyedropper or clean the eyedropper in-between colours.
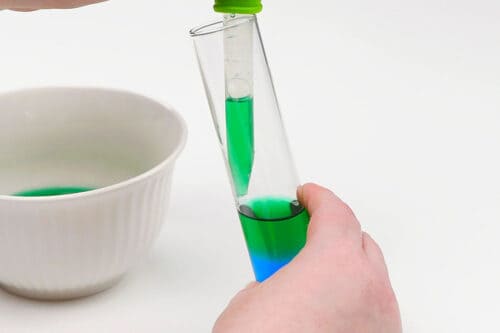
- At this point it’s very important to add each colour slowly.You’ll want to tilt the test tube and put the eyedropper as close to the purple liquid as possible. And then you’ll release the blue liquid slowly, almost drop by drop.
- Once your blue liquid has been added you’ll see how it sits on top of the purple liquid.
- Now we’ll continue in reverse rainbow order, adding the green liquid. Again, clean the eyedropper and add the liquid very slowly. If you add the liquid too quickly the colours will mix.You’ll see that as more liquid is added you’ll tilt the test tube less, but you’ll still always want to add the drops right above the previous layer.

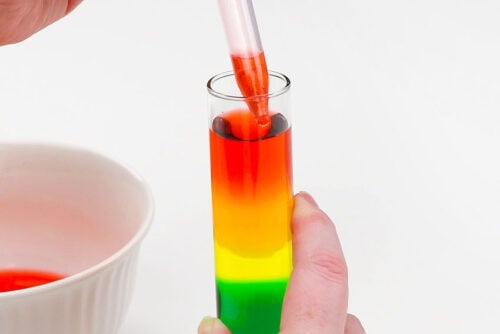
- Repeat, adding the rest of the colours in order: yellow, orange, and finishing up with red.
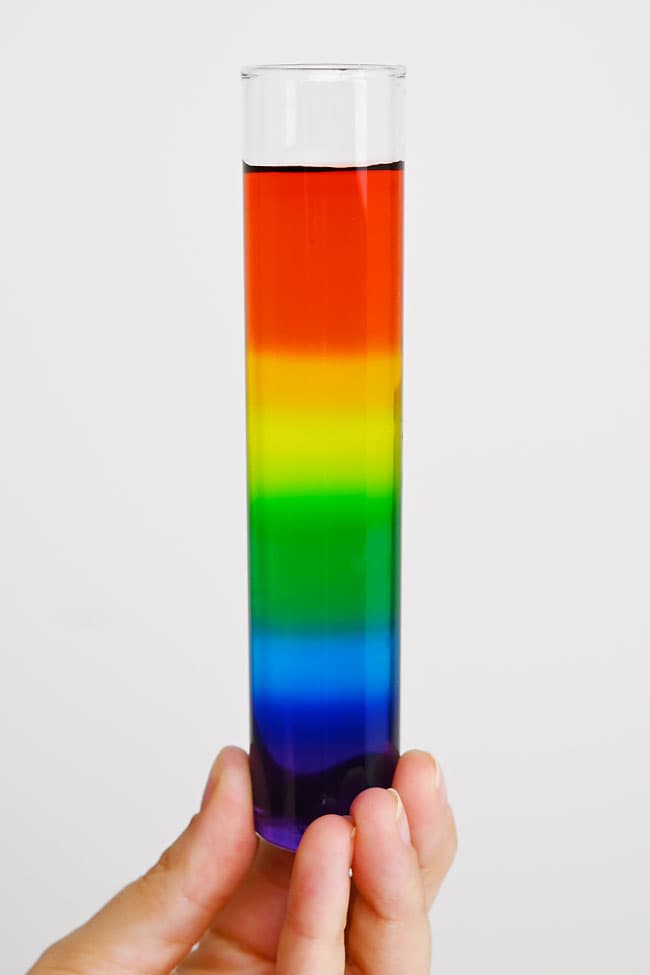
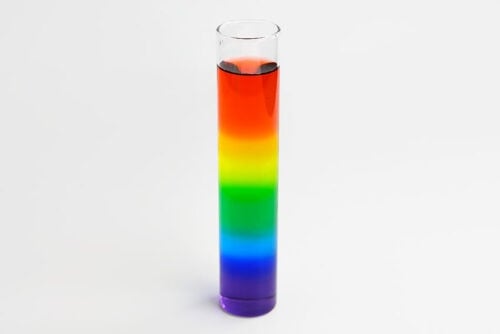
- Your rainbow density experiment is complete!
Helpful Tips:
- Keep the sugar amounts evenly spaced: Each colour in our experiment contains 2 teaspoons more sugar than the colour above it. These clear differences in density help the liquids form distinct layers instead of blending together.
- Add each layer very slowly: Dispense the coloured sugar water gently against the side of the test tube, just above the previous layer. Adding it too quickly can disturb the liquid underneath and cause the colours to mix.
- Use a large eyedropper: A jumbo liquid dropper or large plastic transfer pipette makes it easier to move a useful amount of liquid while still controlling the flow. A smaller pipette will also work, but filling the tube will take longer.
- Keep the mixtures separate: Use a different spoon or craft stick to stir each colour. It also helps to use a separate pipette for every mixture, or rinse and dry the pipette thoroughly between colours, so you don’t transfer extra sugar or food colouring from one cup to another.
- Start with the densest mixture: Add the colour containing the most sugar first, then continue from the next-highest sugar concentration to the mixture containing the least. The denser liquids stay toward the bottom while the lighter liquids rest above them.
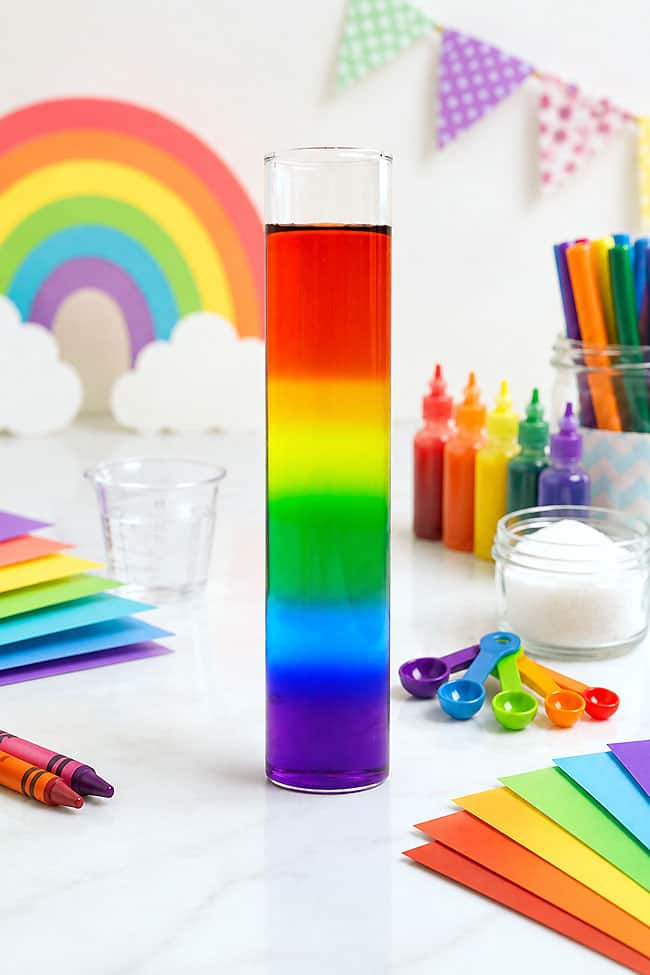
What’s the science behind the rainbow density experiment?
Density describes how much mass is packed into a certain amount of space. Dissolving sugar in water adds mass without increasing the volume of the liquid, so sugar water becomes denser than plain water. The more sugar a mixture contains, the denser (and effectively heavier) it becomes.
In this experiment, the mixture with the most sugar sinks to the bottom of the tube. Each progressively less-dense mixture rests above it, while the mixture with the least sugar stays at the top. The layers stay separate when they’re added gently because liquids with different densities naturally arrange themselves from most dense at the bottom to least dense at the top.
The colours will eventually begin to blend because the mixtures are water-based, and their molecules slowly diffuse into one another. This experiment is best observed soon after the rainbow is assembled. However, we kept our rainbow tower sitting on the counter and the colours stayed mostly separate for a week or so!
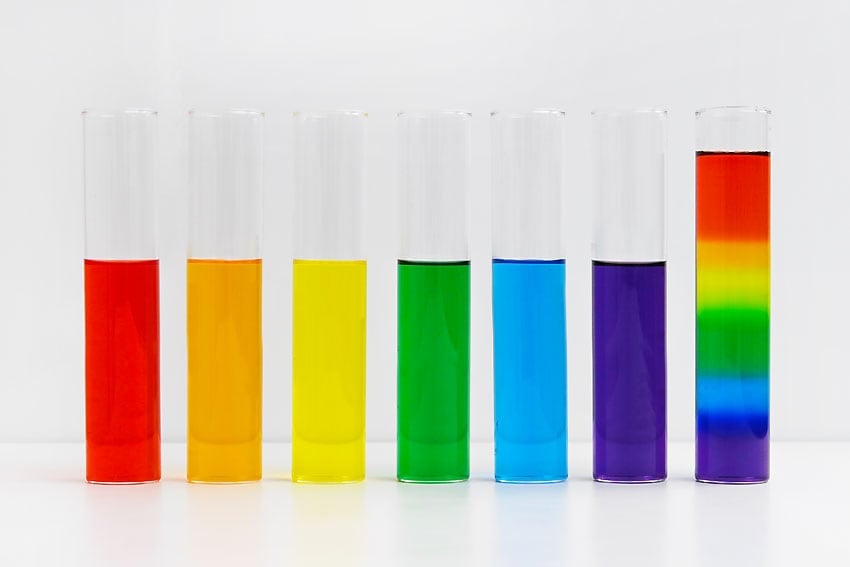
Do I have to use a test tube for this rainbow density experiment?
No, but a test tube is by far the easiest container to use. Its tall, narrow shape gives the liquids less room to spread out, making it easier to add each layer gently and keep the colours separate.
We also tested this experiment in a jar, but the layers merged more easily and didn’t look as distinct. To use a wider container, pour each liquid very slowly over the back of a spoon held just above the previous layer. It is possible, but you’ll have more fun using the test tube, since it’s a lot easier to keep the layers separate.
Why did my rainbow layers mix together?
The most common causes are adding the liquid too quickly, holding the pipette too far above the previous layer, or not having enough difference between the sugar amounts. Double-check the measurements and add each colour drop by drop along the inside wall of the test tube.
The liquids should also be at approximately the same temperature. Warm water is helpful for dissolving the sugar, but allow all the mixtures to cool before assembling the rainbow.
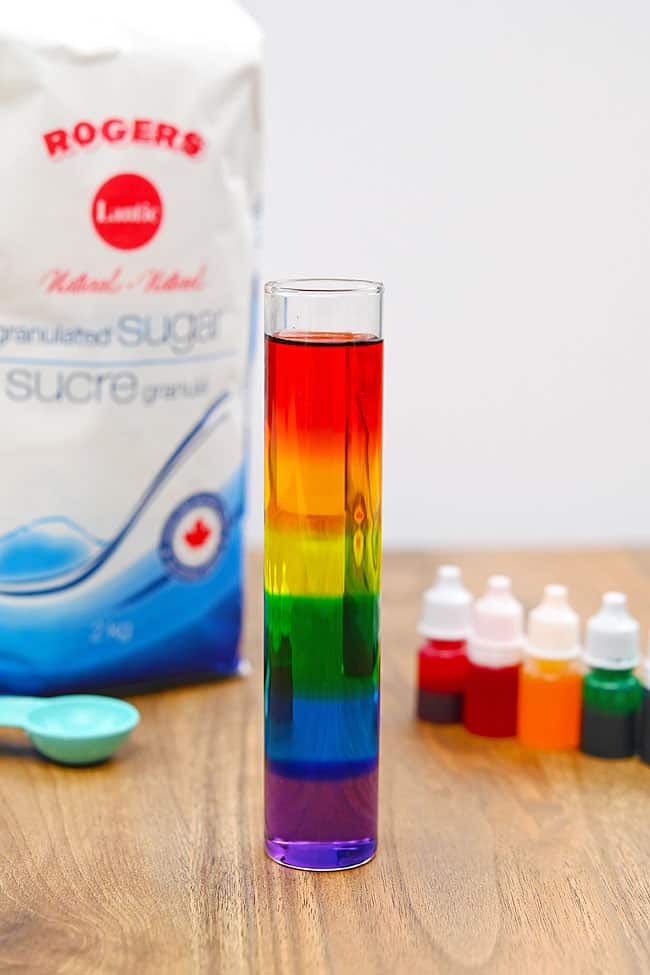
How else can I make a liquid density experiment?
You can also create a density column using different household liquids instead of different concentrations of sugar water. Common options include honey, corn syrup, dish soap, water, vegetable oil, and isopropyl alcohol. Use the natural colours, or add food colouring to create the different coloured layers.
These liquids have naturally different densities, so they arrange themselves in layers when added carefully. However, some combinations may mix, react, or become cloudy, and isopropyl alcohol requires close adult supervision. For a colourful and kid-friendly experiment, the sugar-water version is generally the simplest option.
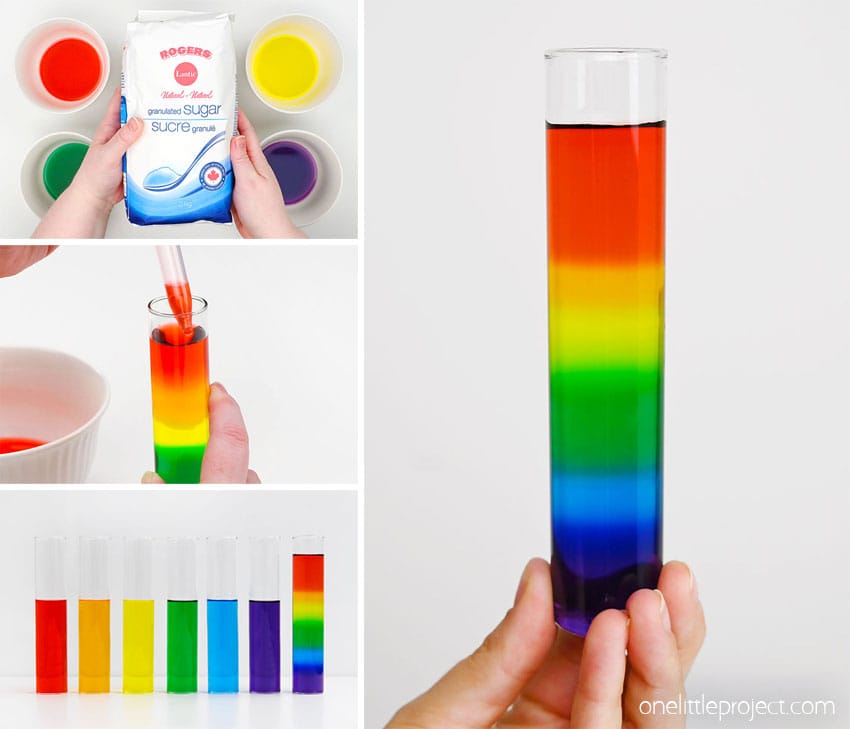
Watching the colours settle into neat layers is the most satisfying part of this rainbow density experiment. It takes a little patience and a steady hand, but the finished rainbow makes the science easy to see. This STEM lesson gives kids a great reason to slow down, observe closely, and test what happens when the sugar amounts change.
Try making the layers in a different colour order, adjusting the sugar measurements, or comparing the results in containers of different shapes. Even when a layer blends, it becomes part of the experiment and helps show how density, pouring speed, and mixing all affect the final result.
Here’s even more colourful science experiments:

Now available
Low-Mess Crafts for Kids Book
72 cute and fun crafts that kids and parents alike can enjoy. All with as little mess as possible!
Where to buy:
You can purchase Low-Mess Crafts for Kids from Amazon, or wherever books are sold:
Amazon | Barnes and Noble | Books-A-Million | Indiebound | Amazon Canada






Leave a Reply