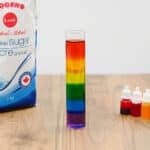
How to Make a Rainbow Density Tower
This rainbow density experiment is SO COOL! It's such a fun way to explore science and learn about the density of liquids. Follow these step-by-step instructions and read all the helpful tips and information below!
Yield: 1 rainbow tower
Equipment
- Spoons (or popsicle sticks)
Materials
- Warm water
- Food colouring
- Sugar
- Test tubes (or other tall, narrow jars)
Instructions
Step 1: Find what you need
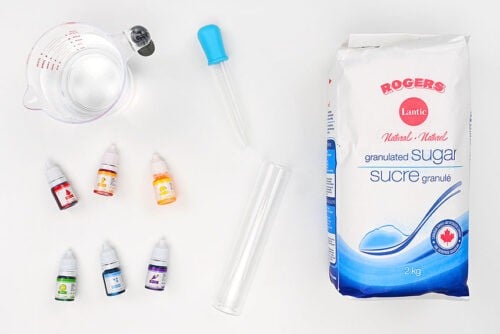
- Gather your supplies and materials.
Step 2: Create your rainbow colours
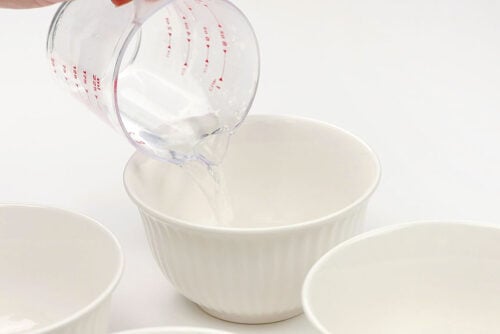
- Pour 1/4 cup of hot water each into 6 different bowls.
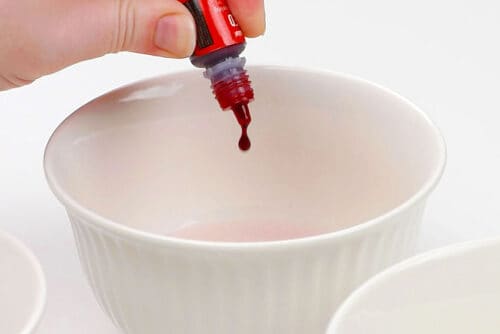
- Add a few drops of red food colouring into the first bowl. Stir to mix in the colour.
- Add one basic rainbow colour (orange, yellow, green, blue, purple) to each remaining bowl.
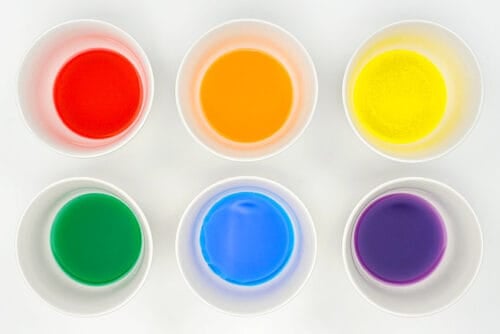
Step 3: Add sugar to the colours
- To make our density rainbow we're going to add different amounts of sugar to each bowl. The more sugar, the heavier the liquid will be.
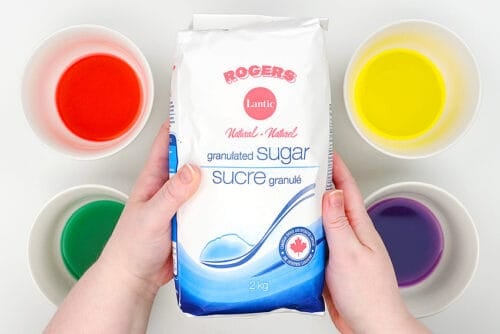
- We're going to skip the red bowl (no sugar added) and add 2 teaspoons of sugar to the orange bowl.There will be a 2 tsp difference between each colour.
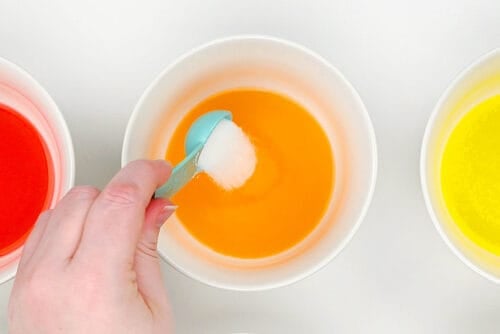
- Add sugar the rest of the bowls, in the following amounts:Yellow: 4 teaspoonsGreen: 6 teaspoonsBlue: 8 teaspoonsPurple: 10 teaspoons
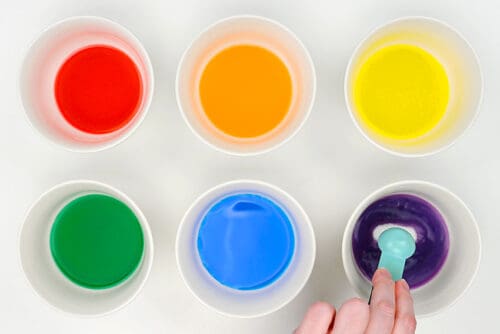
- Stir the sugar into each bowl, using a different popsicle stick or spoon for each bowl.The more sugar, the more you'll need to stir the mixture. Blue and purple will need the most stirring, of course -- but if your water was warm enough the sugar should all dissolve.Allow the water to cool to room temperature.
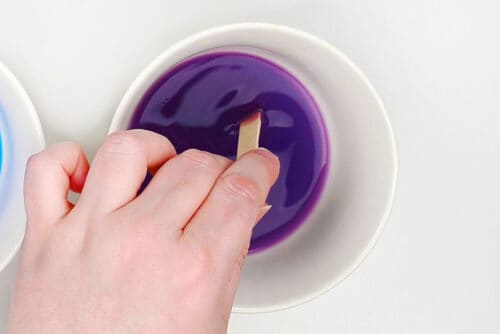
Step 4: Make your rainbow
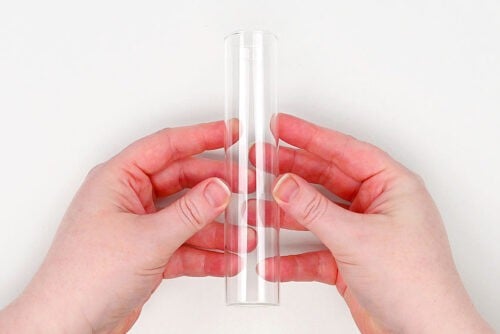
- To make your rainbow you'll need a test tube or another narrow vessel.You can use a jar or glass, but it's a lot harder to do. The narrow area of the test tube makes it easier to create a beautiful, clearly separated rainbow.
- You'll also need an eyedropper to add the liquid into the test tube. This allows you to add each colour very slowly.
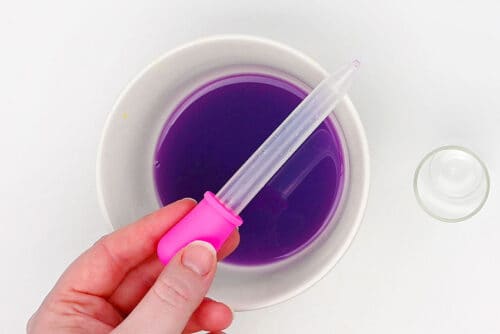
- Use the eyedropper to add the purple liquid to the bottom of the test tube.We added 3 larger eyedroppers worth of each colour so our test tube would be full at the end.
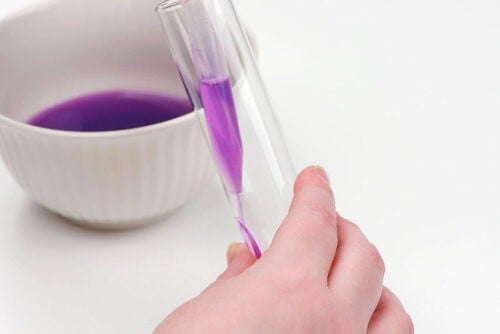
- Next you'll add the blue to the test tube. It's important to use a different eyedropper or clean the eyedropper in-between colours.
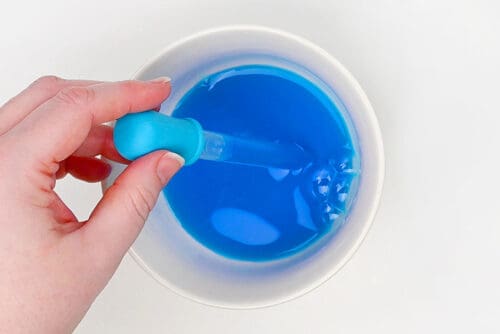
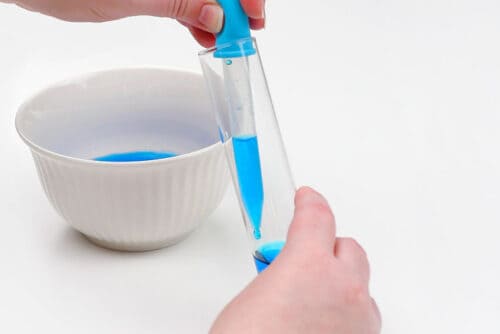
- At this point it's very important to add each colour slowly.You'll want to tilt the test tube and put the eyedropper as close to the purple liquid as possible. And then you'll release the blue liquid slowly, almost drop by drop.
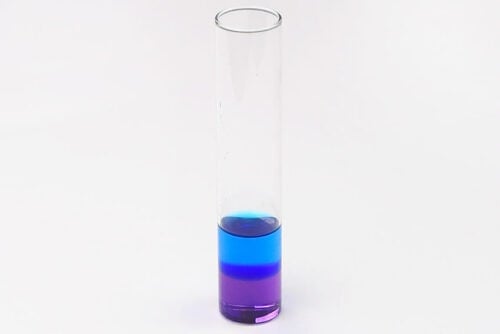
- Once your blue liquid has been added you'll see how it sits on top of the purple liquid.
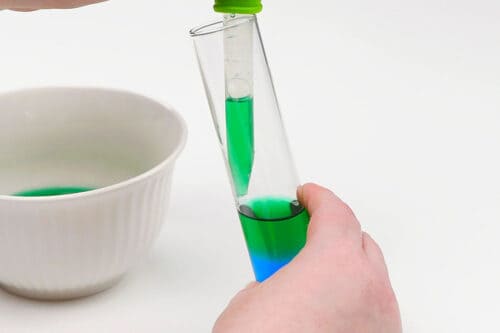
- Now we'll continue in reverse rainbow order, adding the green liquid. Again, clean the eyedropper and add the liquid very slowly. If you add the liquid too quickly the colours will mix.You'll see that as more liquid is added you'll tilt the test tube less, but you'll still always want to add the drops right above the previous layer.
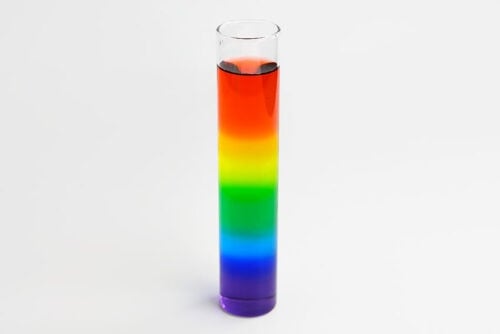
- Repeat, adding the rest of the colours in order: yellow, orange, and finishing up with red.
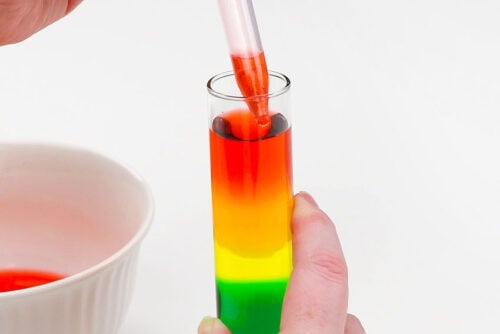
- Your rainbow density experiment is complete!
Video
Notes
Looking for more rainbow crafts? Here's a few of our favourites:
Rainbow Slime
Rainbow Squeegee Painting
Water Bead Rainbow Sensory Bottles