
Ready to add a splash of colour to your crafting? A rainbow squeegee painting is a playful and easy way to create stunning, abstract designs! Using simple tools and a swipe of vibrant colours, this technique is perfect for artists of all ages and skill levels.
These bold, colourful creations make beautiful wall art, personalized cards, or cheerful accents for any space. Whether you’re crafting with kids or exploring a fun new method yourself, this spring art project is sure to brighten your day! Plus: add some fun decorations to turn your rainbow into an easy St. Patrick’s Day craft that leprechauns will adore.

This post contains affiliate links. If you use these links to buy something, we may earn a small commission at no extra cost to you. This helps support our website and allows us to keep creating fun, free content.
How to Make a Rainbow Squeegee Painting
Materials:
- Watercolour paper
- Acrylic paint (rainbow colours)
- Cotton balls
- Clear glue
- Glitter (silver or blue)
Equipment:
Watch the step-by-step video tutorial:
Instructions:
Step 1: Find what you need
- Gather your supplies and materials.


Step 2: Prepare your paper
- Cut a piece of watercolour paper to your desired size. Secure it to your working surface (such as a baking sheet) with painter’s tape.
- Add a dot of red acrylic paint wherever you’d like your rainbow to begin.
- Repeat, adding the remaining colours of the rainbow (orange, yellow, green, blue, indigo, violet) in a row so that the dots touch.


Step 3: Squeegee the paint
- Place your squeegee down below the paint and hold it firmly on the paper. Move it in the direction you’d like the rainbow to go (straight, or in an arch).
- Continue until you reach the edge of the paper.
- Remove the tape and lift the paper from the tray.Set it somewhere it won’t be disturbed and allow to dry for 10 to 20 minutes.


Step 4: Decorate the painting
- Pull a cotton ball apart to make to make a puffy cloud.
- Add a small amount of glue below the rainbow and press the cloud into place.
- Add dots of clear glue on top of the cloud.
- Sprinkle glitter over the cloud, making sure to cover all the glue.
- Lift and tilt the paper to let the excess glitter fall off.
- Your rainbow squeegee painting is complete!


Helpful Tips:
- If you’re making more than one rainbow squeegee painting, be sure to keep some paper towels handy! You can use a damp paper towel to clean the squeegee and tray between paintings.
- This way of painting can be messy! You may want to protect your working surface before starting. You can cover it with a table cloth, or use a baking sheet to keep the paint contained. Plus, aprons or smocks are always a good idea to protect clothing.
- Experiment by placing the rainbow on different areas of the paper, or having it go in different directions. How you move the squeegee will also determine if the rainbow will be straight across or curved.

What’s the best paper to use for painting with a squeegee?
Watercolour or mixed media paper work best for rainbow squeegee art because they absorb the paint quickly and don’t warp as much as other papers. If you don’t have either of these papers, cardstock can also be used, but it will likely warp or wrinkle.
If you need to flatten your paper after your painting has dried, place it face down on top of another piece of paper and lay a stack of heavy books on top of it. Leave it like this for a day or longer. When you remove the books, the paper should stay flattened.

What if I don’t have a squeegee to make my scrape art?
If you don’t have a squeegee, don’t worry! There are a few other items that’ll give you similar results, that you probably already have at home.
A plastic ruler or old gift card will create a similar effect and provide a good amount of control over the paint. In a pinch, cardboard can also be used, but it can make the results streaky, with the cardboard absorbing some of the paint.

What are some other ideas for decorating my rainbow squeegee painting?
We made a few different versions of our rainbow squeegee paintings, adding a pot of gold, clouds, and rain drops to them. Follow the instructions above to make a shimmering cloud, or have fun creating these variations:
St. Patrick’s Day Pot of Gold
- Cut a cauldron shape from self-adhesive black glitter foam.
- Peel the adhesive backing and stick the pot at the base of the rainbow.
- Use a hole punch to cut coins from gold glitter foam and stick them inside and around the pot.
Rain Drops
- Add small dots of glue in various sizes below the rainbow. These will be the rain drops.
- Sprinkle blue glitter first, then add silver glitter.
- For elongated raindrops, hold the paper upright immediately after applying the glitter to allow the glue to drip slightly before it dries.
- Gently tap the paper to remove excess glitter.
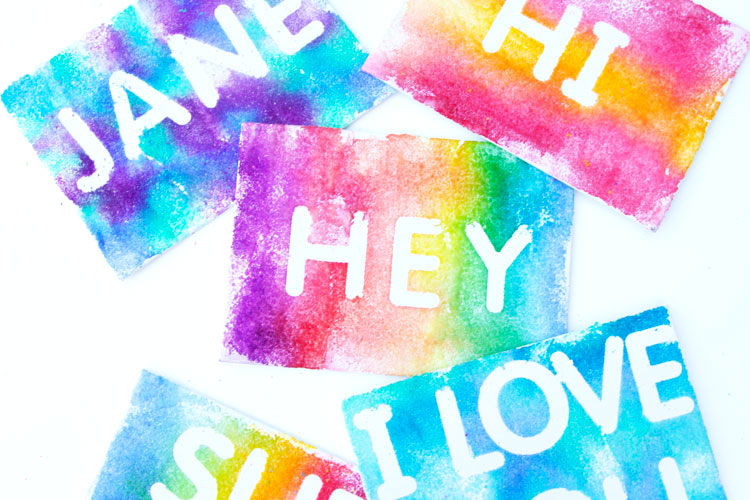
You can also use metallic gel pens to draw rain drops or gold coins. Try adding shamrocks, leprechaun hats, or rainbow-themed messages (like “rainbows ahead” or “dream in colour”). You can even experiment with pastel or neon shades of paint to give your rainbow a softer or brighter look!

This rainbow squeegee painting is the perfect way to experiment with bold colours and fluid designs. Each piece you create will have its own unique charm, making it a wonderful expression of your style!
Whether you frame your rainbow scrape art, gift it to friends, or simply enjoy the process, these vibrant creations are sure to leave an impression. It’s a simple, joyful craft that’ll bring tons of fun and colour to your day!
Here’s even more squeegee painting ideas:


Now available
Low-Mess Crafts for Kids Book
72 cute and fun crafts that kids and parents alike can enjoy. All with as little mess as possible!
Where to buy:
You can purchase Low-Mess Crafts for Kids from Amazon, or wherever books are sold:
Amazon | Barnes and Noble | Books-A-Million | Indiebound | Amazon Canada


Leave a Reply