This pressed flower craft is SO PRETTY! Make your own pressed flower lanterns that are beautiful, and really easy to put together! With a bit of mod podge and dried flowers you have a gorgeous candle holder that’s super inexpensive to make.

Pressed Flower Craft
Making this pressed flower craft is so simple, and the results are so pretty! These pressed flower lanterns provide a pop of colour from the dried flowers and a soft glow from the tea light candles inside.
If you’re looking for a table decoration for a summer wedding or party, these pressed flower lanterns are perfect! They also make great gifts for birthdays or other special occasions.
This is a great craft for both kids and adults since it’s so simple to make. Place the flowers on randomly, or make your lantern in different shades of one colour. Simple dollar store jars become beautiful, summery, and rustic!
Check out our Pressed Flower Lanterns video tutorial:
*Note: Scroll down for the step-by-step photo tutorial.
Looking for more great craft ideas? Here’s some of our favourites:

Here’s what you’ll need:
This post contains affiliate links. If you use these links to buy something we may earn a small commission which helps us run this website.
The full printable instructions are at the end of this post, but here’s a list of products on Amazon that are similar to the supplies we used:
- Mod podge
- Pressed flowers
- Glass jar
- Paintbrush
- Twine
- Tealight or Votive Candle

Where can I buy pressed flowers?
We recommend buying pressed flowers from Amazon since they have many different types of dried flowers available. You can even find packs devoted to a single colour of flower.
Another good online option for pressed flowers is Etsy , as they also sell a large variety of options. Michaels or another craft store may have a small selection.
Can I press my own flowers?
If you have flowers in your garden you can definitely pick a few and press them yourself. This makes the pressed flower lanterns even more special! It’s also a really fun activity to do with kids.
Learn how to press flowers and check out our tips and tricks on how to get the best looking pressed flowers.

What type of jar is best?
A straight sided glass jar is the best type of jar to make a pressed flower lantern. Regular mason jars often have ridges on the side, which doesn’t look as nice and makes it harder for the flowers to stick.
You also want a jar that has a wide enough opening to place a candle and to fit a lighter inside. You can repurpose an old jam jar, or buy a wide mouth mason jar that has smooth sides. We found the jars you see in the photos at the dollar store.
Can I hang my pressed flower lantern?
Yes, you can use picture hanging wire and/or an old wire clothes hanger to create handles for these lanterns. A Piece of Rainbow has a great tutorial for hanging mason jar lights.
Another option is to glue the twine around the mouth of the jar to keep it secure and create a handle from the twine.

Pressed Flower Lanterns
Materials:
- Glass jar/mason jar (straight/smooth sided)
- Pressed flowers
- Mod Podge (matte)
- 4 feet Twine
- Tealight (or votive)
Equipment:
Instructions:
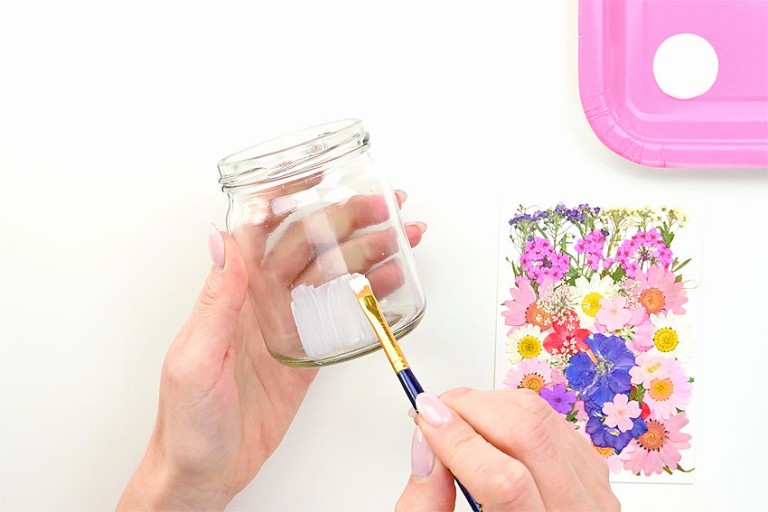
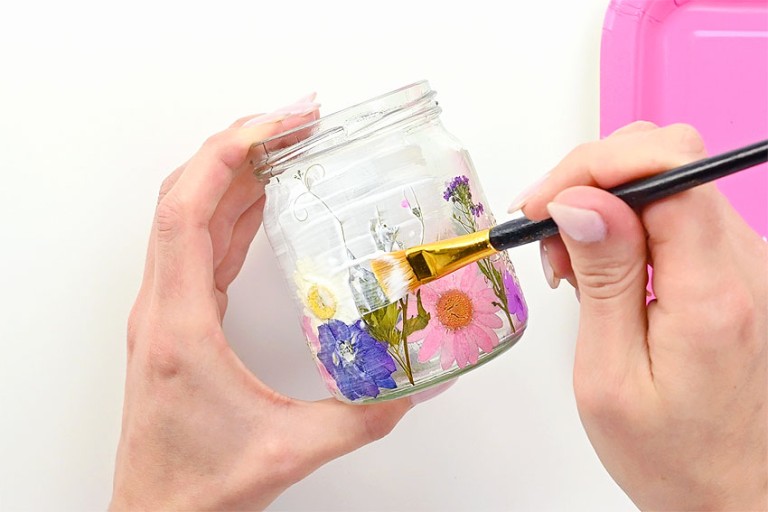
Step 1: Add pressed flowers to jar
- Paint a small area of the outside of the jar with a thin layer of Mod Podge.It’s best to work in small areas, as the Mod Podge starts to dry very quickly.
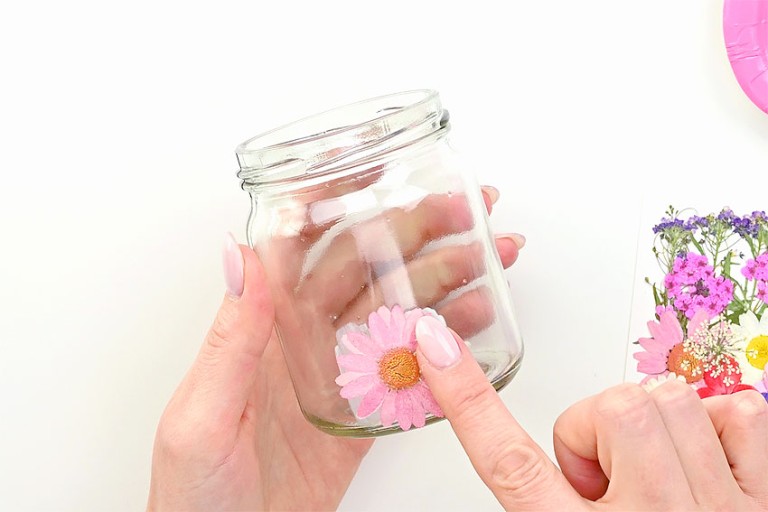
- Press a dried flower onto the mod podge.
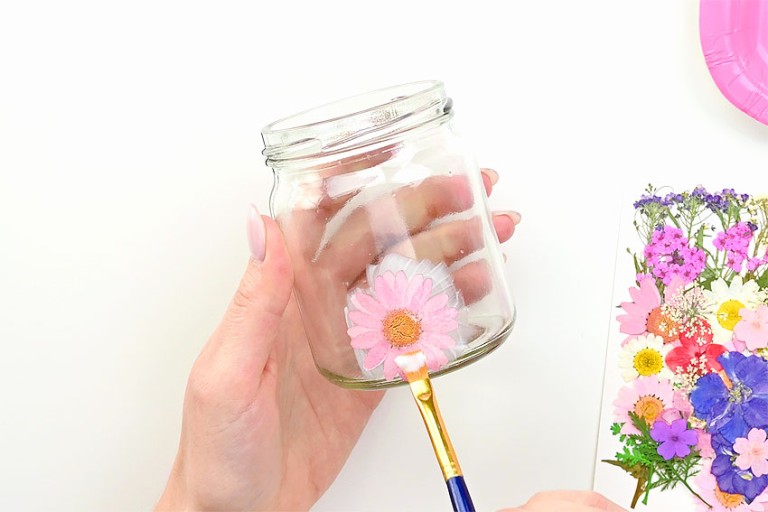
- Cover the flower with another layer of Mod Podge.If the flower has layered petals, you may need to “glue” the top petal to the one beneath it with mod podge. This will ensure the flower sticks properly.
- Repeat these steps, covering as much of the jar as you like with pressed flowers.
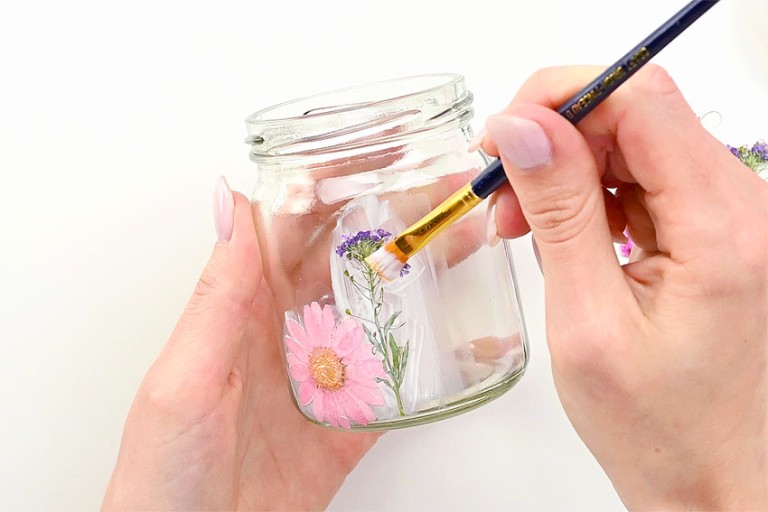
- Once all the flowers have been placed on the jar, let the Mod Podge dry for five minutes.Cover the entire jar with a thin layer of Mod Podge. This will ensure all the flowers stick, and it creates an even texture for any glass that’s showing on the lantern.
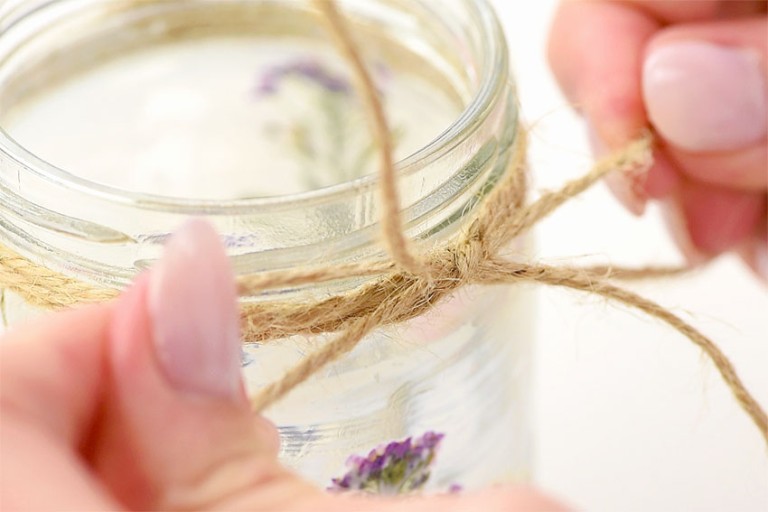
Step 2: Tie the twine
- Starting from the centre of the twine, loop it around the mouth of the jar several times. Make a knot and then tie a bow out of the remaining twine.
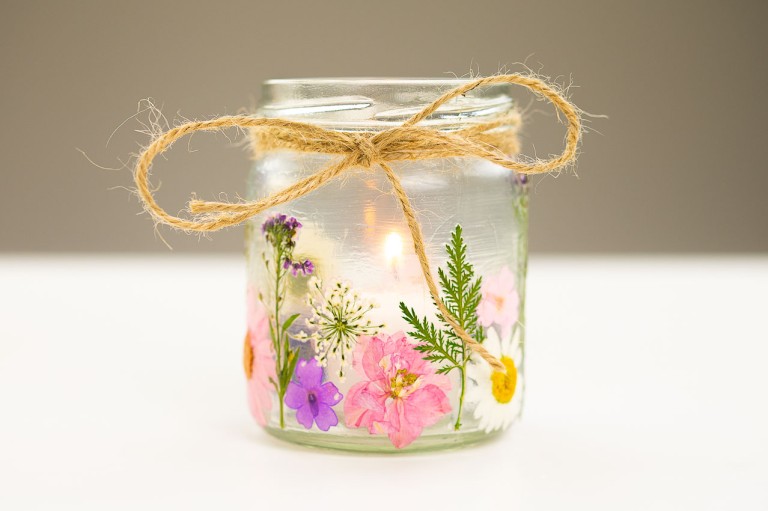
- Add a candle and light it to see your lantern glow.Your pressed flower lantern is complete!
Helpful Tip:

The warm glow of candlelight shines through the glass of these colourful pressed flower lanterns, illuminating any room you place them in. Celebrate the beauty of summer flowers year round with this pressed flower craft!

Here’s even more great craft ideas:


Our book Low-Mess Crafts for Kids is loaded with 72 fun and simple craft ideas for kids! The projects are fun, easy and most importantly low-mess, so the clean up is simple!

Where to buy:
You can purchase Low-Mess Crafts for Kids from Amazon, or wherever books are sold:
Amazon | Barnes and Noble | Books- A- Million | Indiebound | Indigo | Amazon Canada


Leave a Reply