It’s SO EASY and fun to make polymer clay earrings! These DIY earrings are fashionable and colourful, and they’re a great way to express your individual style.
Choose your favourite colours and use a few simple clay and jewelry supplies to make these tiered earrings from polymer clay. It’s a simple craft for polymer clay beginners, and they also make awesome homemade gifts for friends and family!

This post contains affiliate links. If you use these links to buy something we may earn a small commission which helps us run this website.
How to Make Polymer Clay Earrings
Materials:
- Polymer Clay (several colours)
- 6 Jump rings (2 x 6mm, 4 x 10mm)
- Earring hooks
Equipment:
- Clay roller (or rolling pin)
- Clay cutters (or small cookie cutters; 1-1/4 and 3/4 inch)
- Clay needle tool (or paperclip, metal skewer)
Check Out The Video Tutorial:
Instructions:
Step 1: Find what you need
- Gather your supplies and materials.


Step 2: Condition and roll out the clay
- Begin by "conditioning" your clay - kneading it until it feels soft and easy to work with.Then roll the clay into a long, thin "snake" about 2-1/2 times the length of the shape (clay cutter) you want to use.
- Repeat with all the colours of the rainbow, or as many as you'd like to include in your earring.Line all the colours up next to each other in the order you'd like, so that the clay pieces are pressed together.

- Cover the clay snakes with a piece of parchment paper.
- Use the clay roller to flatten the clay together, blending the colours. Roll until the clay is about 1/8 inch thick.Make sure that the clay has completely come together, with no gaps between the colours.
- Carefully peel off the parchment paper. You should now have one smooth multi-coloured piece of clay.


Step 3: Cut out circles from the clay
- Decide where you'd like to place your larger (1-1/4 inches) clay cutter. Make sure you have room for the second earring.Press the cutter into the clay.
- Make a second circle in the clay with the larger cutter. If you want your earrings to be identical, line up the circle on the same colours.Then center the smaller cutter inside one of the large circles and press down.
- If the smaller circle doesn't come out with the cutter, carefully remove it from the middle. Set it to the side.Repeat with the other circle. Don't use any sharp tools and try not to warp the middles when removing them.
- Peel away the excess clay, leaving only the circles.


Step 4: Chill and make holes for the jump rings
- Transfer the 4 circle cut outs to a parchment lined baking sheet and refrigerate for 15 to 30 minutes.Chilling the clay will help it keep its shape when you're making the holes for the jump rings.
- Use a clay needle tool (or something else pointed, like a toothpick or blunt tapestry needle) to make holes in the top and bottom of the small circles, about 4mm away from the edge.The holes should be large enough for a jump ring to go through (at least 1mm).
- Then make a hole at the top center of the larger circle.


Step 5: Bake the clay
- Bake in the oven (or toaster oven) according to package instructions.We baked ours at 250F for 15 mins, but the exact baking time will depend on the type of clay and the thickness of the earrings.Remove from the oven and allow to cool.

Step 6: Add the earring findings
- Insert a larger 10mm jump ring into the hole of the large circle. Don't close it off yet.
- Add the bottom hole of the smaller clay circle onto the same jump ring, connecting the 2 pieces.
- Use a pair (or 2 pairs, if you have them) of needle nose pliers to close off the jump ring.
- Open a second large jump ring and add it to the top hole of the small clay circle.Keep the jump ring open.
- Add a smaller jump ring (6mm) onto the larger one.
- Use the pliers to close the larger jump ring and open the smaller one.
- Now place your earring hook onto the small jump ring, making sure the hook part faces to the back of the earring.Close off the small jump ring.
- Your polymer clay earrings are complete!


Helpful Tips:
- You don’t have to buy special clay cutters to make these earrings. You can also use small cookie cutters!
- Create different styles of earrings by adding polymer clay beads onto them!
- Remove small imperfections in your baked earrings by dipping a q-tip in rubbing alcohol and gently rubbing it across the surface.
- You can also use a drill or rotary tool to add holes to the clay after baking.

What is polymer clay?
Polymer clay is a manmade modeling clay that stays soft until it’s baked in a home oven. It’s made from a synthetic plastic polymer called PVC.
Polymer clay is lightweight and durable, making it great for DIY earrings. It’s popular with crafters because of how easy it is to work with. This soft and pliable clay comes in many different colours and holds intricate details well.

What is the best thickness for polymer clay earrings?
The ideal thickness for your polymer clay earrings is between 1/8 inch (3 mm) and 1/4 inch (6 mm).
The earrings must be at least 1/8 inch thick in order to hold up to regular handling and wear. Any thinner and the clay will be too fragile and flexible.
But if you go any thicker than 1/4 inch the earrings will be too heavy and uncomfortable to wear.
Do you have to bake polymer clay to make earrings?
Yes, polymer clay must be baked in order to harden the clay. The heat from baking causes a chemical reaction called “polymerization”.
This transforms the clay from a soft, pliable material into a hard, durable substance, locking it into its “final form”.

What do you coat polymer clay earrings with?
Polymer clay earrings don’t need to be sealed or coated, since polymer clay itself is waterproof once cured. However, you can add a sealer to your earrings if you’d like them to have a shiny finish (polymer clay on its own is matte).
Use resin (a thin coat of epoxy resin or UV resin) or a varnish made from acrylic or polyurethane to coat your earrings. Sealing the earrings will also offer extra protection from scratches and wear and tear.
Can I make stud earrings with polymer clay?
Yes, there are a few different ways that you can attach earring posts to polymer clay in order to make stud earrings.
- Gently press the earring post into the back of the soft clay earring. Then secure it in place with another thin layer of clay, blending it into the earring’s surface.
- Attach the metal post with clay adhesive/liquid polymer clay before baking.
- Use a flexible gel super glue to glue the earring post to the back of the clay after baking.

Make polymer clay earrings and practice your clay skills — it’s so fun (and quick!) to make these DIY clay accessories. Polymer clay comes in a rainbow of colours, and you can mold it into endless shapes and designs to reflect your personality!

Here’s even more fun clay craft ideas:


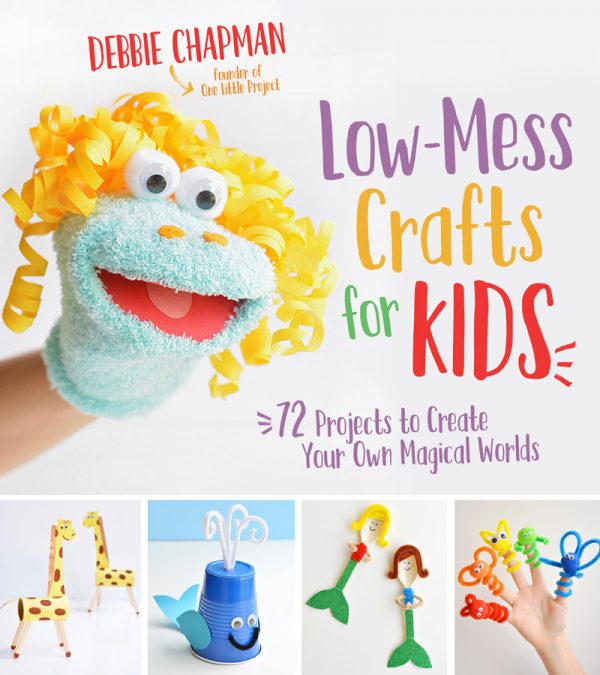
Our book Low-Mess Crafts for Kids is loaded with 72 fun and simple craft ideas for kids! The projects are fun, easy and most importantly low-mess, so the clean up is simple!

Where to buy:
You can purchase Low-Mess Crafts for Kids from Amazon, or wherever books are sold:
Amazon | Barnes and Noble | Books-A-Million | Indiebound | Amazon Canada
Let us know what you think: