Get ready for the cutest winter art project — because this paper roll polar bear painting is equal parts recycled craft and adorable animal fun! Instead of tossing an empty paper roll, you can use it as a stamped “paintbrush” to create a fluffy white polar bear face with the coolest texture!
This kids art project is perfect for winter, Arctic animal themes, and any time you want some easy painting fun. Plus we have a free printable template for you, making the face details quick and easy to assemble. So grab your white paint and a paper roll, and let’s make some sweet snowy polar bears!

This post contains affiliate links. If you use these links to buy something, we may earn a small commission at no extra cost to you. This helps support our website and allows us to keep creating fun, free content.
How to Make an Easy Polar Bear Painting
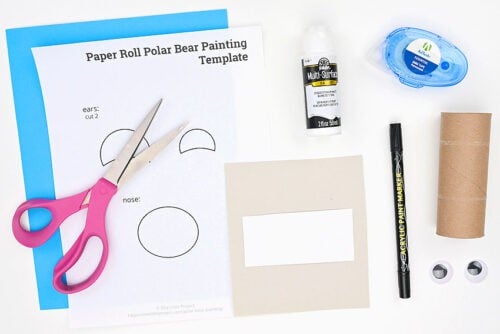
Materials:
Equipment:
- Paper plate (or paint palette)
Instructions:
Step 1: Find what you need
- Gather your supplies and materials.

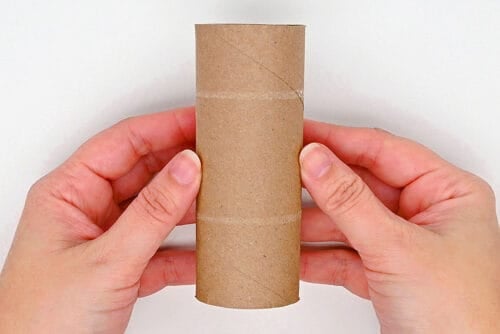
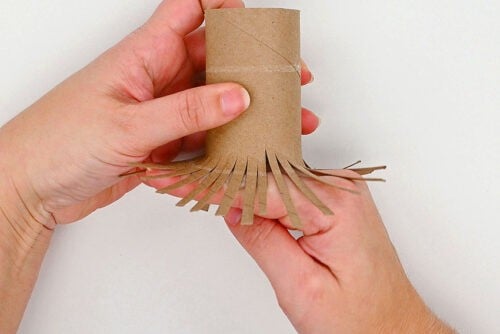
Step 2: Prepare your “paintbrush”
- To make this polar bear painting you’ll be using a paper roll as a paint brush!
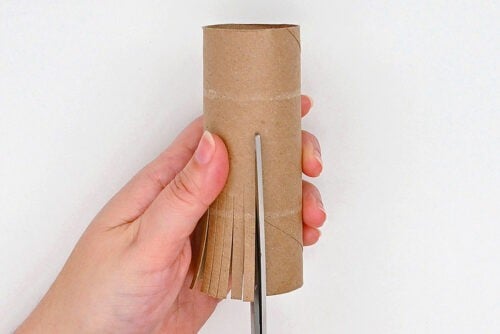
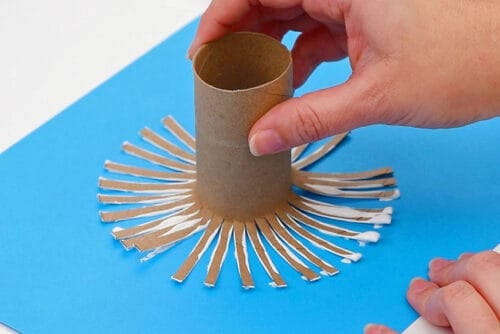
- Cut thin vertical strips (about 1/4 inch wide) on one end of the paper roll, going close to halfway up.
- Push the cut pieces up with your hand so they face out from the paper roll.
- Then push the paper roll down on your working surface so the strips are fully out, making your paper roll look like a sun.

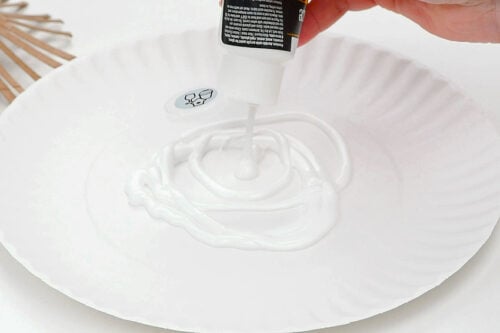
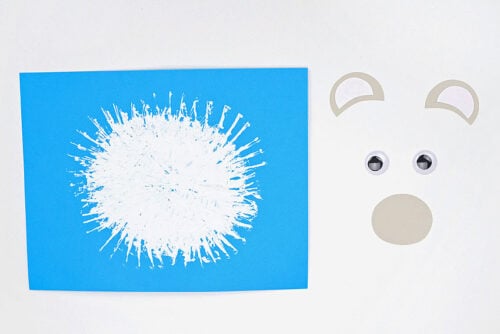
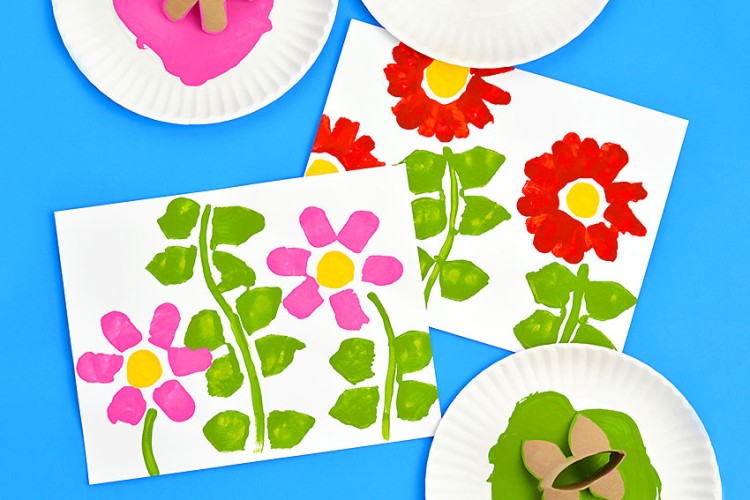
Step 3: Paint the polar bear’s fur
- Add a generous amount of white paint to a paper plate (a baking sheet covered with foil works, too).Spread the paint out so that your “paintbrush” will be able to catch all the paint.

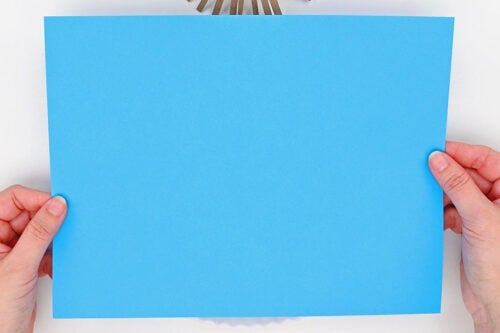
- Choose a piece of coloured cardstock to make your painting on. We found that different shades of blue made a nice, wintery background.
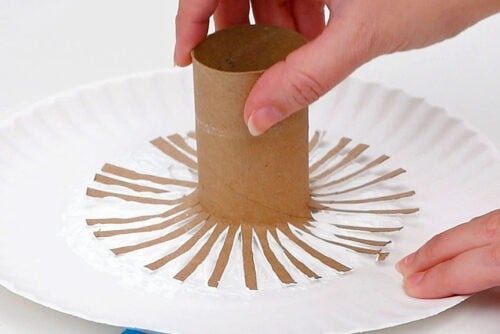
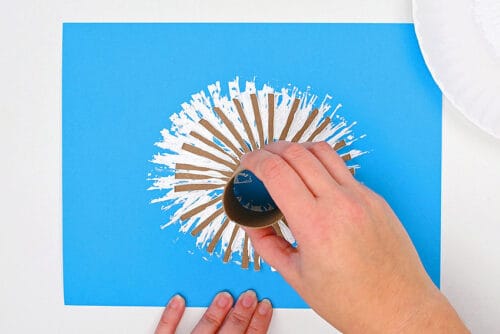
- Dip the paper roll into the paint, covering all the “brush” parts.
- Now press the paper roll on your paper, stamping paint onto it.
- Move the paper roll around as you lift it up and stamp again.
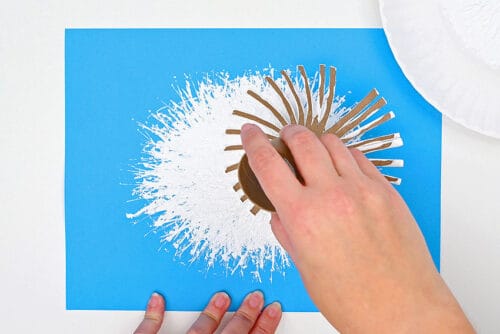
- Add more paint when needed and continue stamping your polar bear fur onto the page, forming the polar bear’s head.You may need to press it down at an angle to ensure the middle gets well covered. Repeat until you’re happy with the look and then allow to dry.
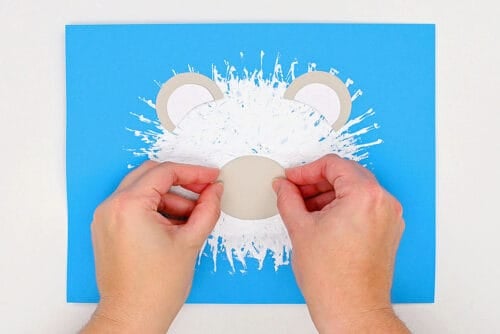
Step 4: Add face details
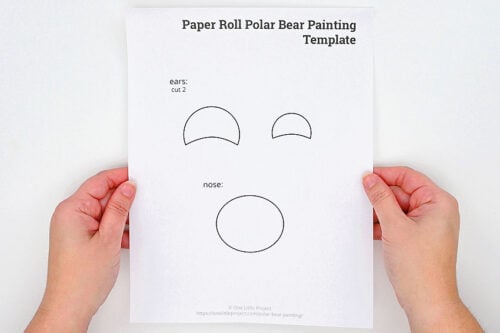
- Use our free printable template and cut out the ears and snout.
- Cut the ears and snout from light grey cardstock, and the inner ears from white cardstock.
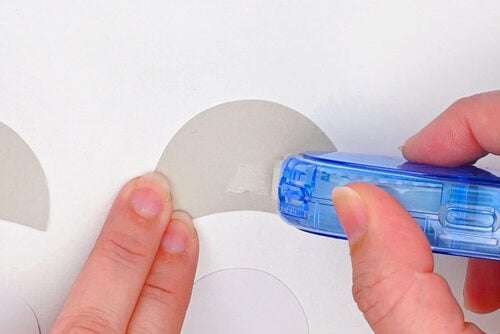
- To attach the pieces we’ll be using glue tape. Add glue tape onto the center of the ears.
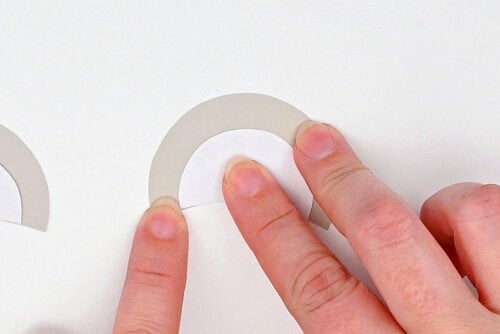
- Then attach the inner ears to the bigger ear pieces, lining up the bottoms.
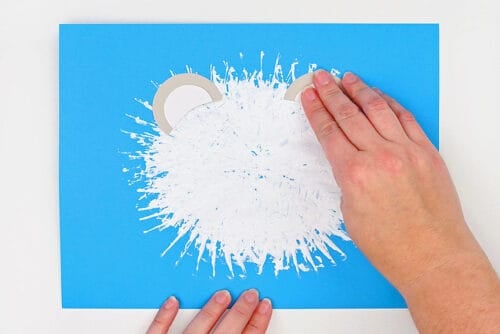
- Add glue tape to the back of the ears and attach them near the top of the head.
- Then glue the snout to the center of the page.
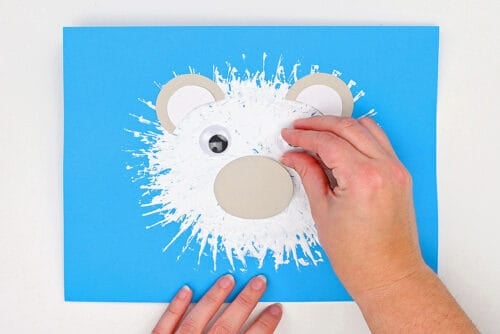
- Then glue on the googly eyes. (You may want to use tacky glue or hot glue to attach these.)
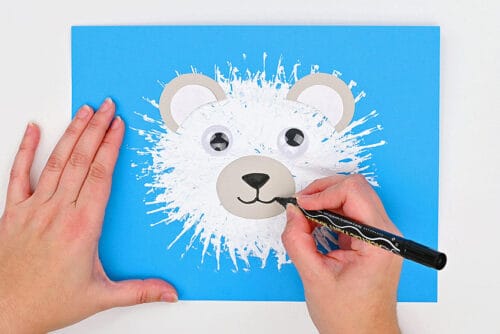
- Finally, use a black marker to add a nose and smiling mouth to the snout.
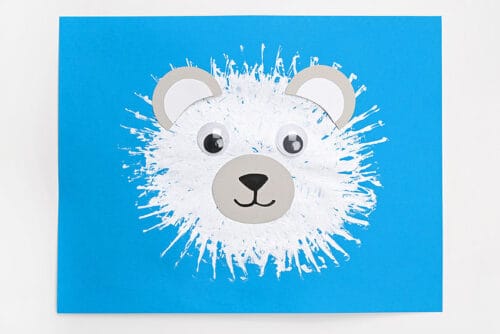
- Your paper roll polar bear painting is complete!
Helpful Tips:
- Make sure the center of the page gets painted too. You may need to stamp the paper roll at a slight angle and wiggle it around a bit so the whole polar bear head fills in nicely.
- Stamp on a paper plate first to remove any big globs of paint before stamping onto your page. This helps keep the texture fluffy instead of smeary.

Download our free polar bear template:
Click on the link below to download our free, printable template for the polar bear’s snout and ears. The PDF file will open in a new window. Then simply print the template on 8.5 x 11 (letter size) printer paper or cardstock.
>>> Polar Bear Art Template <<<

What kind of paper roll do I need to make this polar bear painting?
A regular toilet paper roll works perfectly, but any small cardboard tube will work — just avoid rolls that are too soft or squished, since they won’t stamp as evenly.
You can use a wrapping paper roll, a paper towel roll, or even buy craft tubes online.

What paint works best for making paper roll polar bear art?
We used acrylic paint, but washable craft paint is ideal for kids. Tempera paint is a bit thinner, so you may need a couple of extra stamps to build up the texture.
Can I do this craft without the printable template?
Yes! You can cut simple ears and a snout freehand from cardstock or construction paper. The printable template just makes it faster and gives the polar bear a super polished look.
You can even draw the details onto the paper with marker if you’d like!

These paper roll polar bear paintings turn out SO CUTE every time! Use a recycled paper roll as your paintbrush and create an adorable, fluffy looking polar bear — no art experience required!
This winter craft is easy to make, a little messy in the best way, and is perfect for kids who love experimenting with paint. Then simply add paper ears and a snout and your painting looks polished and professional! It’s the perfect cozy afternoon activity, great for school or at home.
Here’s even more winter craft ideas:

Northern Lights Squeegee Painting


Now available
Low-Mess Crafts for Kids Book
72 cute and fun crafts that kids and parents alike can enjoy. All with as little mess as possible!
Where to buy:
You can purchase Low-Mess Crafts for Kids from Amazon, or wherever books are sold:
Amazon | Barnes and Noble | Books-A-Million | Indiebound | Amazon Canada


Leave a Reply