
Looking for an easy and festive Christmas craft? This pine cone Christmas tree is the perfect way to get creative this holiday season! With just a few simple supplies, you can transform ordinary pine cones into tiny, twinkling trees that are full of charm.
Kids and adults alike will love making this cheerful pine cone craft. The colourful trees are quick to make and are adorable homemade decorations! Add some cute “ornaments”, a wine cork trunk, and a glittery star on top for a handmade craft that’s both merry and bright!

This post contains affiliate links. If you use these links to buy something, we may earn a small commission at no extra cost to you. This helps support our website and allows us to keep creating fun, free content.
How to Make a Pine Cone Christmas Tree
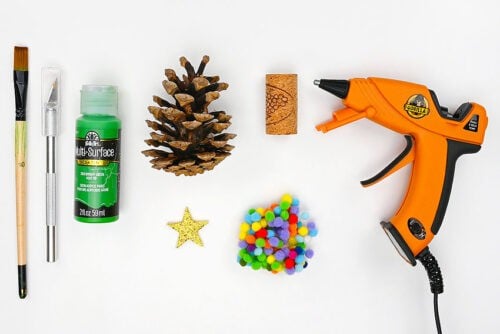
Materials:
- Pinecone
- Multi-surface acrylic paint (green)
- Mini pom poms (5mm)
- Wine cork
- 2 Foam star sticker(s) (1-1/4 inch)
Equipment:
Instructions:
Step 1: Find what you need
- Gather your supplies and materials.

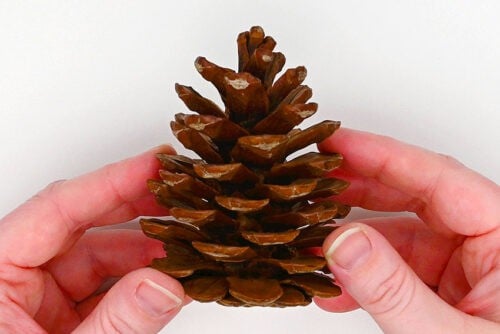
Step 2: Paint the pine cone
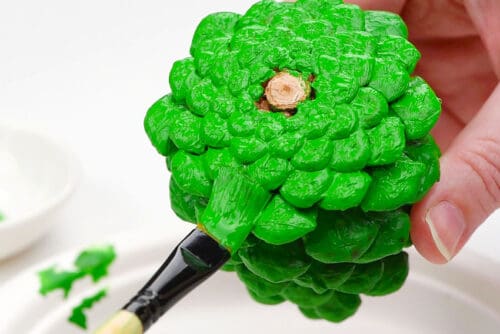
- To make your pine cone Christmas tree you’ll need a pine cone that’s between 3 and 4 inches tall.Try to choose one that has a nice tree-like shape and that sits fairly straight and flat.
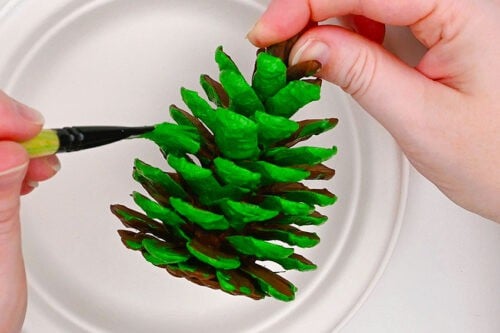
- Paint the edges and the bottoms of each petal with acrylic multi-surface paint. (You can also use regular acrylic paint, but you might need to do more than 1 coat.)

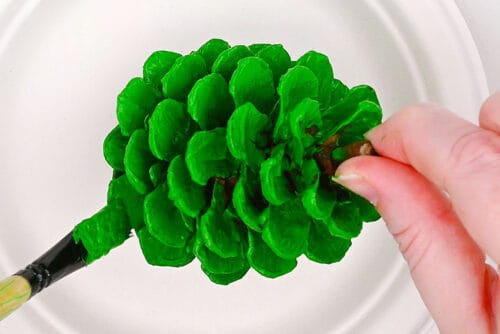
- Then paint the tops of the petals, so the whole pine cone is covered. Finish by setting it down and painting the top stem as well. Allow to dry.
- Once the paint is dry, paint the bottom of the pine cone as well.(This is optional, and you don’t have to paint the whole bottom like we did, but we do recommend painting around the bottom edges at least.)
Step 3: Decorate the tree
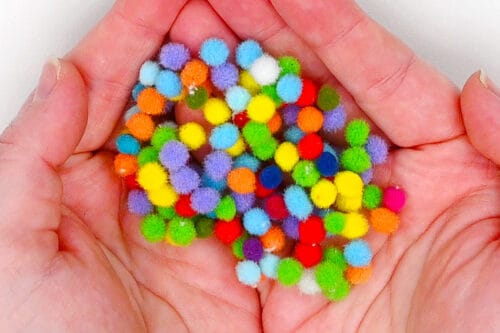
- Gather a bunch of 5mm pom poms in different colours to decorate the tree. See below for other “ornament” options.
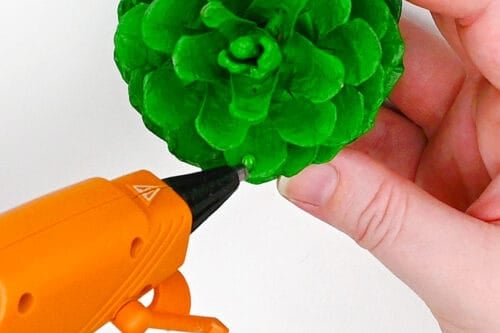
- Add a small dot of hot glue to one of the pine cone petals.
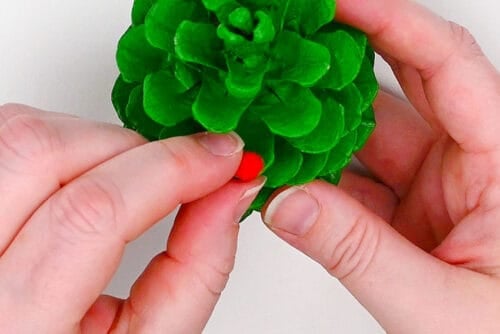
- Place a pom pom in the glue.
- Repeat, adding pom poms in different colours all around the tree. Try to fill up the space so it looks nice from the top and the side.You can put the pom poms on the tops of petals, on the edge of them, or even underneath them — whatever creates the best spacing for the “ornaments”.

Step 4: Add a tree trunk and topper
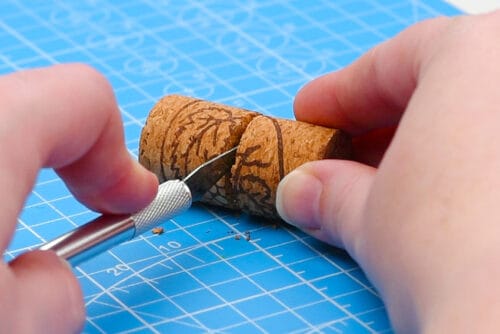
- Cut a wine cork in half. One half will be the tree trunk.
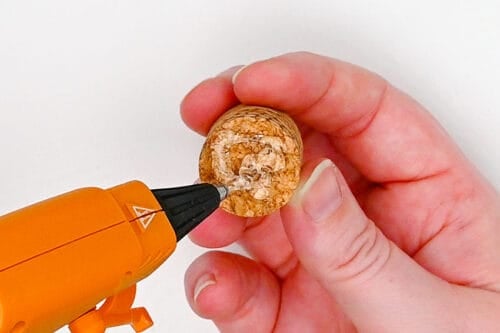
- Add a generous amount of hot glue to the cut side of the cork.
- Place the cork on the bottom center of the tree. You should set the tree down and ensure that it stands nicely and is balanced.
- Then put 2 glitter foam star stickers together and glue them to the top stem of the pine cone tree.
- Your pine cone Christmas tree is complete!


Helpful Tips:
- Trim the stem if needed: If your pine cone still has part of the stem attached at the bottom, have an adult carefully saw it off so the pine cone can sit flat. This makes it easier to paint, decorate, and display.
- Try a different base: Instead of using a wine cork for the trunk, place your pine cone tree on a small wood slice. Leave it natural for a rustic look, or add some stuffing or pulled-apart cotton balls around the base to create “snow”!

What can I use as ornaments for my pine cone Christmas tree?
You can decorate your pine cone Christmas tree with just about anything small and sparkly! We used mini pom poms, but flatback rhinestones, rhinestone stickers, tiny buttons, or seed beads all look adorable.
You can even paint ornaments right onto the “branches” using a fine-tip brush, dotting tool, or paint markers. Puffy paint is another fun option that will create a textured look.

What’s the best paint for a pine cone Christmas tree?
We used a multi-surface acrylic paint mostly because we loved the shade of green, but it also gives great coverage with just one coat. Regular acrylic paint works well too — you just might need two coats for full coverage.
Tempera or washable paint is also an option if you’re crafting with kids, though it’s thinner and may need several coats to cover completely.

Where can I get pine cones for this Christmas craft?
You can collect pine cones on a nature walk, but be sure to clean them before crafting with them. Wash off any dirt and bake them at a low temperature to remove any bugs.
If you want perfectly shaped pine cones for your Christmas tree craft, check your local dollar store or craft store — especially in the fall and winter. Then pick through your store-bought pine cones to find the nicest shaped ones that sit flat and taper out towards the bottom, like a real pine tree.

Making these little pine cone Christmas trees is such a simple way to bring holiday magic into your home. They’re super cute and somehow friendly looking — the kind of craft that makes you smile every time you see it.
Whether you’re crafting with kids, friends, or family, these tiny trees are a lovely reminder of what makes the season special: creativity, laughter, and time spent together. So grab some pine cones and a bit of paint, blast your favourite holiday tunes, and have fun making some memories while you craft!
Here’s even more Christmas craft ideas:


Now available
Low-Mess Crafts for Kids Book
72 cute and fun crafts that kids and parents alike can enjoy. All with as little mess as possible!
Where to buy:
You can purchase Low-Mess Crafts for Kids from Amazon, or wherever books are sold:
Amazon | Barnes and Noble | Books-A-Million | Indiebound | Amazon Canada


Leave a Reply