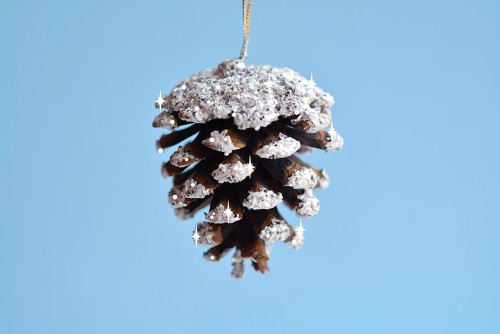
These frosted pinecones are such a fun and inexpensive winter decoration! It’s SO EASY to give these pinecones a gorgeous snowy look. Simply cover pinecones in glue and white paint, and them roll them in epsom salt and glitter!
Add these frosted pine cones to a centerpiece, or attach an ornament hanger to display them on the Christmas tree. Either way, these pinecones covered in glittery “snow” are such a fun and easy craft for the holidays!

This post contains affiliate links. If you use these links to buy something we may earn a small commission which helps us run this website.
How to Make Frosted Pinecones
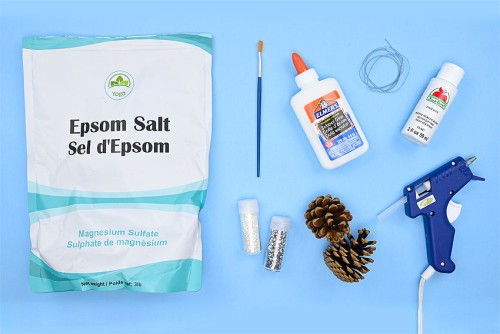
Materials:
Equipment:
- Cereal bowl (or paper bowl; to put glitter in)
Watch the step-by-step video tutorial:
Instructions:
Step 1: Find what you need
- Gather your supplies and materials.

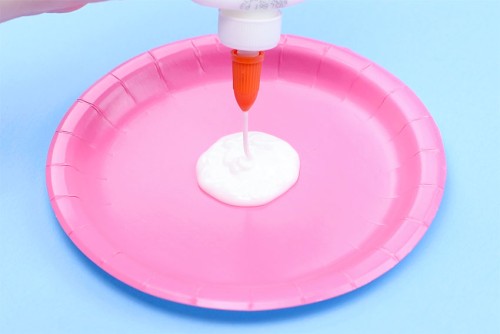
Step 2: Mix the “snow” together
- Add about 1-1/2 Tablespoons of white glue to a disposable plate or paint palette.
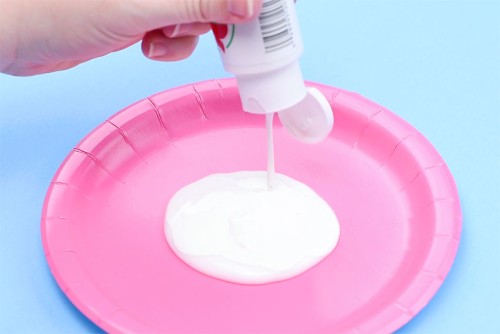
- Add an equal amount of white acrylic paint on top of the glue.
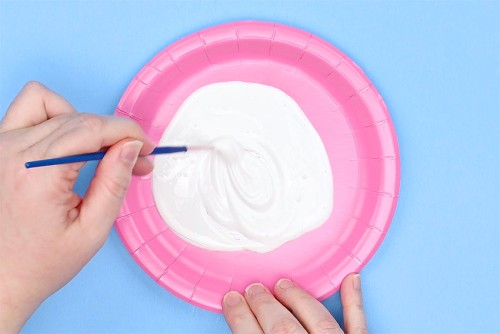
- Use a paintbrush to combine the glue and paint.
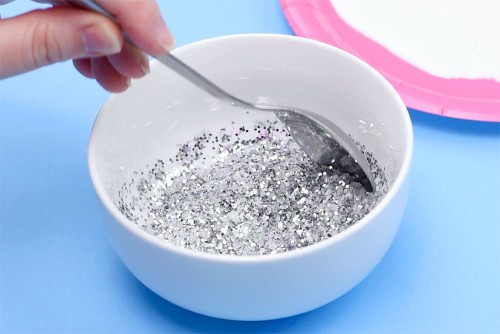
- Add the epsom salt to a bowl, along with white and silver glitter (at least a teaspoon of each). Mix together with a spoon.
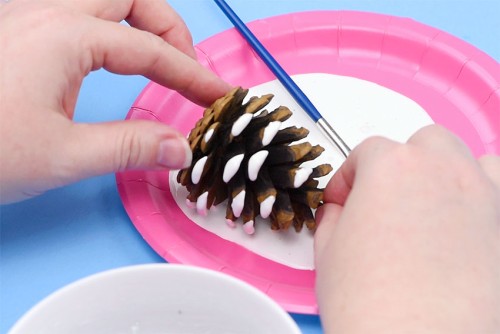
Step 3: Paint the pinecone
- Place the pinecone sideways and roll it in the paint/glue mixture.
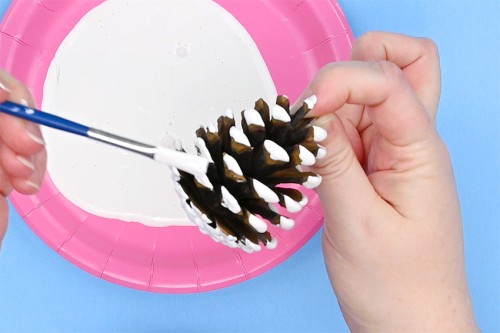
- Cover the top of the pinecone as well. You can use the paintbrush to help cover it evenly and to remove extra paint.

- Use the paintbrush to paint any tips that didn’t get fully covered.
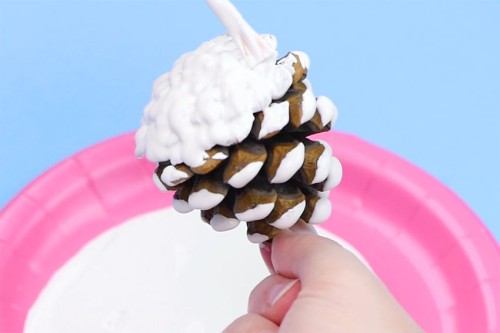
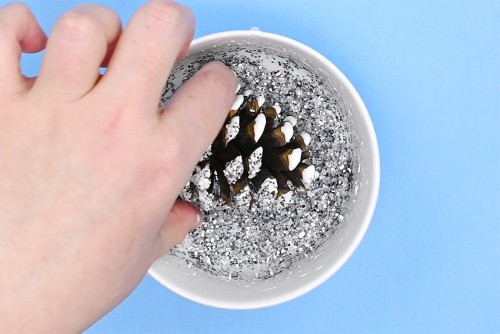
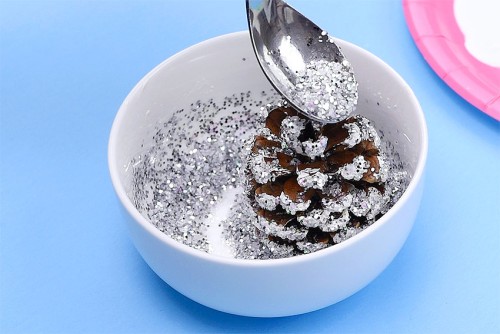
Step 4: Add glitter and salt to the pinecone
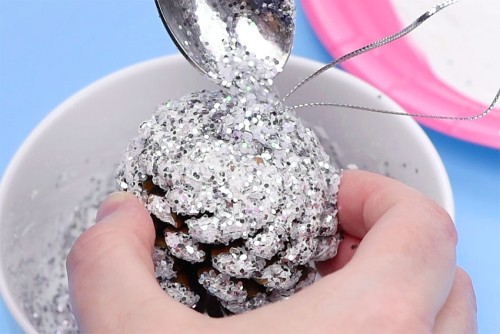
- Dip the pinecone in the glitter mixture and roll it around to cover it.
- Use the spoon to add more glitter to any areas that were missed.Set the the pinecone on another paper plate or parchment paper to dry for at least 1-1/2 hours.
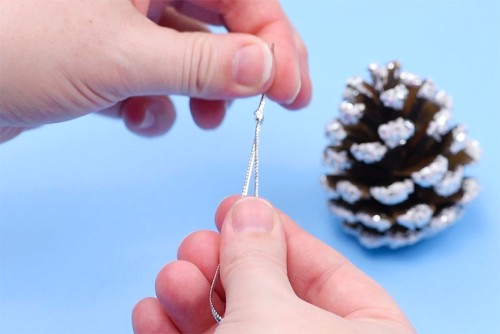
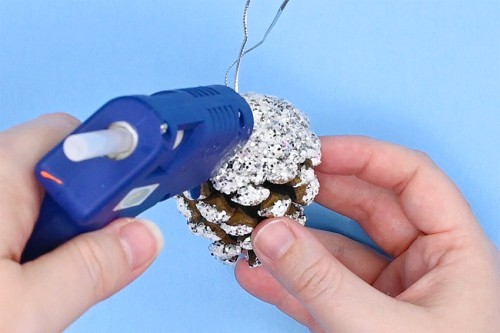
Step 5: Attach an ornament hanger (optional)
- Cut a 9 inch piece of silver cord. Tie it into a loop and then cut off the ends of the string close to the knot.
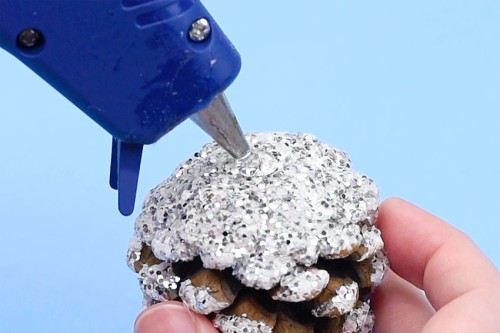
- Add a bit of hot glue to the center of the pinecone.
- You might have a hard time getting the ornament hanger to stick to the glitter. To fix this, pick off the first bit of hot glue before it dries completely. This will remove some of the glitter and allow the hot glue to stick to the pinecone.Add another dot of hot glue and place the knot of the ornament hanger in the glue.
- Add more hot glue on top of the knot to help keep it in place.
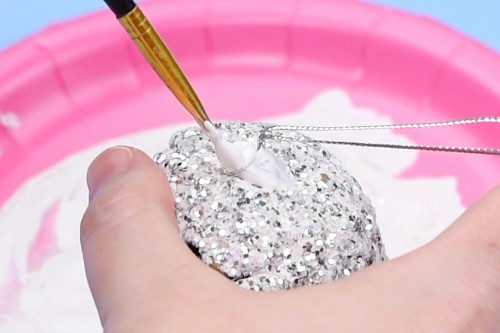
- Once the hot glue has dried, paint over it with the paint/glue mixture.
- Sprinkle more glitter and salt over top of the wet paint.Allow to dry.
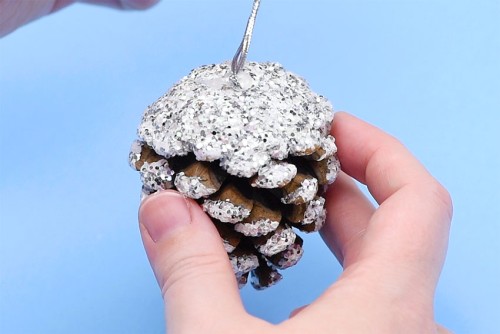
- Your frosted pinecone is complete!
TIP:
- 1. This amount of glitter mixture and paint should be enough to make 4 frosted pinecones.2. To give the pinecones even more of a snowy texture, you can increase the amount of salt in your mixture. Or even the type of salt you use. More on that below.

Where can I get pinecones?
Try going for a winter nature walk and pick up any fallen pinecones you can find! Make sure you brush off any dirt or debris before you craft with these pinecones (and make sure that they’re totally dry!). Manda Panda Projects has a helpful guide to preparing pinecones for crafting.
If you can’t find any pinecones outside, you can also buy pinecones on Amazon, at the dollar store, or at the craft store.

What if I don’t have epsom salt?
You can definitely make frosted pinecones without epsom salt! Try using coarse sea salt or large flaked kosher salt instead.
The salt adds a nice textured, icy look to these pinecones, but you could even leave off the salt and just cover the pine cones in glitter.
The photo below shows how the different types of salt look. On the top pinecone we used epsom salts, on the middle pinecone we used coarse sea salt, and on the bottom pinecone we used table salt. We also used a lot more salt than glitter which makes them look more snow textured.

Can these frosted pinecones be hung outside?
No, you can’t hang the frosty pinecones outside, as the epsom salt will dissolve in rainy or snowy weather. They would most likely be okay on a covered porch, but you probably want to keep these holiday ornaments inside.
What can I do to contain the glitter?
Embrace the glitter! Yes, this is definitely a bit of a messy project. Be sure to put down newsprint, kraft paper, or a plastic table cloth before making these frosted pinecones.
To help keep the glitter on the ornaments themselves, spray the pinecones with a Krylon clear glaze after they’re completely dry.

Add some sparkly holiday magic to your winter decor with these frosted pinecones. I love how these DIY snowy pinecones look, shimmering in the lights of the Christmas tree!

Here’s even more pinecone craft ideas:


Our book Low-Mess Crafts for Kids is loaded with 72 fun and simple craft ideas for kids! The projects are fun, easy and most importantly low-mess, so the clean up is simple!

Where to buy:
You can purchase Low-Mess Crafts for Kids from Amazon, or wherever books are sold:
Amazon | Barnes and Noble | Books- A- Million | Indiebound | Indigo | Amazon Canada


Leave a Reply